MDF vs Pine for Trim, Wainscoting, and Board and Batten
MDF and pine are both used for interior trim and paneling, but they behave differently around moisture, paint, and fasteners. Here is how to pick the right one.
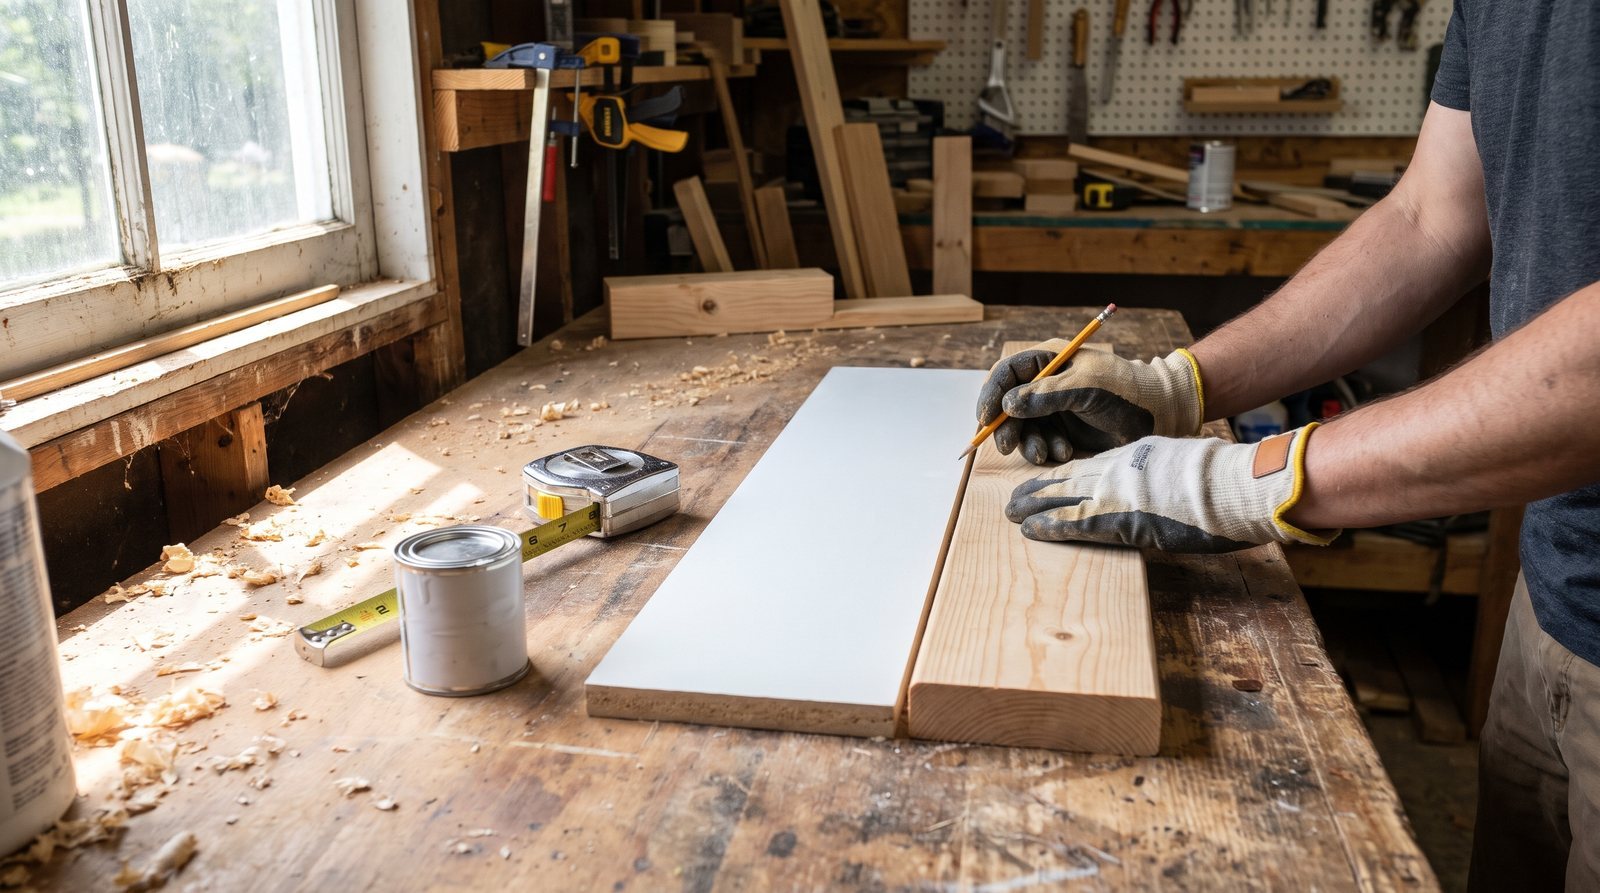
You can swap MDF for pine (or pine for MDF) in most interior trim and paneling projects, but the two materials fail in different ways, take paint differently, and cost different amounts. This guide covers what actually matters for board-and-batten walls, wainscoting, and baseboards so you can pick the right board and avoid the mistakes that show up six months later.
Where each material wins
MDF is engineered wood fiber pressed into sheets and boards. It has no grain, no knots, and no natural variation. That makes it dead-flat and easy to paint to a smooth, furniture-like finish. It is also 30-60% cheaper than finger-jointed pine, which is why it shows up in so many trim aisles.
Pine, whether solid, knotty, or finger-jointed (FJ), is real wood. It holds fasteners better, handles a bump without crumbling, and tolerates moisture that would destroy standard MDF. Primed FJ pine is the closest direct competitor to primed MDF trim: long, stable boards with no visible knots, ready for paint.
The short version: if you are painting trim in a dry living room or bedroom and want to save money, MDF is a solid choice. If the room sees any moisture, if you want to stain instead of paint, or if you need boards that can take a knock, pine is the safer pick.
Moisture: the one thing that ruins MDF projects
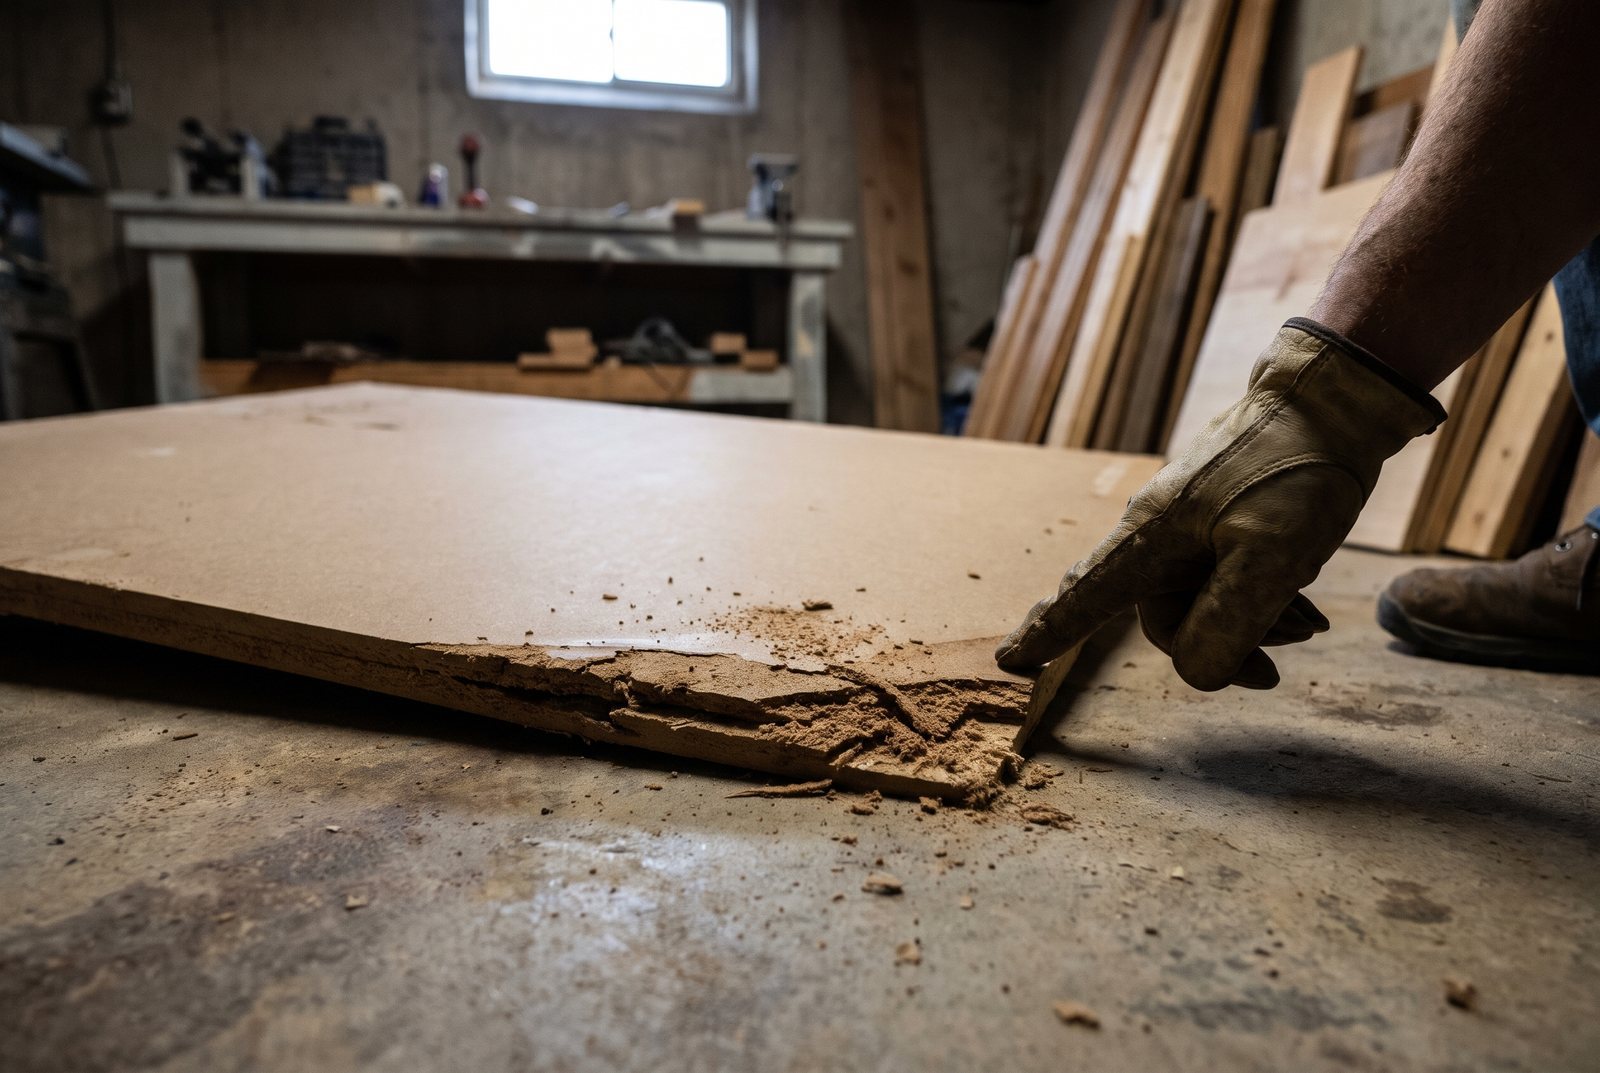
Standard MDF swells when it absorbs water, and that swelling does not reverse. The board puffs up at the edges, the paint cracks, and the only fix is replacement. This is the single most common failure people run into when using MDF for wainscoting or board-and-batten in bathrooms, laundry rooms, or below-grade basements.
Pine is not waterproof either, but it handles humidity and the occasional splash far better. It can swell and warp with prolonged exposure, but it will not disintegrate the way MDF does.
If you want MDF in a kitchen or half-bath, look for moisture-resistant (MR) MDF, which usually has a green-tinted core. MR-grade MDF resists swelling from incidental humidity, but it is still not meant for constant water contact. For a full bathroom with a shower, we would lean toward pine or PVC trim instead.
Even in dry rooms, every cut edge of MDF should be sealed with primer before the topcoat goes on. Raw MDF edges act like a sponge. A coat of solvent-based primer on those edges takes five minutes and prevents problems you would not see for months.
Paintability: smooth finish vs. real wood texture
MDF's biggest selling point for painted projects is its surface. No grain telegraphs through the paint, so you get a factory-smooth look on board-and-batten walls and wainscoting panels. Most MDF trim ships pre-primed, which saves a step.
Here is the catch: raw or freshly cut MDF edges are extremely porous. If you just roll latex paint over a raw edge, the fibers stand up and create a fuzzy texture that no amount of sanding fixes easily. The solution is a coat of solvent-based or oil-based primer on every cut edge, sanded smooth with 320-grit once dry. Some painters get good results with two coats of a high-quality water-based primer instead, sanding between coats and letting each dry fully.
Pine takes paint well, but the grain shows through, especially on flat panels. Some people like that texture. If you do not, an extra coat of high-build primer and sanding with 220-grit before the topcoat helps flatten it. Pine also needs a stain-blocking primer (look for "stain-blocking" on the label) to keep knots and tannins from bleeding yellow through white paint weeks later.
| Step | MDF | Pine |
|---|---|---|
| Initial sanding | 180-220 grit scuff on pre-primed surface | 120 grit, then 220 grit on raw wood |
| Primer type | Solvent-based on raw edges; latex OK on pre-primed faces | Stain-blocking primer (essential for knots) |
| Between-coat sanding | 320 grit | 220-320 grit |
| Expected finish | Glass-smooth, no grain | Smooth with visible grain texture |
For paint coverage, expect roughly 350-400 square feet per gallon on a properly primed surface, regardless of material. Allow 2-4 hours between latex coats and plan for 7-30 days of full cure before the surface is truly tough.
Cutting and fastening: where pine is more forgiving
MDF cuts beautifully. No splintering, no tearout, clean edges every time. The tradeoff is dust. MDF dust is extremely fine and contains formaldehyde (look for CARB-compliant boards, which have lower emissions). Always wear a respirator and use dust collection or cut outdoors. A standard dust mask is not enough.
Pine can splinter if your blade is dull, but a sharp 60-tooth or 80-tooth crosscut blade on a miter saw handles it cleanly. For more on blade selection, see our guide on how to choose a circular saw blade for trim.
Fastening is where the materials diverge most. MDF has poor screw-holding strength and splits easily near edges. Driving a nail too close to the end of an MDF board is one of the most common installation mistakes, and it cracks the board in a way you cannot hide with caulk.
For MDF trim and paneling, use 18-gauge brad nails to minimize splitting. If you need screws, pre-drill every hole and consider MDF-specific screws with coarse, aggressive threads. For pine, standard 15 or 16-gauge finish nails work well, and the wood is far more forgiving near edges.
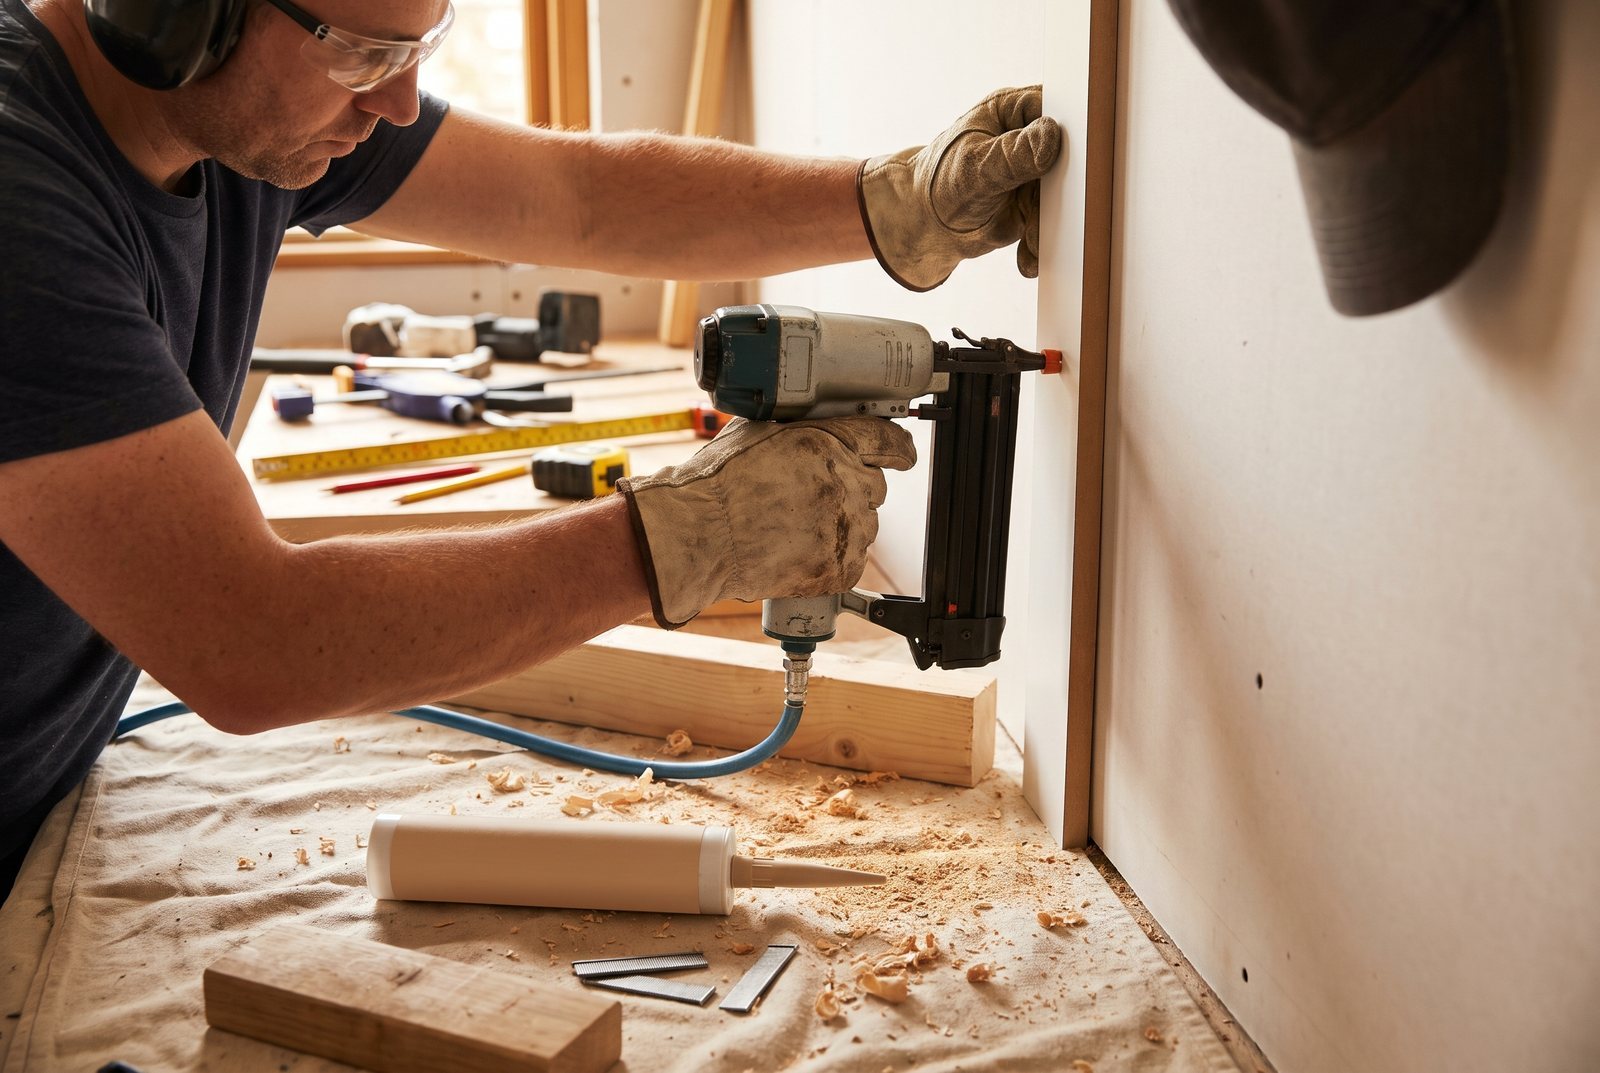
Regardless of material, use construction adhesive on the back of every board in addition to nails. This matters most on longer runs and walls that are not perfectly flat. A bead of adhesive keeps the board tight to the wall between nail points and reduces the chance of gaps opening up as the house settles.
One detail people overlook: if you are adding paneling over drywall, your electrical outlets will be recessed behind the new surface. You will need outlet box extenders to bring them forward. Factor that into your plan before you start nailing.
Cost: pricing the whole project, not just the boards
MDF is the budget option. Primed MDF baseboard runs roughly $1.00-$2.50 per linear foot, while primed pine baseboard runs $1.40-$3.50 per linear foot. For a board-and-batten accent wall in a 12-foot room, that difference adds up.
But boards are not the whole cost. MDF projects often need more adhesive (because you are relying on it more than fasteners), a solvent-based primer for edges, and potentially replacement boards if you split a few during nailing. Pine projects may need stain-blocking primer and slightly more paint if the grain absorbs the first coat unevenly.
Price the entire project, including adhesive, caulk, primer, paint, and nails, before you commit to a material. Our guide on estimating the real cost of a DIY project walks through how to do that without surprises. Prices vary by region and store, so check your local Home Depot or Lowe's for current numbers.
Choosing by project type
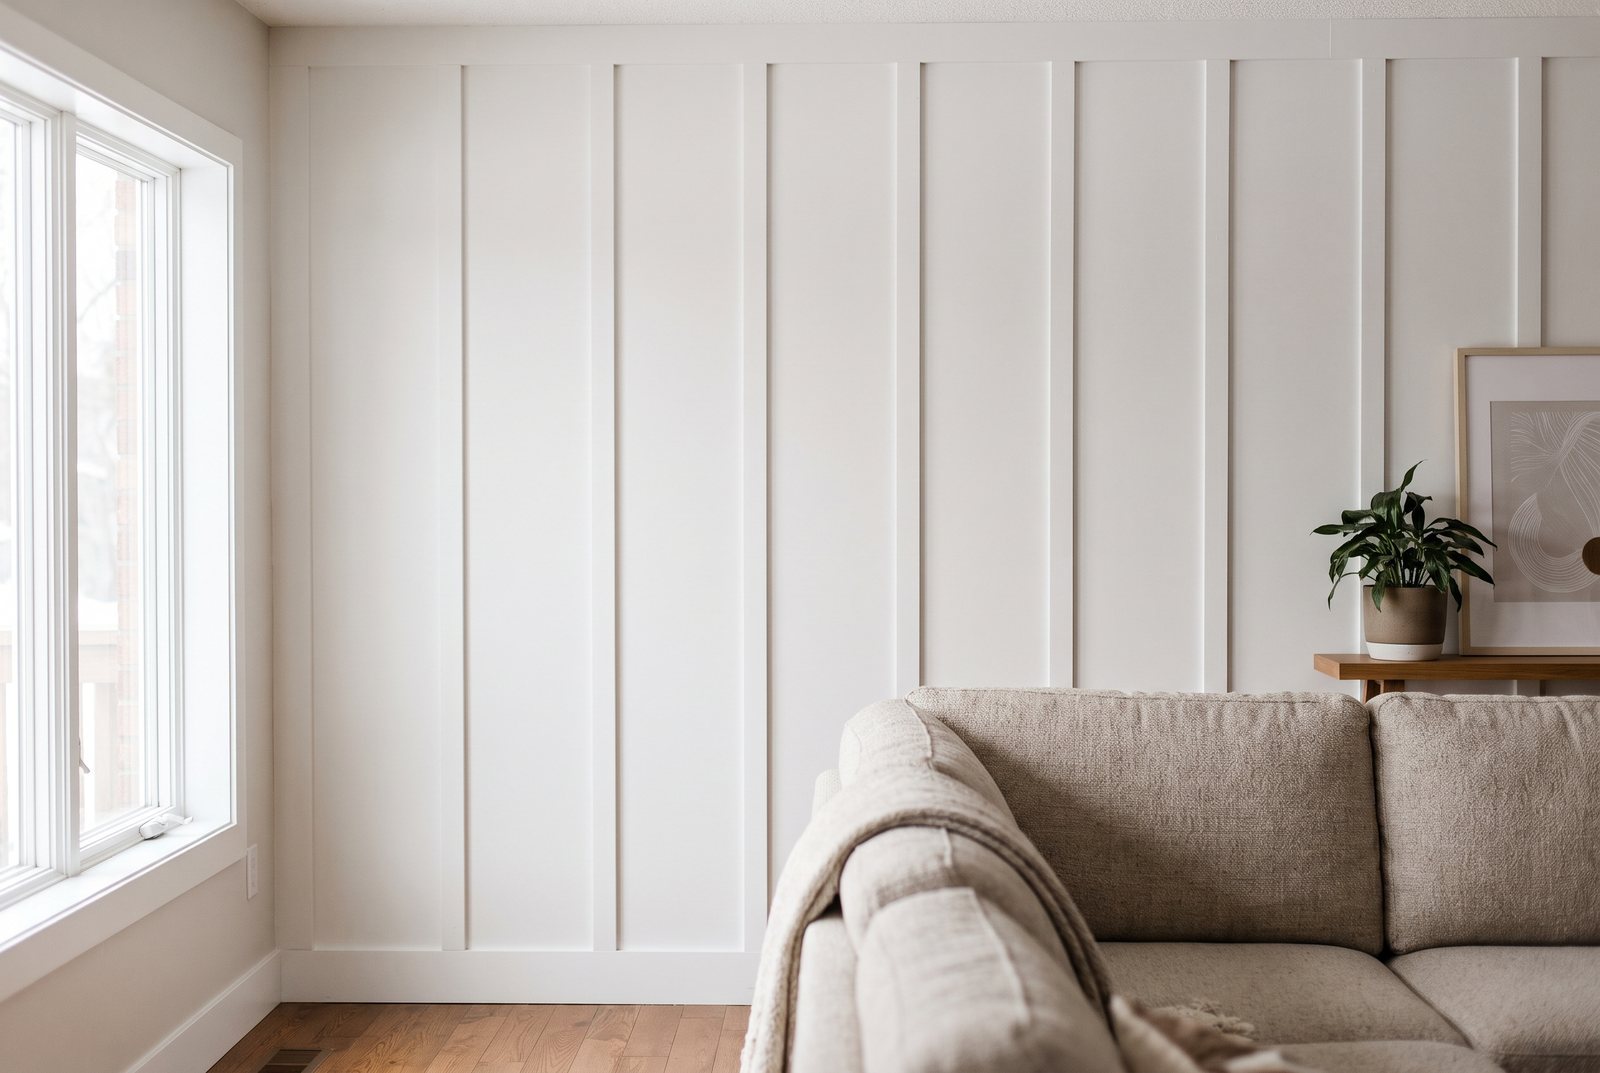
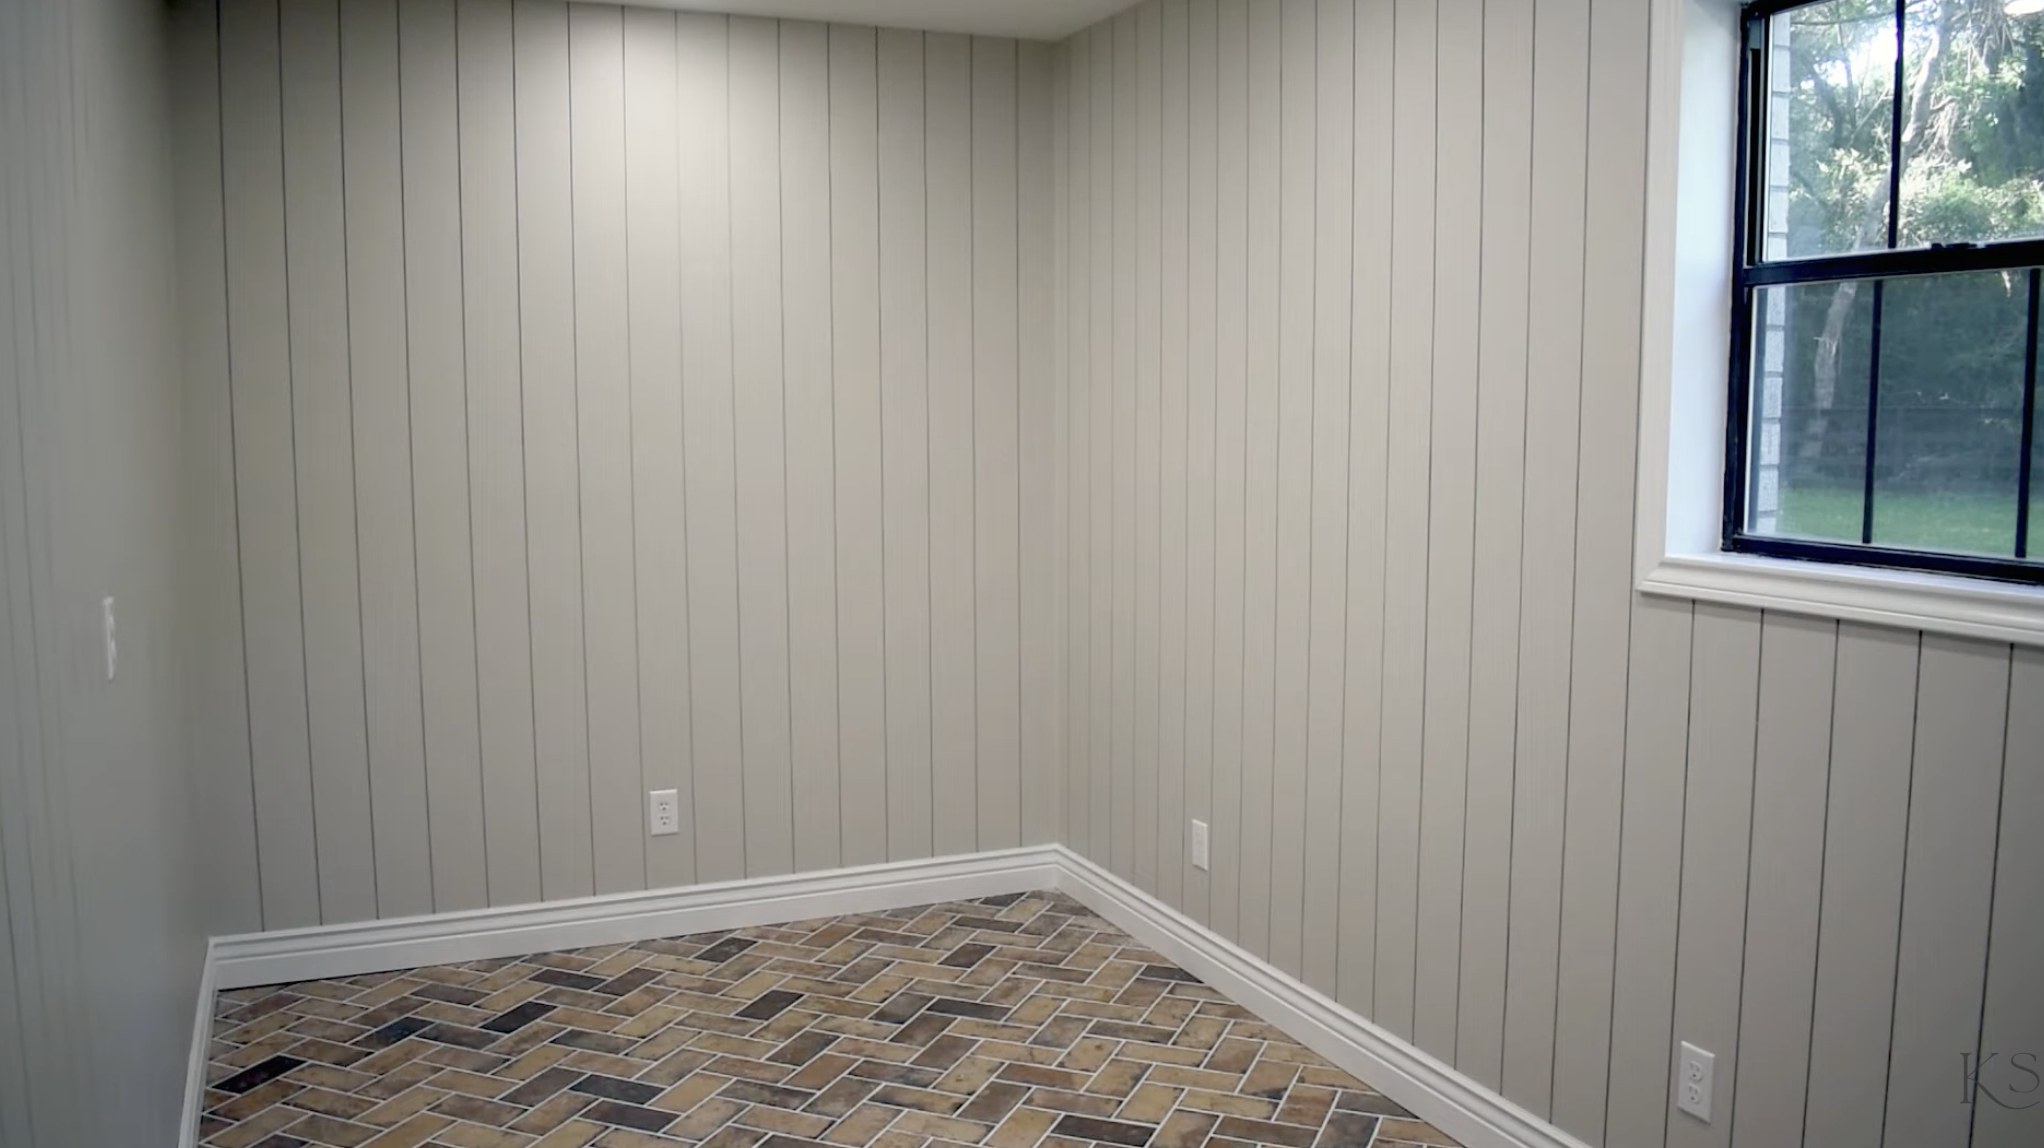
Board-and-batten walls in living rooms and bedrooms are a natural fit for MDF. The battens are narrow, the surface is painted, and the room is dry. MDF gives you clean, straight lines at a lower price. Kathartic Studios' DIY Vertical Shiplap Wall Paneling project shows a similar wall treatment using thin plywood planks with construction adhesive and brad nails, the same attachment method that works well for MDF paneling.
Wainscoting in dining rooms and hallways can go either way. MDF works if you want a smooth, painted look. Pine works if you want grain texture or plan to stain the panels. For wainscoting in a mudroom or entryway where wet boots and dog leashes hit the wall, pine (or MR-grade MDF at minimum) is the better call.
Baseboards and door casing take more abuse than wall paneling. Vacuum cleaners bump into baseboards, kids kick them, furniture scrapes them. Pine holds up better to impact. MDF dents and does not bounce back the way wood does. If you use MDF baseboards, accept that you may need to patch and repaint dents over time.
Bathroom trim should be pine, PVC, or MR-grade MDF. Standard MDF in a bathroom is a project you will redo.
Making the swap in your cut list
If a project guide calls for 1x4 pine and you want to use MDF, buy MDF boards in the same nominal size (a 1x4 is 3/4" thick by 3-1/2" wide in both materials). MDF trim boards follow standard dimensional lumber sizing. The main thing to watch is thickness: MDF paneling sheets can be 1/2" or 11/16" thick, which changes how far your boards sit proud of the wall and how long your nails need to be. A good rule is that the fastener should be at least twice the thickness of the material. For 1/2" thick trim over 1/2" drywall, that means 2" to 2-1/2" nails to reach the studs.
If you want help figuring out exactly how many boards a wall needs, our board quantity calculator guide covers the math.
Quick answers
Can I use MDF instead of pine for board and batten?
Yes, in dry rooms. MDF gives a smoother painted finish and costs less. Seal every cut edge with primer, use 18-gauge brad nails with construction adhesive, and avoid bathrooms or laundry rooms unless you use moisture-resistant MDF.
Will MDF hold up as baseboard trim?
MDF baseboards work well in bedrooms and living rooms but dent more easily than pine. They will not tolerate moisture from mopping. If your floors get wet-mopped often, pine or PVC baseboards are a better long-term choice.
Is pine or MDF easier to paint?
MDF is easier to paint to a perfectly smooth finish because it has no grain. Pine requires a stain-blocking primer to prevent knot bleed-through and will always show some wood texture under paint.
How much cheaper is MDF than pine trim?
MDF is generally 30-60% less expensive. Primed MDF baseboard runs about $1.00-$2.50 per linear foot compared to $1.40-$3.50 for primed pine. The gap narrows once you factor in adhesive, specialty primers, and the extra care MDF needs during installation.
The project in this post
DIY Vertical Shiplap Wall Paneling
by Kathartic Studios
Open the project guideKeep reading
All posts
CA Glue vs Wood Glue for Furniture Repairs: When to Use Each
CA glue handles hairline cracks and quick fixes. PVA wood glue belongs on structural joints. Here is how to pick the right one for your furniture repair.
Cedar vs Pressure-Treated Pine vs Redwood for Outdoor Projects
Comparing cedar, pressure-treated pine, and redwood for fences, planters, and raised beds. Covers cost, durability, workability, and looks.
3/4-Inch Plywood for Cabinets and Shelves: Which Grade to Buy
Pine, birch, maple, or MDF core? Compare 3/4-inch plywood types by price, durability, and finish quality to pick the right sheet for your project.