How to Choose a Circular Saw Blade for Plywood, Framing, and Trim
Tooth count, kerf, and hook angle explained for the three cuts DIYers make most. Plus why your new blade might be cutting worse than the old one.
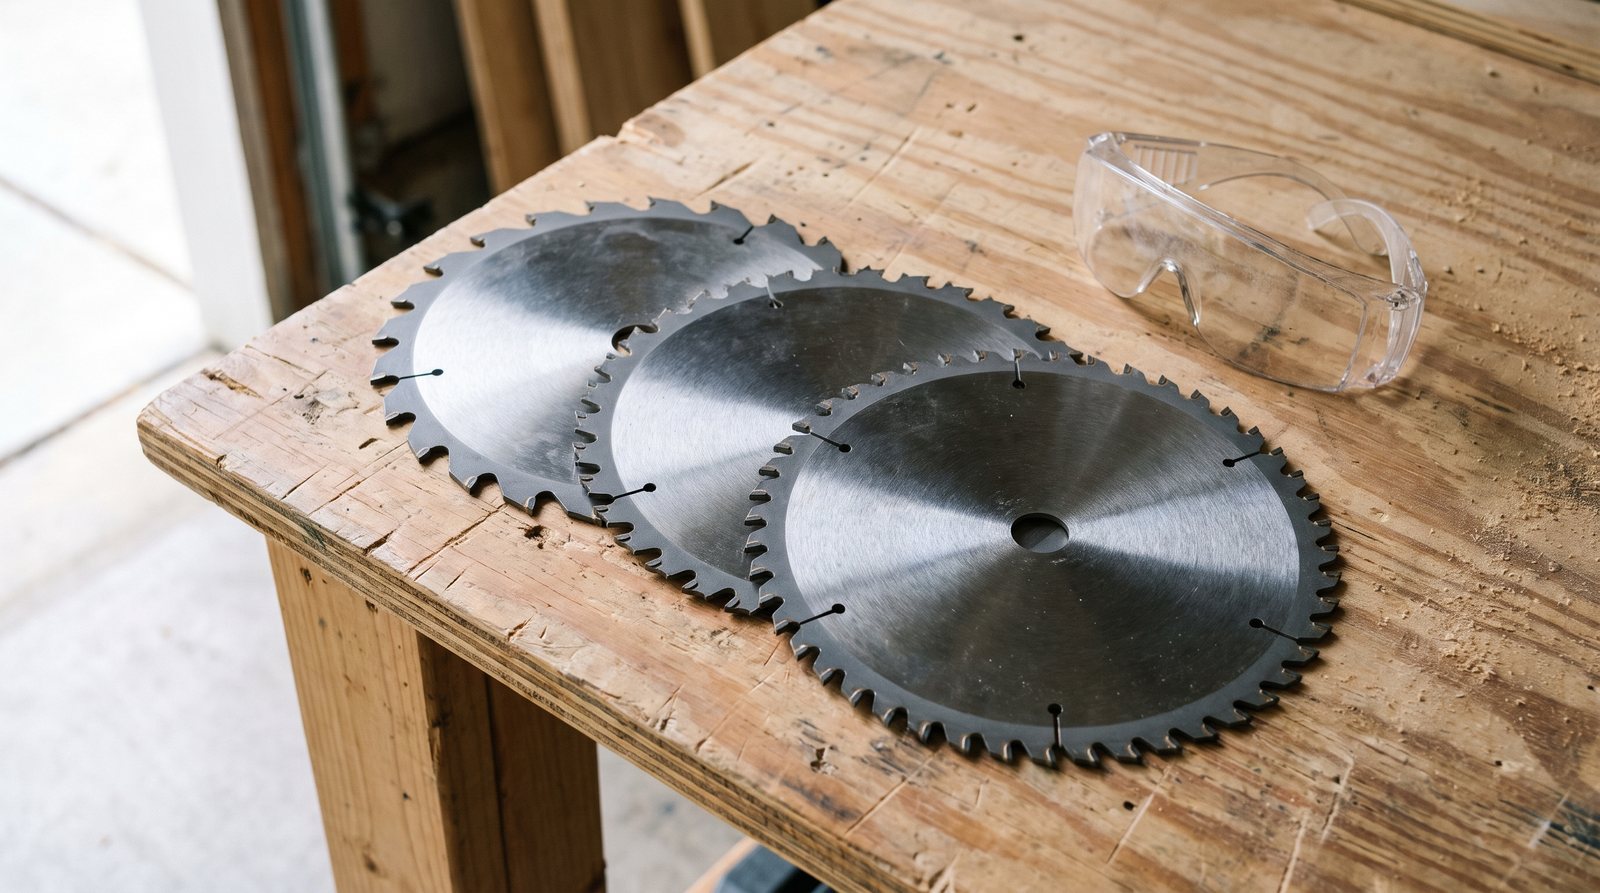
If you swapped your circular saw blade for a "better" one and your cuts got slower, rougher, or started burning, you probably picked the wrong blade for the material, not a bad blade. This guide covers the three numbers that actually matter (tooth count, kerf, and hook angle), matches them to the three jobs most DIYers face (framing, plywood, and trim), and explains exactly why an upgrade can make things worse.
Tooth count is the first decision
The number of teeth on the blade controls two things that work against each other: cut speed and cut smoothness. More teeth means a finer finish but a slower feed. Fewer teeth means faster work but a rougher edge.
For a standard 7-1/4 inch blade, here is how tooth count maps to common tasks:
| Tooth Count | Best For | What to Expect |
|---|---|---|
| 24T | Framing lumber, rough ripping, demo | Fast and aggressive. Visible tooth marks on the edge. Fine for studs, joists, and anything getting hidden. |
| 40T | Plywood, OSB, general crosscuts | A good balance. Reasonably clean edges on sheet goods without bogging down the saw. |
| 60-80T | Trim, hardwood, veneer plywood, melamine | Smooth, low-tearout cuts. Noticeably slower feed rate. |
A 24-tooth blade chews through a 2x10 in seconds because the big gullets (the valleys between teeth) clear sawdust quickly. A 60-tooth blade has tiny gullets. Pack them with sawdust from a thick rip cut and the blade heats up, the wood burns, and you end up pushing harder, which makes everything worse.
The takeaway: match the tooth count to the job, not to the price tag.
Kerf: thin vs. full, and when it matters
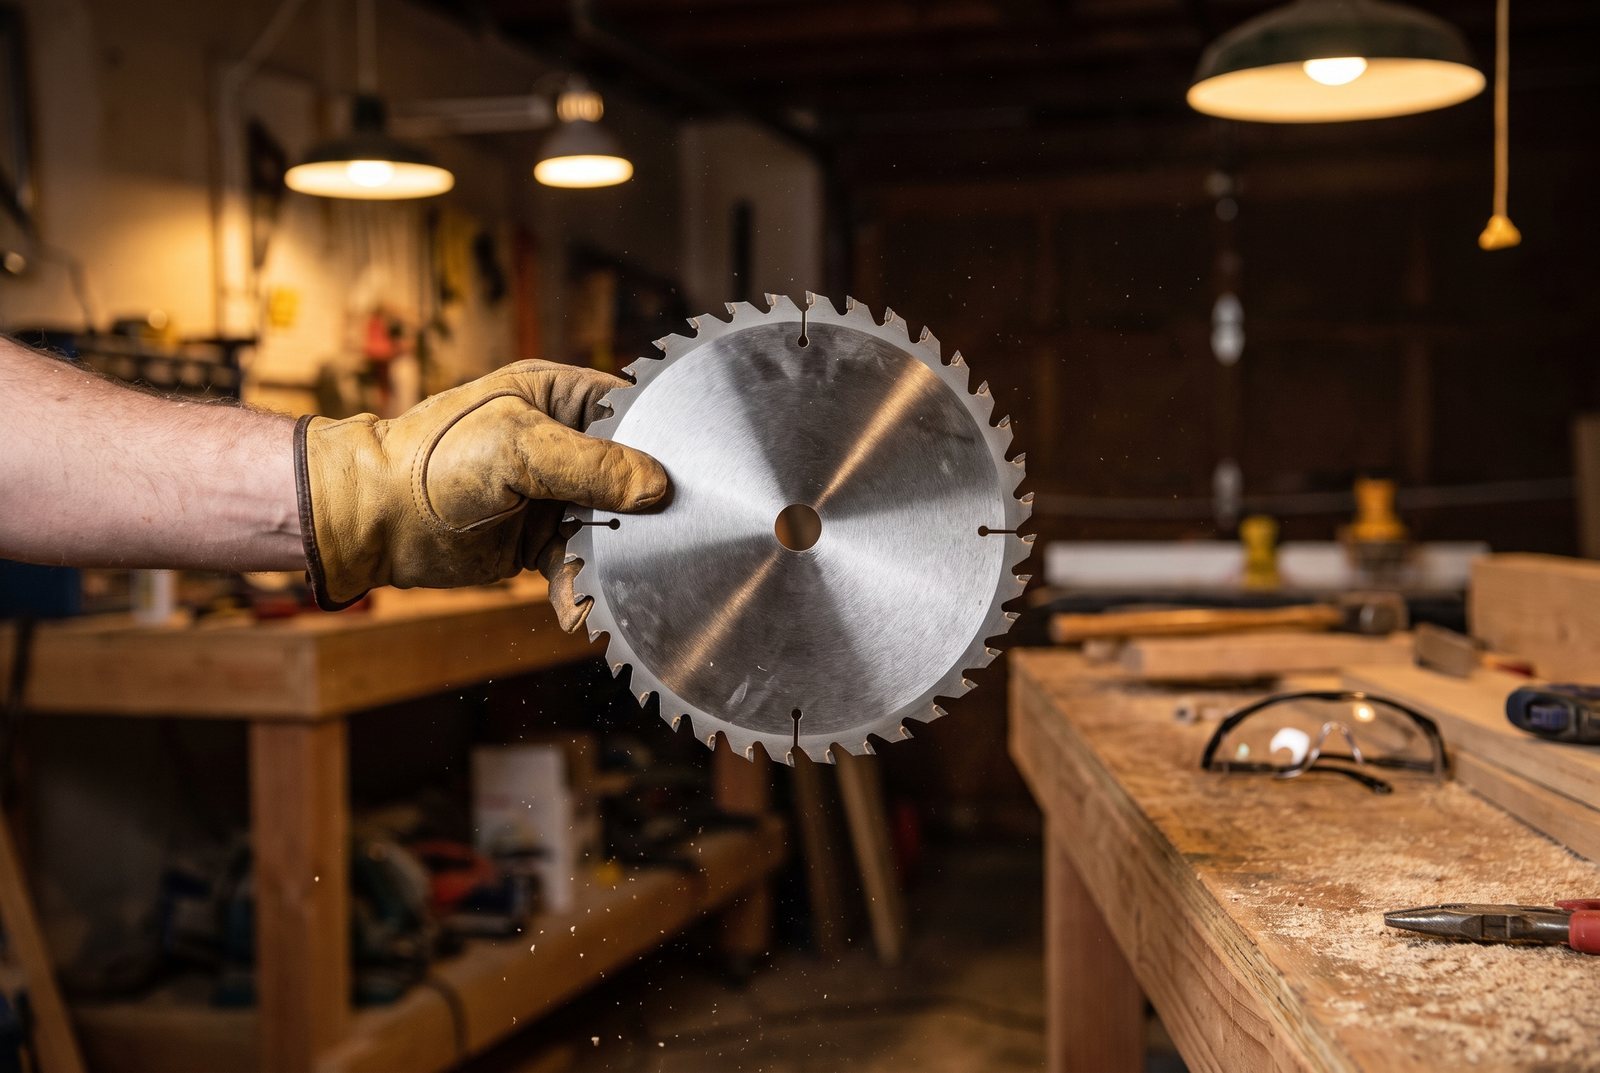
Kerf is the width of the slot the blade cuts. A full-kerf blade removes about 1/8 inch of material. A thin-kerf blade removes less than that.
Thin-kerf blades need less power to push through wood, which makes them a natural fit for cordless circular saws where every amp-hour counts. But there is a tradeoff. A thinner plate is more flexible, and in thick hardwood or long rip cuts, that flexibility can show up as a slight wobble or wave in the cut edge. If you have ever run a new thin-kerf blade through 3/4 inch oak and gotten a wavy edge that your old blade never produced, deflection is the likely cause.
For most corded saws cutting framing lumber or plywood, a full-kerf blade gives you a stiffer, more predictable cut. If you are running a cordless saw and cutting sheet goods or crosscutting dimensional lumber, thin kerf works well. Where it gets tricky is ripping thick hardwood on a cordless saw: you want the battery savings of thin kerf but the rigidity of full kerf. In that case, slow your feed rate and let the blade do the work, or switch to a corded saw for the heavy rips.
Hook angle: the number most people ignore
Hook angle describes how far forward or backward each tooth leans relative to the center of the blade. It is printed on most quality blades, usually somewhere between -5° and +20°.
A positive hook angle (+15° to +20°) means the teeth lean forward into the cut. The blade bites aggressively, pulls itself through the wood, and cuts fast. This is what you want for framing and ripping on a standard circular saw.
A low or negative hook angle (around -5°) means the teeth lean slightly backward. The blade is less aggressive, cuts slower, and is less likely to grab or climb the material. Miter saw blades often have a negative hook angle for exactly this reason: the blade is swinging down into the work, and you do not want it pulling the piece toward you. If you are cutting melamine or veneer plywood and getting chip-out on the face, a blade with a low hook angle reduces that tearing because it is not yanking the material into each tooth as hard.
Here is the practical point: if you bought a miter-saw blade (negative hook, high tooth count) and put it on your circular saw for framing work, it will cut painfully slowly and may burn the wood. The blade is not defective. It was designed for a different saw and a different motion.
Why your "upgraded" blade is cutting worse
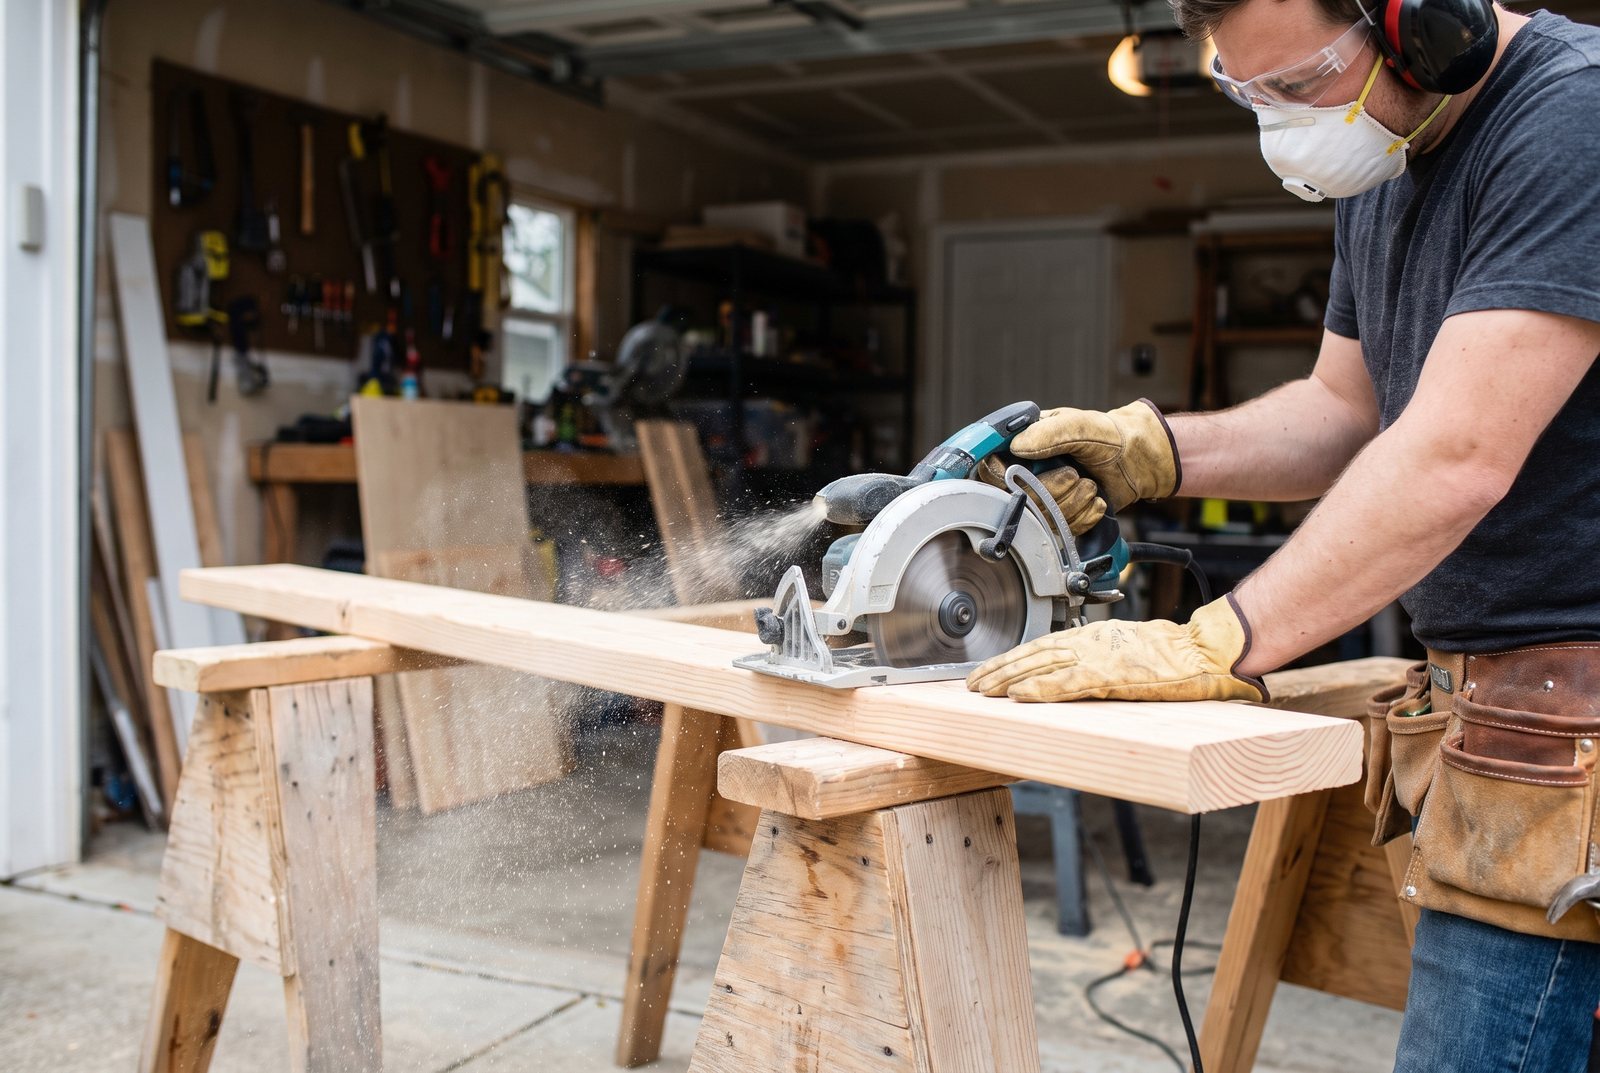
This is one of the most common frustrations we see. Someone replaces a worn 24-tooth blade with a brand-new 40-tooth or 60-tooth blade expecting cleaner cuts across the board, and instead gets burning, binding, or a rough edge. Here is what is usually happening:
Too many teeth for the cut. You grabbed a 60-tooth finishing blade to rip 2x lumber. The small gullets clog with sawdust, friction builds, and the wood scorches. Switch back to 24 teeth for framing and save the 60-tooth for trim and sheet goods.
Thin kerf on a powerful saw in thick stock. The blade flexes mid-cut, producing a wavy edge. A full-kerf blade, being stiffer, would track straighter.
Feed rate mismatch. High-tooth-count blades need a steady, moderate feed. Push too slowly and the teeth rub instead of cutting, which causes burning. Push too fast and the blade deflects. With a 24-tooth blade you can be less precise about speed because the big gullets are forgiving.
The blade is already gummed up. Pine and other softwoods deposit pitch and resin on the teeth surprisingly fast. Even a blade with only a few hours of use can perform like a dull one if the teeth are coated in sticky residue. A bottle of pitch and resin remover and a nylon brush will bring it back.
The blade is on backwards. It sounds too simple to be real, but it happens. The teeth should point upward at the front of the saw's shoe (the direction of rotation pushes them into the cut from below). A backward blade will spin, make noise, and produce smoke instead of sawdust.
Picking the right set of blades
Most DIYers do not need a drawer full of blades. Two covers nearly everything: a 24-tooth for framing and rough cuts, and a 40-tooth for plywood and general crosscuts. If you do trim work or cut veneer plywood and melamine, add a 60-tooth.
Buying a combo pack is the cheapest way to get there. A Diablo 3-pack (24T, 40T, 60T) runs roughly $30 to $40 at Home Depot. DeWalt sells a 2-pack (24T and 60T) at Lowe's for around $20 to $30. Either brand uses good carbide and coatings at this price point. Look for C4 micro-grain carbide or a TiCo (Titanium Cobalt) designation if you want longer edge life, and a non-stick coating to slow resin buildup.
Swapping blades takes about two minutes once you are used to it. Always disconnect the saw from power (or remove the battery) before you change a blade.
Getting straight cuts in plywood without a table saw
A lot of people ask whether a circular saw can handle full-sheet plywood cuts that would normally go on a table saw. It absolutely can, as long as you guide the saw in a straight line.
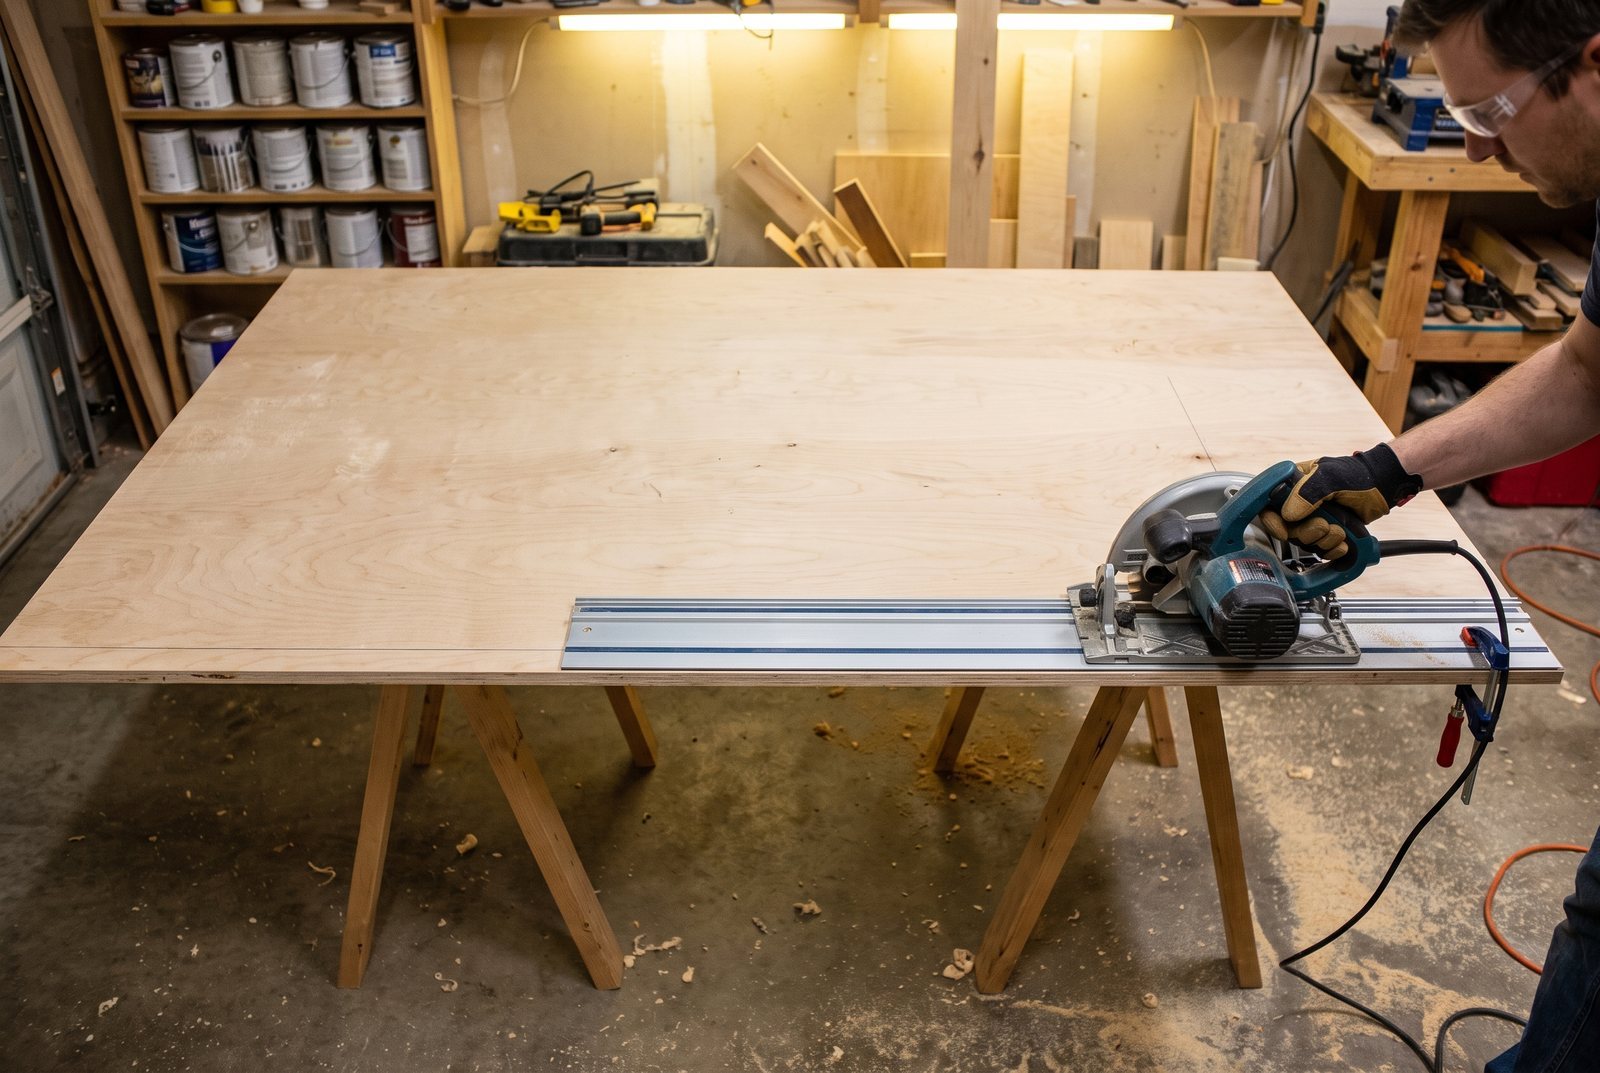
A simple track guide made from a strip of plywood does the job. You clamp it to the sheet, run the saw's shoe along the edge, and get a cut as straight as anything a table saw produces. You can find many project guides online for building a DIY circular saw track guide from a single sheet of plywood. It is a quick build and pays for itself the first time you break down a full sheet on sawhorses instead of wrestling it onto a table saw.
Pair that track guide with a 40-tooth blade and you can rip plywood cleanly for cabinets, shelving, or wall paneling. Indy Farm Life used exactly this kind of setup for their simple plywood garage cabinet, built with a circular saw and a brad nailer rather than a full shop's worth of stationary tools.
When supporting a full 4x8 sheet, lay it across three or four 2x4s on the ground or on sawhorses. Set your blade depth so the blade extends no more than 1/4 inch below the bottom face of the plywood. That shallow depth reduces tearout on the underside and keeps the blade from dragging through whatever is underneath.
Keeping blades sharp and clean
A clean blade cuts better than a dull expensive one. After every few projects (or sooner if you are cutting a lot of pine), soak the blade in a pitch and resin remover for 10 to 15 minutes, scrub the teeth with a nylon brush, and rinse. You will be surprised how much gunk comes off a blade that looks clean.
Inspect the carbide tips before each use. If a tooth is chipped or missing, replace the blade. A single damaged tooth throws the cut off balance and puts extra stress on the remaining teeth.
For inexpensive 24-tooth framing blades in the $10 to $15 range, replacing is almost always cheaper than professional sharpening. For a $30 finishing blade that still has good carbide, sharpening can be worthwhile, but only if you have a local sharpening service that does not charge more than half the cost of a new blade.
Quick answers
How many teeth should a circular saw blade have for plywood?
A 40-tooth blade is the standard choice for plywood and OSB. It gives a reasonably clean edge without cutting too slowly. For veneer-faced plywood where tearout is a concern, step up to 60 teeth.
Why does my new circular saw blade burn the wood?
Most likely the tooth count is too high for the material or the feed rate is too slow. High-tooth-count blades (60-80T) in thick lumber generate heat because the small gullets cannot clear sawdust fast enough. Switch to a lower tooth count for rough cuts, or check that the blade is not gummed up with resin.
Should I use thin kerf or full kerf blades?
Thin kerf saves battery life on cordless saws and works well for sheet goods and crosscuts. Full kerf is stiffer and tracks straighter in thick stock, making it the better choice for long rip cuts and corded saws. If your cuts are coming out wavy, blade deflection from a thin-kerf blade in thick material is a common cause.
Can I use a circular saw instead of a table saw for big plywood cuts?
Yes. Clamp a straight-edge guide or shop-made track to the plywood, set your blade depth to just past the sheet thickness, and use a 40-tooth blade. The results are comparable to a table saw for most DIY projects.
Projects in this post
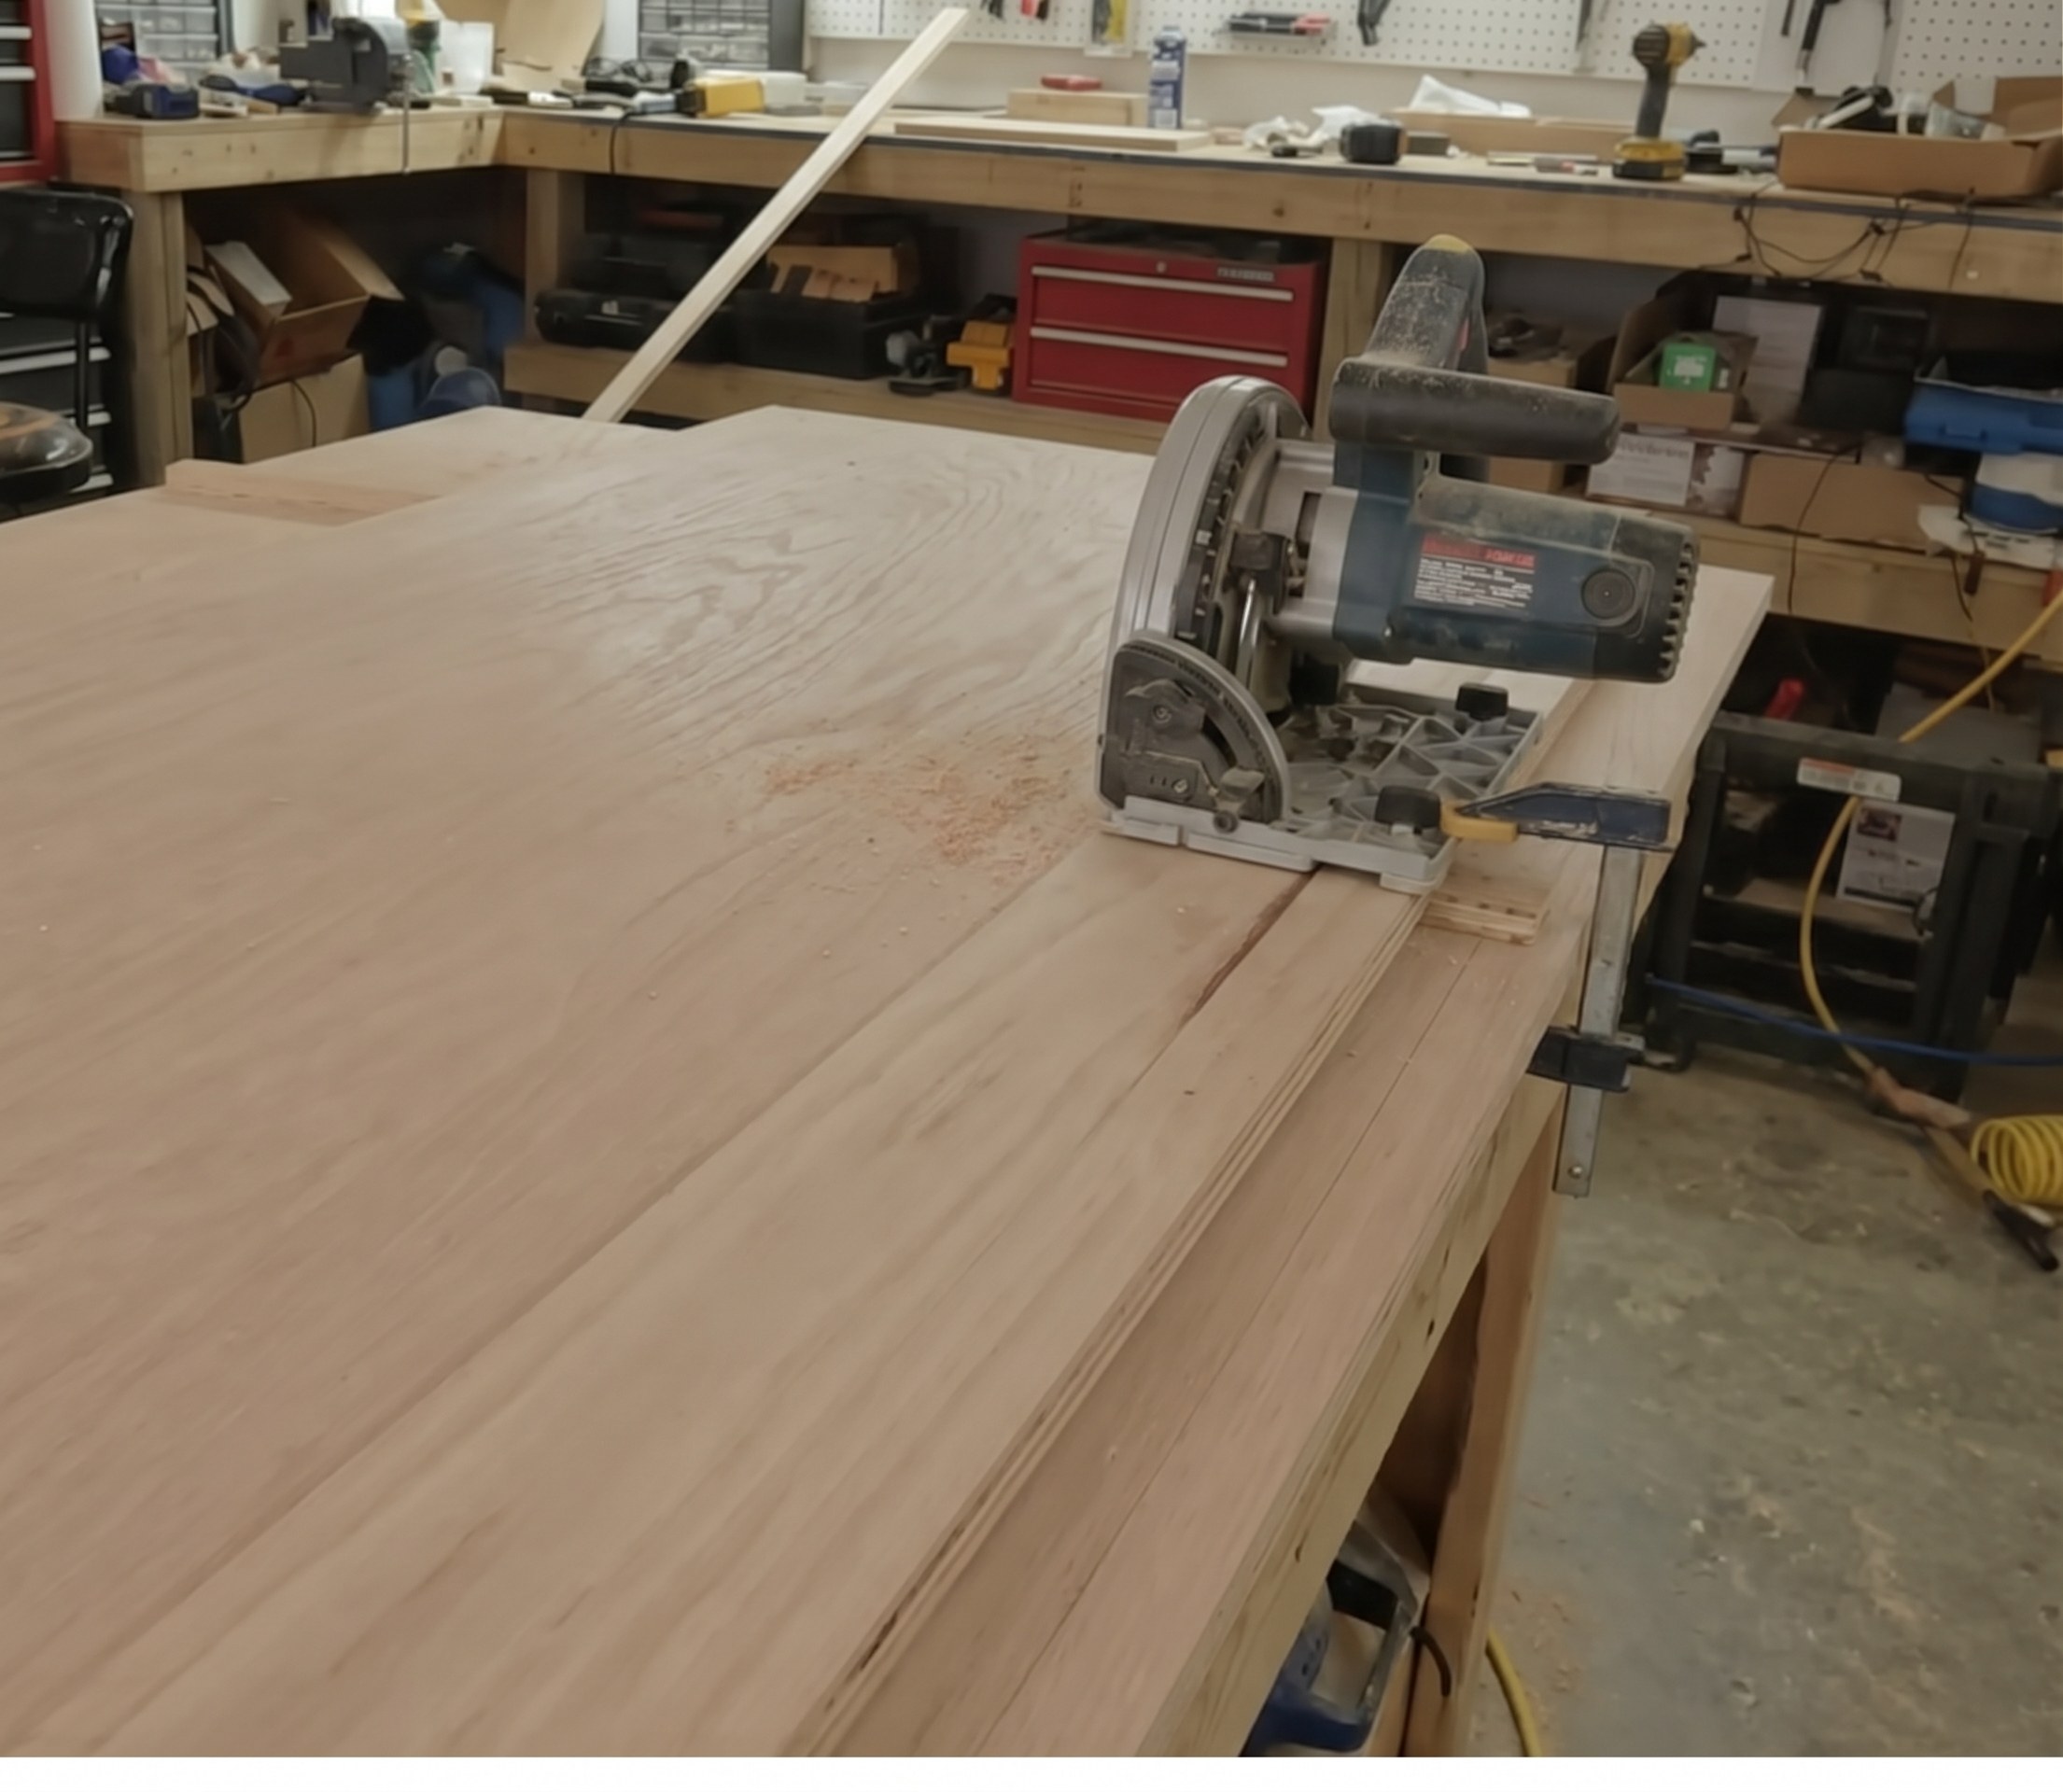
DIY Circular Saw Track Guide
by Indy Farm Life
Open the project guide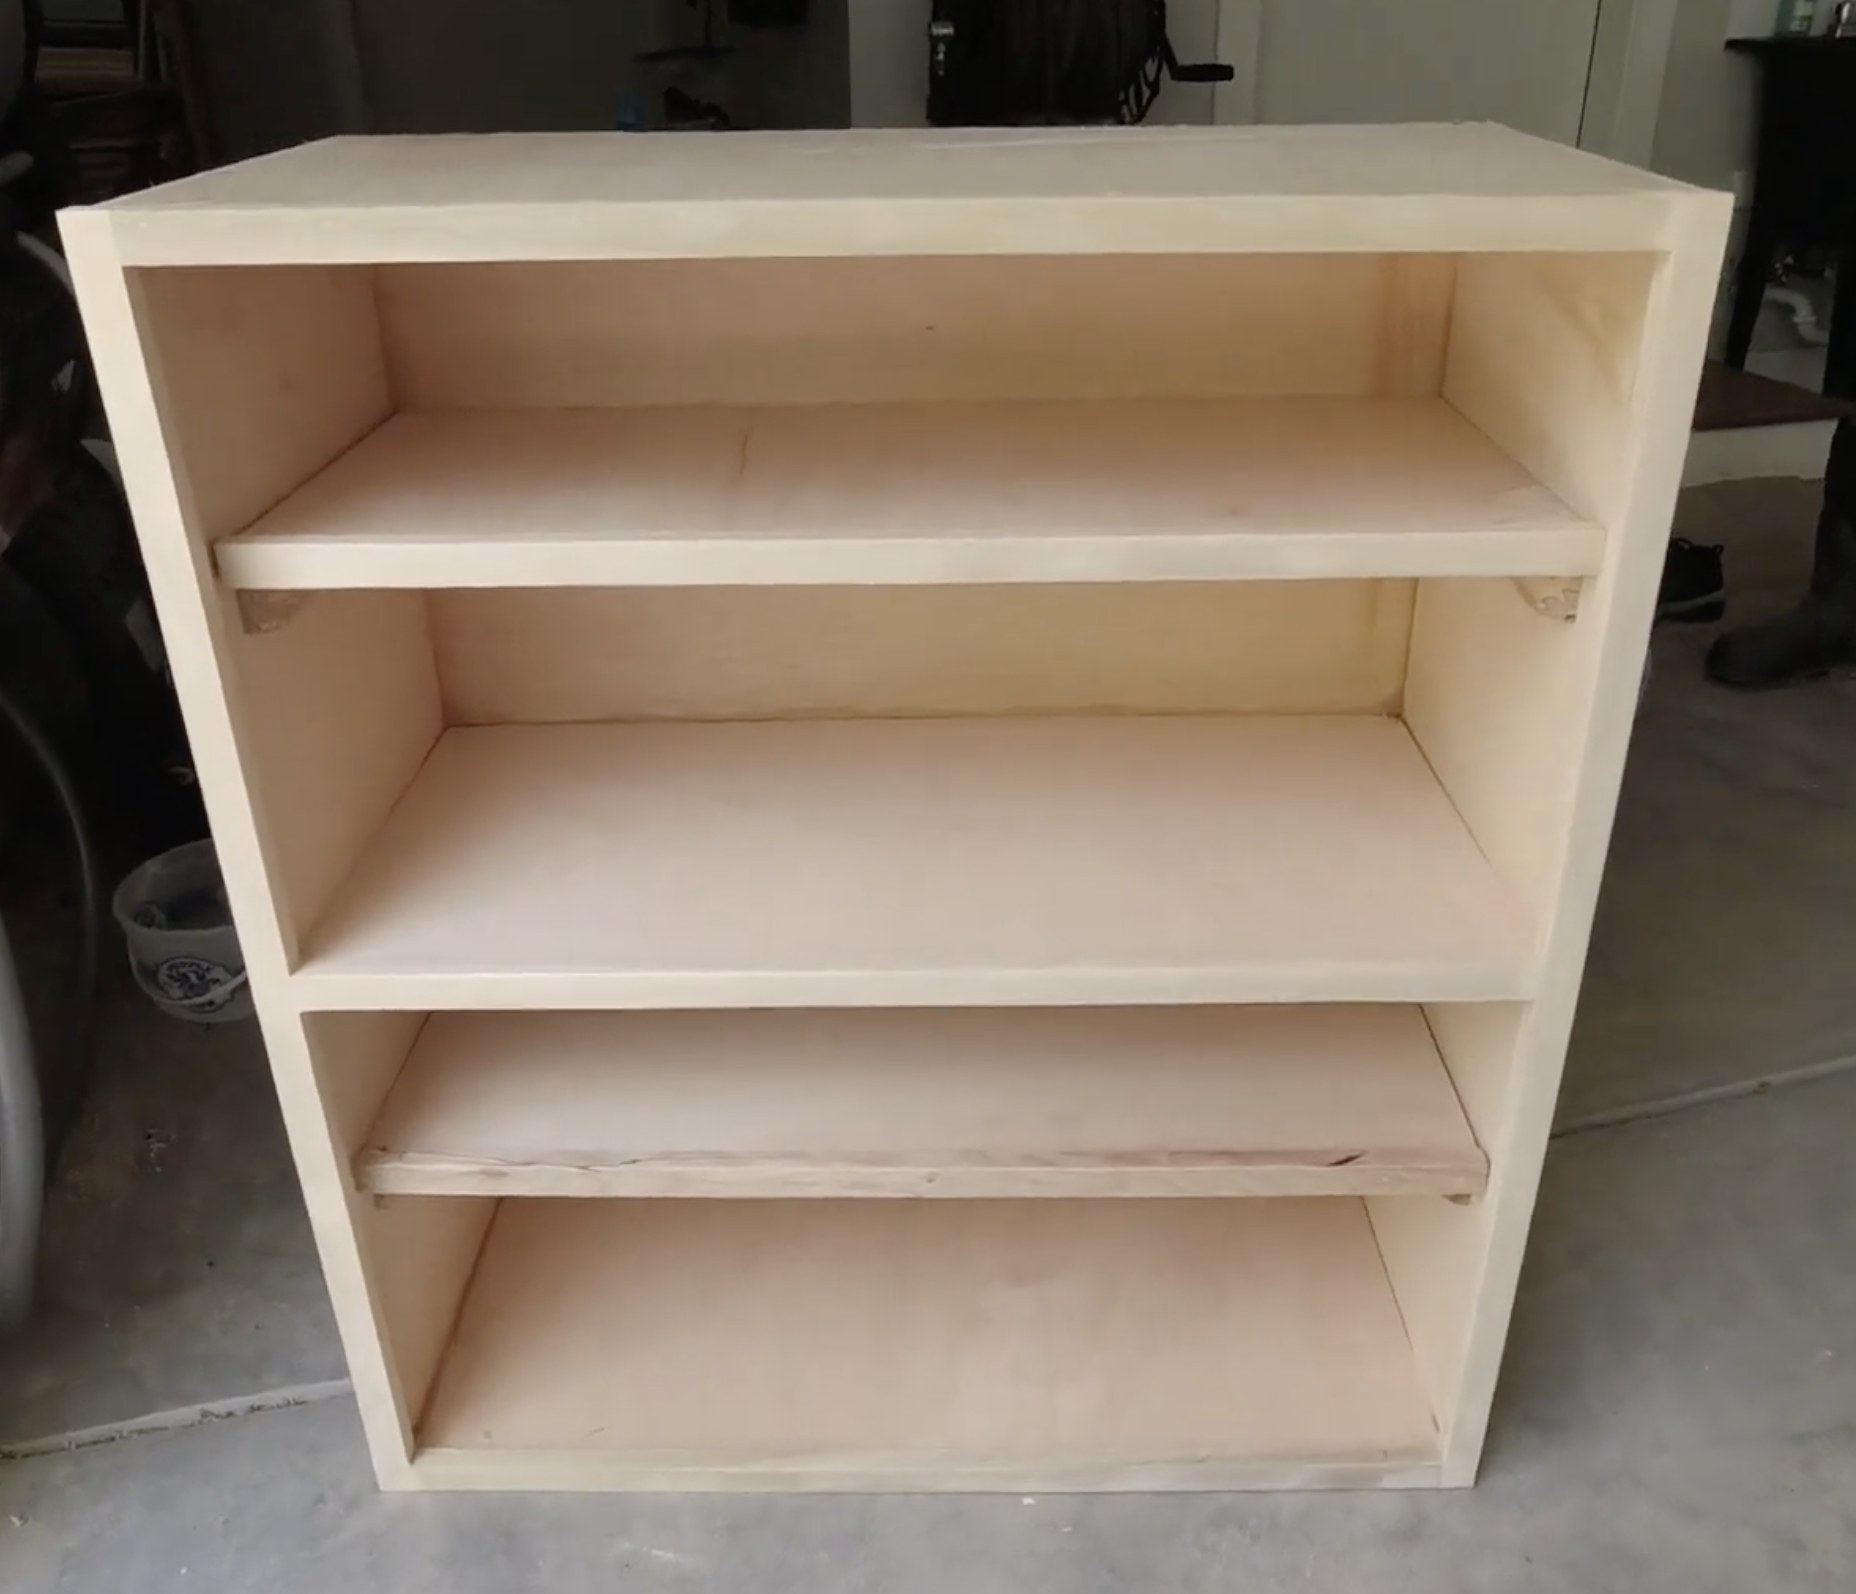
Simple Plywood Garage Cabinet
by Indy Farm Life
Open the project guideKeep reading
All posts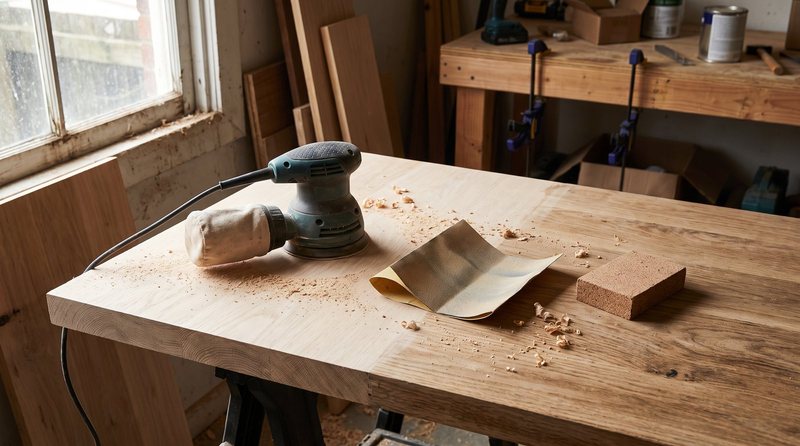
Orbital Sander vs Hand Sanding: When to Use Which
A scenario-by-scenario look at when to use an orbital sander and when hand sanding works better, covering flat surfaces, curves, edges, and more.
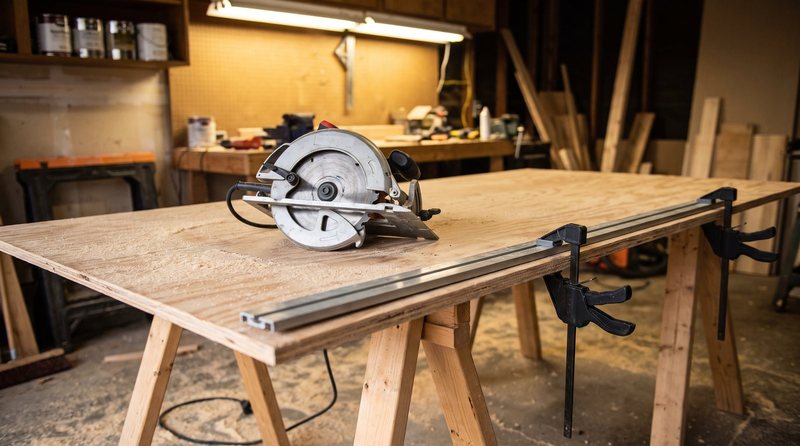
Do You Really Need a Table Saw? What You Can Build Without One
A practical guide mapping common DIY projects to the tools that can substitute for a table saw, so you know when to invest and when to work around it.
How to Build a Plywood Garage Cabinet with a Circular Saw
A simple 3/4" plywood garage cabinet built with a circular saw and brad nailer. Covers plywood choice, cost, assembly, and tips for beginners.