CA Glue vs Wood Glue for Furniture Repairs: When to Use Each
CA glue handles hairline cracks and quick fixes. PVA wood glue belongs on structural joints. Here is how to pick the right one for your furniture repair.
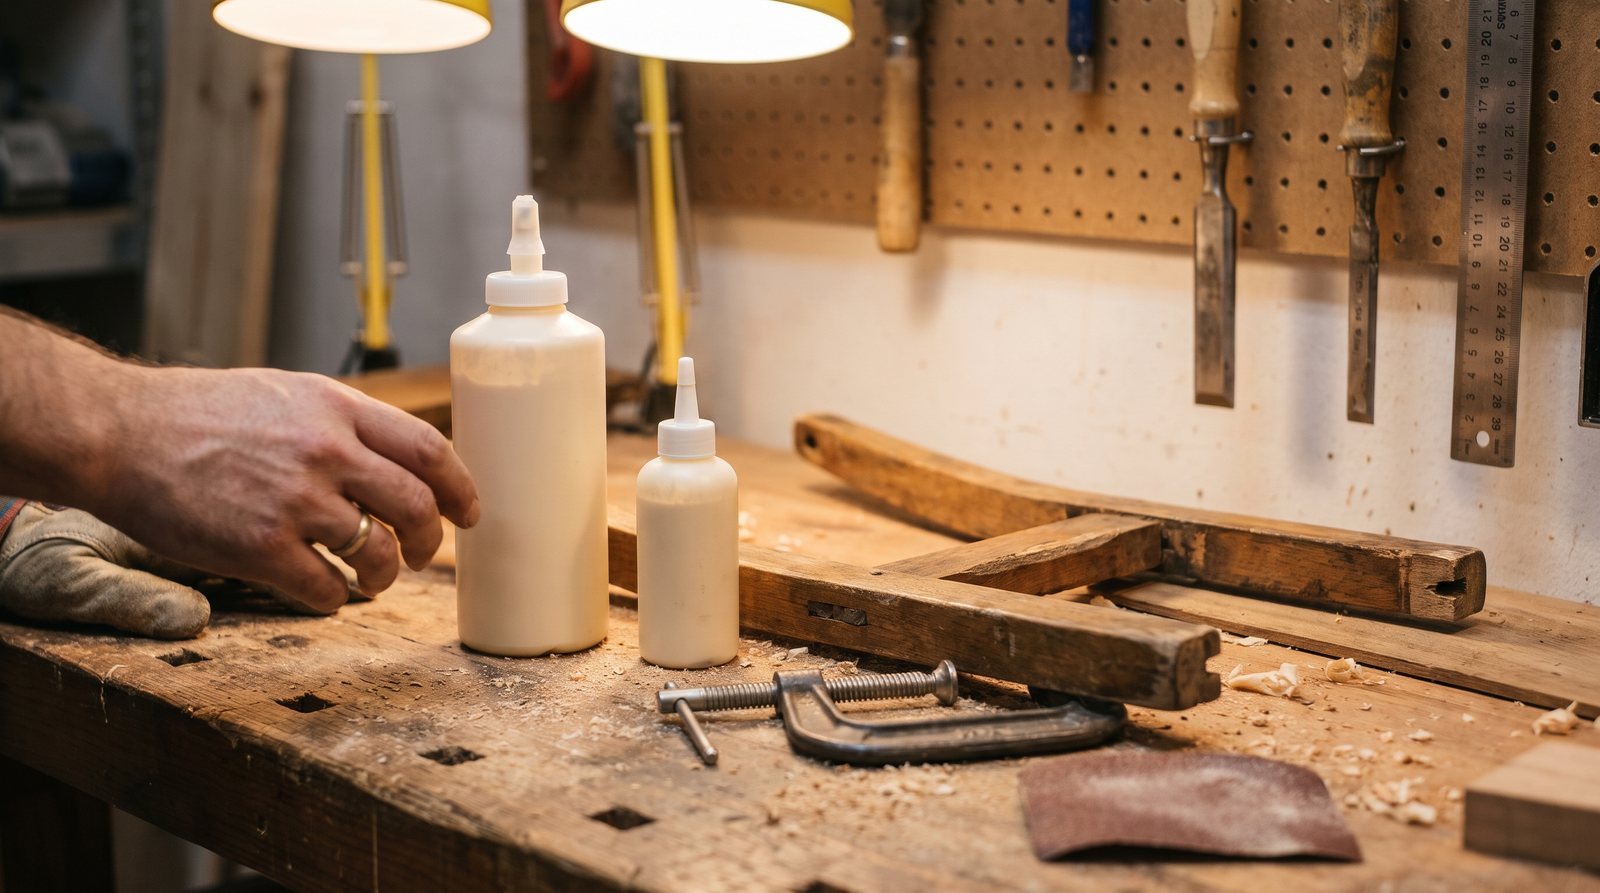
If you are staring at a cracked chair rail or a wobbly table leg and wondering which bottle to grab, here is the short answer: use CA (cyanoacrylate) glue for small, non-structural cracks where clamping is impractical, and use PVA wood glue for any joint that carries weight or resists racking. The rest of this guide explains exactly where the line falls, what happens when you pick wrong, and how some restorers use both glues on the same repair.
What each glue actually does inside the wood
PVA wood glue is water-based. When you spread it on a joint and clamp, the water soaks into the wood fibers on both sides. As it dries, the polymer chains interlock with those fibers, creating a bond that is often stronger than the wood itself. That penetration is why PVA needs raw wood, tight-fitting surfaces, and time under clamp pressure.
CA glue works differently. It polymerizes on contact with trace moisture on the surface, hardening in seconds. Thin CA (around 2-5 cPs viscosity) wicks into hairline cracks by capillary action, reaching places a thicker adhesive never could. But because it cures so fast, it does not soak deep into the grain the way PVA does. The resulting bond is hard and rigid rather than flexible.
That rigidity is the key difference. A dining chair joint flexes every time someone sits down, leans back, or scoots across the floor. PVA handles those racking forces because it has better shear strength and some give. CA glue is brittle under shear. If you used an accelerator to speed the cure, the shear strength of the CA bond can drop from the 2,800-3,500 PSI range down to 1,800-2,400 PSI. On a joint that moves, that brittleness will eventually crack.
When CA glue is the right call
Reach for CA glue when the repair is cosmetic or when the crack is too tight for PVA to enter. Specific situations:
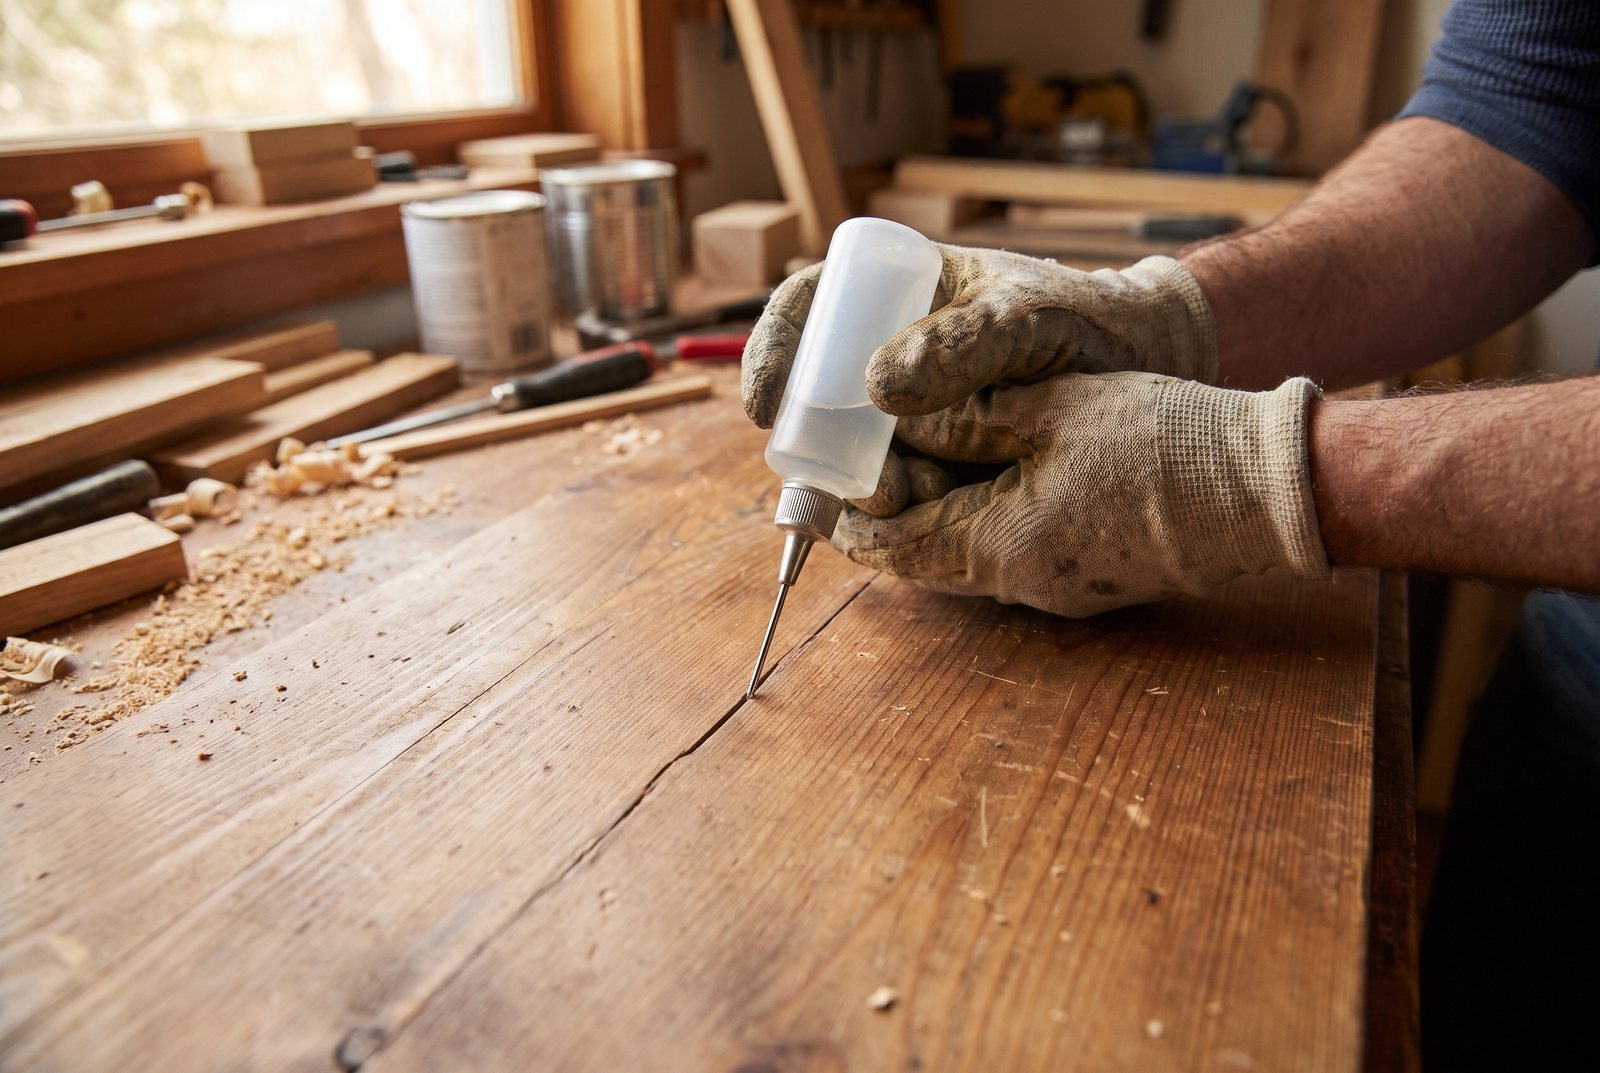
- Hairline cracks in a tabletop or panel. Thin CA wicks into cracks that are barely visible. Apply a few drops along the crack, let capillary action pull it in, then sand flush after 24 hours of full cure.
- Stabilizing punky or soft grain around a damaged area before you reshape or sand it.
- Small chips and fills. Medium viscosity CA (around 150 cPs) can fill gaps up to about 0.15 mm. Thick or gel CA (around 2,000 cPs) handles gaps from 0.25 mm up to roughly 0.5 mm without running, and some thick formulas can bridge gaps up to 3 mm.
- Repairs on finished surfaces where stripping the finish is not practical. Lightly sand the area with 220-grit to give the CA something to grip.
CA glue also shines when you simply cannot clamp. A split in the middle of a panel, a loose inlay, a small veneer bubble: these are all spots where the 2-60 second set time of CA replaces clamp pressure you could not apply anyway.
One safety note: CA vapors irritate eyes and lungs, so work in a ventilated space. Skip cotton and rubber gloves. They can react with the glue and bond to your skin. Use polyethylene gloves instead. For more on protective gear for woodworking tasks, see our guide on safety gear for DIY woodworking.
When PVA wood glue is the only real option
Any joint that bears load or resists movement needs PVA. Chair legs, table aprons, stretchers, drawer fronts reglued to dovetails, bookcase shelves in dado joints. PVA's shear strength and flexibility make it the standard for structural furniture work, and it has been for decades.
For maximum strength, the gap between mating surfaces should be between 0.002" and 0.006" (roughly 0.05-0.15 mm). Once a gap exceeds about 0.5 mm, you can lose more than half the joint's potential strength. PVA is not a gap-filler. If your joint is sloppy, fix the fit first.
Surface prep matters. A quick pass with 120-150 grit sandpaper gives the glue enough tooth without crushing fibers. Going coarser than 100 grit can actually damage the wood surface and weaken the bond. And PVA must contact raw wood. It will fail on sealed, painted, or previously finished surfaces. Sand or scrape away any old finish before you glue. If you are prepping old furniture for a new finish, our post on TSP alternatives, sanding, and deglosser covers the full process.
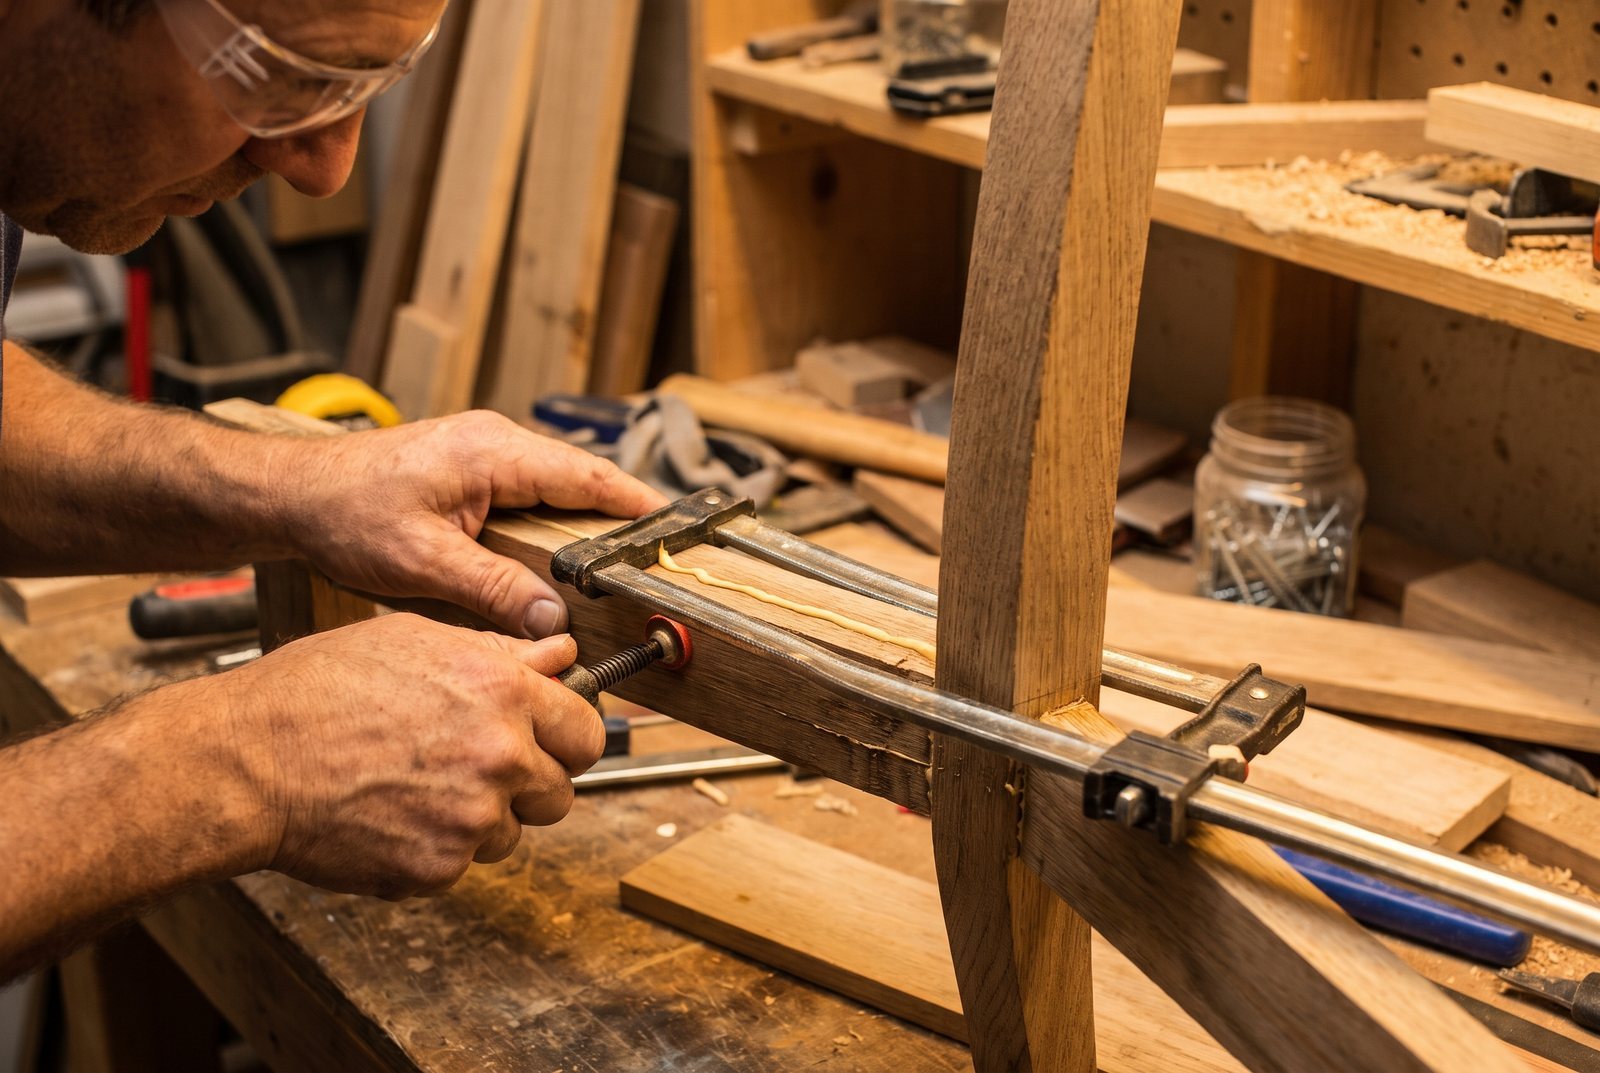
Clamping and timing. PVA gives you 5-15 minutes of open time before it starts to skin over. Clamp for 20-60 minutes on unstressed joints, and wait a full 24 hours before putting the piece back into service. One common mistake is over-clamping: squeezing so hard that you starve the joint of glue. Aim for a small, consistent bead of squeeze-out along the joint line. That tells you there is enough adhesive inside.
Temperature matters too. Do not apply PVA below 45-55°F. Below that threshold, the glue will not film properly and you will get a weak, chalky bond that crumbles.
The combo trick: CA as a clamp, PVA for strength
Many furniture restorers use both glues on the same joint, and it works well. The method: apply PVA to both mating surfaces of the joint, then put a few small dabs of CA glue on one surface (away from the PVA), press the pieces together, and hold for a few seconds. The CA sets instantly and acts as a temporary clamp, holding everything in alignment while the PVA cures over the next 24 hours.
This is especially useful on odd-shaped pieces where clamping is awkward, like a curved chair back or an angled brace. The long-term strength comes from the PVA; the CA is just there to hold things still.
Dealing with old, failed glue repairs
If your furniture has old, sticky, or crusty repairs, you need to remove that old adhesive before either glue will bond properly. Old hide glue softens with warm water and a rag. Old PVA can be softened with heat (a heat gun on low) or scraped off mechanically. Old CA glue is harder to remove; acetone will soften it, but be careful around finishes.
The goal is bare, clean wood on both surfaces. Any film of old adhesive left behind is a weak layer that your new glue will bond to instead of the wood itself.
Black Sheep House demonstrates solid furniture repair technique in their faux walnut dresser refinishing project, where repairing damage to the piece comes before any finishing work. Getting the structure sound first, then worrying about appearance, is always the right order of operations.
Cost and coverage comparison
For small repairs, cost barely matters. A 2 oz bottle of thin CA glue runs roughly $9.50-$16.50, and that bottle will handle dozens of crack repairs. But if you are regluing every joint on a dining set, PVA is dramatically cheaper. A gallon of Titebond Original is around $22 and covers approximately 200-250 square feet. A gallon of CA glue would cost roughly ten times more for the same coverage.
| CA Glue | PVA Wood Glue | |
|---|---|---|
| Best for | Hairline cracks, small fills, quick fixes | Structural joints, large glue-ups |
| Set time | 2-60 seconds | 20-60 min clamp time |
| Full cure | 24 hours | 24 hours |
| Tensile strength | 3,000-5,000 PSI | 3,600-4,000 PSI |
| Shear strength | Lower, brittle | Higher, flexible |
| Max gap (effective) | Up to 0.5 mm (gel), some up to 3 mm | 0.05-0.15 mm ideal |
| Min temp | Wide range | 45-55°F |
| Typical price | ~$9.50-$16.50 / 2 oz | ~$22 / gallon |
For most home furniture repairs, keeping one bottle of thin CA, one bottle of medium or gel CA, and a 16 oz bottle of PVA wood glue covers nearly everything you will encounter.
How long to wait before sanding or finishing
Both glues reach full cure in about 24 hours. With CA glue, you can sand the repair area after that cure period using progressively finer grits. Thin CA soaks in and leaves little surface residue, so sanding is often minimal. Gel CA may leave a visible film that needs to be leveled.
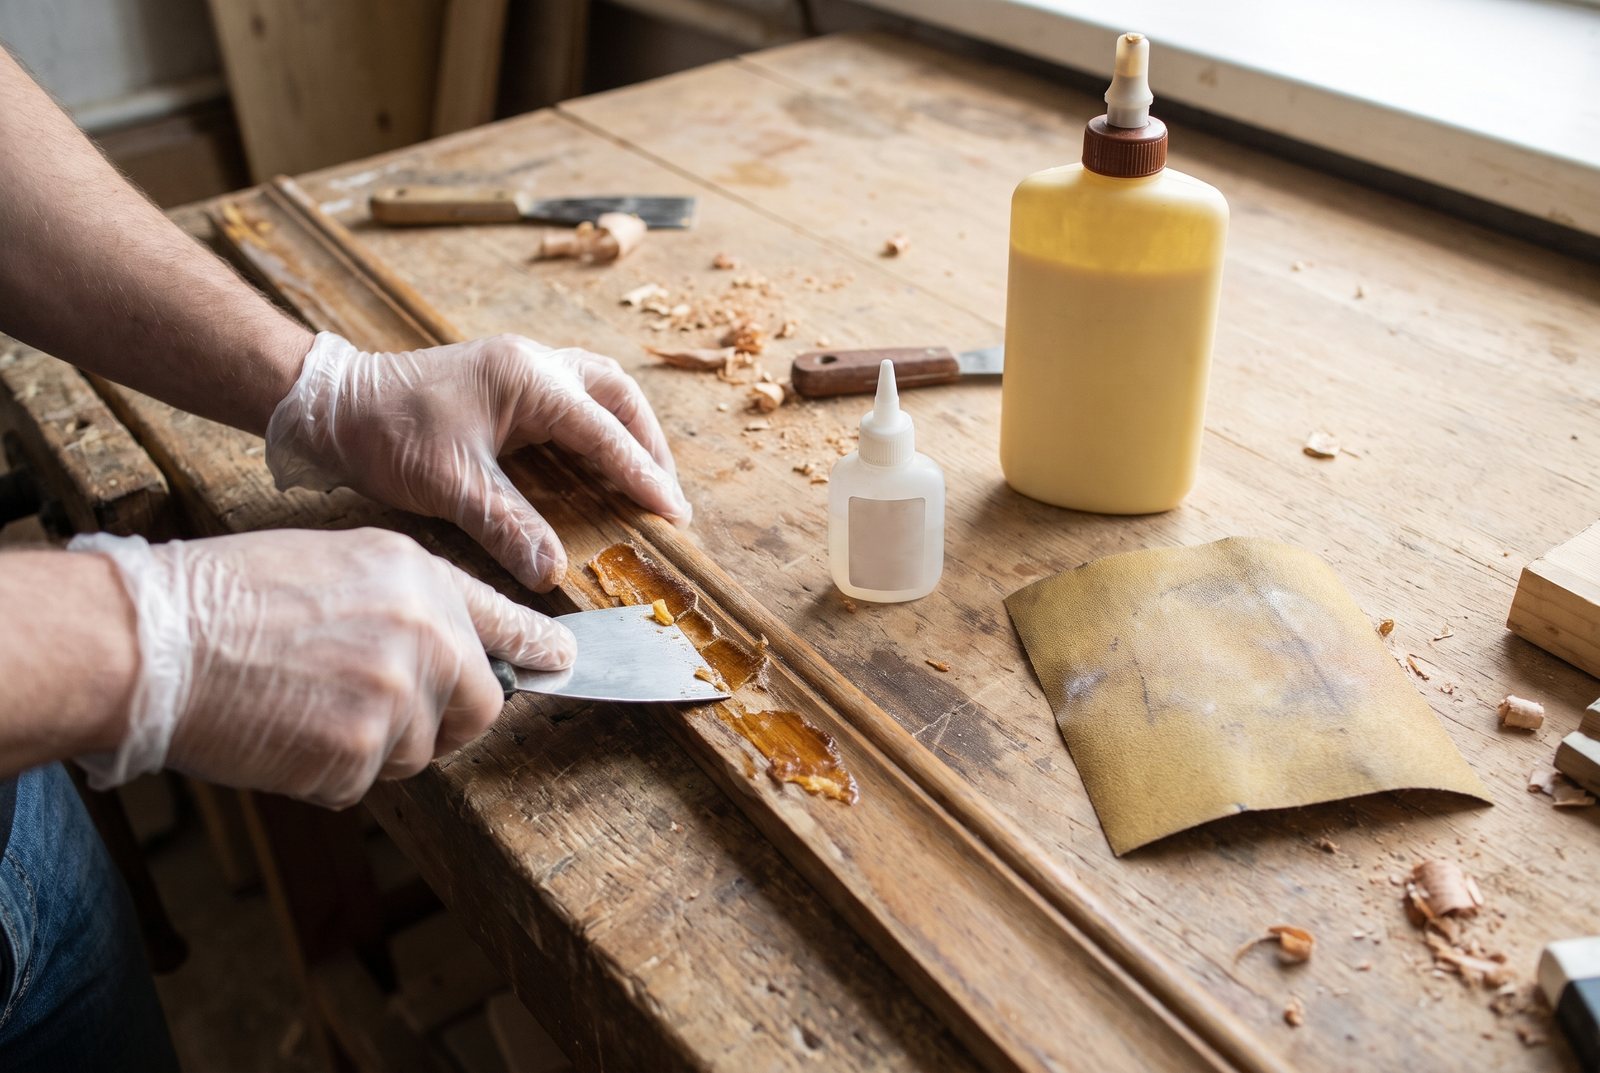
With PVA, do not wipe wet squeeze-out with a damp rag. That smears diluted glue into the grain and creates a blotchy spot that rejects stain. Instead, let the squeeze-out dry to a rubbery consistency (usually 20-30 minutes depending on conditions), then peel or scrape it off with a chisel or putty knife. Sand the area lightly afterward. If you plan to stain, check for any glue residue by wiping with mineral spirits first. Residue will show as a shiny spot.
For guidance on what to do after the repair is solid, including choosing a finish that will not yellow over time, see our post on clear wood finishes that won't darken your wood.
Quick answers
Can I use CA glue instead of wood glue on a chair leg joint?
Not for a lasting repair. CA glue is brittle and has low shear strength, so it will eventually fail under the racking forces a chair joint endures daily. Use PVA wood glue with proper clamping for any weight-bearing furniture joint.
How long should I let wood glue dry before sanding the joint?
Wait the full 24-hour cure time before sanding or putting stress on the joint. You can scrape off rubbery squeeze-out after about 20-30 minutes, but the bond is not at full strength until the next day.
Is it okay to use both CA glue and wood glue on the same repair?
Yes. Many restorers apply PVA for long-term strength and use a few dabs of CA glue to hold the pieces in alignment while the PVA cures. The CA acts as an instant clamp, not the structural bond.
What glue should I use to fix a hairline crack in a tabletop?
Thin CA glue (2-5 cPs viscosity). It wicks into cracks by capillary action, bonding surfaces that are too tight for any other adhesive to reach. Let it cure 24 hours, then sand flush.
The project in this post
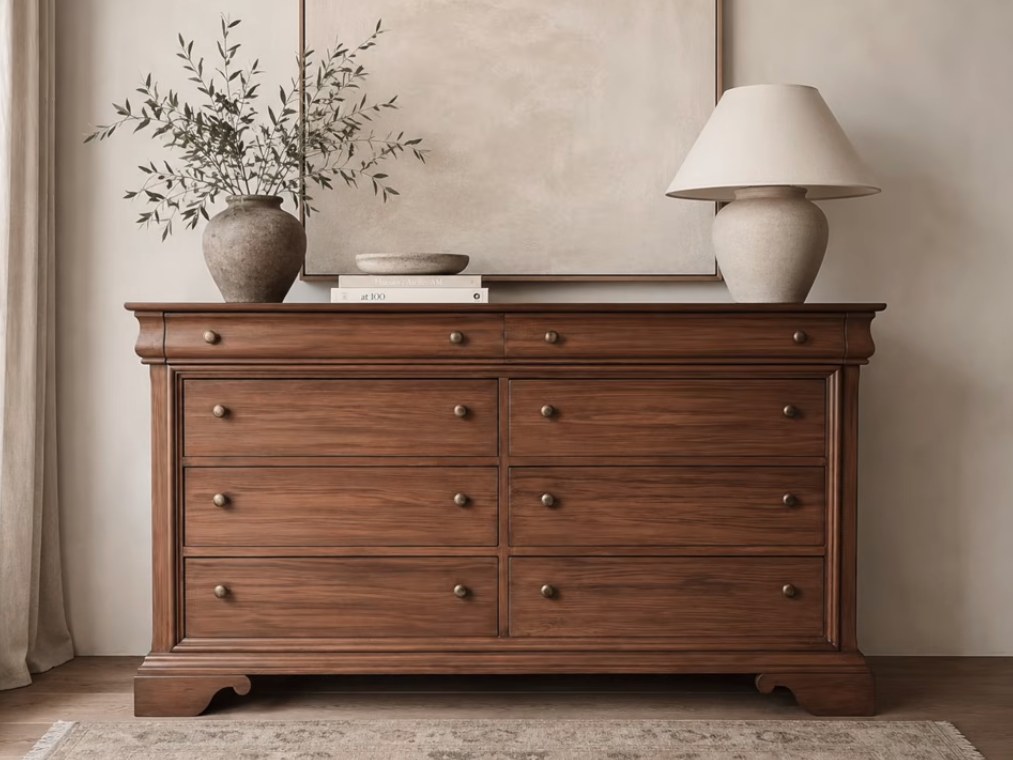
Faux Walnut Dresser Refinishing
by Black Sheep House
Open the project guideKeep reading
All posts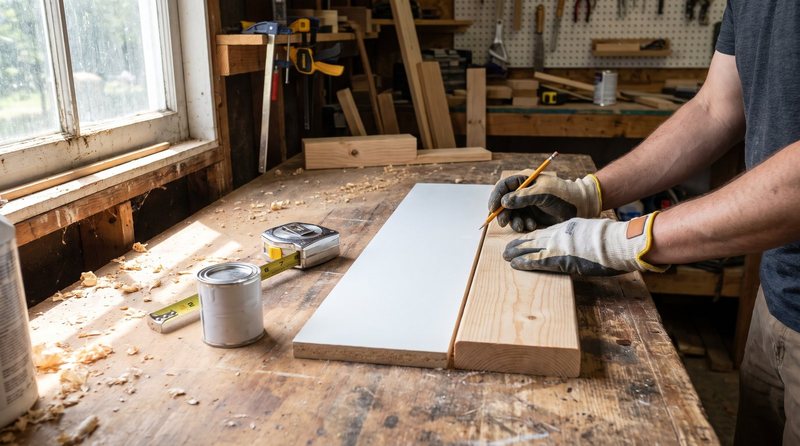
MDF vs Pine for Trim, Wainscoting, and Board and Batten
MDF and pine are both used for interior trim and paneling, but they behave differently around moisture, paint, and fasteners. Here is how to pick the right one.
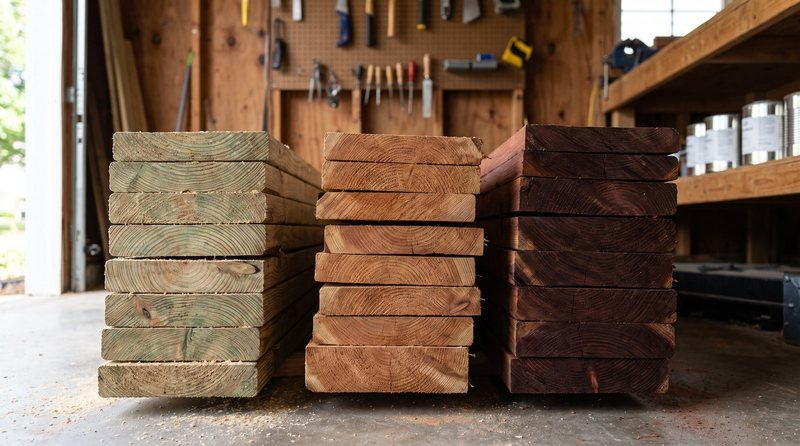
Cedar vs Pressure-Treated Pine vs Redwood for Outdoor Projects
Comparing cedar, pressure-treated pine, and redwood for fences, planters, and raised beds. Covers cost, durability, workability, and looks.
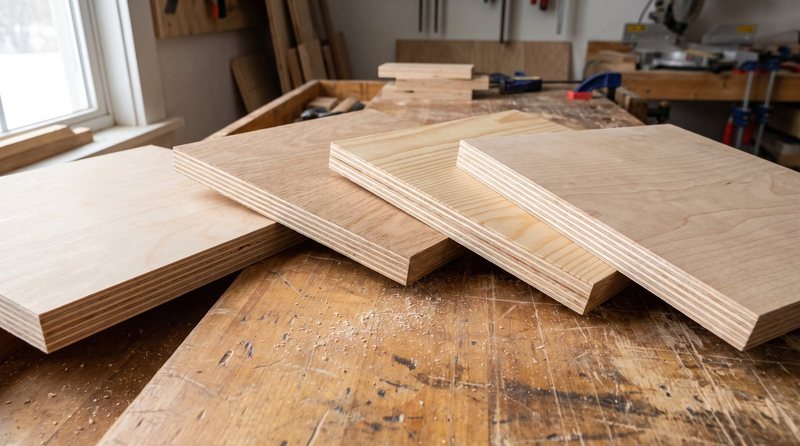
3/4-Inch Plywood for Cabinets and Shelves: Which Grade to Buy
Pine, birch, maple, or MDF core? Compare 3/4-inch plywood types by price, durability, and finish quality to pick the right sheet for your project.