TSP Alternatives, Sanding, and Deglosser for Furniture Prep
Compare three ways to prep furniture before painting: TSP wash, sanding, and liquid deglosser. Find the right method and avoid peeling paint.
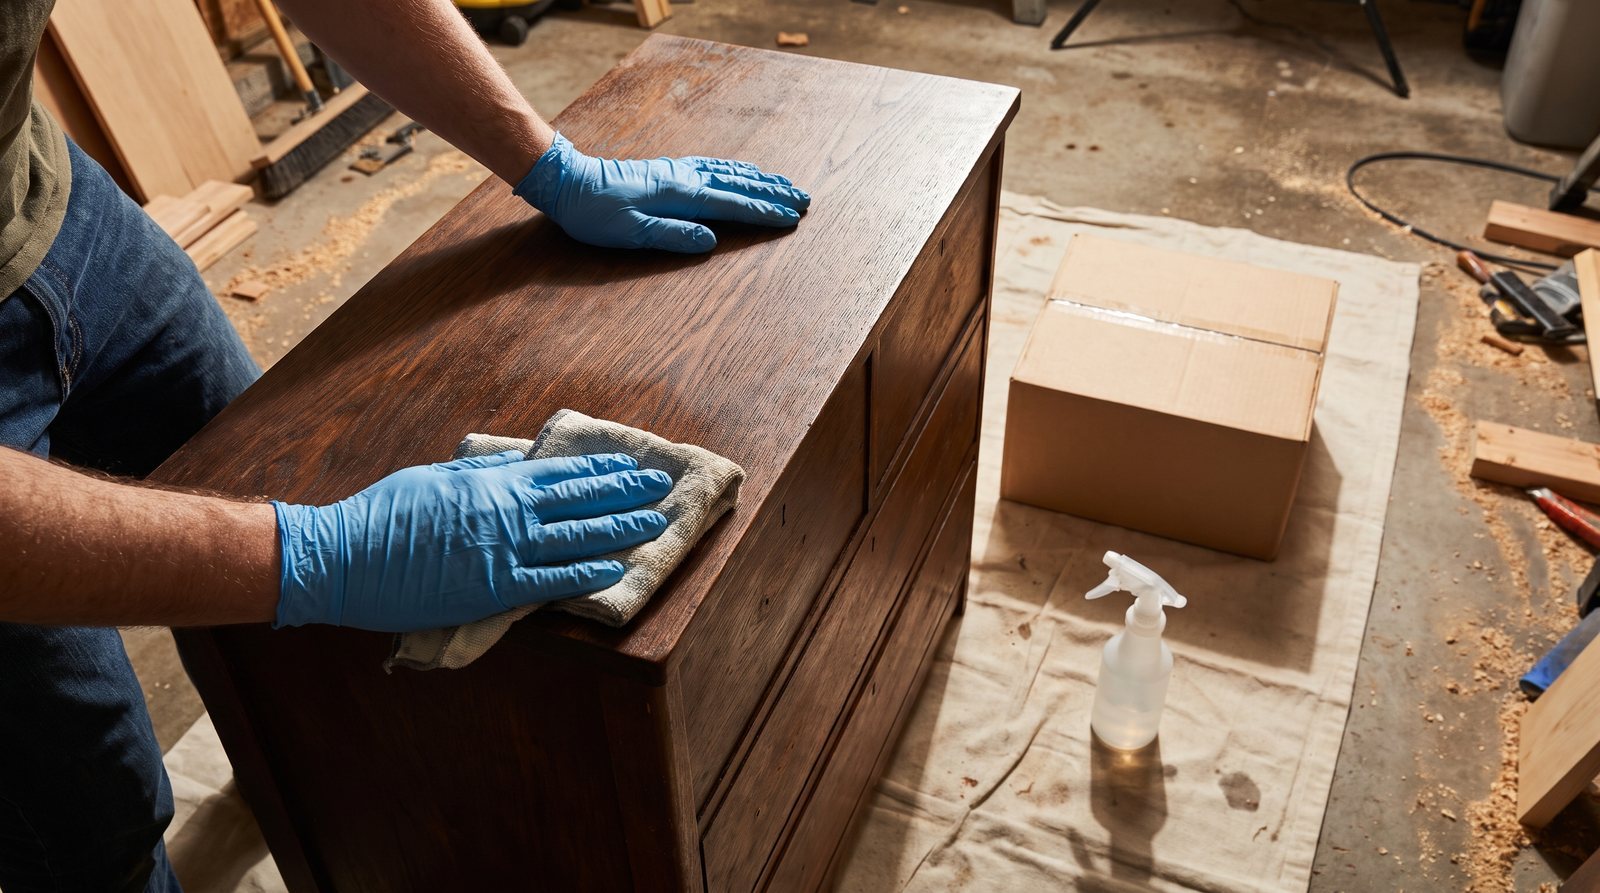
Every painted furniture project lives or dies in the prep. The finish coat gets the attention, but the cleaning and scuffing you do beforehand determines whether that paint is still holding a year from now. This guide compares the three methods most DIYers reach for (a TSP or TSP-alternative wash, sanding, and liquid deglosser), explains what each one actually does, and helps you pick the right combination for the piece sitting in your garage.
What TSP alternatives are and why they matter
Trisodium phosphate is a strong alkaline cleaner (pH around 12) that cuts through grease, old wax, and grime while lightly etching the surface. It works well. The problem is the phosphate. Phosphate runoff feeds algae blooms in waterways, starving them of oxygen, and several US states now ban or restrict phosphate-based cleaners. That is why most boxes labeled "TSP" on the shelf today are actually phosphate-free substitutes.
A TSP alternative gives you similar heavy-duty cleaning power without the environmental damage. The active ingredient in most of them is sodium carbonate (soda ash) or sodium metasilicate, both alkaline salts that dissolve grease effectively. Savogran TSP/PF Phosphate-Free (about $4.48 for a 1 lb. box at The Home Depot) and Sunnyside TSP Substitute (around $4.98 at Lowe's) are the two you will see most often. For lighter jobs, Simple Green All-Purpose Cleaner (about $4.97 for a 32 oz. spray) is a biodegradable, non-toxic option that many furniture painters keep on hand.
The key thing to understand: a TSP or TSP-alternative wash is a cleaner, not a primer or a scuffing agent. It removes the invisible film of cooking grease, hand oils, and silicone furniture polish that sits on the surface and causes paint to bead up or peel. Cleaning is step one regardless of which prep path you take next.
When sanding is the right call
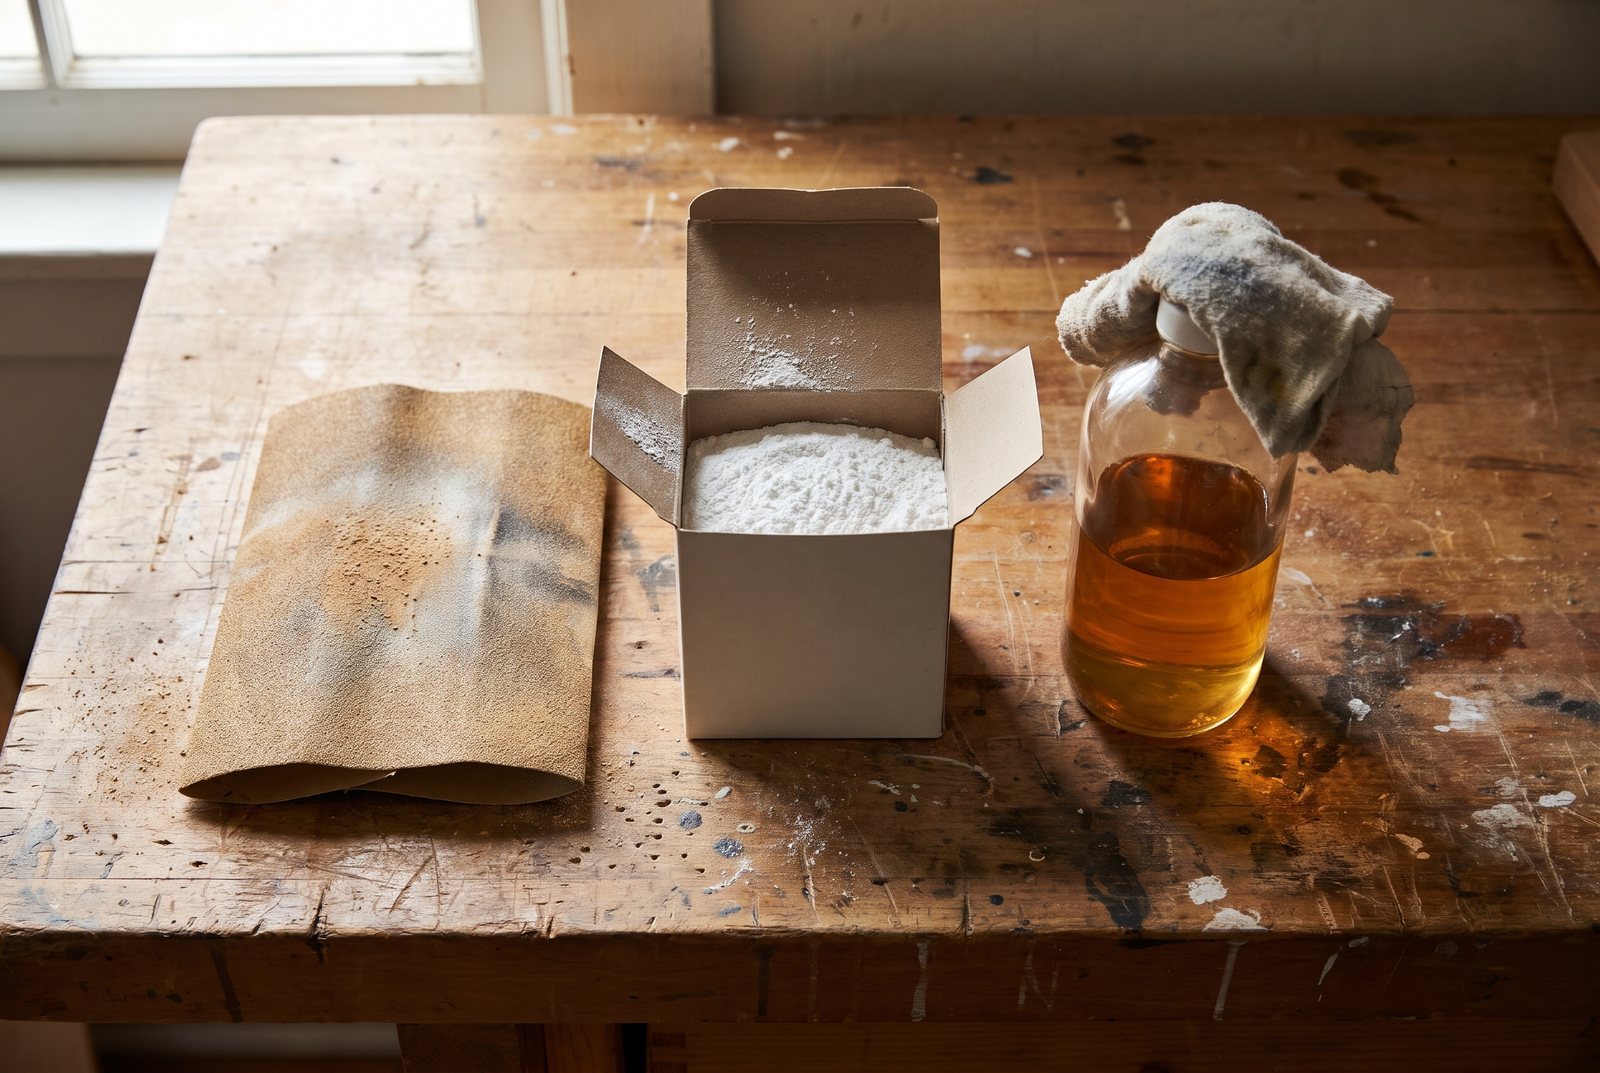
Sanding does two things no chemical can fully replicate. It creates a physical "tooth," thousands of tiny scratches that give paint something to grip, and it levels imperfections like drips, ridges, or flaking finish. If your piece has a thick, glossy factory lacquer, heavy damage, or an old finish that is chipping, sanding is the most reliable prep.
You do not need to strip the piece to bare wood unless the old finish is failing everywhere. For most repaint jobs, a light scuff with 150 to 220 grit sandpaper is enough. The goal is a uniformly dull surface, not raw wood. Sand with the grain, always. Cross-grain scratches telegraph through paint and look terrible.
Grit selection matters. Here is a quick reference:
| Grit Range | Use |
|---|---|
| 60-80 (coarse) | Removing thick, failing paint or varnish |
| 100-150 (medium) | General smoothing, shaping repairs, scuffing a sound finish |
| 180-220 (fine) | Final scuff before painting, sanding between coats |
| 320-400 (very fine) | Smoothing between topcoat layers for a glass-like finish |
A common mistake is jumping from 80 grit straight to 220. The fine paper cannot erase the deep scratches left by the coarse paper, so you end up with visible lines under your paint. Step through the grits: 80, then 120 or 150, then 220.
For flat surfaces like tabletops and drawer fronts, a random orbital sander saves hours. For spindles, curves, and molding details, sanding sponges (around $3 to $7 for a multi-pack) conform to the shape better than flat paper. If you are unsure whether to reach for the power sander or work by hand, we have a deeper comparison in our guide on orbital sander vs. hand sanding.
Wear a dust mask or respirator whenever you sand. And if the piece might predate 1978, test for lead paint before creating any dust. Dry-sanding lead paint is a serious health hazard. Wet-sanding or chemical stripping is the safer path for older furniture.
When liquid deglosser makes more sense
Liquid deglosser (sometimes sold as "liquid sandpaper") is a solvent that softens and dulls an existing finish so new paint can bond to it. It does not remove the finish; it just takes the shine off. Think of it as chemical scuffing.
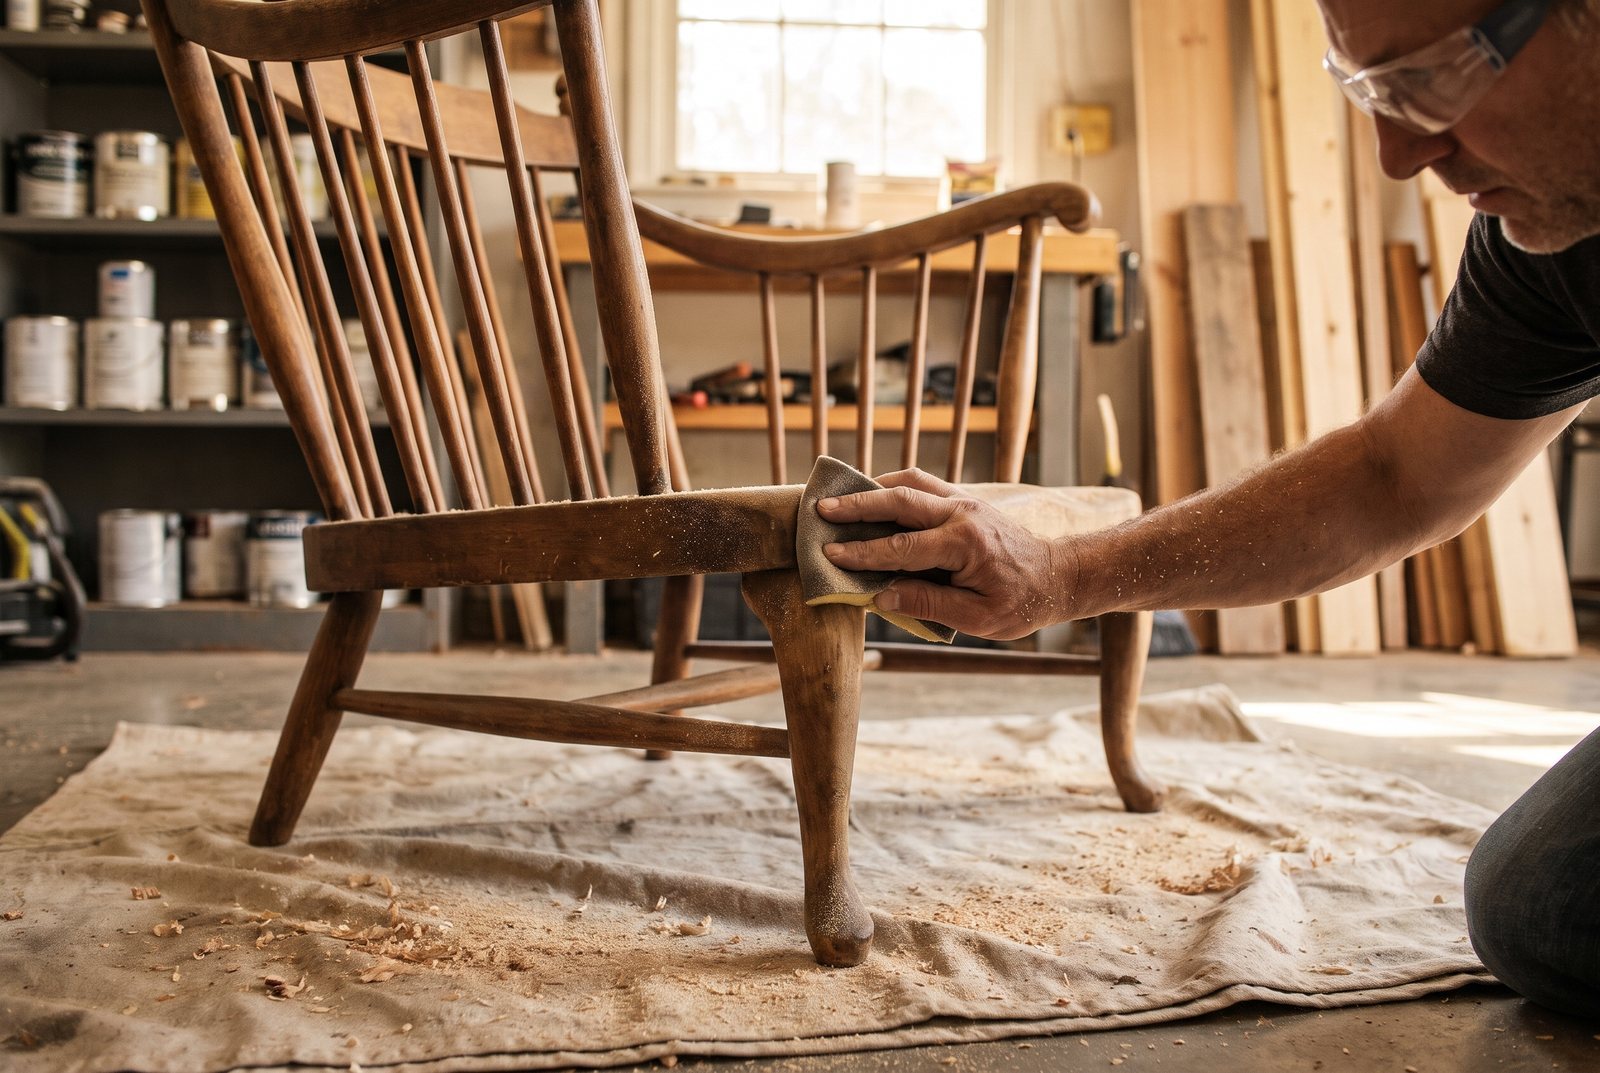
Deglosser shines on pieces with lots of detail: carved legs, routed edges, turned spindles, anything that would take forever to sand by hand. Wipe it on with a lint-free cloth, let it sit for the time the label specifies (usually 10 to 30 minutes), and you are ready to paint. A quart of Klean-Strip Liquid Sandpaper (about $11.98 at The Home Depot) covers roughly 300 square feet, which is several dressers' worth.
There is one timing detail that trips people up constantly. Most deglossers have a recoat window, typically 30 minutes to 1 hour after application. If you wait too long, the surface re-hardens and you have lost the chemical bite. On a large piece like an armoire, work in sections so you can paint each section within that window.
Two other points worth knowing:
- Deglosser is not a cleaner. If the surface has grease or wax on it, the deglosser will just smear it around. Clean with a TSP alternative first, let it dry, then degloss.
- Deglosser may not bite through very hard factory coatings. If you wipe it on and the surface still feels glossy after the recommended time, you will need to sand.
Liquid deglossers are solvent-based, often flammable, and produce strong fumes. Work in a ventilated space, keep it away from open flames, and wear chemical-resistant gloves and eye protection.
Comparing the three methods side by side
| TSP / TSP-Alternative Wash | Sanding | Liquid Deglosser | |
|---|---|---|---|
| What it does | Removes grease, grime, wax | Creates physical tooth, levels surface | Chemically dulls the existing finish |
| Best for | Every piece (step one) | Glossy factory finishes, damaged surfaces, high-traffic furniture | Detailed or carved pieces, quick turnarounds |
| Cost per project | $4 to $7 | $6 to $15 (hand); $30+ with power sander | $9 to $13 |
| Time | 15 to 30 min. plus dry time | 30 min. to several hours depending on size | 15 to 45 min. |
| Mess | Minimal (wet wipe) | Dust everywhere | Minimal (wet wipe), strong fumes |
| Skill needed | Low | Low to moderate | Low |
For a high-traffic piece like a kitchen table or dresser that gets daily use, the most durable prep is all three in sequence: clean with a TSP alternative, scuff-sand with 150 to 220 grit, then wipe down the dust. Deglosser can replace the sanding step on low-wear or intricately detailed pieces where sanding is impractical.
Putting it together: the prep sequence
Start by removing hardware, drawers, and doors. Set them on a drop cloth or sawhorses.
- Clean the entire piece with a TSP alternative or Simple Green. If using a powdered TSP substitute, mix according to the label and scrub with a sponge or rag. Traditional TSP requires thorough rinsing with clean water; leftover residue causes paint to blister. Many phosphate-free formulas are no-rinse, but check the label. Let the piece dry completely.
- Sand or degloss. For flat, accessible surfaces, scuff-sand with 180 to 220 grit in the direction of the grain. For carved or turned details, apply liquid deglosser with a lint-free cloth. You can use both methods on the same piece: sand the flat panels, degloss the spindles.
- Remove dust. Wipe every surface with a tack cloth or a barely damp microfiber rag. Any dust left behind will be trapped under your paint.
- Prime if needed. A bonding primer is especially important over slick surfaces, stained wood that might bleed through, or bare wood exposed during sanding.
Kathartic Studios walks through a thorough strip-and-sand sequence on a solid wood dining table in their Restoring a Wood Table with a Natural Finish project guide. It is a good example of how much sanding matters when you are going down to bare wood for a transparent finish, where every scratch shows. For a painted finish the stakes are lower, but the discipline is the same: clean first, then create tooth, then paint.
If you are deciding whether to sand for a smooth painted surface versus sanding to intentionally distress the piece afterward, those are two very different techniques with different grit choices and stopping points. We break that distinction down in Sanding for Distressing vs. Sanding to Smooth Furniture.
The mistake that causes most paint failures
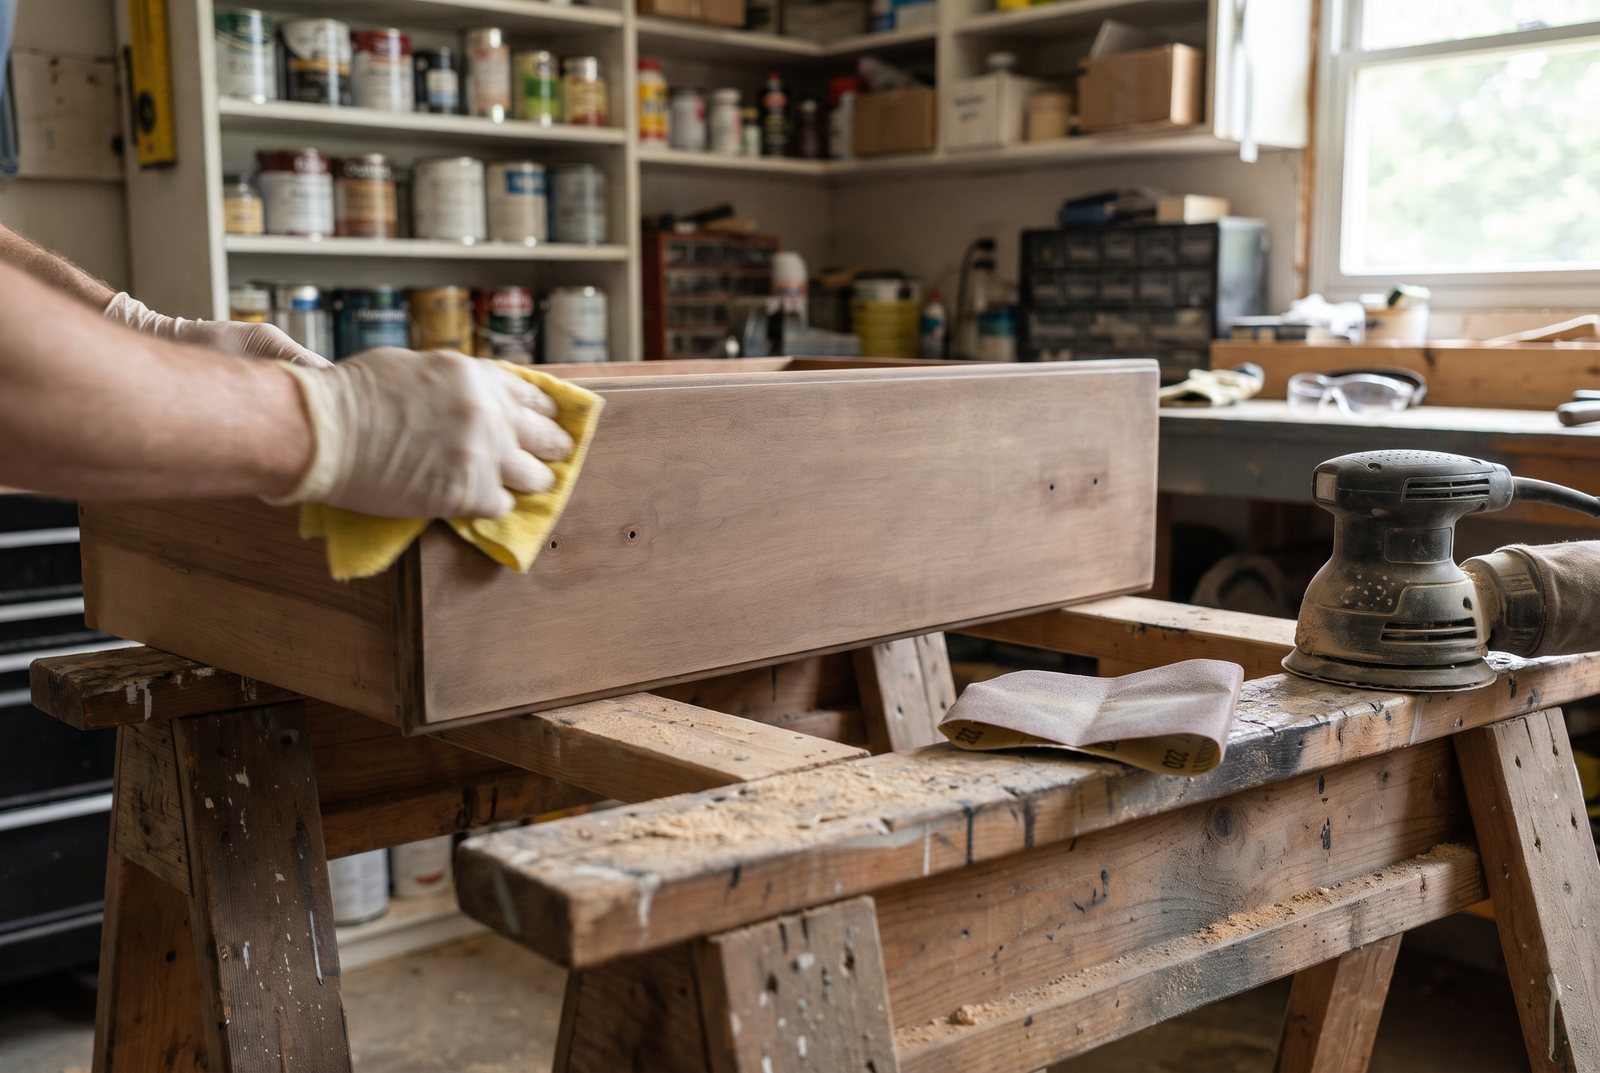
The single most common reason DIY-painted furniture peels is not a bad paint or a wrong brush. It is painting over a dirty surface. Furniture that has lived in a kitchen or been polished with silicone spray has an invisible film that repels paint the way wax repels water. No amount of sanding fixes it, because the sanding dust just packs the contaminant into the scratches. Clean first, sand second, always in that order.
The second most common mistake is skipping the scuff on a glossy surface and relying on paint alone. Some paints market themselves as "no-prep," and on a clean, lightly worn surface they can work. But on a high-gloss factory finish, a 5-minute scuff with 220 grit or a quick wipe of deglosser is cheap insurance against peeling six months later.
Quick answers
Do I need to sand the entire piece or just the repaired spots?
If the existing finish is sound and you are painting over it, a light scuff-sand (180 to 220 grit) over the entire surface is best. Spot-sanding only the repairs can leave uneven texture that shows through paint. If the old finish is flaking, you will need to sand more aggressively in those areas and feather the edges before scuffing the rest.
Can I use liquid deglosser instead of sanding before painting furniture?
Yes, on pieces with intricate details or low daily wear. Deglosser chemically dulls the finish so paint can grip. For high-traffic furniture like dining tables and dressers, a light sanding still gives a more durable bond. You can combine both: sand the flat surfaces and degloss the carved parts.
Is phosphate-free TSP as good as the original?
For cleaning grease and grime off furniture before painting, phosphate-free TSP substitutes work well. They are slightly less aggressive at etching the surface than traditional TSP, but etching is not their main job here. Their job is removing contaminants, and sodium-carbonate-based formulas handle that effectively.
What order should I prep furniture for painting?
Clean first (TSP alternative or degreaser), then sand or degloss, then remove dust with a tack cloth, then prime if needed. Never sand before cleaning, or you will grind contaminants into the wood grain.
The project in this post
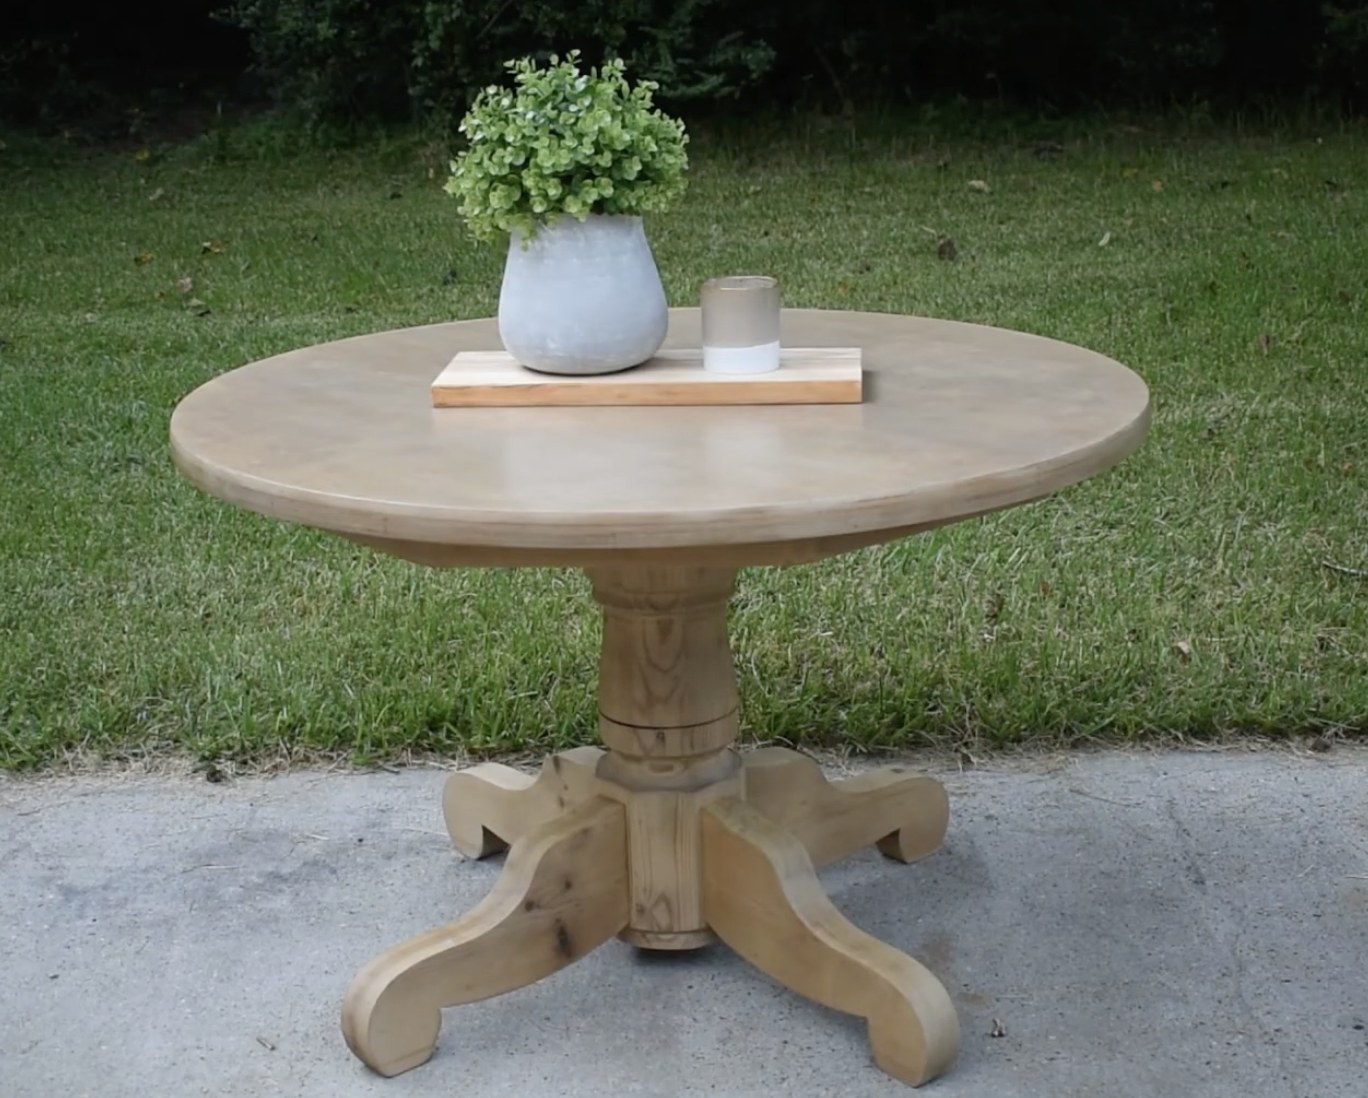
Restoring a Wood Table with a Natural Finish
by Kathartic Studios
Open the project guideKeep reading
All posts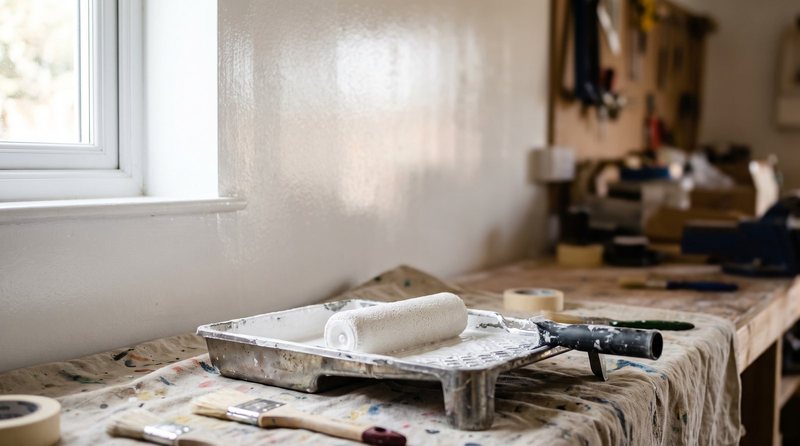
How Long to Let Paint Dry Between Coats (and Cure Times)
Dry to the touch doesn't mean done. Learn recoat times for latex, chalk paint, and polyurethane, plus why a full 21 to 30 day cure prevents chips and marks.
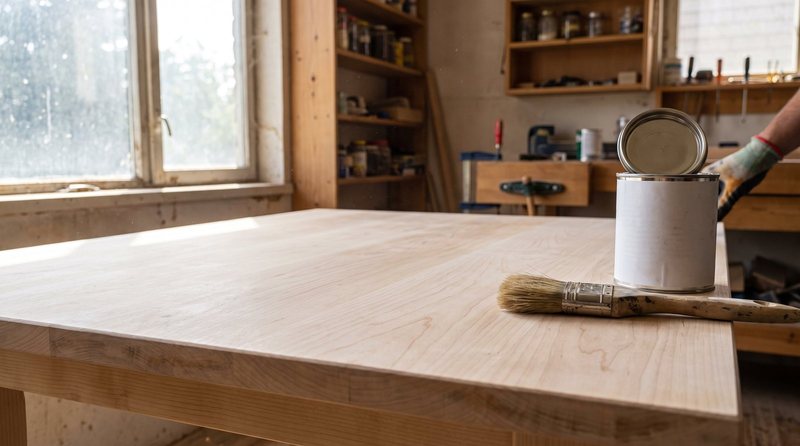
Clear Wood Finishes That Won't Yellow or Darken Your Wood
Water-based poly, hardwax oil, and paste wax compared for keeping wood looking raw and natural. Which one protects without changing the color.
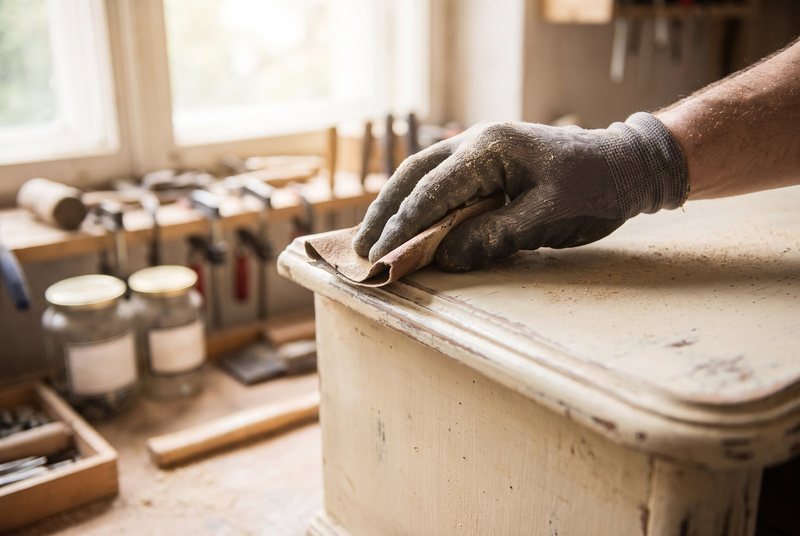
Sanding for Distressing vs Sanding to Smooth Furniture
Distressing and smoothing use sandpaper in opposite ways. Here's how grit choice, pressure, direction, and where you sand differ for each technique.