Safety Gear for DIY Woodworking: What to Wear for Each Task
Which safety gear you actually need for sanding, sawing, routing, and finishing wood. Task-specific PPE picks, common gaps hobbyists miss, and what to spend.
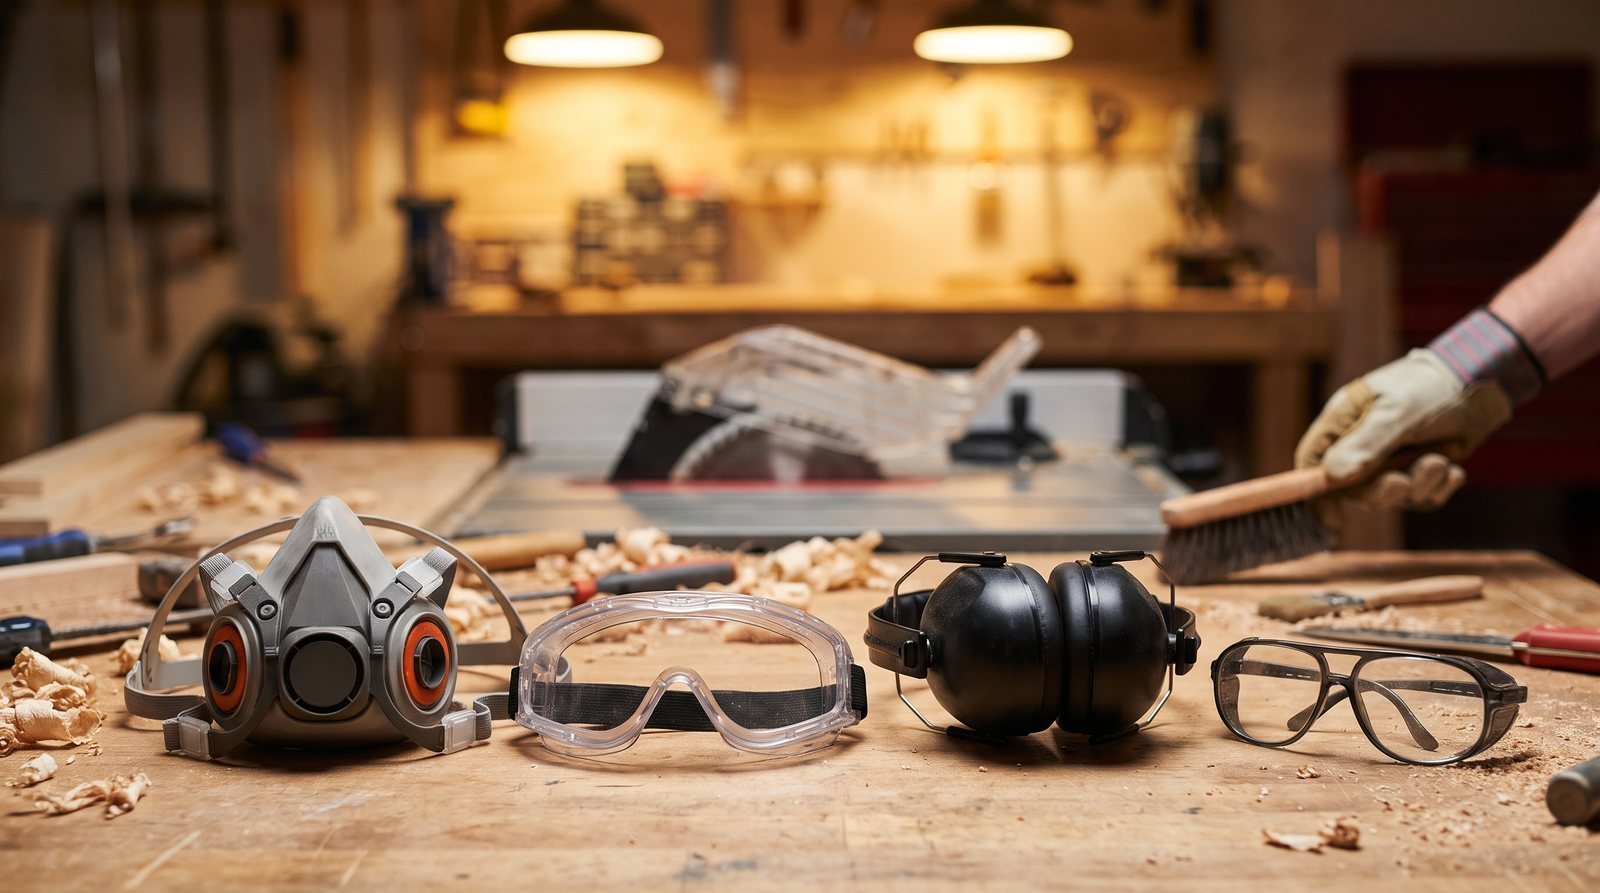
Most hobbyist shops have a pair of safety glasses hanging on a nail and a dust mask stuffed in a drawer. That covers maybe half of what your eyes, lungs, and ears actually face on a given Saturday. This guide breaks down which personal protective equipment (PPE) you need for each woodworking task, why the cheap dust mask in your drawer probably isn't protecting you, and where the real gaps in most home shops hide.
Eye protection has more gaps than you think
Every piece of eye protection you wear in the shop should carry an ANSI Z87.1 rating, stamped on the lens or frame. Regular prescription glasses do not count. They can shatter on impact, and they leave open gaps at the top and sides.
For general sawing and drilling, Z87.1 safety glasses with side shields are the minimum. The side shields matter more than most beginners realize. Table saws and routers throw chips laterally, not just forward. A pair of basic rated safety glasses runs $2.50 to $15 at any hardware store.
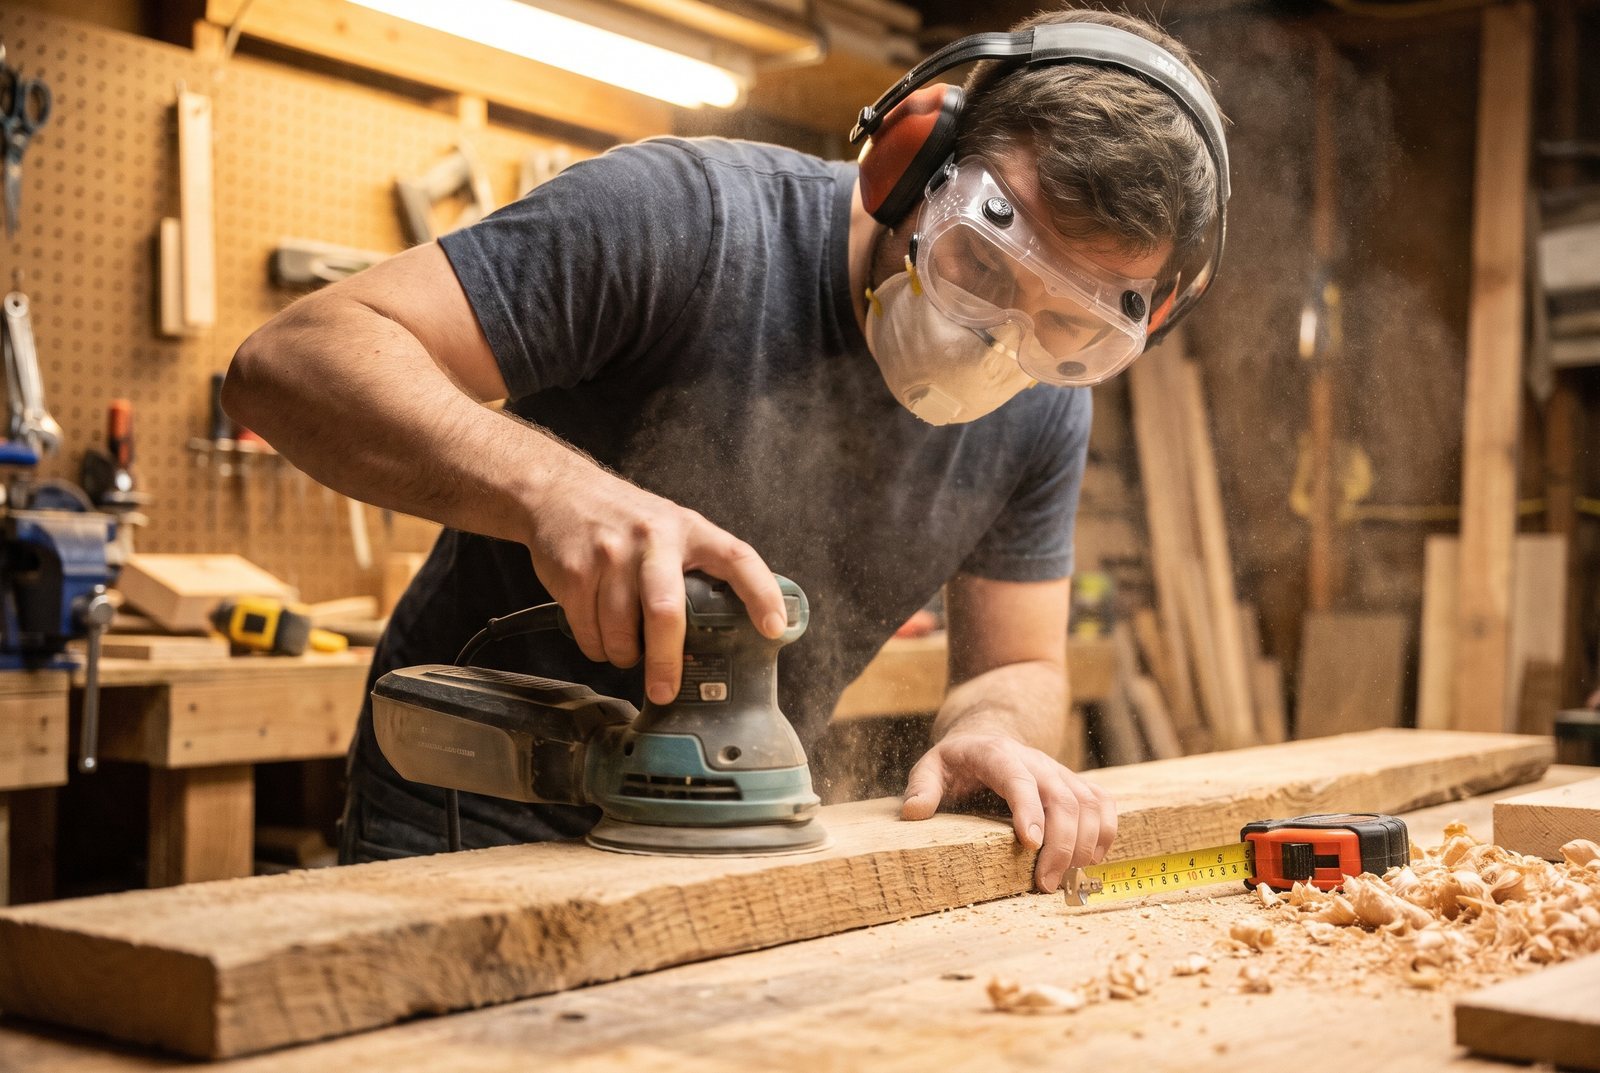
Switch to sealed safety goggles ($15 to $30) whenever you're sanding, routing, doing overhead work, or applying finishes where splatter is possible. Goggles form a seal around the eye socket that glasses simply can't match. Fine sanding dust hangs in the air and drifts into every gap between your face and a flat lens.
Lathe work is the highest-risk eye task in a home shop. A full-face shield ($20 to $50) worn over safety glasses is the standard there, because a spinning blank can launch large pieces at speed.
A few problems we see hobbyists run into repeatedly:
- Over-the-glass (OTG) safety glasses fit poorly over prescription frames and rarely seal well. If you wear prescription lenses daily, integrated prescription safety glasses are worth the investment.
- Scratched lenses reduce clarity and make you more likely to take them off. Replace them.
- Forgetting side shields on basic glasses. If your glasses don't have them, they're not doing the full job around power tools.
Dust masks vs. respirators: the distinction that matters most
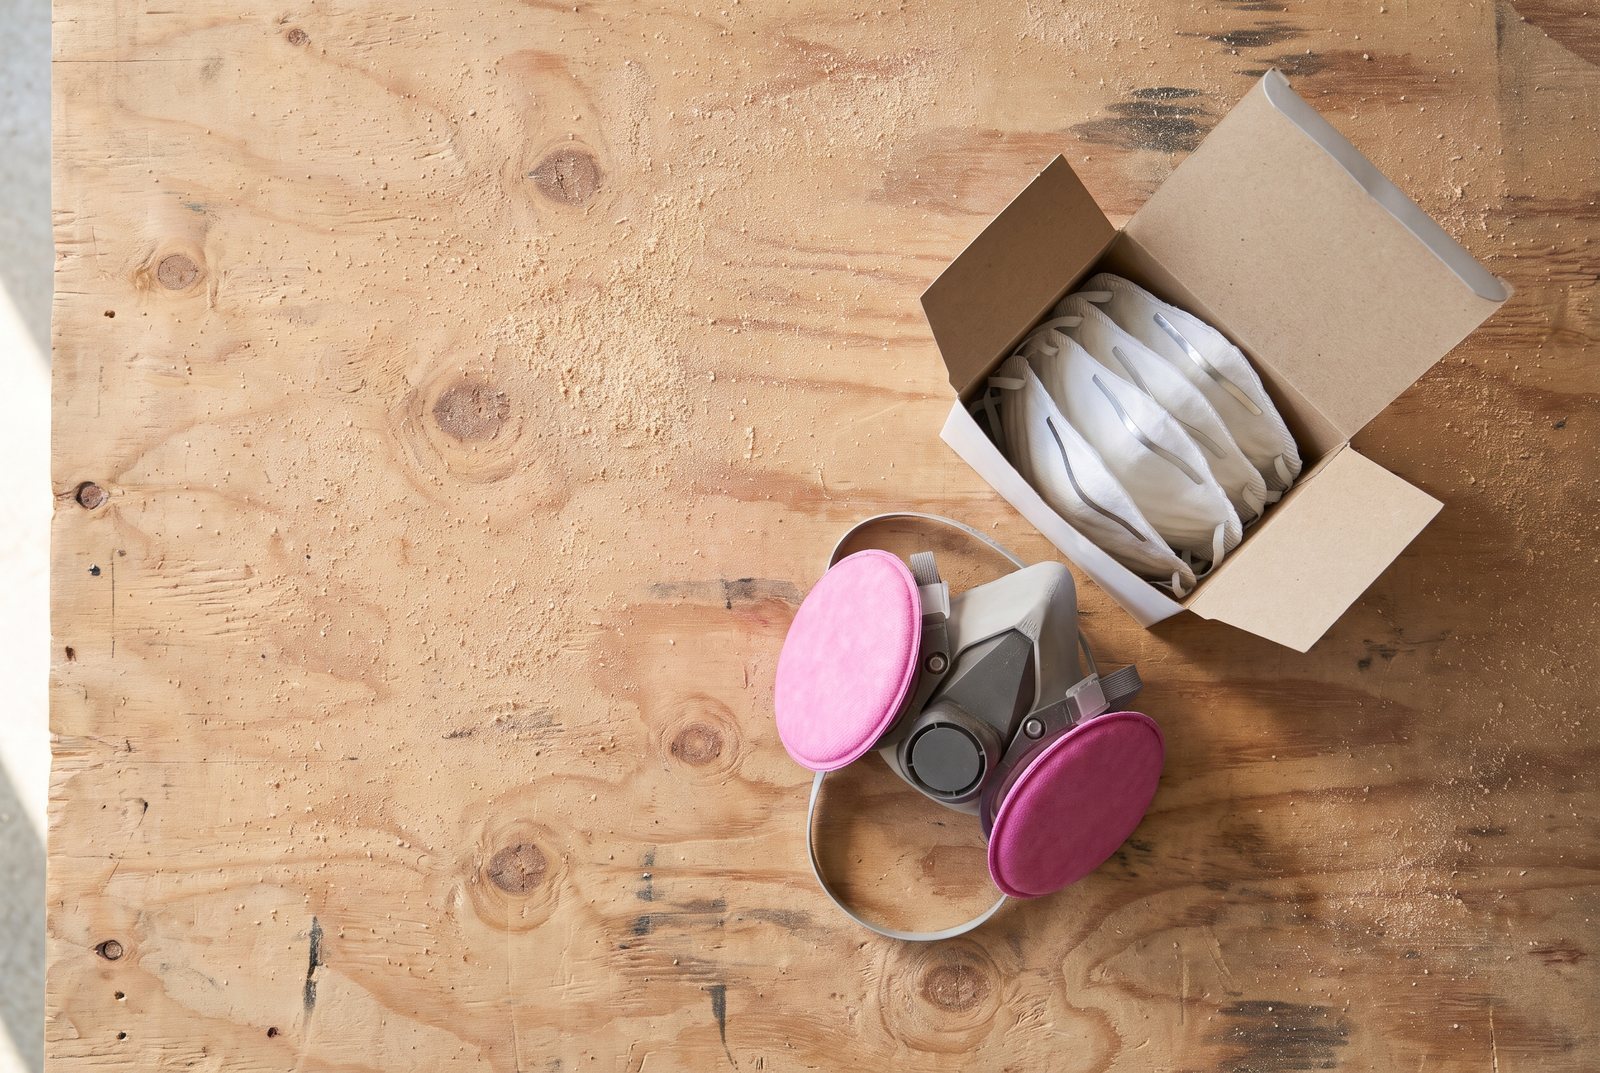
This is the single biggest PPE mistake in home woodworking. A thin, single-strap "nuisance" dust mask is not NIOSH-approved and does almost nothing against fine wood dust. It makes you feel protected without actually protecting you. For any task that creates airborne dust, you need a NIOSH-approved respirator.
Hand sanding softwoods like pine, for short stretches in a ventilated space, calls for an N95 disposable respirator at minimum. An N95 filters at least 95% of airborne particles. A 20-pack of 3M N95 disposable respirators costs roughly $30 to $35.
Power sanding any wood, cutting hardwoods, and working MDF all call for a step up: a reusable half-mask respirator with P100 filters. P100 filters capture at least 99.97% of particles and resist oil-based aerosols. Hardwood dust is a known carcinogen, and power sanding (regardless of grit) aerosolizes huge quantities of fine particles that stay suspended in your shop air for hours. The facepiece for a reusable half-mask like the 3M 6200 series runs $20 to $30, and a pair of P100 filters costs $15 to $25.
If you're curious about the difference between power sanding and hand sanding and when each makes sense, our comparison of orbital sander vs. hand sanding covers that in detail. The short version for safety: power sanding produces far more airborne dust per minute, which is exactly why it demands better respiratory protection.
Applying finishes is a different hazard entirely. Dust filters won't help you with chemical vapors.
| Finish type | Respirator needed |
|---|---|
| Varnish, polyurethane, oil-based stain | Half-mask with organic vapor (OV) cartridges, plus a P95 or P100 pre-filter |
| Lacquer | Half-mask with OV cartridges (if you smell lacquer through the mask, the seal or cartridge has failed) |
| 2-part finishes with isocyanates (some conversion varnishes) | Supplied-air respirator only. No cartridge respirator is sufficient. Most pros do this work in a dedicated spray booth. |
Organic vapor cartridges run $15 to $25 per pair. Replace them when you start to detect odor through the mask, or according to the manufacturer's schedule.
In Kathartic Studios' Restoring a Wood Table with a Natural Finish project, the work moves from stripping old stain, through sanding down to bare wood, and into a multi-step finish. That sequence hits every respiratory hazard in one build: chemical strippers, heavy sanding dust, then finish vapors. Each phase needs different protection.
Common respirator mistakes
Fit is everything. If air leaks around the edges, the filter rating is meaningless. Every time you put on a half-mask respirator, do a quick seal check: cover the filters with your palms and inhale. The mask should pull against your face and hold. If it doesn't, adjust the straps or try a different size.
Store your respirator in a sealed bag between uses. Leaving it on the bench lets shop dust contaminate the inside of the mask, which means you're breathing concentrated dust the next time you strap it on. And don't reuse disposable N95s until they're visibly dirty. By that point they're clogged and pulling less air through the filter medium, which means more leakage around the edges.
Hearing protection: cumulative damage you won't notice until it's too late
Hearing damage from shop tools is cumulative and irreversible. The threshold is 85 dBA over an 8-hour period, but most woodworking power tools blow past that in seconds.
| Tool | Typical noise level (dBA) |
|---|---|
| Circular saw | 100 to 110 |
| Router | 95 to 110 |
| Planer / jointer | 95 to 110 |
| Table saw | 90 to 105 |
| Shop vacuum | 70 to 90 |
Any use of a router, planer, jointer, or table saw warrants hearing protection, even for a single cut. Prolonged use of a miter saw, circular saw, or shop vacuum does too. Hand sanding and applying finishes generally do not.
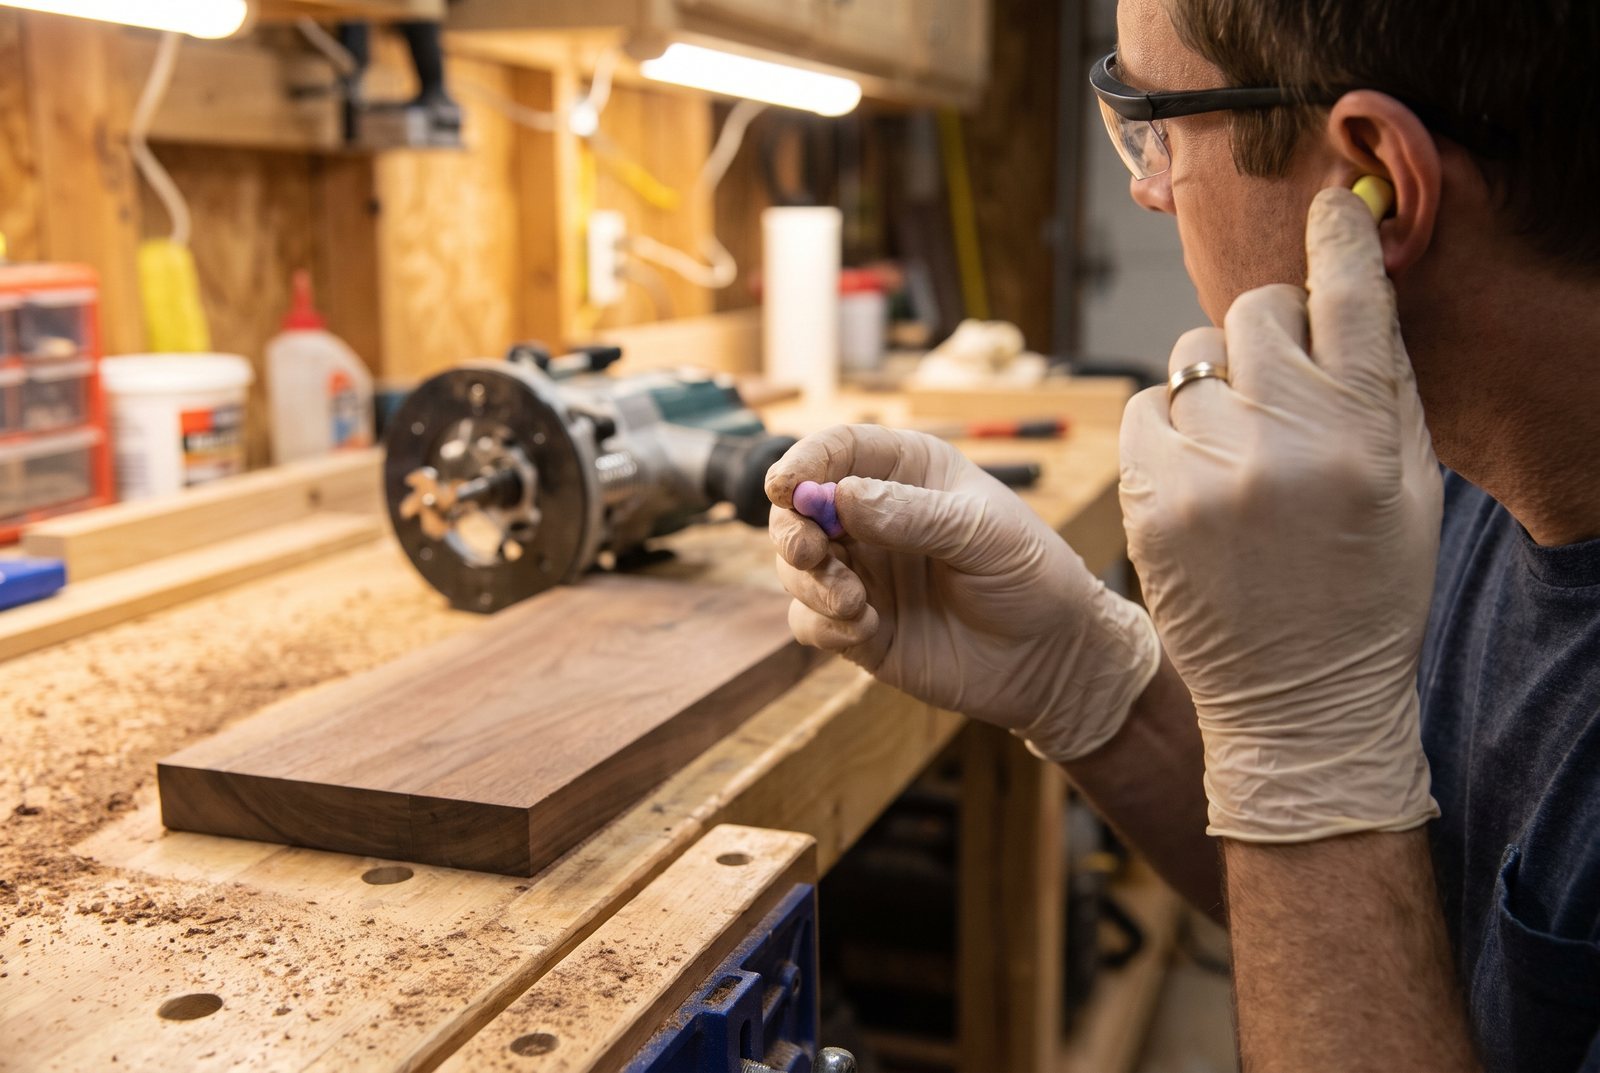
You have two main options. Foam earplugs ($10 to $20 per box) are cheap and effective, but only if inserted correctly: roll the plug tightly between your fingers, pull the top of your ear up and back to straighten the ear canal, insert the plug, and hold it while it expands for about 15 seconds. Most people just shove them in without rolling, which leaves gaps and cuts the protection roughly in half.
Earmuffs with an NRR (Noise Reduction Rating) of 25 or higher ($12 to $35) are easier to use consistently. An NRR of 25 means a 100 dBA router drops to roughly 75 dBA at your ear. Bluetooth earmuffs ($50 to $150) let you listen to music or podcasts, which honestly makes you more likely to wear them.
One subtle problem: thick-armed safety glasses can break the seal of earmuffs against your head, reducing their effectiveness. If you wear both, check that the earmuff cushions sit flat against your skin all the way around. Thinner-armed glasses or sealed goggles work better under muffs.
Ventilation is PPE you can't wear
PPE protects you from what reaches your face. Ventilation reduces what reaches your face in the first place. The two work together.
For finishing with solvent-based products, you need real cross-ventilation: open a window or door on two sides of the space and run a fan to move air through. OSHA standard 1926.57 requires continuous ventilation during finishing operations in professional settings, and the physics apply the same way in your garage.
For dust, a shop vacuum connected to your tool's dust port is the simplest form of local exhaust ventilation. It won't catch everything (which is why you still need a respirator), but it dramatically cuts the ambient dust load. A dust collection system is not a substitute for respiratory PPE. It's a complement.
Putting it together: gear by task
Rather than buying everything at once, think about what you're actually doing this weekend.
If you're cutting lumber on a table saw or miter saw, you need safety glasses with side shields, hearing protection, and an N95 respirator at minimum (P100 if you're cutting hardwood or MDF for an extended session).
If you're power sanding a furniture piece, swap the safety glasses for sealed goggles, keep the hearing protection, and use a P100 half-mask respirator. Connect your sander to a shop vac.
If you're applying polyurethane or oil-based stain, you need goggles for splash protection and a half-mask with organic vapor cartridges. Open windows, run a fan, and skip the hearing protection (you won't need it for a brush or rag).
If you're turning on a lathe, wear a full-face shield over safety glasses, hearing protection, and a P100 respirator.
The total cost to cover all of these scenarios, with a reusable half-mask, one set of P100 filters, one set of OV cartridges, a pair of safety glasses, sealed goggles, and a set of earmuffs, is roughly $100 to $150. That's less than a decent router bit set, and it protects things you can't replace.
Quick answers
Do I need a respirator for hand sanding?
For short sessions sanding softwood in a ventilated area, a NIOSH-approved N95 disposable respirator is the minimum. For hardwoods or longer sessions, step up to a P100 half-mask. A thin nuisance dust mask is not adequate.
What hearing protection should I use with a router?
Routers produce 95 to 110 dBA, well above the 85 dBA damage threshold. Earmuffs with an NRR of 25 or higher, or properly inserted foam earplugs, are both effective. Wear them for every cut, not just long sessions.
Can I use regular glasses as safety glasses?
No. Prescription glasses are not impact-rated and can shatter. You need ANSI Z87.1 rated safety glasses, ideally with side shields. If you wear prescription lenses, look into OTG safety glasses or integrated prescription safety lenses.
Is a dust collector enough, or do I still need a respirator?
You need both. A dust collector or shop vacuum captures dust at the source but doesn't get all of it. Fine particles stay airborne for hours. Always wear a respirator rated for the task alongside any dust collection you have.
The project in this post

Restoring a Wood Table with a Natural Finish
by Kathartic Studios
Open the project guideKeep reading
All posts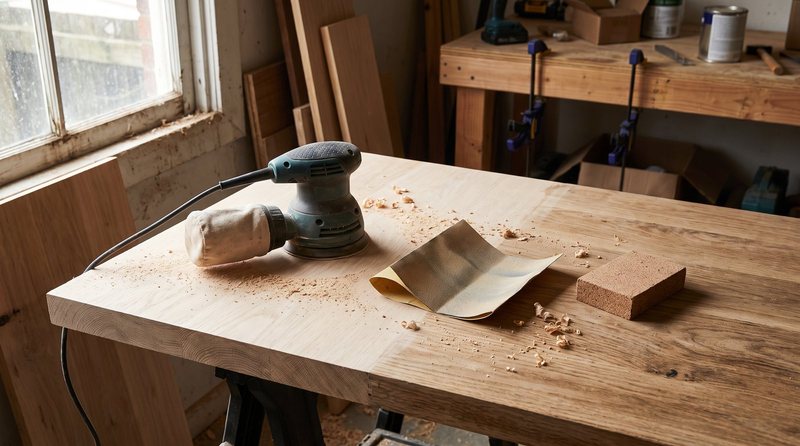
Orbital Sander vs Hand Sanding: When to Use Which
A scenario-by-scenario look at when to use an orbital sander and when hand sanding works better, covering flat surfaces, curves, edges, and more.
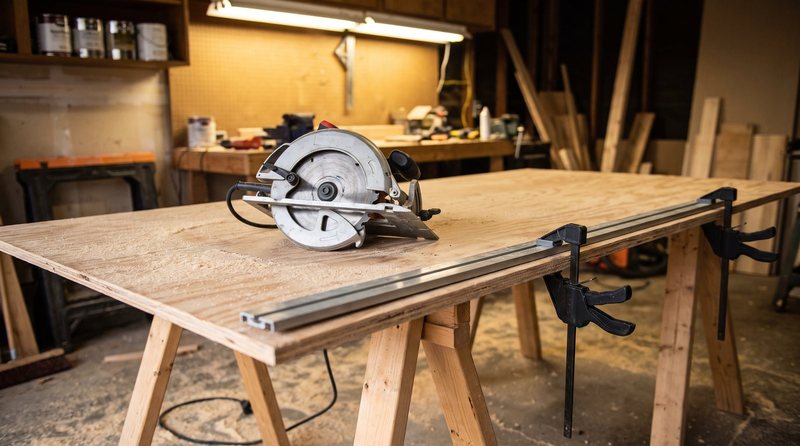
Do You Really Need a Table Saw? What You Can Build Without One
A practical guide mapping common DIY projects to the tools that can substitute for a table saw, so you know when to invest and when to work around it.
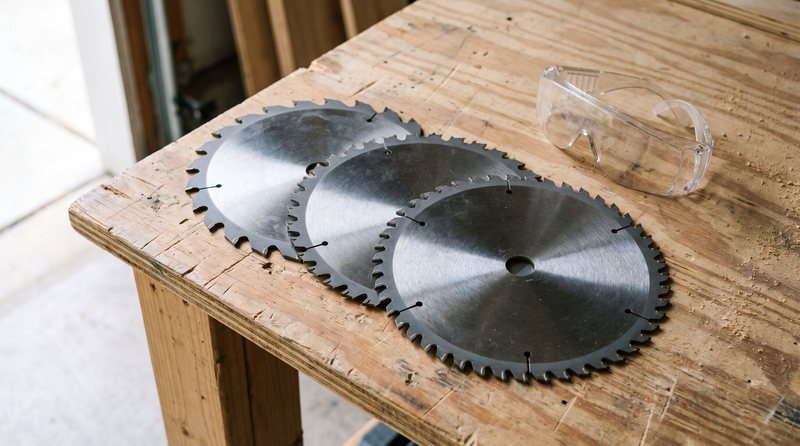
How to Choose a Circular Saw Blade for Plywood, Framing, and Trim
Tooth count, kerf, and hook angle explained for the three cuts DIYers make most. Plus why your new blade might be cutting worse than the old one.