How to Winterize a Wood or Composite Deck Before Frost
A fall checklist for cleaning, sealing, and protecting your deck before winter. Covers wood and composite options, fastener checks, and furniture storage.
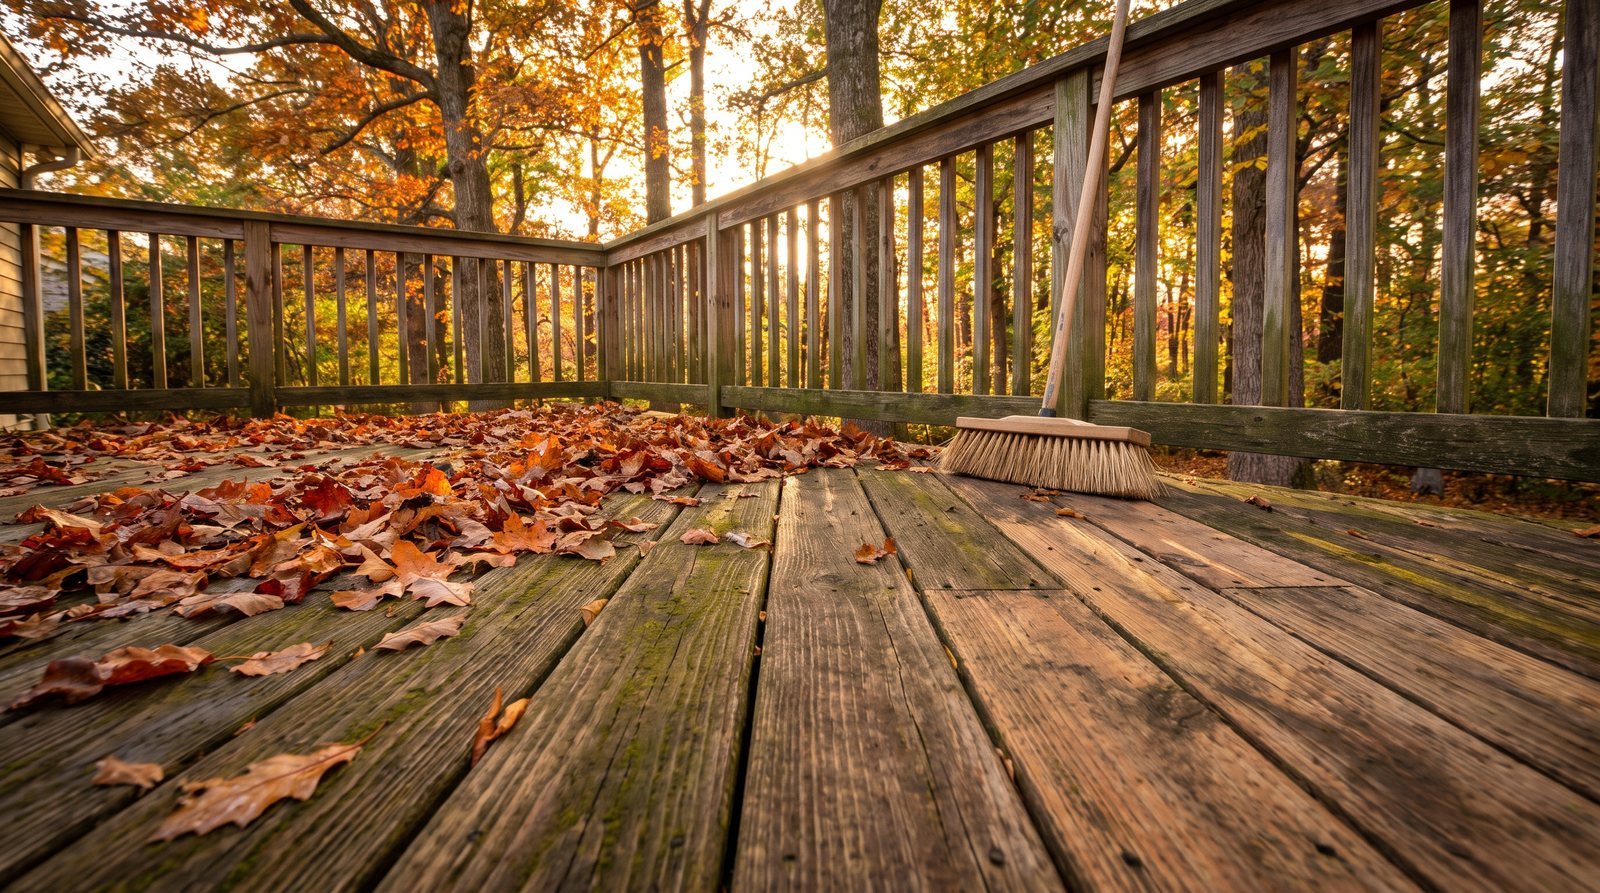
October is the window. Once nighttime temperatures regularly dip below 50°F, most stains and sealers won't cure properly, and you'll be stuck waiting until spring with an unprotected deck. This guide walks you through every step of fall deck prep, for both wood and composite, so the boards, fasteners, and furniture come through winter without the rot, popped screws, and gray weathering that hit neglected decks by March.
Clear the deck and look for trouble
Start by moving everything off the surface: furniture, planters, grills, mats. Anything sitting on the boards traps moisture underneath, and that moisture is the root of almost every winter deck problem.
With the deck bare, walk every board. You're looking for four things:
- Soft or spongy spots. Press hard with your boot or push a flathead screwdriver into suspect areas. If the screwdriver sinks easily, the wood is rotting and that board needs replacing before you seal anything.
- Popped or loose fasteners. Nails work themselves out over seasons of expansion and contraction. If a nail is proud of the surface, pull it and replace it with a screw. For 5/4-inch decking (the most common residential thickness), use 2-1/2 to 3-inch coated or stainless steel deck screws. The screw should bite at least 1 inch into the joist. For full 2x decking, go with 3 to 3-1/2 inch screws.
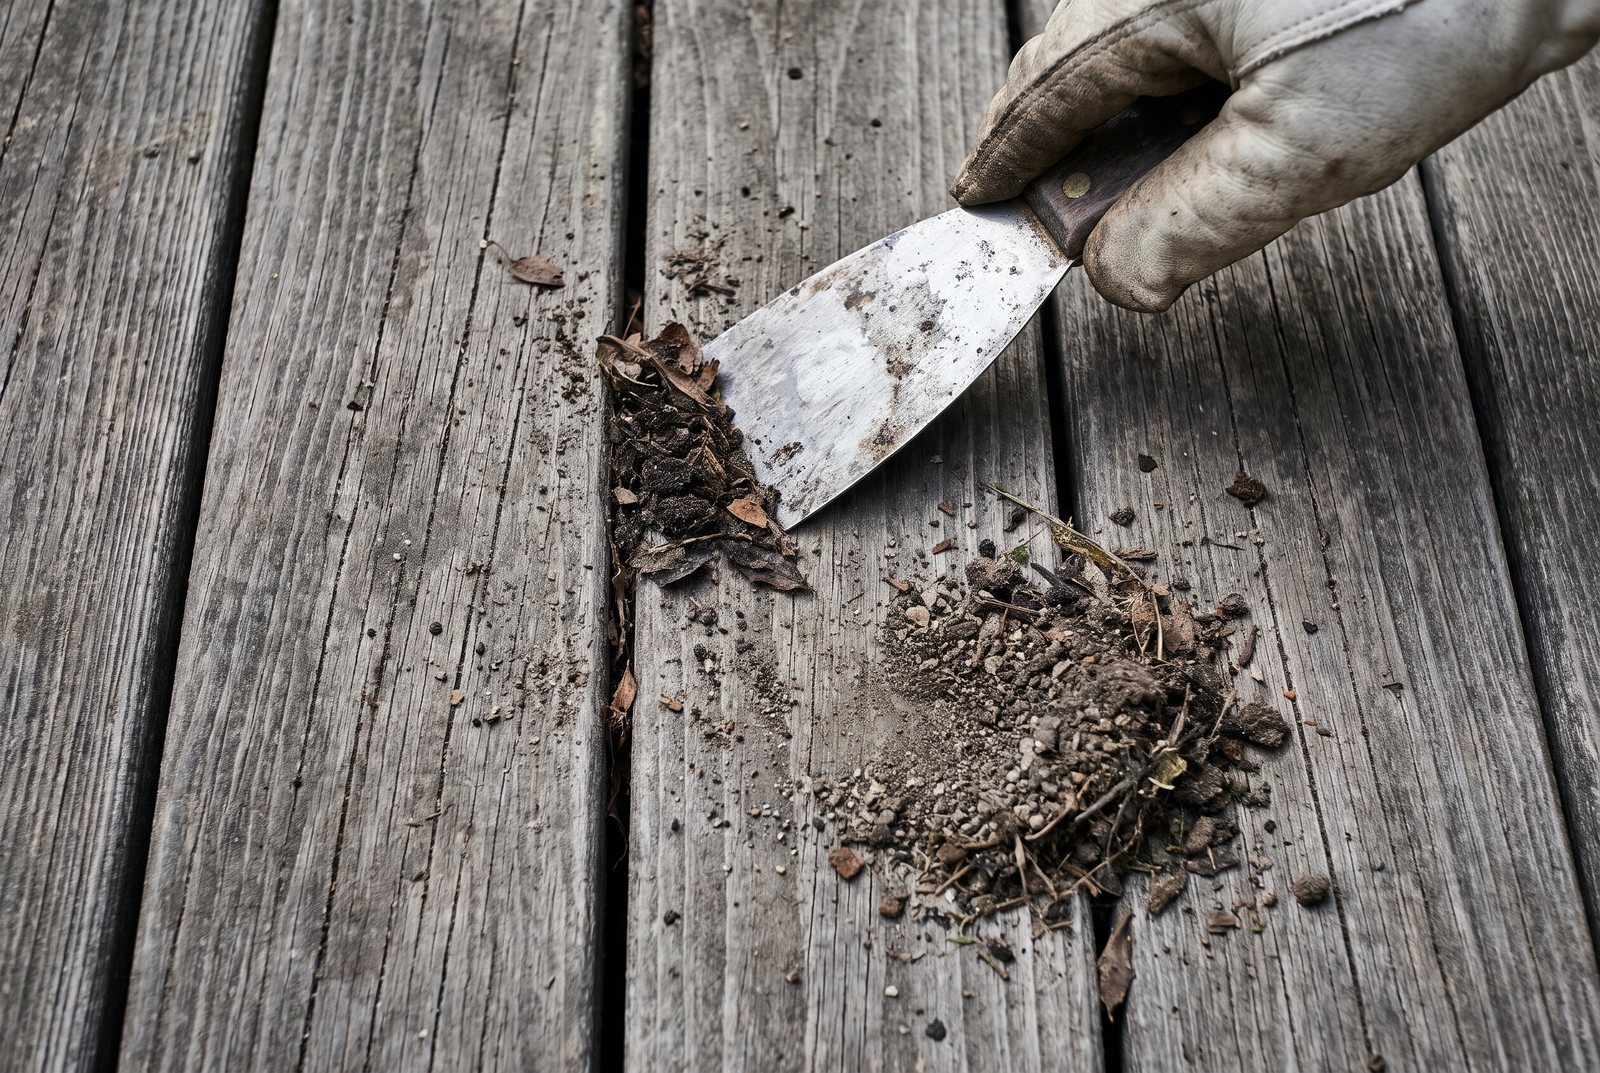
- Debris between boards. Leaves, seed pods, and pine needles packed into the gaps between boards hold moisture against the wood and accelerate rot. A putty knife, a narrow paint stick, or a dedicated deck-gap tool clears them out. Do the same for any under-deck drainage system if you have one.
- Railing stability. Grab each railing post and push hard. Residential guardrails are required to withstand 200 pounds of force at the top. A wobbly post means the connection to the framing has failed, and that's a safety issue worth fixing now, not in the spring.
For composite decks, you won't find rot, but you should still check for loose fasteners, debris between boards, and any mold or mildew staining on the surface.
Clean before you seal (always, no exceptions)
Sealing over a dirty deck is the single most common mistake. It traps dirt and moisture under the finish, which leads to peeling, discoloration, and accelerated rot. The deck has to be clean and dry before any finish goes on.
For wood decks, an oxygenated bleach cleaner is the best general choice. It kills mildew without damaging wood fibers the way chlorine bleach can, and it's safer for nearby plants. Commercial options from Olympic, Cabot, and Valspar run roughly $10 to $36 per gallon. A DIY alternative is oxygen bleach powder mixed with water per the package directions. For heavy mildew on harder woods, a one-part bleach to three-to-five-parts water solution with a squirt of laundry soap works, but stick with oxygenated bleach for softer species like cedar and pine.
Some people ask about TSP (trisodium phosphate) for deck prep. TSP is a strong degreaser, but it's banned or restricted in several states because of its phosphate content. Oxygen bleach cleaners handle most deck grime without the environmental concerns, which is why we'd reach for those first.
For composite decks, most manufacturers (Trex and TimberTech included) recommend warm water and a mild, bleach-free dish soap applied with a soft-bristle brush. For tougher stains, check your manufacturer's website for approved cleaners. Using the wrong product can void your warranty.
Pressure washing works on both materials, but dial back the pressure. On wood, high PSI tears open the grain and creates a fuzzy surface that's hard to stain evenly. On composite, manufacturers like TimberTech cap their recommendation at around 1,500 PSI for rinsing. Use a fan tip, keep it 8 to 12 inches from the surface, and work with the grain.
After cleaning, the wood needs to dry completely before you apply any finish. That means at least 48 hours of dry weather. Check the forecast before you start.
Sand only if the wood tells you to
Not every deck needs sanding before sealing. Run your hand across the boards after they're clean and dry. If the surface feels rough, has splinters, or shows remnants of old flaking finish, sand it. If the wood is smooth and the previous finish came off cleanly during washing, skip this step.
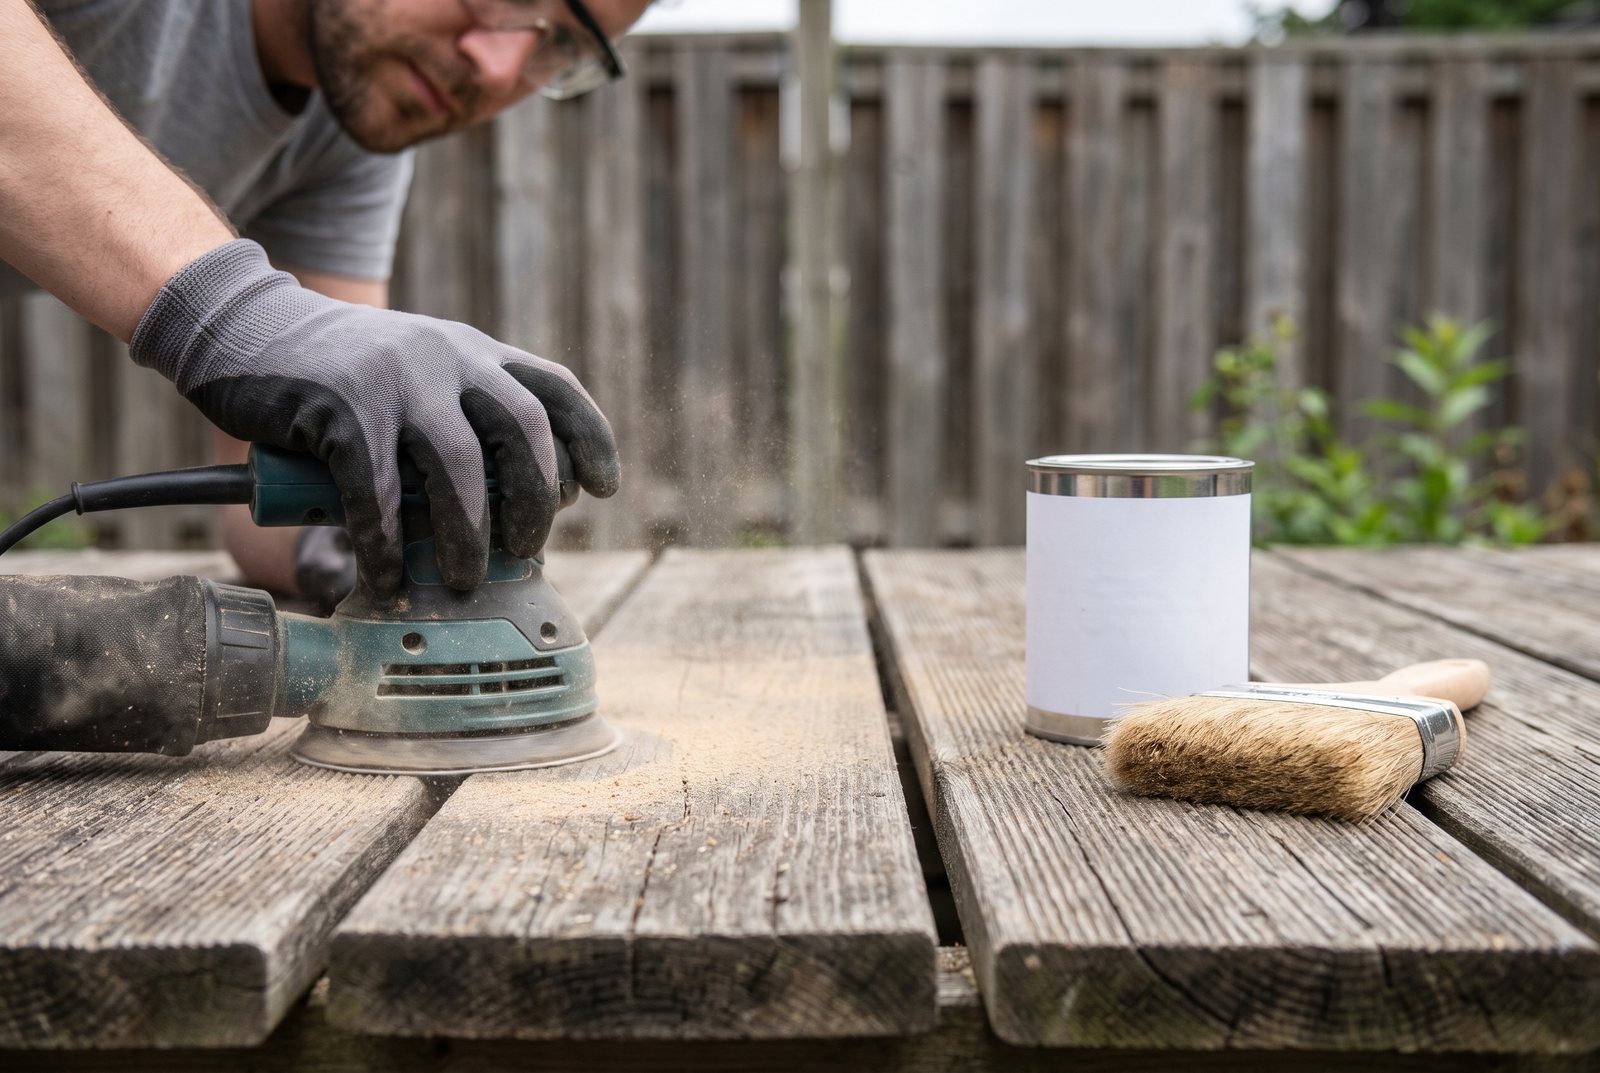
When you do sand, 60 to 80-grit sandpaper is the range for deck boards. Start at 60-grit to knock down splinters or strip old finish, then follow with 80-grit. There's a temptation to go finer for a smoother feel, but sanding beyond 80-grit can close the wood's pores and prevent stain from absorbing evenly. That's a frustrating problem to discover after you've already applied a coat.
A random orbital sander speeds up the job on flat boards. Always wear a dust mask, especially when sanding treated wood or old finishes. For railings and spindles, you'll be working by hand or with a detail sander.
Stain or seal while the weather cooperates
This is the step with the tightest timing. Most stains and sealers need daytime air temperatures between 50°F and 90°F to cure. In much of the northern US, that window closes by late October or early November. Check your 10-day forecast and pick a stretch of at least two to three dry days.
Oil-based vs. water-based stains. Oil-based stains penetrate deeper and have traditionally been the go-to for decks. But VOC regulations have limited their availability in some states, and water-based formulas have improved a lot. Water-based stains dry to the touch in 1 to 4 hours and allow light foot traffic in 4 to 6 hours, with a full cure in 24 to 48 hours. Oil-based stains take 8 to 24 hours to dry to the touch, need 24 to 48 hours before light traffic, and can take up to 7 days to fully cure. In October, those extra days of cure time matter. If your forecast is tight, water-based gives you more margin.
Many products now combine stain and sealer in one can, which saves a step. Prices range from about $17 per gallon (Behr DECKplus at Home Depot) up to $40 to $58 per gallon for Cabot products. Thompson's WaterSeal runs $26 to $62 per gallon depending on opacity.
Coverage matters for budgeting. Softwoods like pine and cedar drink up product, so expect 125 to 175 square feet per gallon on the first coat. Hardwoods are less thirsty at 200 to 300 square feet per gallon. Rough or heavily weathered wood absorbs more. Measure your deck's square footage and buy accordingly, plus a little extra.
Apply in the shade or on an overcast day. Direct sun heats the boards and makes the stain dry too fast on the surface before it penetrates, leaving a tacky, uneven finish. Work in manageable sections, keeping a wet edge. The second coat, if your product calls for one, goes on thinner than the first. The wood's pores are already partially filled, so less product is needed and over-application causes peeling.
If you want to understand more about why cure times matter and how temperature affects them, our post on paint dry and cure times covers the science in detail. The same principles apply to deck stains.
Composite decks don't need staining or sealing. That's the whole point of composite. Your fall job is just cleaning and fastener checks.
Protect your furniture and accessories
Once the deck finish has fully cured, it's time to deal with everything you moved off the surface.
The best option is storing furniture indoors: a garage, shed, or basement. If that's not possible, invest in waterproof, UV-resistant covers with a snug fit. Loose covers catch wind and blow off, leaving furniture exposed to the worst weather. Expect to pay around $35 for a loveseat cover and over $100 for a large table-and-chair set cover.
Before you store or cover anything, clean it. Soap and water handles most aluminum and resin furniture. For wood furniture with old, sticky finishes or failed repairs, fall is a good time to strip and refinish those pieces while they're already off the deck.
| Material | Clean with | Store or cover? | Notes |
|---|---|---|---|
| Aluminum | Soapy water, soft cloth | Cover or store | Won't rust, but cushions will mildew |
| Teak / hardwood | Teak cleaner or mild soap | Store preferred | Oil annually in spring |
| Resin / plastic | Dish soap and water | Cover or store | UV degrades plastic over years |
| Cushions / fabric | Per fabric label | Store indoors | Never leave out under a cover; they trap moisture |
Cushions and fabric should always come inside. Even under a cover, trapped moisture breeds mold faster than you'd expect.
Winter rules: what not to do once snow arrives
Your prep is done, but winter itself brings a few ways to undo all that work.
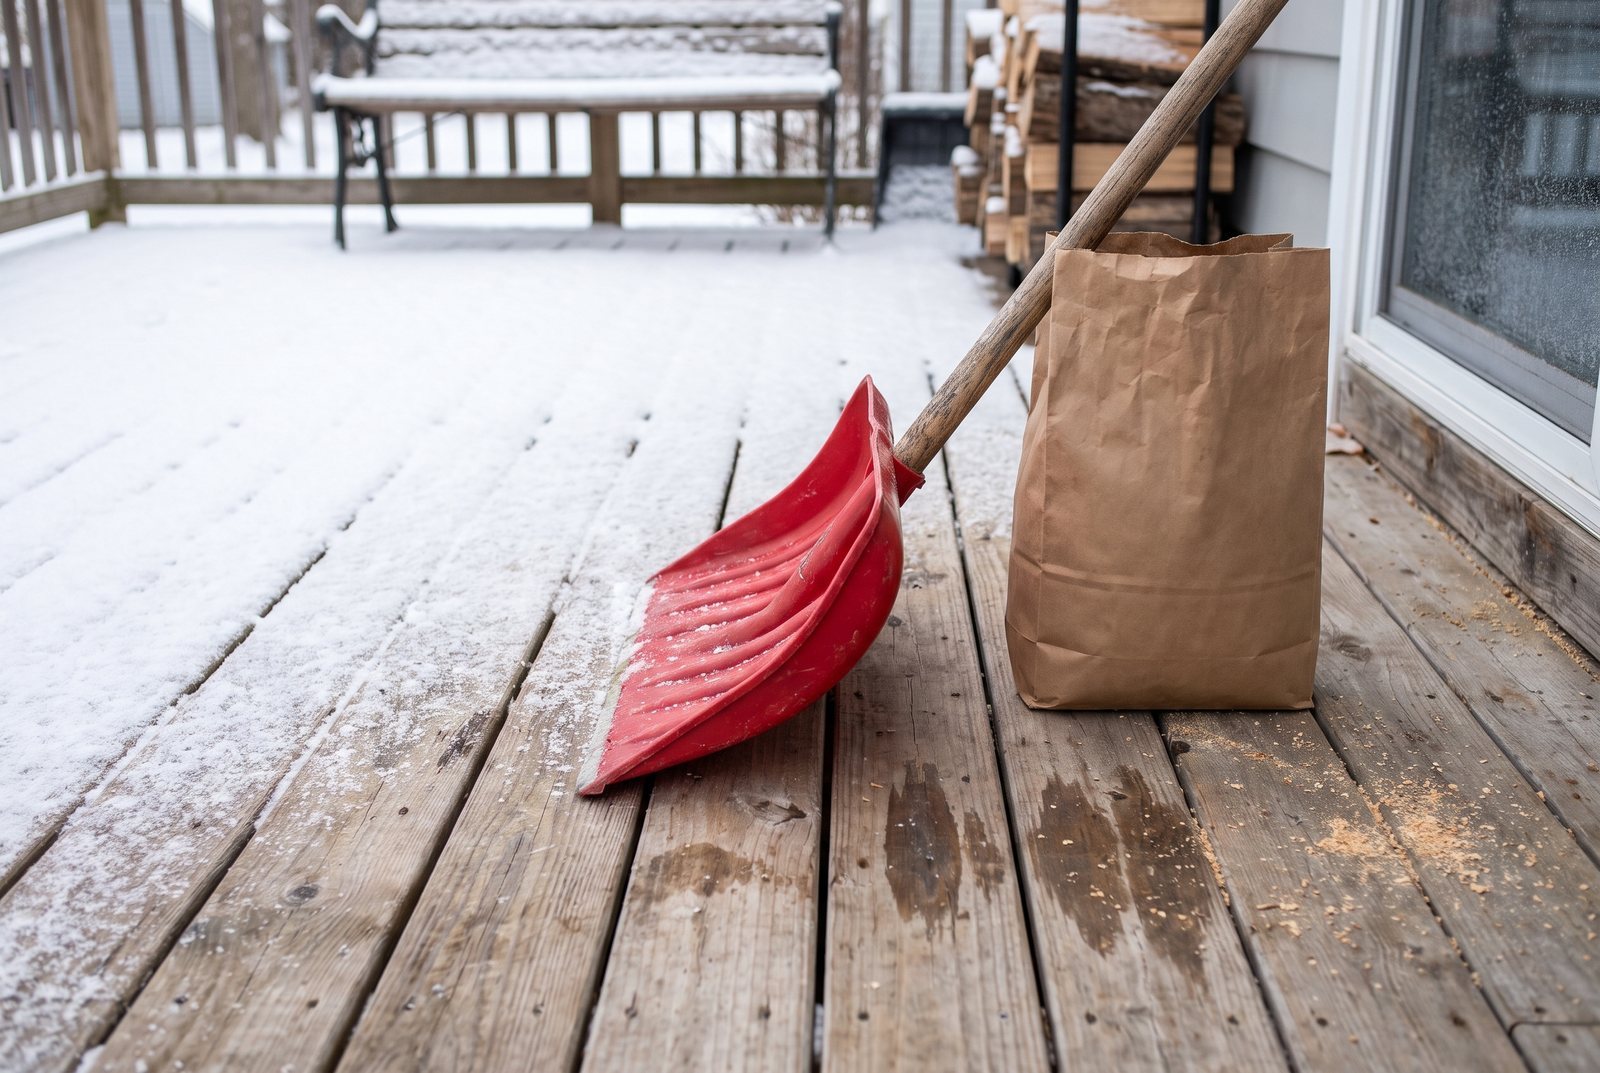
Never use a metal shovel on a deck. Metal edges gouge wood and scratch composite. Use a plastic shovel or a push broom for light snow.
Skip the rock salt. Sodium chloride corrodes metal fasteners and can damage both wood and some composite surfaces. If you need ice melt, calcium chloride-based products are generally safer, but check your decking manufacturer's recommendations first. Some composites have specific restrictions.
Don't cover the deck with a non-breathable tarp. It seems protective, but it traps moisture underneath and creates the exact conditions that cause mold, mildew, and rot. If you want to cover a section, use a breathable material.
The short version: your October deck checklist
If you want a quick reference to tape to the garage wall:
- Clear everything off the deck.
- Dig out debris between boards and from under-deck drainage.
- Inspect for rot, loose fasteners, and wobbly railings. Fix what you find.
- Clean the entire surface with the right cleaner for your material.
- Let wood dry at least 48 hours.
- Sand only where needed, up to 80-grit.
- Stain or seal wood decks when temps will stay above 50°F for the full cure period.
- Clean, cover, or store furniture and cushions.
- Switch to a plastic shovel and calcium chloride ice melt for the season.
Start with step one this weekend. The forecast won't wait.
Quick answers
Can I seal my deck if it's already below 50°F at night?
Nighttime lows matter less than the temperature during application and the hours immediately after. Most products need the air and surface to stay above 50°F for at least 4 to 6 hours while the initial drying happens. If your days are still warm enough but nights are cold, apply in the morning so the stain gets maximum warm hours. Once temperatures stay below 50°F during the day, wait until spring.
Do I need to seal a composite deck for winter?
No. Composite decking doesn't need stain, sealant, or any protective finish. Clean it, check the fasteners, clear debris from between the boards, and it's ready for winter.
Is wax a good sealer for an outdoor deck?
Wax is not recommended for exterior decks. It doesn't hold up to rain, UV, or foot traffic the way a penetrating stain or film-forming sealer does. Wax can also make the surface dangerously slippery when wet. Stick with a product designed for exterior deck use.
What grit sandpaper should I use on deck boards before staining?
Stay in the 60 to 80-grit range. Finer grits (above 80) can burnish the wood surface and close the pores, which prevents stain from absorbing properly. Start at 60 if you're removing old finish, then finish at 80.
Keep reading
All posts
How to Keep Fence Pickets Level on Uneven Ground
A string line, the right layout method, and a plan for your slope are all it takes. Here's how to get a straight fence top on ground that isn't.
Best Wood for Raised Garden Beds: Cedar, Redwood, PT, and Pine
Cedar, redwood, pressure-treated pine, and untreated pine compared for longevity, food safety, and cost. Clear recommendations by budget and climate.

How Deep Should Fence Post Holes Be? Depth and Concrete Guide
Learn how deep to dig fence post holes, how wide to make them for 4x4 and 6x6 posts, and how many bags of concrete you need. Covers frost lines by region.