How to Keep Fence Pickets Level on Uneven Ground
A string line, the right layout method, and a plan for your slope are all it takes. Here's how to get a straight fence top on ground that isn't.
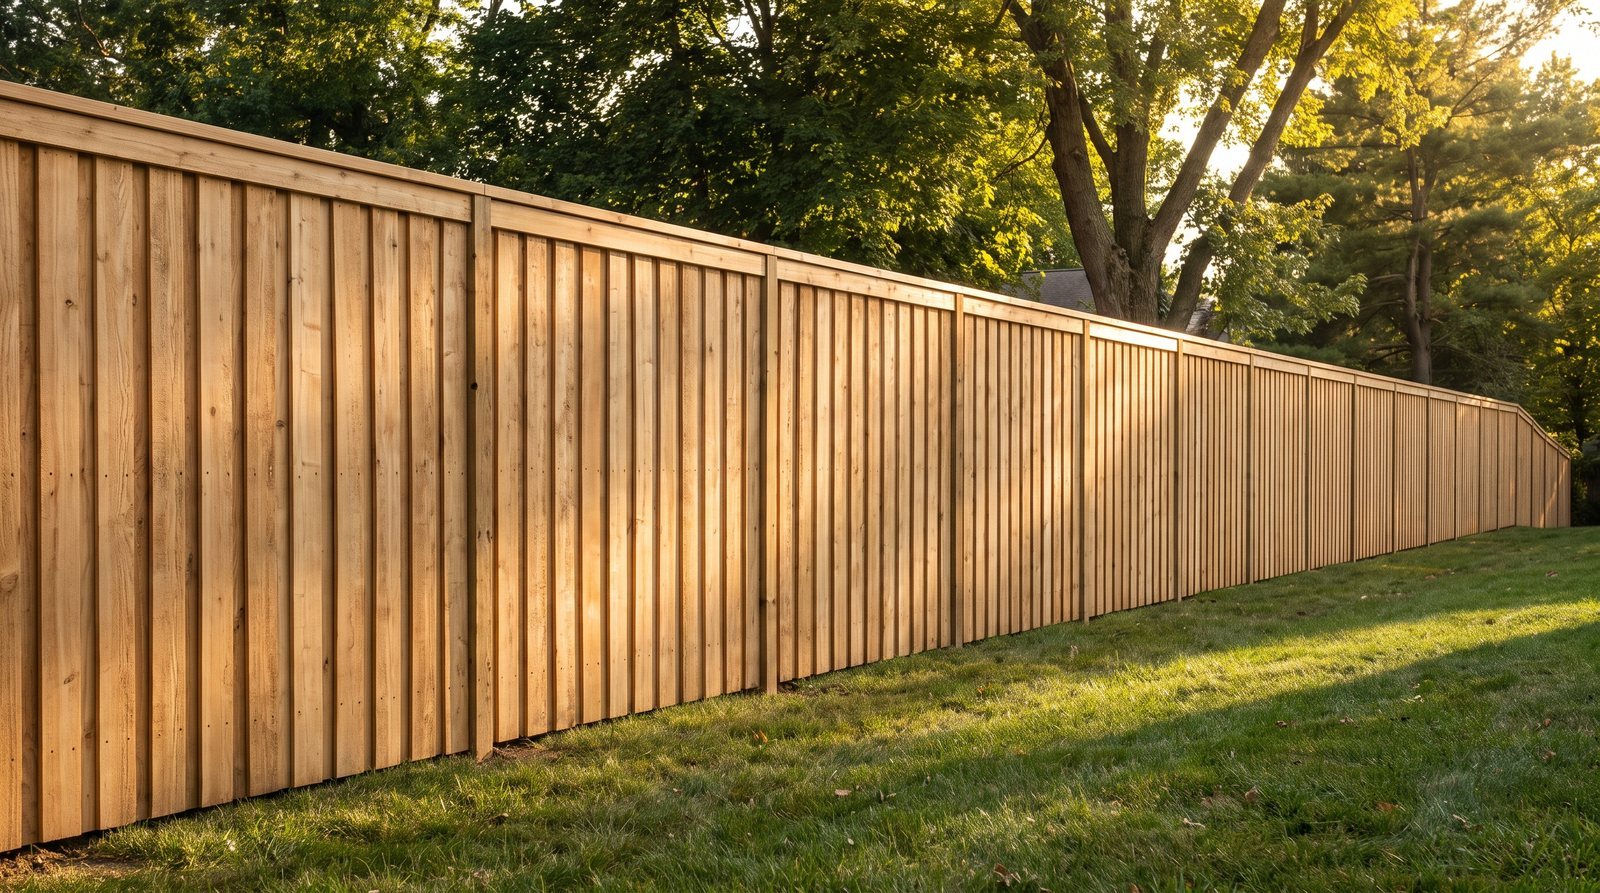
If your yard slopes, the top of your fence doesn't have to follow it like a roller coaster. You can get a clean, level top line on uneven ground with a mason's string line, the right approach for your slope, and some patience at the post-setting stage. This guide covers the two main methods (stepped and racked), walks through the string-line process that makes either one work, and explains the common mistakes that turn a weekend fence project into a month-long headache.
Stepped vs. racked: pick the right method for your slope
Before you set a single post, you need to decide how the fence will handle the grade change. There are two approaches, and choosing wrong means tearing things apart later.
Racked (also called raked or contoured). The rails angle to follow the slope of the ground. Every picket stays vertical, the gap between the bottom of the pickets and the ground stays consistent, and the top line flows smoothly downhill. It looks natural and keeps pets and kids from squeezing under triangular gaps. Racking works well on gentle to moderate slopes, generally up to about 15 degrees. Some manufacturers sell "double-punched" panels that can rack on slopes up to 28 to 30 degrees, but on anything steep you'll likely need to build stick-built (picket by picket) rather than use pre-assembled panels.
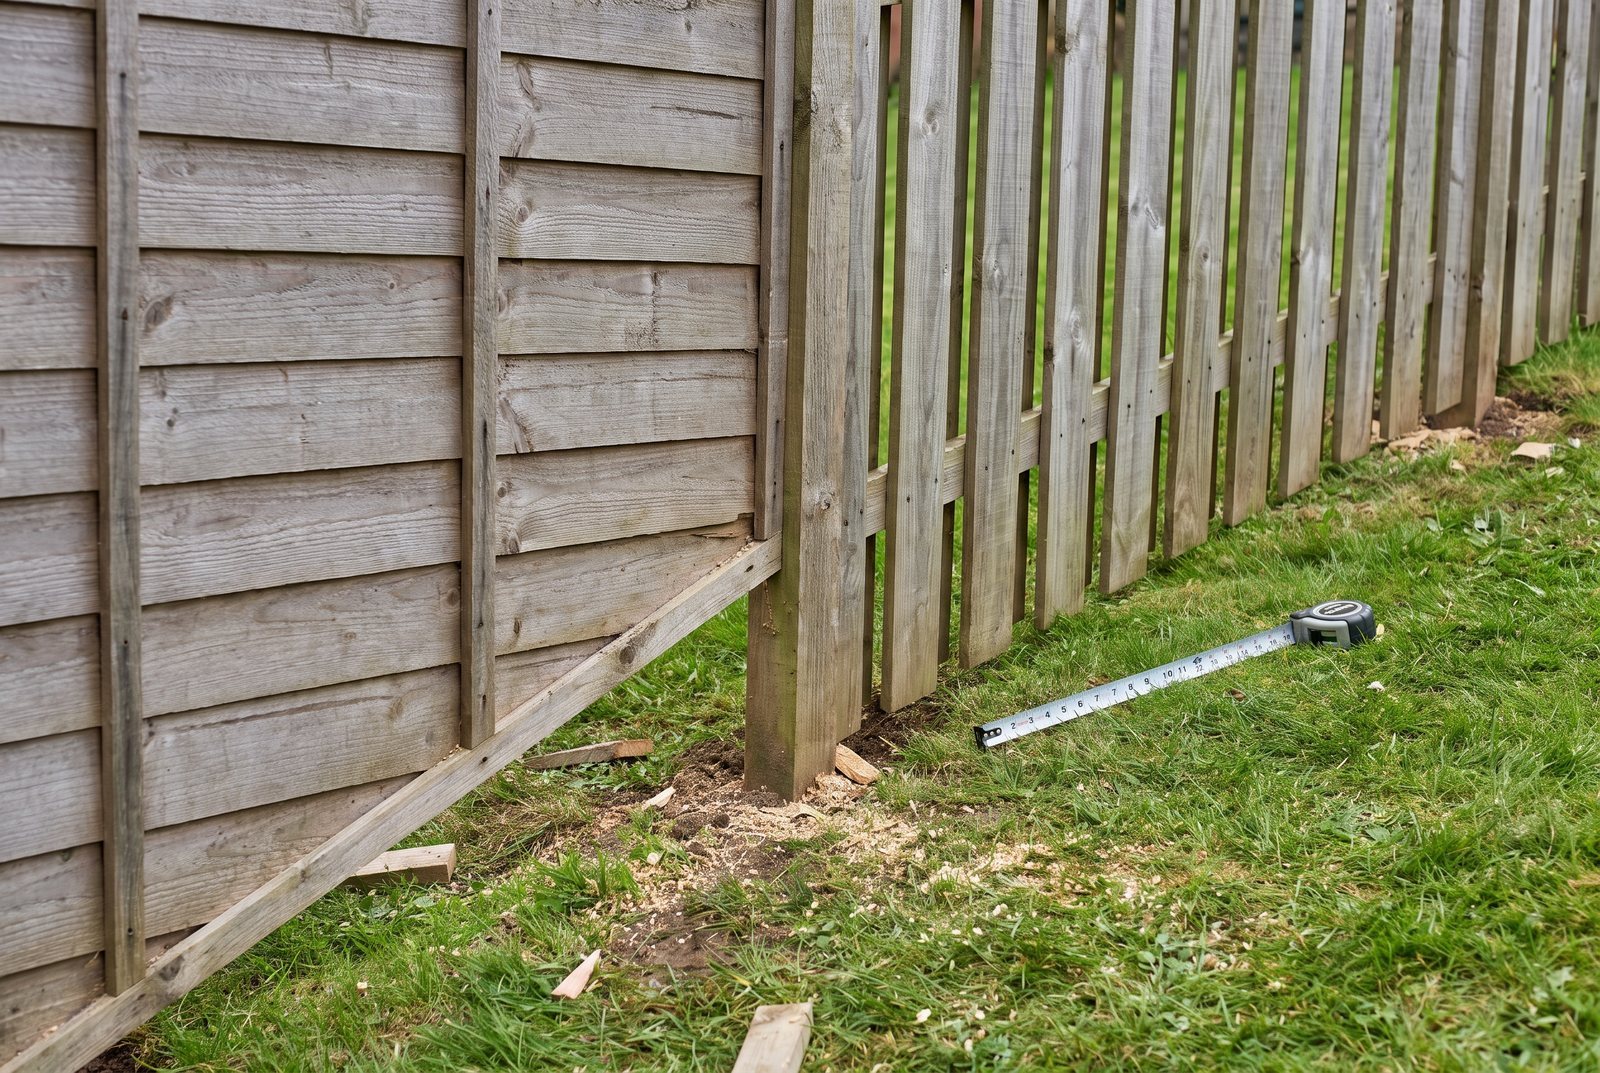
Stepped. Each section of fence is installed perfectly level, and the next section drops down like a stair step. The top line is a series of horizontal runs with clean drops between them. It looks sharp and formal, but it leaves triangular gaps under each panel where the ground falls away. Those gaps need to be dealt with (more on that below).
For most residential yards with a mild, steady slope, racking gives a cleaner result with less filler work. For steep or irregular terrain, stepping is more practical. You can also combine the two: rack the bottom of the fence to follow the ground while stepping the top for a level look. That hybrid approach is more labor-intensive and more expensive, but it solves both the gap problem and the aesthetics.
The string line: the one tool that matters most
The single biggest reason DIY fences end up with a wavy top line is skipping the string line. A mason's line is cheap, bright, and non-negotiable. Kite string stretches and sags. Chalk lines are for marking, not guiding. Use actual mason's line.
Here's the process:
- Set your end and corner posts first. Dig the holes at least 30 to 32 inches deep for a 6-foot fence (using 8-foot posts), or deeper if your local frost line requires it. Frost line depth varies from 0 inches in southern Florida to over 60 inches in northern states. Call your local building department if you're unsure. Set each post plumb (perfectly vertical in both directions) and pack it in concrete. A 10 to 12 inch diameter hole works well for a 4x4 post.
- Let the concrete cure. Fast-setting concrete can take stress in about 4 to 6 hours. Standard mix needs 24 to 48 hours. Below 40°F, it takes even longer. Don't rush this.
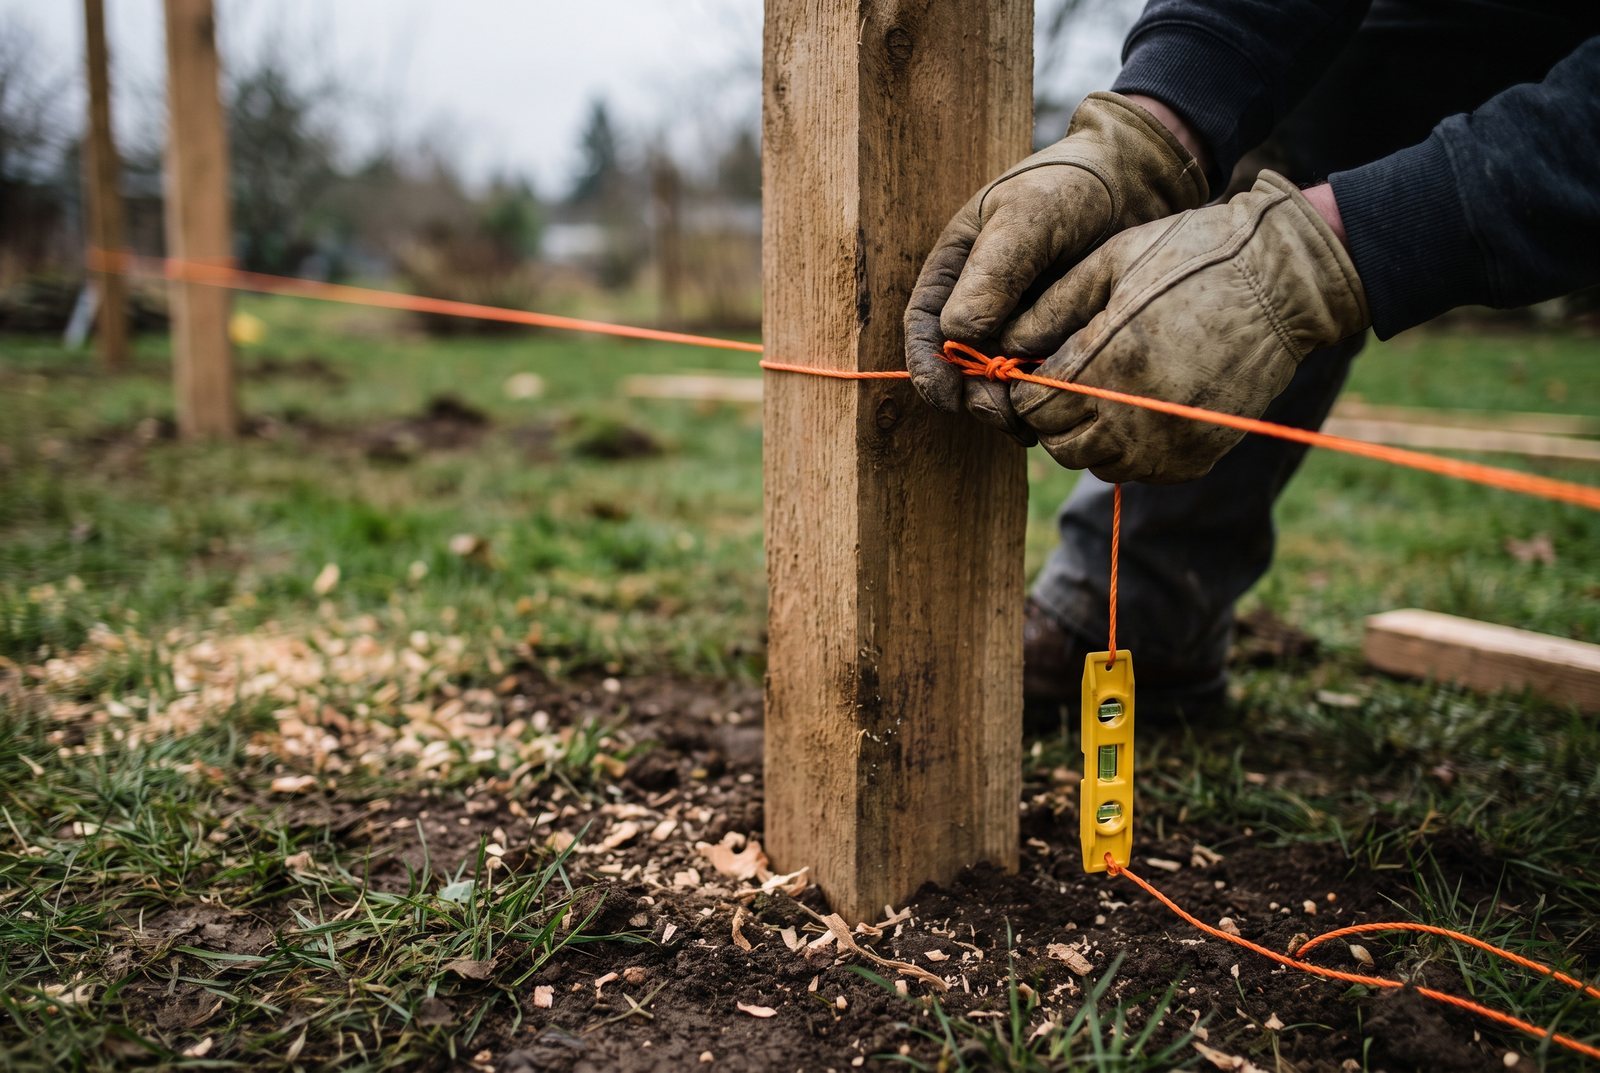
- Tie the mason's line to the first end post at the exact height you want the top of your pickets. Stretch it tight to the far end post.
- Hang a line level on the string and adjust until the bubble reads true. Now you have a perfectly horizontal reference across the entire run.
- Mark each intermediate post where the string touches it. That mark is your picket-top height at that post.
For a stepped fence, this level string line directly sets the top of each panel section. For a racked fence on a slope, you'll use the string line to establish the high point and the low point, then let the rails angle between posts while keeping the pickets' tops aligned to the string at each post location.
If your fence run is longer than about 50 feet, the string will sag under its own weight. Set an intermediate post first, pull the string to it, then continue to the next section. Work in segments.
Setting posts on a slope: where the real work happens
On flat ground, every post is the same height above grade. On a slope, that changes. The key is that the string line tells you where to cut (or where to set) each post top, not the ground surface.
For a stepped fence, you want every post in a given section to have the same top height. Then the next section drops. The size of each step depends on how much the ground falls between post locations. A common post spacing is 6 to 8 feet on center. Measure the elevation change over that distance and that's your step.
For a racked fence, the post tops will descend gradually. You can either buy longer posts and cut them to height after setting, or set them all tall and trim to the string line once the concrete has cured. Trimming after is more forgiving. Use a reciprocating saw or a circular saw (cutting from two sides on a 4x4) to get a clean, square cut.
One thing that catches people: when you rack a fence, the rails sit at an angle. That means the rail length between two posts is slightly longer than the horizontal distance. On a mild slope this difference is small (fractions of an inch over 8 feet), but on steeper grades it matters. Measure along the actual rail path, not just the flat distance.
Filling the gaps under a stepped fence
Stepping creates triangular voids between the bottom of each panel and the ground. If you have dogs, small children, or just don't like the look, you need a plan.
| Method | Cost | Effort | Best for |
|---|---|---|---|
| Grading soil up to the fence | Low | Moderate | Gentle slopes, rural lots |
| Pressure-treated kickboard along the bottom | Moderate | Moderate | Pet containment, clean look |
| Landscaping blocks or retaining wall | Higher | Higher | Steep drops, finished appearance |
| Planting beds or ground cover | Low | Low (ongoing maintenance) | Decorative yards |
A kickboard (sometimes called a rot board) is a horizontal board running along the bottom of the fence at ground level. It closes the gap and takes the brunt of moisture and soil contact, protecting your pickets. Use pressure-treated lumber for the kickboard since it will be in direct contact with the ground.
Building stick-built on a slope vs. using pre-made panels
Pre-assembled fence panels are convenient on flat ground. On a slope, they cause problems. Most panels can't be racked at all, and stepping them leaves those triangular gaps. If your yard has any real grade change, building stick-built (setting rails between posts, then attaching pickets one at a time) gives you far more control.
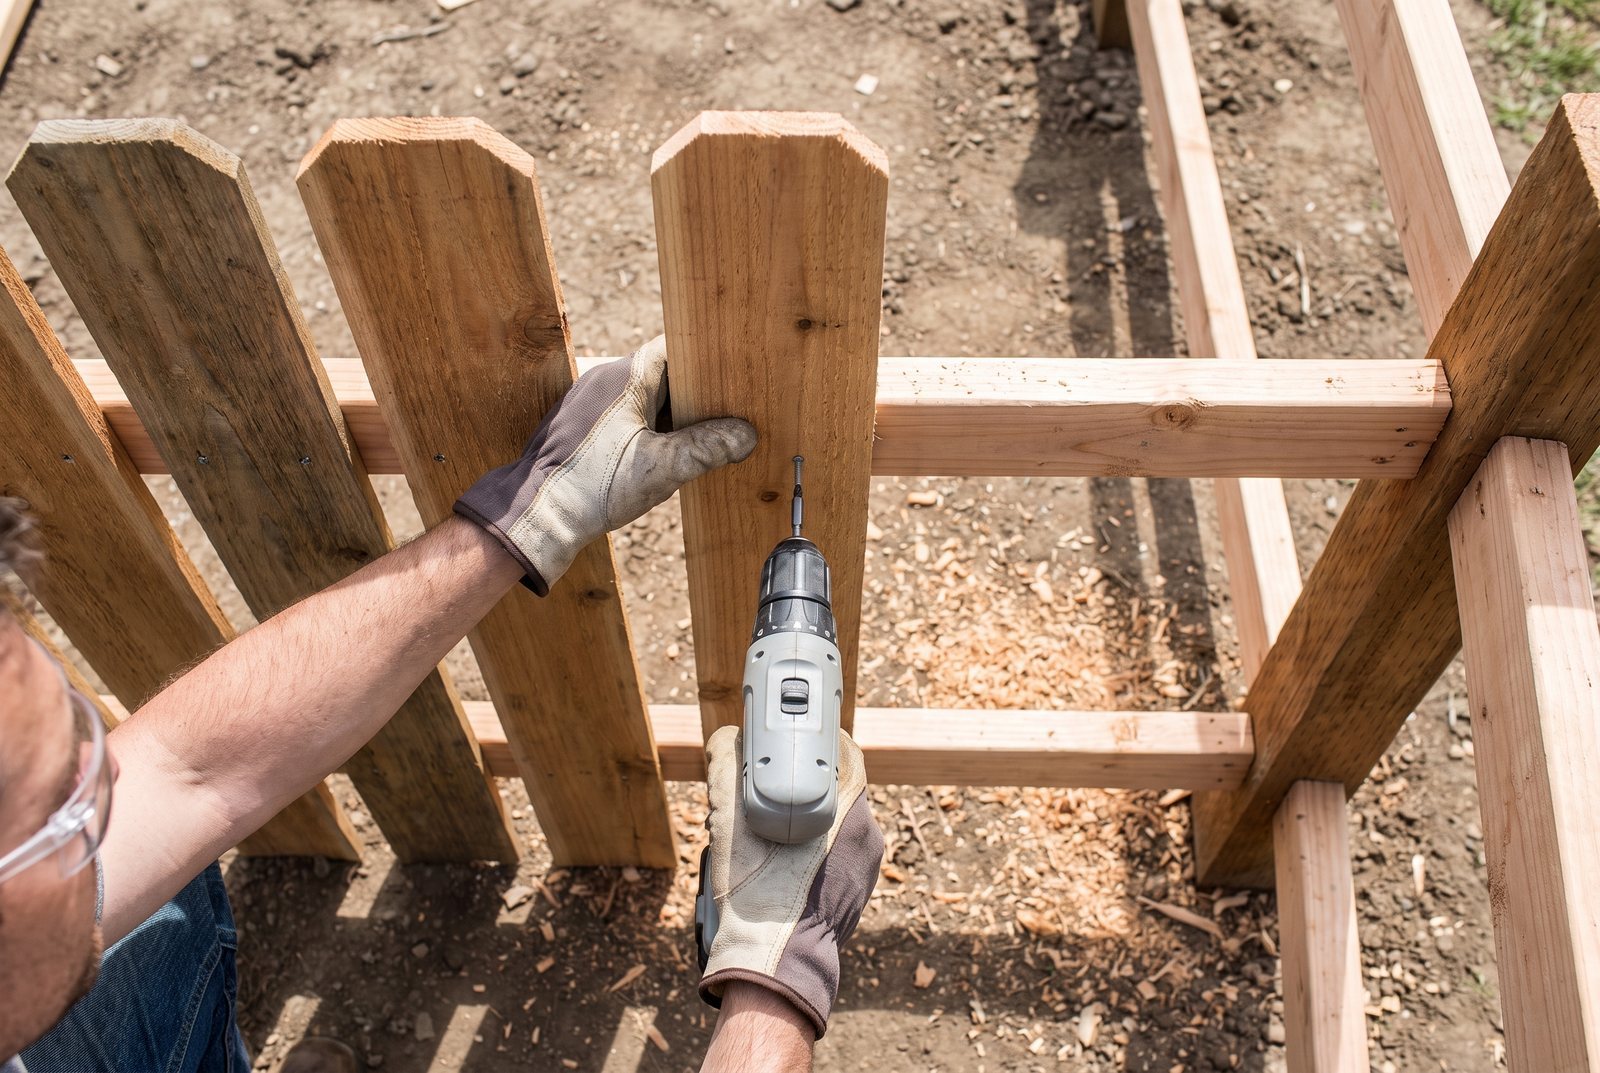
With stick-built construction, you can adjust each picket's height individually. You run your string line, set it level, and screw each picket so its top touches the string. The bottoms will vary with the terrain, but the top stays ruler-straight. Use 1-1/4" to 1-3/4" exterior-rated screws for 5/8" thick pickets. Star-drive (Torx) heads are worth the small premium because the driver bit doesn't slip out of the head the way a Phillips bit does, especially when you're driving hundreds of screws overhead.
Pressure-treated pine pickets (5/8" x 5-1/2" x 6') run about $2.50 to $3.50 each. Cedar pickets in the same size run $3.50 to $5.00 each. Cedar resists rot naturally and weathers to a silver-gray if left unfinished. Pressure-treated pine needs stain or sealer but costs less up front.
Before you dig: the stuff that's easy to forget
Call 811 before you dig. This is a national requirement. They'll mark buried utility lines for free. Hitting a gas line or a fiber optic cable is not a DIY problem you want.
Check your property lines. A professional survey costs far less than moving a fence. Don't assume the old fence was on the right line.
Pull permits if needed. Many municipalities regulate fence height, setback from property lines, and post-hole depth. Pool fences have especially strict codes, often requiring a maximum gap of just 2 inches between the fence bottom and the ground. Your local building department can tell you what applies.
Account for actual lumber dimensions. A 4x4 post is really 3.5" x 3.5". An 8-foot post is actually 8 feet, but the cross-section is smaller than the name suggests. This matters when you're calculating rail lengths and picket spacing.
Putting it together on build day
Set your end posts. Let them cure. Run your string line level between them. Set intermediate posts, checking each one against the string. Let everything cure fully. Then attach your rails (angled for racking, level for stepping) and start hanging pickets from one end, keeping every top edge kissing the string.
Work with a helper if you can. One person holds the picket plumb and tight to the string while the other drives the screws. Check plumb every few pickets with a short level. It's easy to drift, and once you're 20 pickets in, a small lean compounds into a visible wave.
If you're on a slope and want the cleanest possible result, set all your pickets a little long and trim the tops to the string line with a circular saw and a straight-edge guide after they're all up. This is slower but produces a perfectly straight top edge, even if individual pickets varied slightly in length from the lumber yard.
Quick answers
How do I keep the top of my fence pickets level on a slope?
Set your end posts first, run a taut mason's line between them at the desired fence height, and use a line level to make it perfectly horizontal. Align the top of every picket to that string. For runs over 50 feet, work in segments with intermediate posts to prevent sag.
Should I step or rack my fence on a hill?
Rack for gentle to moderate slopes (up to about 15 degrees) if you want a smooth top line and consistent ground clearance. Step for steeper slopes or a more formal look, but plan to fill the triangular gaps underneath with a kickboard, grading, or landscaping.
Can I use pre-made fence panels on uneven ground?
You can step them, but most pre-assembled panels can't be racked. On anything more than a very mild slope, building stick-built (picket by picket) gives you much better control over the top line and the ground gap.
How deep should fence post holes be?
At least one-third of the post length should be underground. For a 6-foot fence using 8-foot posts, that means 30 to 32 inches minimum. In cold climates, the hole must reach below the local frost line to prevent heaving. Check with your local building department for the required depth in your area.
Keep reading
All posts
Best Wood for Raised Garden Beds: Cedar, Redwood, PT, and Pine
Cedar, redwood, pressure-treated pine, and untreated pine compared for longevity, food safety, and cost. Clear recommendations by budget and climate.

How Deep Should Fence Post Holes Be? Depth and Concrete Guide
Learn how deep to dig fence post holes, how wide to make them for 4x4 and 6x6 posts, and how many bags of concrete you need. Covers frost lines by region.
How to Build a Plywood Garage Cabinet with a Circular Saw
A simple 3/4" plywood garage cabinet built with a circular saw and brad nailer. Covers plywood choice, cost, assembly, and tips for beginners.