Why Your DIY Paint Job Chips and How to Stop It
Paint chipping usually starts with skipped prep or rushed cure time. Learn the steps, products, and wait times that keep furniture and walls chip-free.
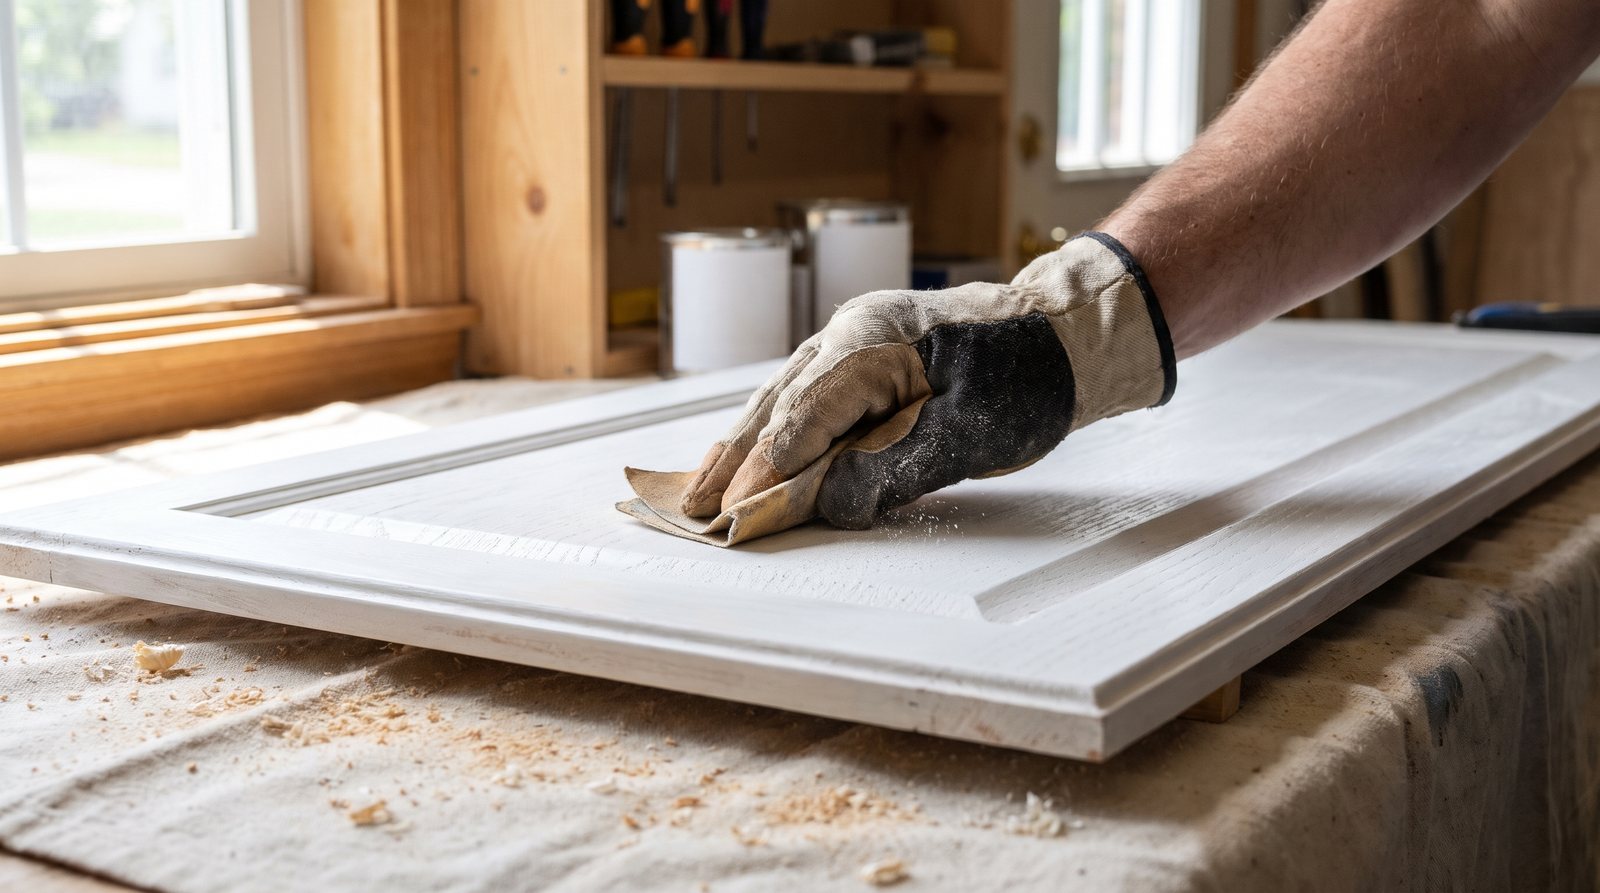
If your freshly painted dresser, cabinet, or wall is already flaking after a few weeks, the problem almost certainly started before you opened the paint can, or right after you closed it. Paint chips when it can't bond to what's underneath, and that failure traces back to one of a handful of skipped steps: dirty surfaces, no deglossing, no primer, coats that went on too thick, or a finish that never got time to fully cure.
This guide walks through each of those failure points with the specific grits, products, and wait times that actually prevent chipping, so the next piece you paint stays painted.
The real reason paint peels off furniture and walls
Paint doesn't stick to grime, grease, or gloss. It sticks to clean, slightly rough surfaces. When you skip cleaning or deglossing, the paint bonds to whatever sits on top of the old finish (dust, cooking grease, furniture polish) instead of the finish itself. That weak link eventually lets go, and the paint lifts off in sheets or chips.
Moisture is the other common villain. In kitchens and bathrooms, water vapor can work its way behind a paint film and push it off from underneath, causing bubbles and peeling. Painting on a surface that's still damp from cleaning does the same thing.
There's also a compatibility issue many people don't know about: if the old finish is oil-based and you roll latex paint straight over it without a bonding primer, the two layers simply will not hold together. They're chemically incompatible.
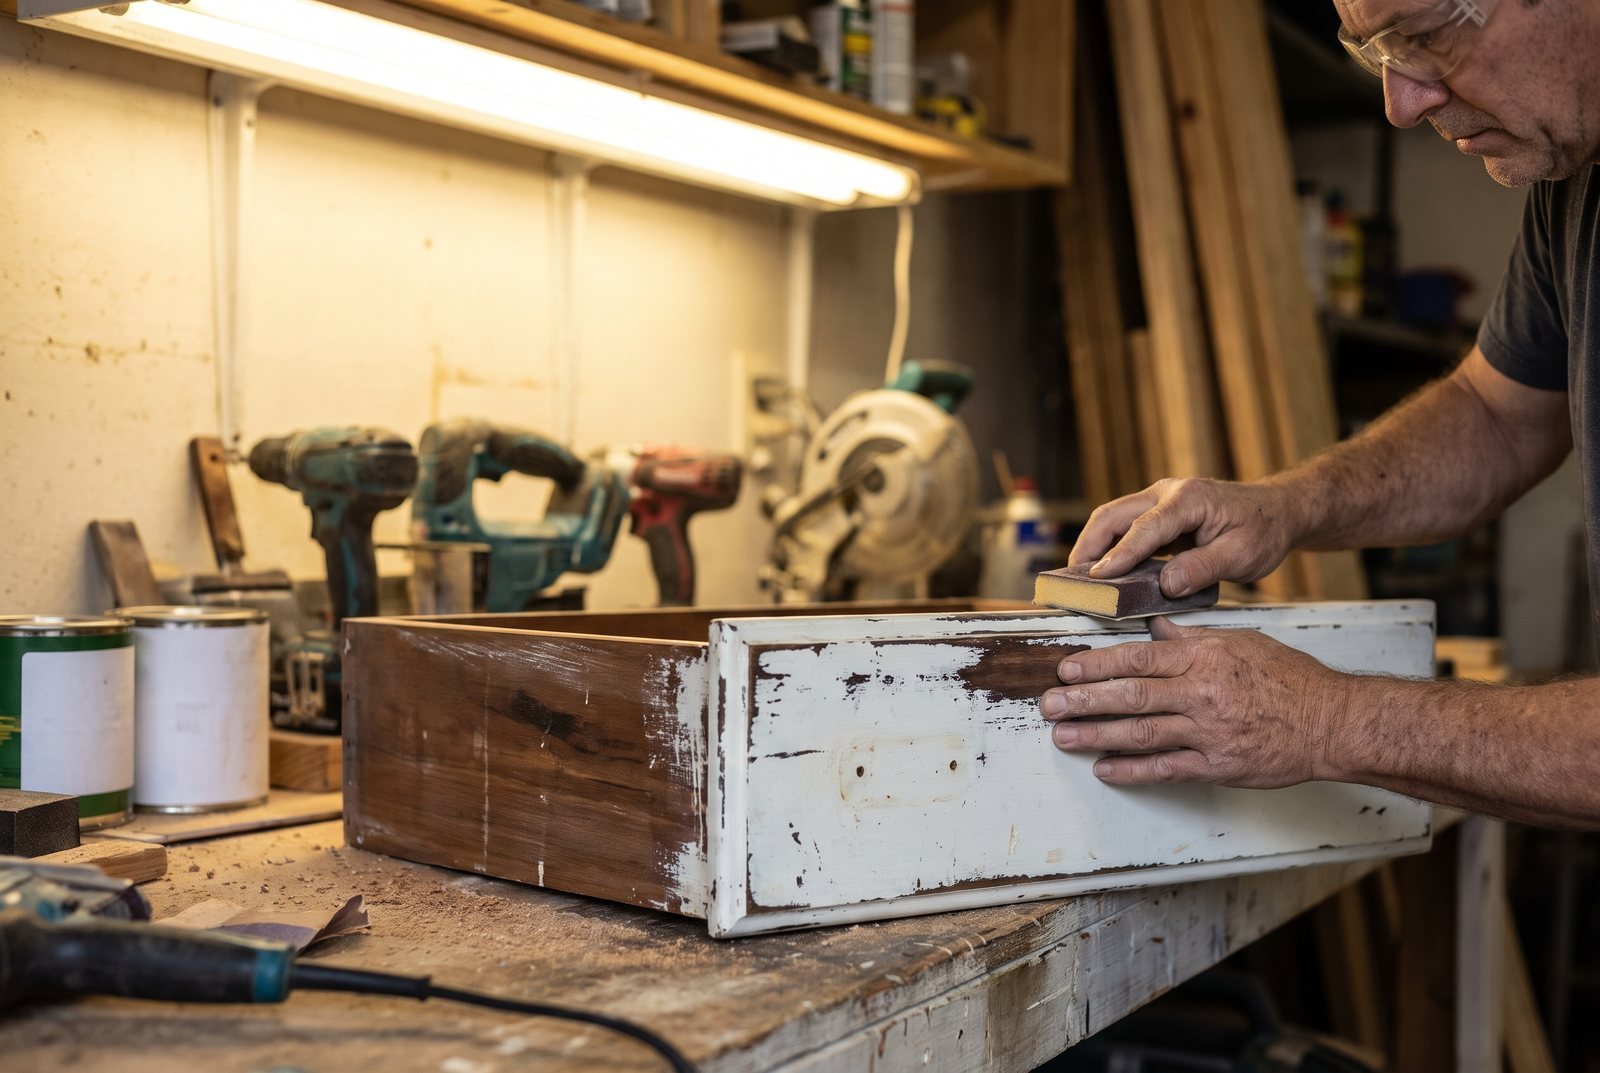
Deglossing: give the new paint something to grip
A glossy or semi-gloss old finish is slick by design. New paint on a slick surface is like tape on a wet window. Deglossing removes that shine and creates microscopic texture ("tooth") for the primer or paint to grab.
You have two options: sanding or a chemical deglosser.
Sanding is the traditional route. For dulling an existing gloss finish, 180 to 240 grit sandpaper is the right range. You're not trying to strip the old paint, just scuff it. On previously painted wood furniture, 120 to 240 grit works for general prep. If you've filled dents or scratches with wood filler, start at 120 grit to level the patch, then finish with 180 to 240 grit to smooth it.
Chemical deglossers (sometimes called liquid sandpaper) are faster on detailed or ornate surfaces like raised-panel cabinet doors or turned chair legs where sanding every crevice is tedious. You wipe the product on with a cloth, and it softens and dulls the old finish. Klean-Strip Liquid Sandpaper runs around $6 per quart, and M-1 Paint Deglosser is about $13 per gallon at The Home Depot.
The trade-off: a chemical deglosser won't smooth out imperfections, fill scratches, or level old drips. Only sanding does that. And some very durable factory-applied cabinet coatings or oil-based polyurethanes may resist chemical deglossers entirely, so always do a test spot in an inconspicuous area first. Many experienced painters maintain that a light scuff-sand is always superior for adhesion, and we'd agree for any high-use surface like a kitchen table or cabinet face.
One safety note: if your home was built before 1978, the existing paint may contain lead. Do not dry-sand without proper containment and a respirator. Wet sanding or a chemical deglosser are safer alternatives for lead-suspect surfaces. For more on choosing between these prep methods, see our guide on TSP alternatives, sanding, and deglossers for furniture prep.
Cleaning before you prime
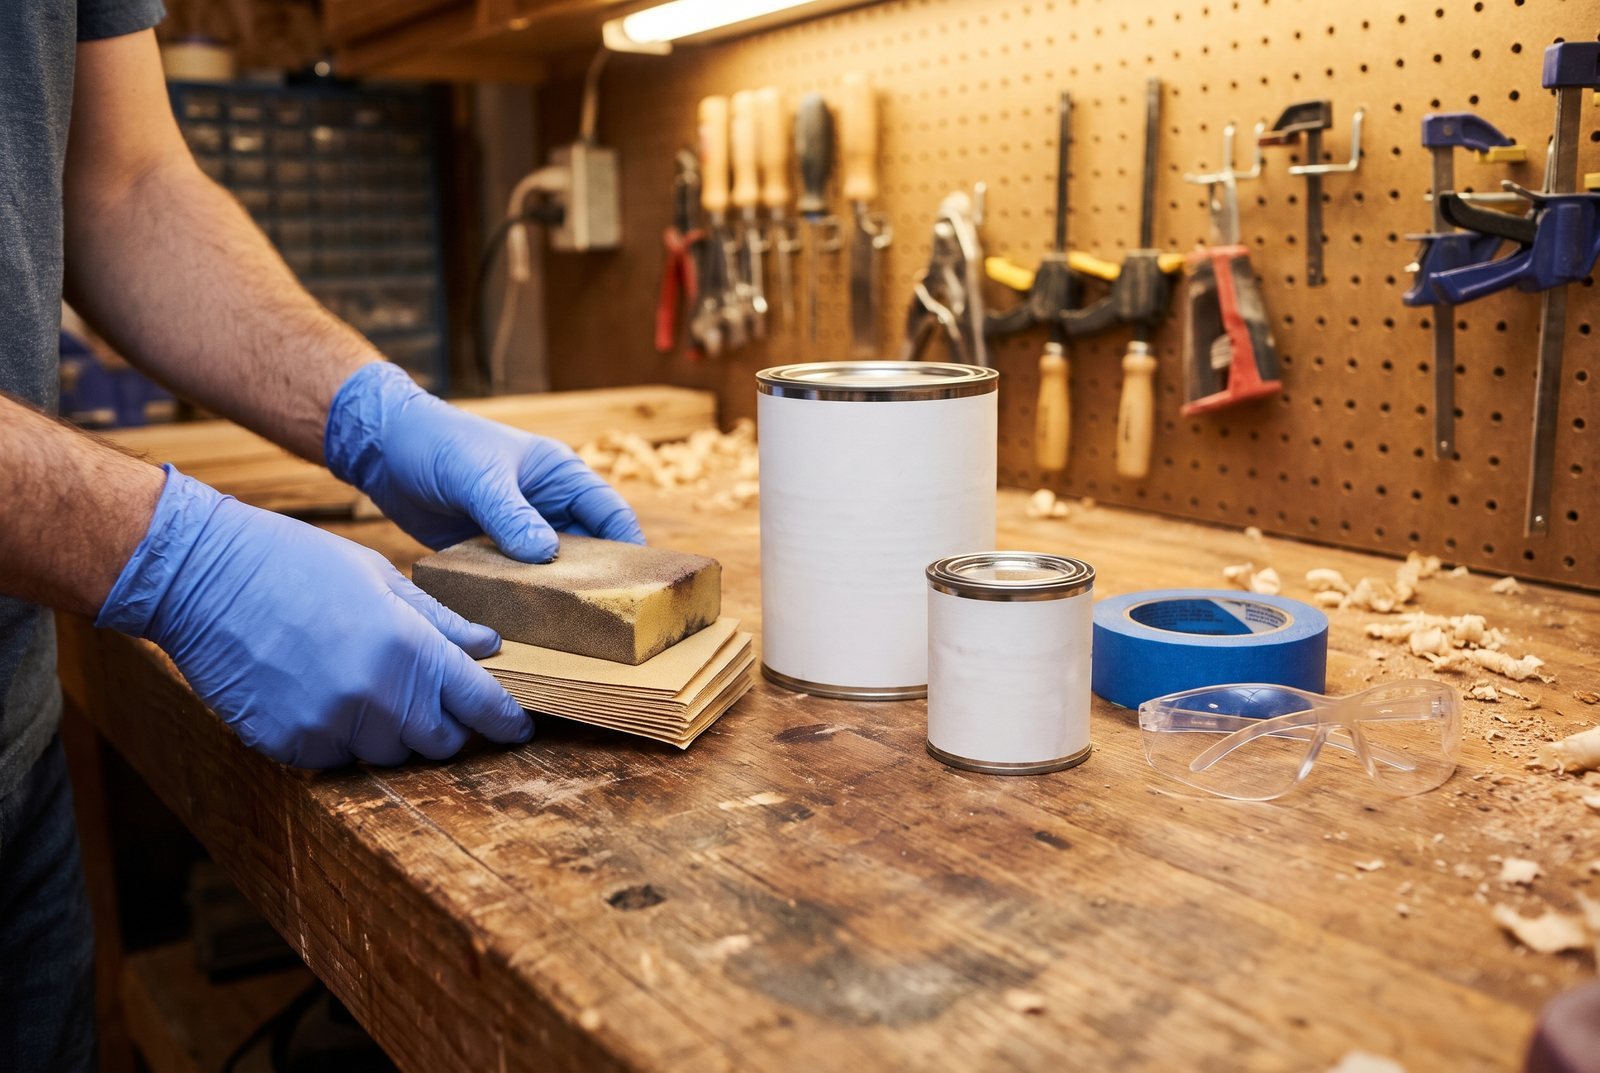
Even after deglossing, the surface needs to be clean. Sanding dust left behind is just another layer of loose material between your primer and the old finish. Wipe everything down with a tack cloth or a damp rag and let it dry completely.
For kitchens or anywhere grease accumulates, use a TSP substitute or a mild degreaser mixed with water, then rinse. "Completely dry" means actually dry, not just mostly dry. Give it at least 30 minutes in a well-ventilated room, longer in humid conditions.
Primer is the glue between old and new
Primer is formulated for adhesion. Topcoat paint is formulated for color and durability. They're different products doing different jobs, and skipping primer on furniture or cabinets is probably the single most common reason DIY paint jobs fail.
You need primer when painting over glossy or slick surfaces (even after deglossing), on new or patched drywall, when making a dramatic color change, over tannin-rich woods like cedar or redwood, and after cleaning up water or smoke stains.
The type of primer matters:
| Surface or Problem | Primer Type | Example Product | Approx. Price (Oct. 2026) |
|---|---|---|---|
| Glossy paint, tile, vinyl | Bonding primer | BEHR Bonding Primer | From $54.98/gal |
| Glossy paint, slick surfaces | Bonding primer | Sherwin-Williams Extreme Bond | $85-$90/gal |
| Water stains, smoke, tannin bleed | Stain-blocking primer | Zinsser B-I-N (shellac-based) | ~$32/qt |
| Water stains, smoke | Stain-blocking primer | KILZ Original (oil-based) | ~$33/gal |
| New, unpainted drywall | Drywall primer/sealer | BEHR Drywall Plus Primer & Sealer | From $23.98/gal |
Kathartic Studios' kitchen cabinet refinishing project is a good example of this full sequence in action. That project takes glossy wood cabinets through stripping, sanding, and priming before the topcoat goes on, which is exactly the kind of thorough prep that produces a chip-free white finish on a surface that gets opened and closed dozens of times a day.
Thin coats beat thick coats every time
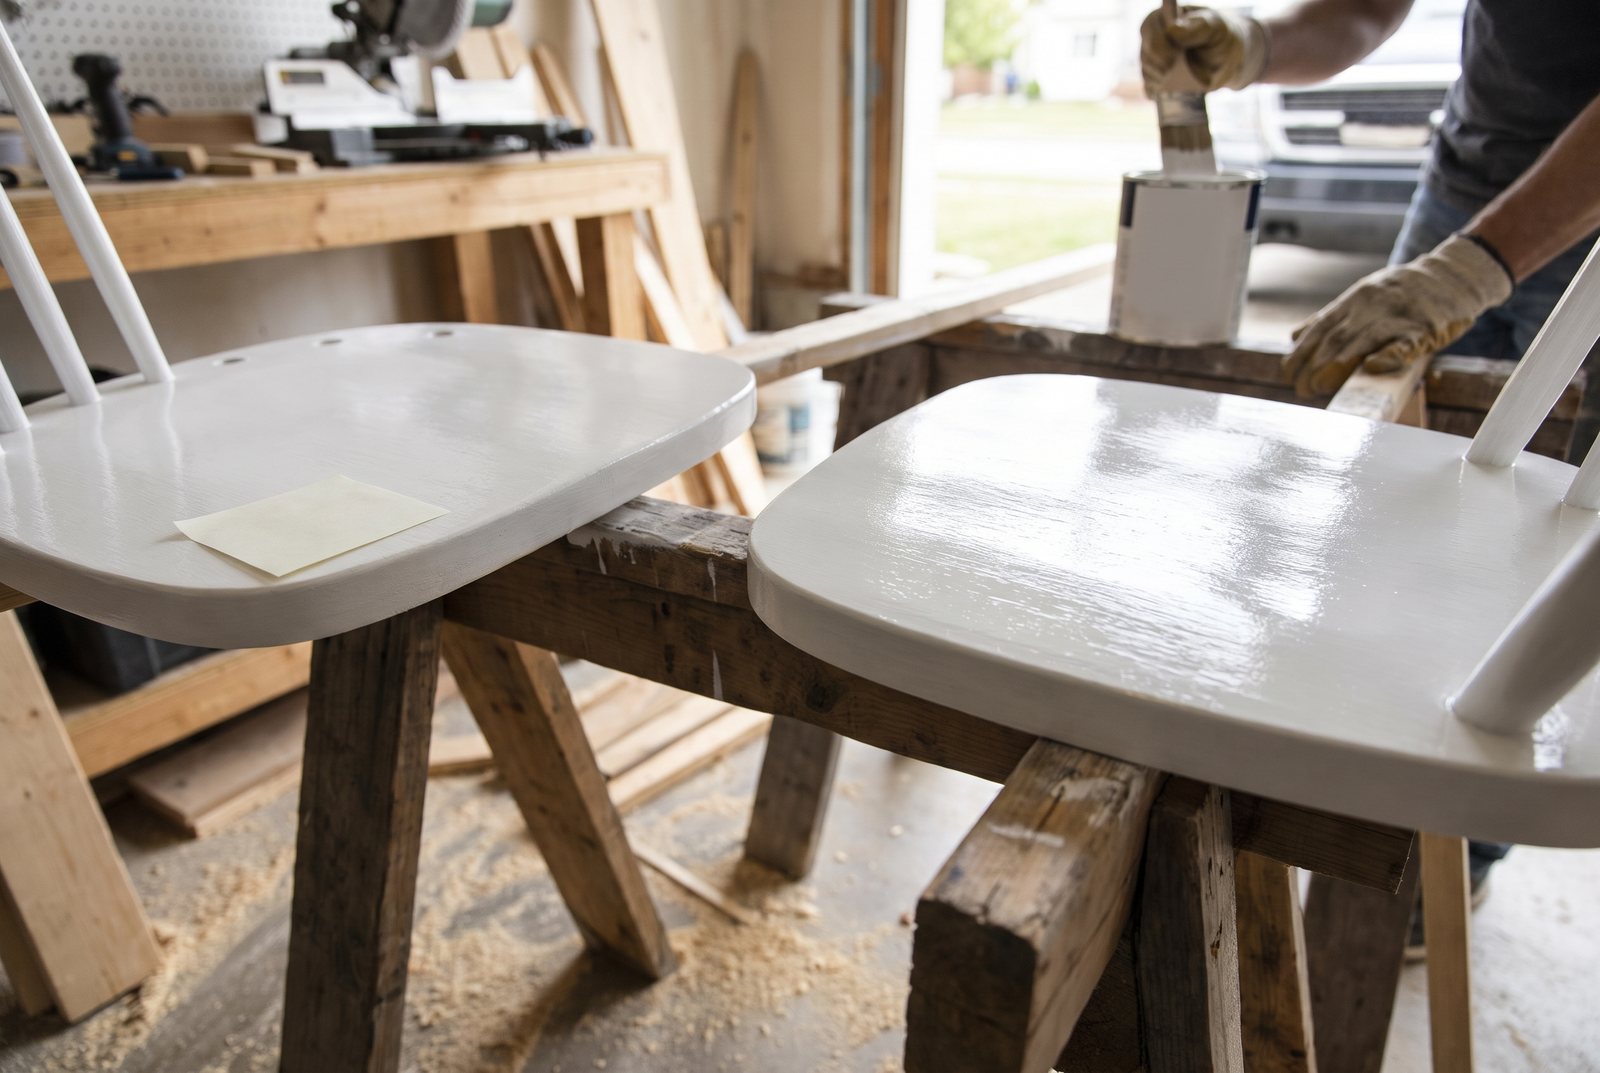
A thick coat of paint feels like you're saving time. You're not. A thick layer dries unevenly: the outside skins over while the paint underneath stays soft. That creates a weak, unstable film that's far more likely to chip, peel, or show imprints.
Two thin, even coats will outperform one thick coat in adhesion, smoothness, and durability. Wait for the manufacturer's recommended recoat time between coats, typically 2 to 4 hours for latex paint. Rolling or brushing over a coat that hasn't dried enough can re-soften the first layer and cause it to lift.
One gallon of paint covers roughly 350 to 400 square feet on a smooth, primed surface. Primer coverage is lower, around 200 to 300 square feet per gallon, because it's designed to soak in and seal.
A common panic moment: you sand lightly between coats and the color gets noticeably lighter. That's normal. You're scuffing the surface of the first coat, not ruining it. The second coat will restore full color and give you a smoother finish.
Dry vs. cured: the distinction that saves your finish
Here's where patience matters most, and where most people get tripped up. Your paint can feel dry to the touch in about an hour. That does not mean it's ready for use.
Drying is just the evaporation of water (in latex paint) or solvents. The surface isn't tacky anymore, but the paint film is still soft and vulnerable.
Curing is the longer chemical process where the paint film cross-links and hardens to its full strength. Until curing is complete, the finish can dent, scuff, and chip far more easily than it will once it's fully hardened.
The time difference is dramatic. Latex and acrylic paints are dry to the touch in about 1 hour but take 2 to 4 weeks to fully cure. Oil-based paints dry to the touch in 6 to 8 hours but cure in roughly 7 days. Specific products can vary: Behr Marquee Interior takes 4 weeks to reach full cure, and Sherwin-Williams Emerald Interior Latex can take up to 30 days.
These numbers assume ideal conditions, around 77°F and 50% humidity. If your space is cooler or more humid, curing takes even longer.
What to do (and not do) during the cure window
For the first 2 to 4 weeks after your final coat:
- Don't push furniture against freshly painted walls.
- Don't hang pictures or mount shelves.
- Don't scrub or wash the surface. Wait at least two weeks before cleaning newly painted walls, and even then, use a soft cloth.
- Don't stack freshly painted cabinet doors face to face.
- Keep the room temperature between 60°F and 85°F. Below 50°F, latex paint molecules can't fuse together properly, and the film may never reach full hardness.
- Keep humidity below 70%. The ideal range is 40% to 50%.
This waiting period is the hardest part of any paint project, especially on cabinets or furniture you need to use. But it's also the cheapest insurance against chipping. You've already spent the money on primer and paint and the hours on prep. Giving the finish time to harden costs nothing. For a deeper look at recoat and cure timing, our post on how long to let paint dry between coats breaks it down by product type.
The full sequence, start to finish
- Clean the surface with detergent and water (or a degreaser for kitchens). Rinse. Let it dry completely.
- Degloss by scuff-sanding with 180 to 220 grit, or apply a chemical deglosser. Wipe away all dust.
- Prime with the correct primer for your surface. Let it dry per the label.
- Apply the first thin coat of paint. Wait the recommended recoat time (2 to 4 hours for most latex).
- Apply the second thin coat.
- Wait 2 to 4 weeks before heavy use, cleaning, or placing objects against the surface.
Skip any one of those steps and you're rolling the dice on adhesion. Follow all of them and the finish will hold up for years.
The first thing to do before your next paint project: check the old finish. Run your fingernail across it. If it's glossy and slick, you know deglossing is non-negotiable. That one test tells you whether you're set up for success or headed for another round of chipping.
Quick answers
How long should I wait between coats of paint?
For most latex paints, wait 2 to 4 hours between coats. Check the label on your specific product. Painting over a coat that's still wet can cause the first layer to lift and peel.
Why is my paint chipping off furniture after a few weeks?
Almost always because of skipped prep (no cleaning, deglossing, or priming) or because the paint hadn't fully cured before the piece was put to use. Latex paint takes 2 to 4 weeks to reach full hardness.
Do I need primer before painting over old paint?
If the old paint is glossy, oil-based, or you're making a big color change, yes. A bonding primer gives the topcoat something to grip. On flat or matte latex over the same, you can sometimes skip it, but primer is cheap insurance on furniture and cabinets.
Is a chemical deglosser as good as sanding?
It's faster and dust-free, which matters on detailed trim or when lead paint might be present. But it won't fix scratches, drips, or rough spots. For high-use surfaces like kitchen cabinets or tabletops, a light scuff-sand (180 to 220 grit) generally gives better adhesion.
The project in this post
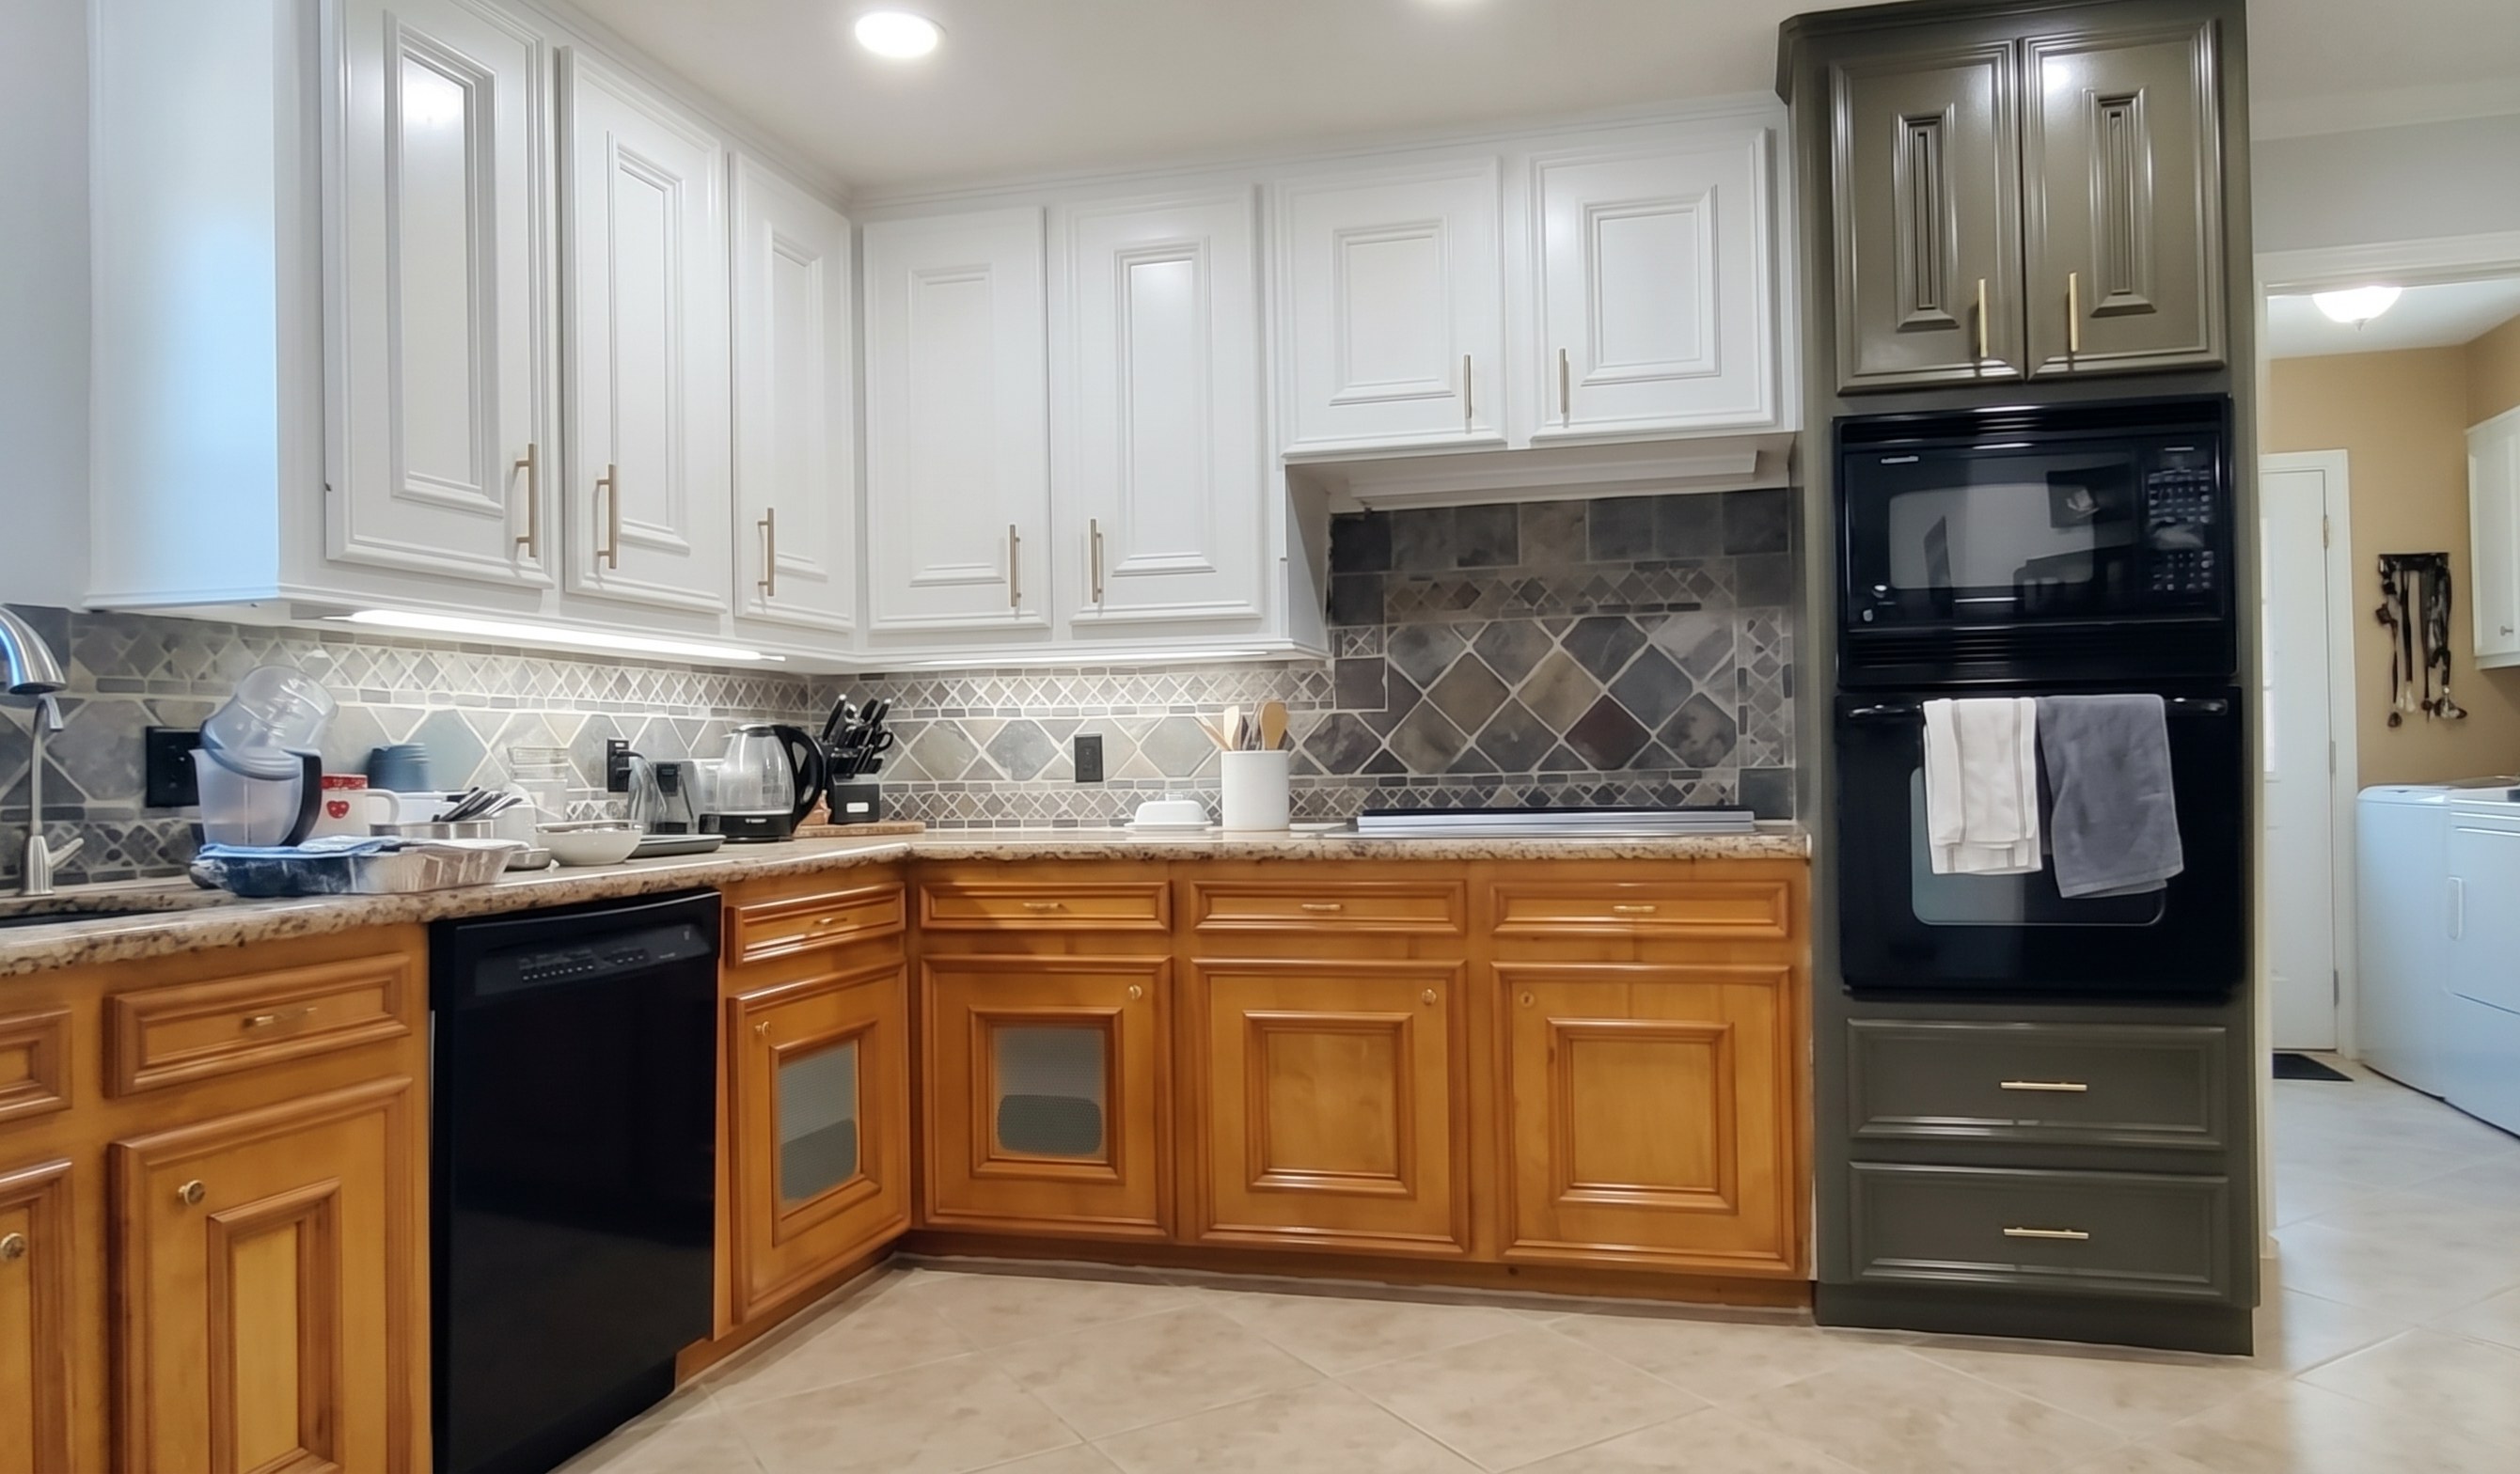
Refinishing and Painting Kitchen Cabinets
by Kathartic Studios
Open the project guideKeep reading
All posts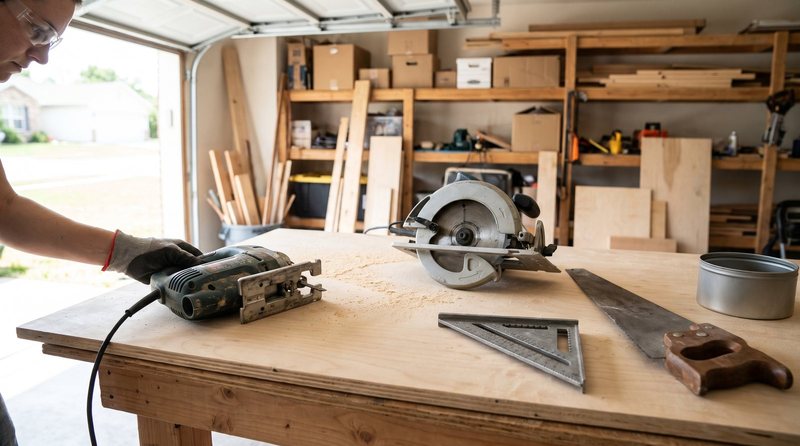
Tool Substitutions: When Smaller Saws Replace the Big Ones
A practical guide to using a jigsaw, circular saw, or hand tools in place of a table saw, band saw, miter saw, or router, plus where quality drops.
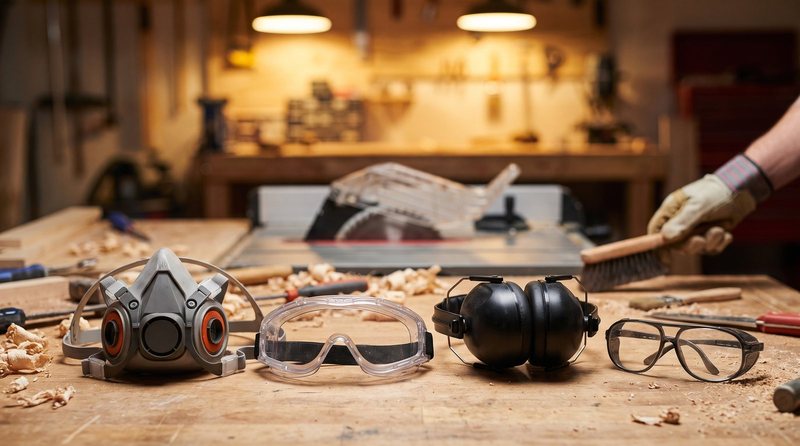
Safety Gear for DIY Woodworking: What to Wear for Each Task
Which safety gear you actually need for sanding, sawing, routing, and finishing wood. Task-specific PPE picks, common gaps hobbyists miss, and what to spend.
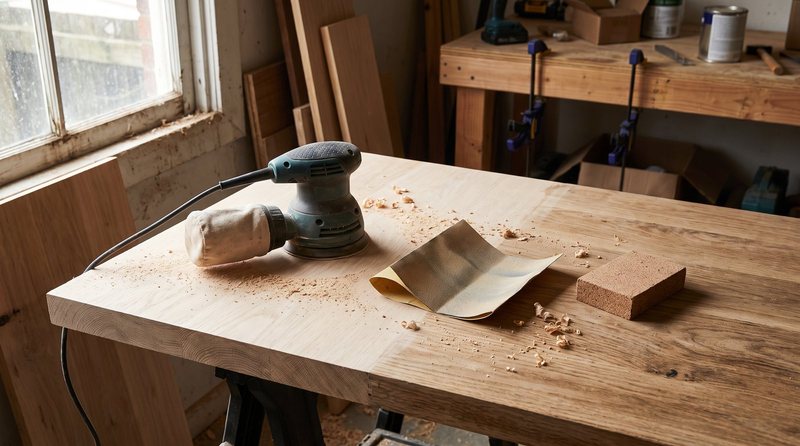
Orbital Sander vs Hand Sanding: When to Use Which
A scenario-by-scenario look at when to use an orbital sander and when hand sanding works better, covering flat surfaces, curves, edges, and more.