How to Support Plywood for Solo Cutting Without a Table Saw
Three setups for cutting a full 4x8 plywood sheet alone: foam board on the ground, 2x4 rails on sawhorses, and a cutting grid with dimensions and costs.
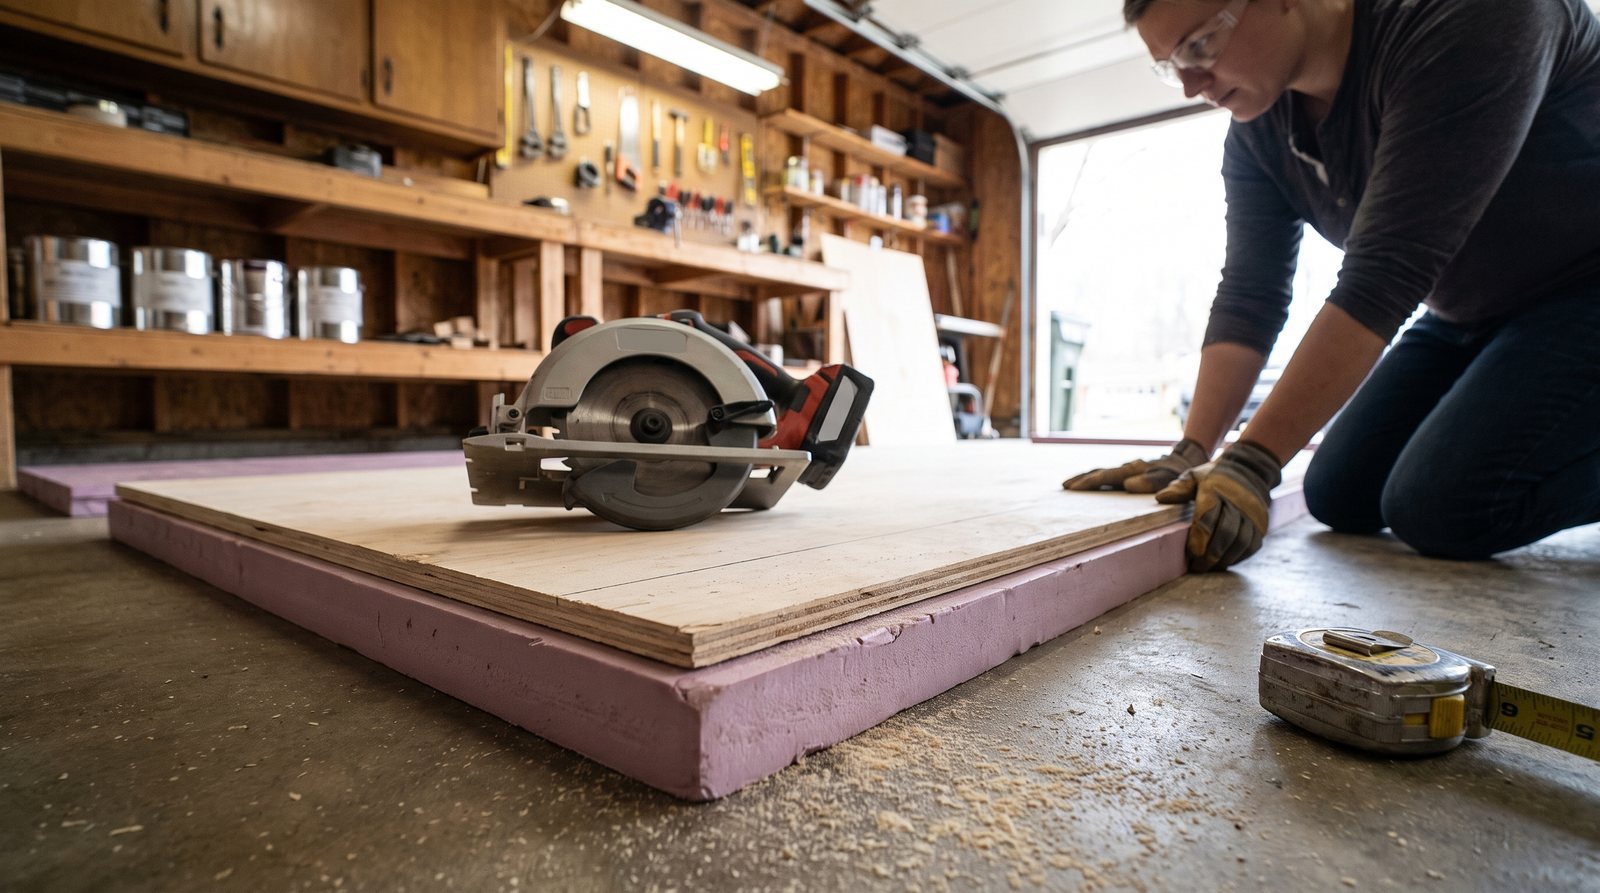
You can break down a full 4x8 sheet of plywood alone, safely and accurately, with no table saw and no helper. What you need is a way to support the entire sheet so nothing sags, binds, or drops mid-cut. This article covers three setups that work, from the simplest (a sheet of foam on the floor) to a reusable cutting grid on sawhorses. Each one costs under $50 in materials, and any of them pairs well with a circular saw and a straightedge guide.
The foam board method: simplest and fastest
Buy a single 4x8 sheet of 1.5-inch rigid foam insulation. Lay it on a flat surface (garage floor, driveway, patio slab) and set the plywood on top. That is your cutting platform. The foam supports the plywood across its entire area, so neither the main piece nor the offcut can drop or pinch the blade.
Set your circular saw blade depth to the plywood thickness plus about 1/8 to 1/4 inch. On 3/4-inch plywood, that means roughly 7/8 to 1 inch of blade exposure. You will score into the foam a little with each cut, which is fine. A 1.5-inch foam board can absorb dozens of cuts before it stops being useful.
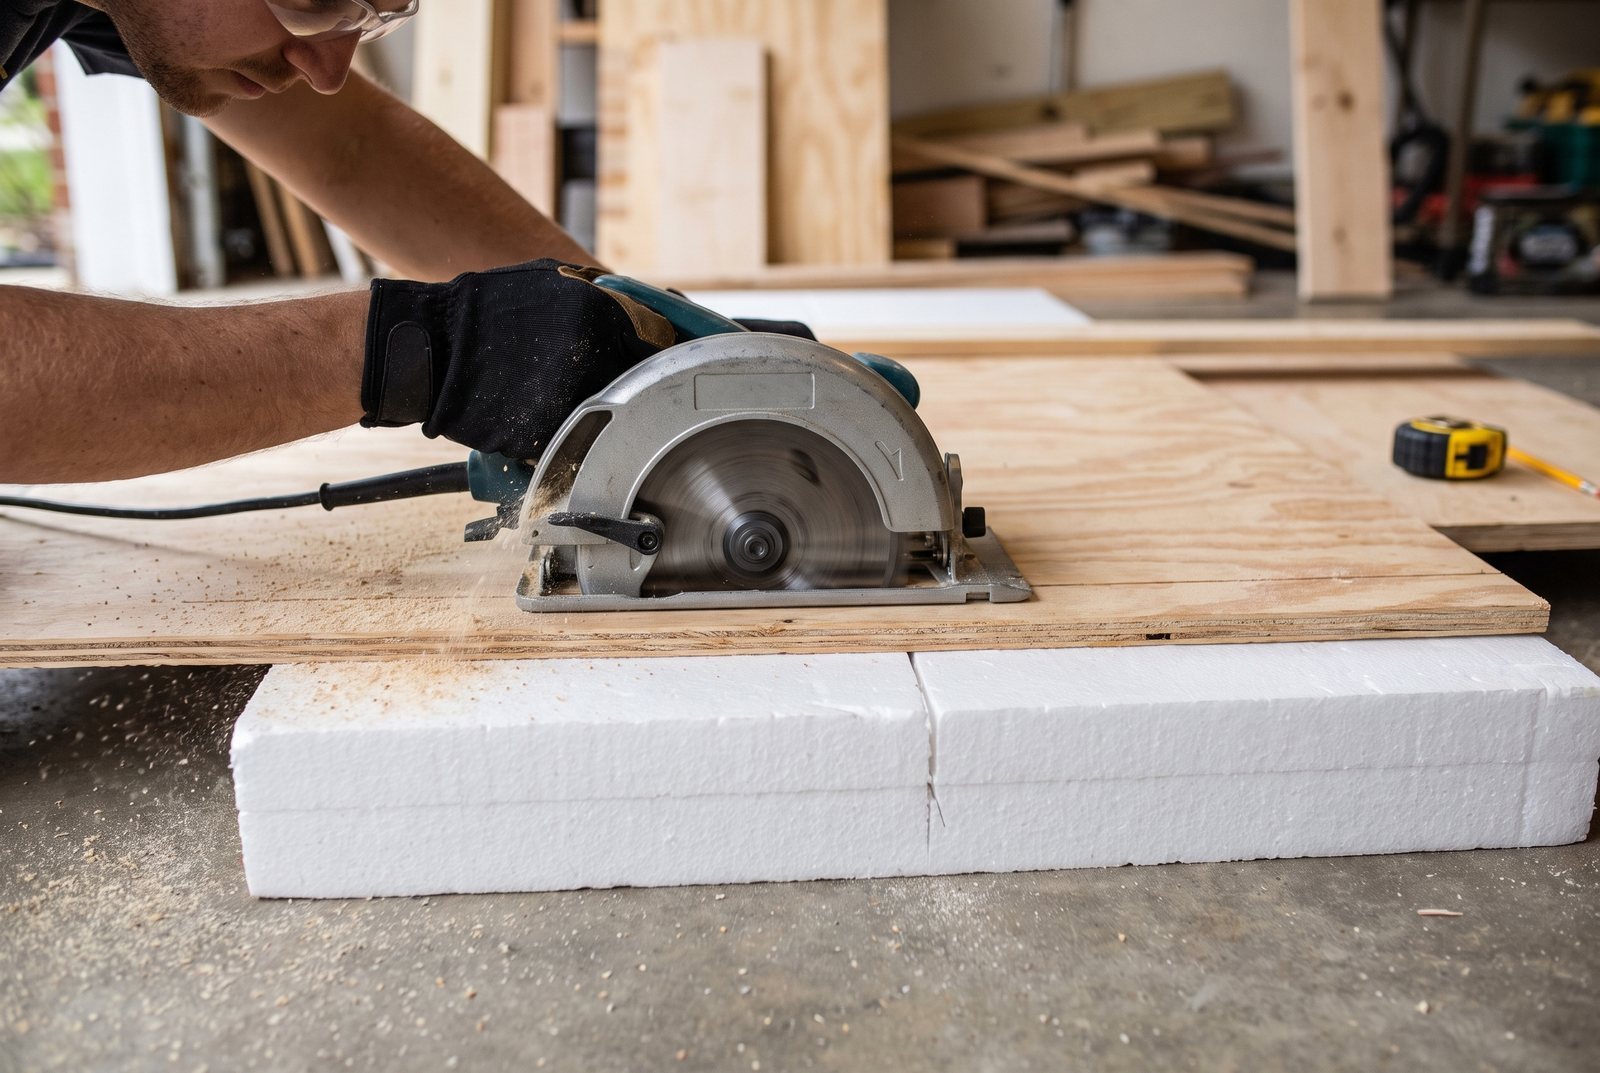
A 1.5-inch, 4x8 sheet of rigid foam insulation typically runs $25 to $45 depending on your area and the brand. The R-value printed on the label does not matter here; you are using it as a sacrificial bed, not insulating anything.
The most common mistake with this method is working on uneven ground. If the driveway slopes or the garage floor has a dip, the plywood will rock, and your cut line will wander. Check by pressing down on the corners of the foam before you lay the plywood on top. Shim low spots with scraps of cardboard or thin plywood.
The other frequent problem is blade depth. Too shallow and you leave a thin membrane of uncut wood that you have to snap or re-cut. Too deep and you chew through the foam fast and risk dragging the blade on concrete underneath. Measure the plywood thickness with a tape (nominal 3/4-inch plywood is often closer to 23/32 inch), then set the blade and make a test cut on a scrap.
If you do not have foam insulation and do not want to buy any, a sheet of scrap plywood or MDF works the same way. The blade will dull faster cutting into wood than foam, but if you already have an old sheet lying around, it costs nothing.
2x4 sacrificial rails on sawhorses
This setup gets the work up to a comfortable height, which matters when you are making several cuts. Place two sawhorses 4 to 6 feet apart. Lay several 2x4x8 studs across them, perpendicular to your intended cut direction, and set the plywood on top of the 2x4s.
The key detail: space the 2x4s about 12 to 16 inches apart, and make sure there is a 2x4 on each side of every cut line. That way, both halves of the sheet stay supported after the blade passes through. If the offcut is narrow (say, a 3-inch rip), it still rests on a rail and does not fall.
Set blade depth to cut through the plywood and about 1/8 to 1/4 inch into the 2x4s. The rails are sacrificial. After several projects they will be scored up, and you can replace them for a few dollars. Non-pressure-treated 2x4x8 studs run roughly $3 to $5 each, so five or six of them costs $15 to $30 total.
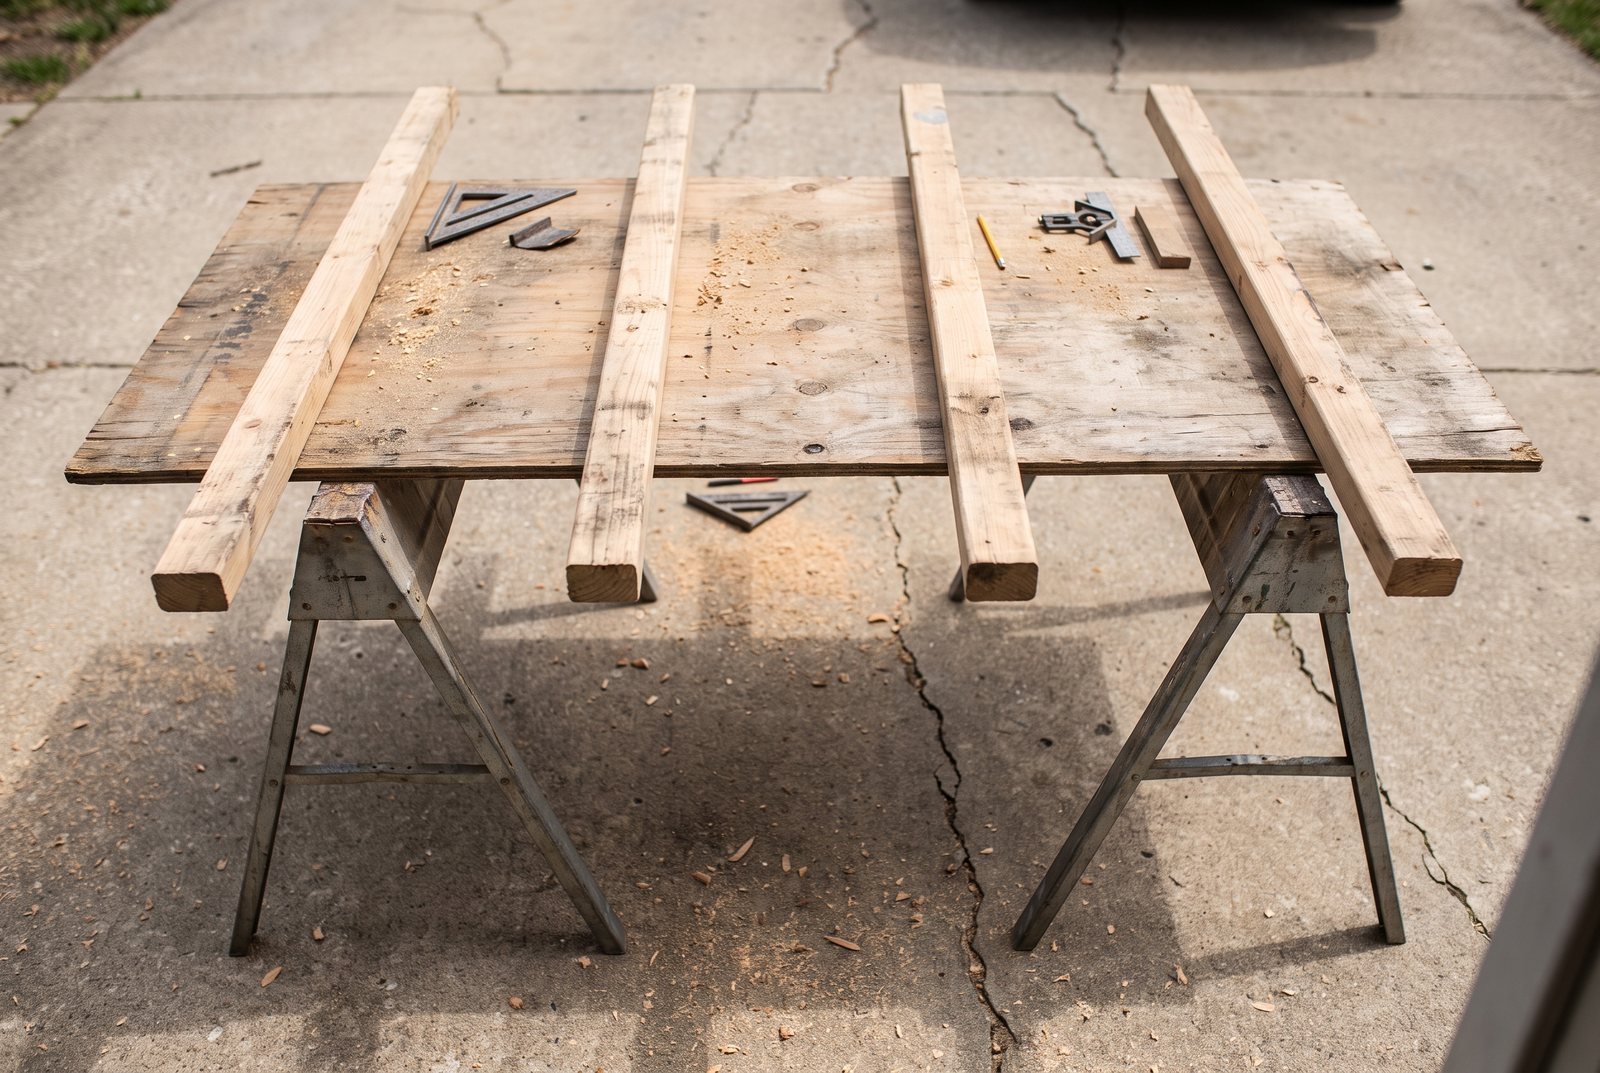
Pick straight studs. Sight down the edge at the store and reject anything with a visible bow or twist. A warped rail creates a high spot, and the plywood will teeter on it.
One thing people overlook: make sure the saw blade will not hit the sawhorse itself. Before you cut, crouch down and look at where the blade path crosses the setup. If a sawhorse bracket or crossbar is in the way, shift the 2x4s or reposition the horses.
Building a reusable cutting grid
If you cut sheet goods regularly, a simple grid frame that sits on your sawhorses saves setup time every session. The idea is a ladder-like frame made from 2x4s or 2x2s, with cross-members spaced about 12 inches apart.
Here is a straightforward version:
- Two 2x4s, each about 7 feet 10 inches long, as the side rails (slightly shorter than 8 feet so the plywood edges overhang for clamping).
- Five or six 2x4 cross-members, each about 3 feet 10 inches long, attached with 3-inch screws or half-lap notches.
- Space the cross-members 12 to 16 inches on center.
The grid sits across two sawhorses. You lay the plywood on top and cut. The cross-members are sacrificial, so you will replace them eventually, but the side rails last a long time because the blade never touches them.
For a lighter version, use 2x2 lumber for the cross-members. It still supports the plywood fine and makes the grid easier to move around the shop.
Choosing sawhorses that won't let you down
The sawhorses are the foundation. If they flex or wobble, every cut suffers.
| Type | Typical load rating (per pair) | Typical price (each) | Best for |
|---|---|---|---|
| Basic plastic folding | 500 to 1,000 lbs | $20 to $30 | Light, occasional use |
| Steel folding (Bora, ToughBuilt, DeWalt) | 1,000 to 2,500+ lbs | $25 to $75 | Frequent sheet goods work |
| Site-built from 2x4s | Depends on build | $10 to $15 in lumber | Permanent shop setup |
Steel sawhorses with 2x4 support arms or built-in brackets are the most stable option for sheet goods. They fold flat for storage and handle the roughly 70 to 85 pounds of a 3/4-inch plywood sheet without any flex.
Whatever you use, set the horses on solid, level ground. On a sloped driveway, shim the low legs with scraps until the top is level. A rocking sawhorse during a cut is a real hazard.
Getting a straight cut with a circular saw
Supporting the plywood is half the problem. The other half is guiding the saw in a straight line across 8 feet of material. A factory edge or a long straightedge clamped to the plywood works, but a dedicated track guide is better.
Indy Farm Life built a DIY Circular Saw Track Guide from a single sheet of plywood. The jig gives you a straight reference edge that the saw rides along, producing clean, repeatable cuts in sheet goods. If you are planning to break down plywood for a bigger project (cabinets, shelving, wall paneling), building a track guide first pays for itself in accuracy on every cut after that.
For the blade itself, use a 60 to 80 tooth finish blade. A 24-tooth framing blade will rip through plywood fast but leave ragged edges, especially on veneer-faced sheets. Place the plywood with the "good" face down, because a circular saw blade cuts on the upstroke and tear-out happens on the top surface.
Safety gear and common mistakes
Wear safety glasses, hearing protection, and a dust mask. Plywood dust is fine and persistent, and a circular saw is loud enough to cause hearing damage over a full day of cuts.
Check that your blade guard retracts and snaps back freely before every session. A sticky guard is one of the most common causes of circular saw injuries.
A few mistakes that trip people up:
- Forgetting saw kerf. The blade removes about 1/8 inch of material. Always cut on the waste side of your line, not centered on it.
- Making small cuts first. Start with the largest cuts. A full sheet is stable and well-supported. A narrow leftover strip is neither.
- Overreaching. Position yourself so you can push the saw through the entire cut without shuffling your feet. If you have to move mid-cut, stop the saw, reposition, and restart.
For any project that involves cutting plywood into parts (like the Simple Plywood Garage Cabinet by Indy Farm Life, which is built entirely from 3/4-inch plywood using a circular saw), getting the support setup right before you pick up the saw makes every step after it go smoother.
Picking the right method for your situation
If you are making one or two cuts for a single project, the foam board on the floor is the fastest setup. If you are breaking down multiple sheets, the 2x4 rails on sawhorses save your back and let you work at a comfortable height. If sheet goods work is a regular part of your shop routine, build the cutting grid once and pull it out whenever you need it.
All three methods cost less than a single sheet of plywood. The real investment is the five minutes of setup that keeps the cut safe, straight, and fully supported from start to finish.
Quick answers
Can I cut plywood on the ground without foam?
Yes. Any flat sacrificial material works: scrap plywood, MDF, or even stacked cardboard in a pinch. The point is to support the sheet fully so nothing sags or pinches the blade. Foam is just the lightest and most forgiving option.
How deep should I set my circular saw blade for plywood?
Set the blade to extend 1/8 to 1/4 inch past the plywood thickness. For 3/4-inch plywood, that means about 7/8 to 1 inch of blade exposure. This ensures a clean cut without excessive depth into whatever is underneath.
Do I need a table saw to cut plywood?
No. A circular saw with a straightedge guide or track jig produces cuts just as straight and clean as a table saw, and it is actually easier to manage a full 4x8 sheet with a circular saw because the sheet stays still and the saw moves.
How many 2x4s do I need to support a full sheet on sawhorses?
Five or six 2x4x8 studs spaced 12 to 16 inches apart will fully support a 4x8 sheet. Place one on each side of your cut line so both the workpiece and the offcut stay supported after the cut.
Projects in this post
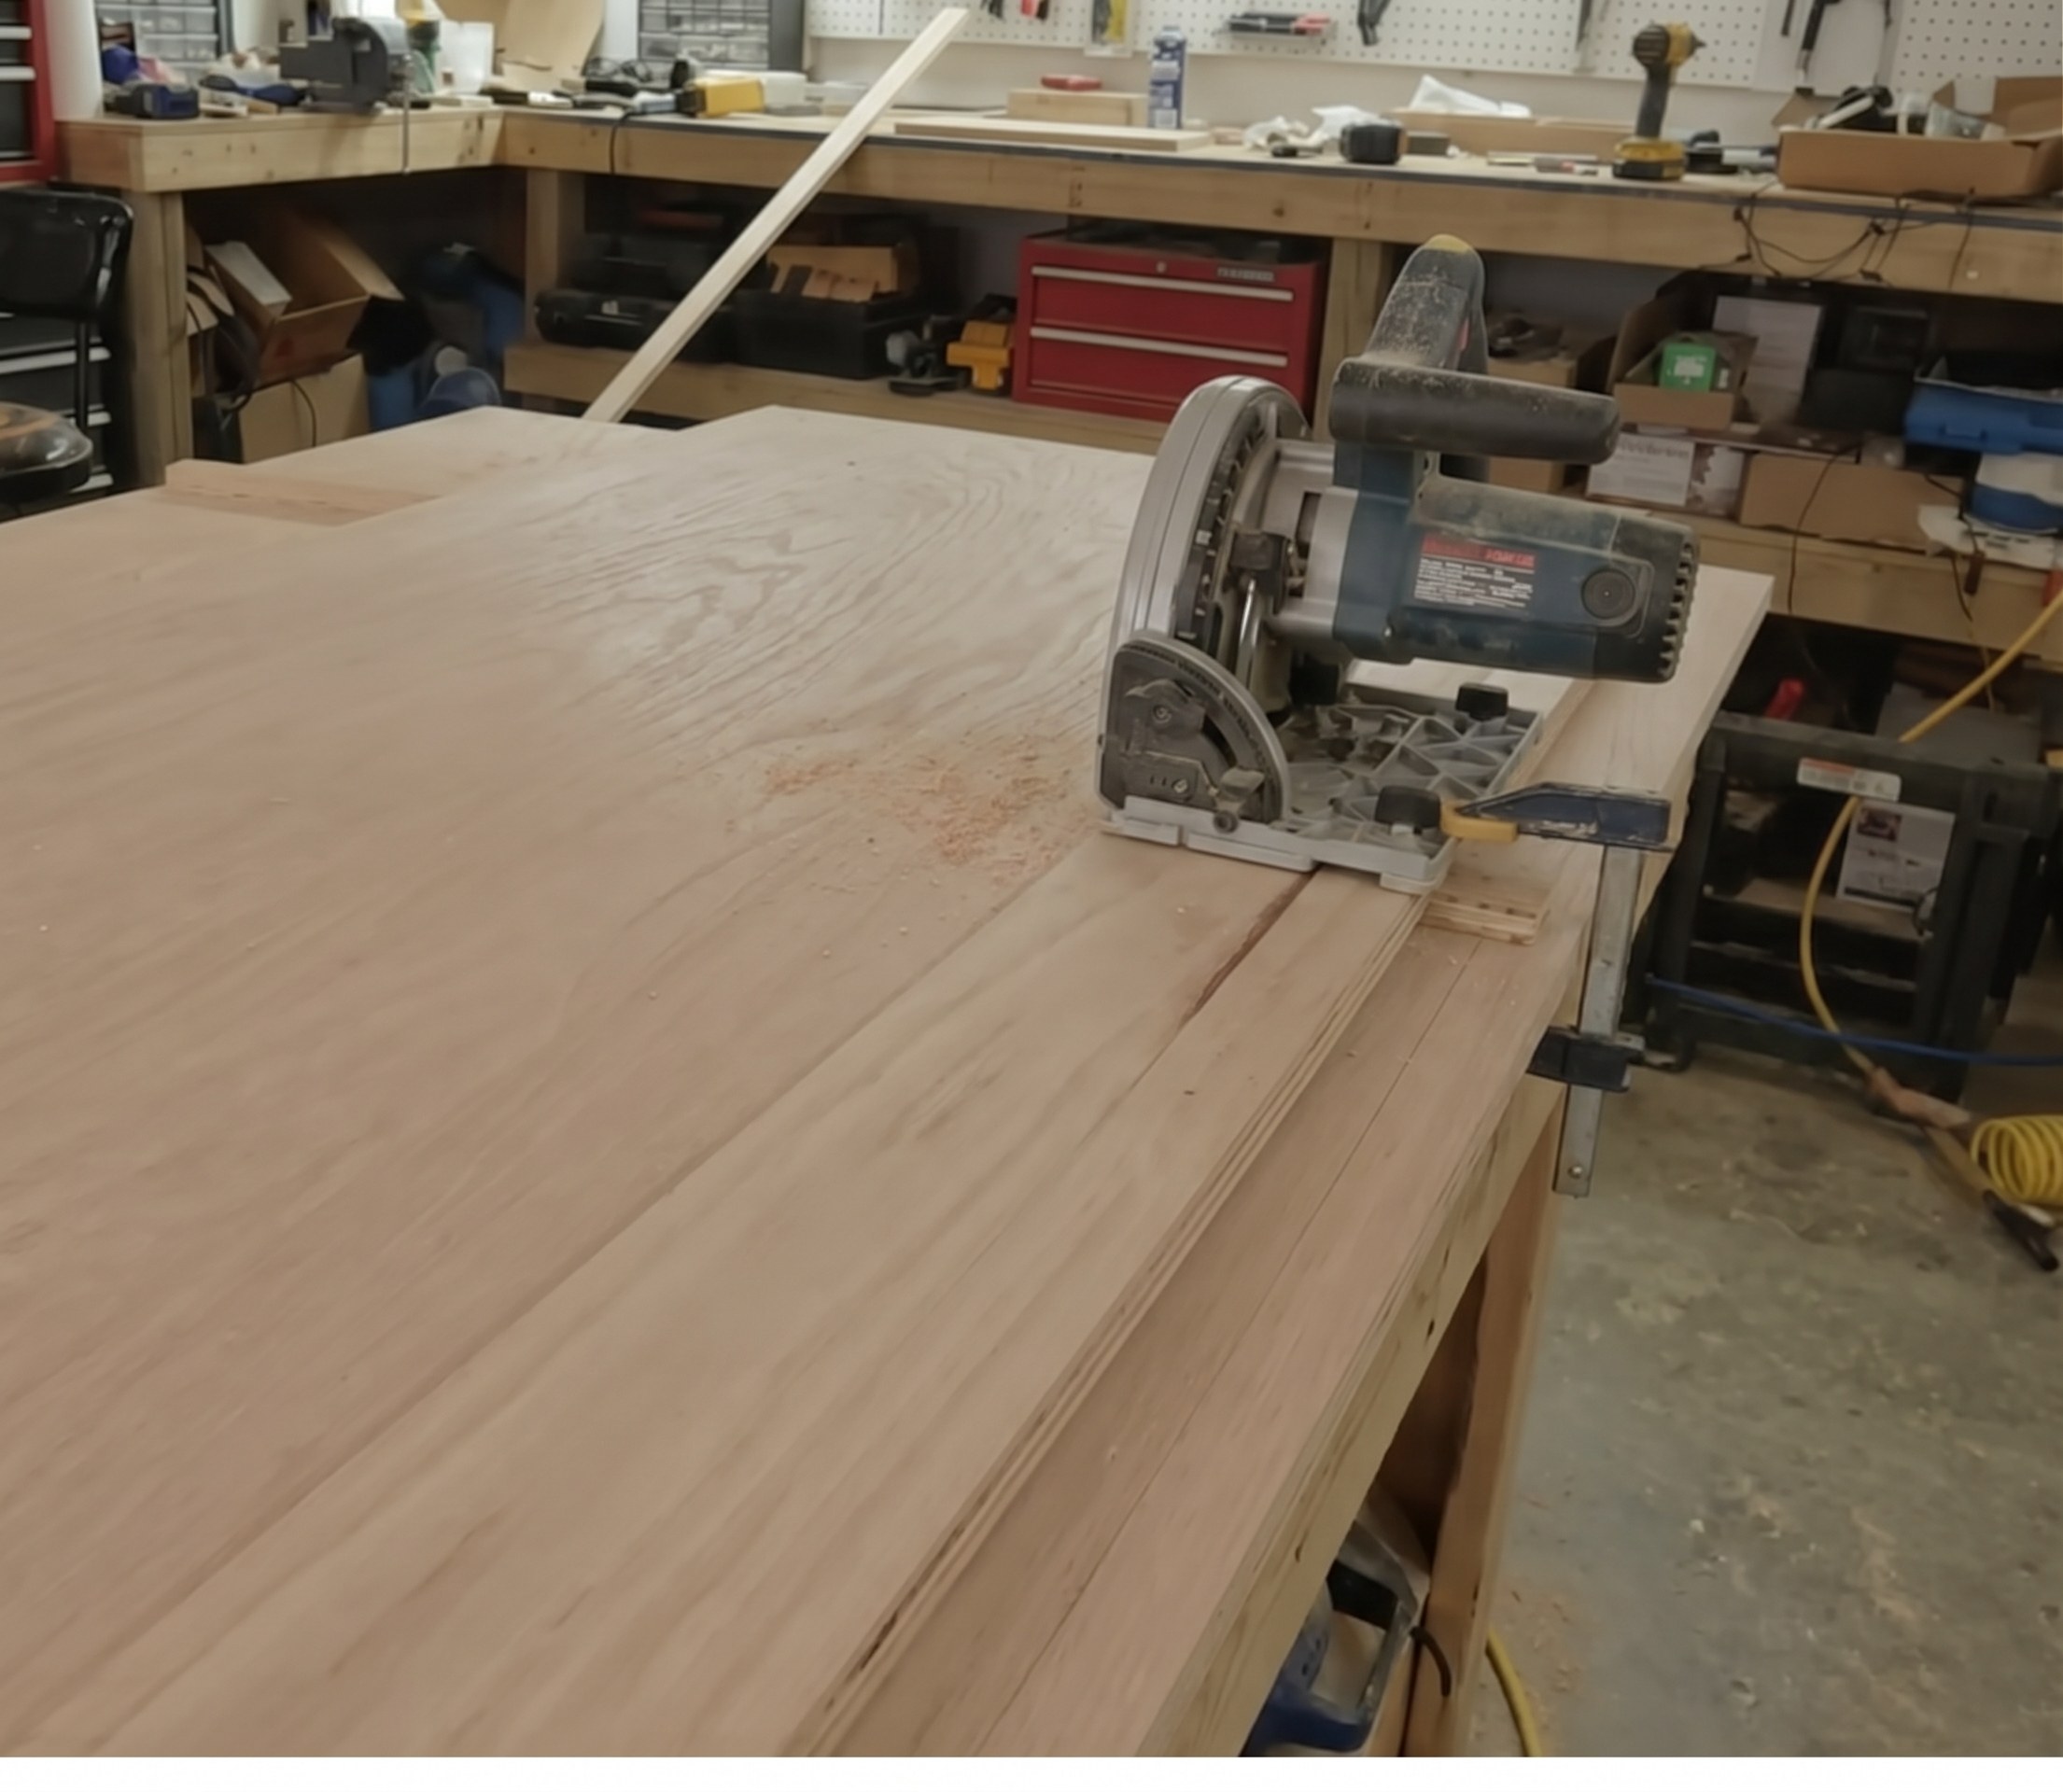
DIY Circular Saw Track Guide
by Indy Farm Life
Open the project guide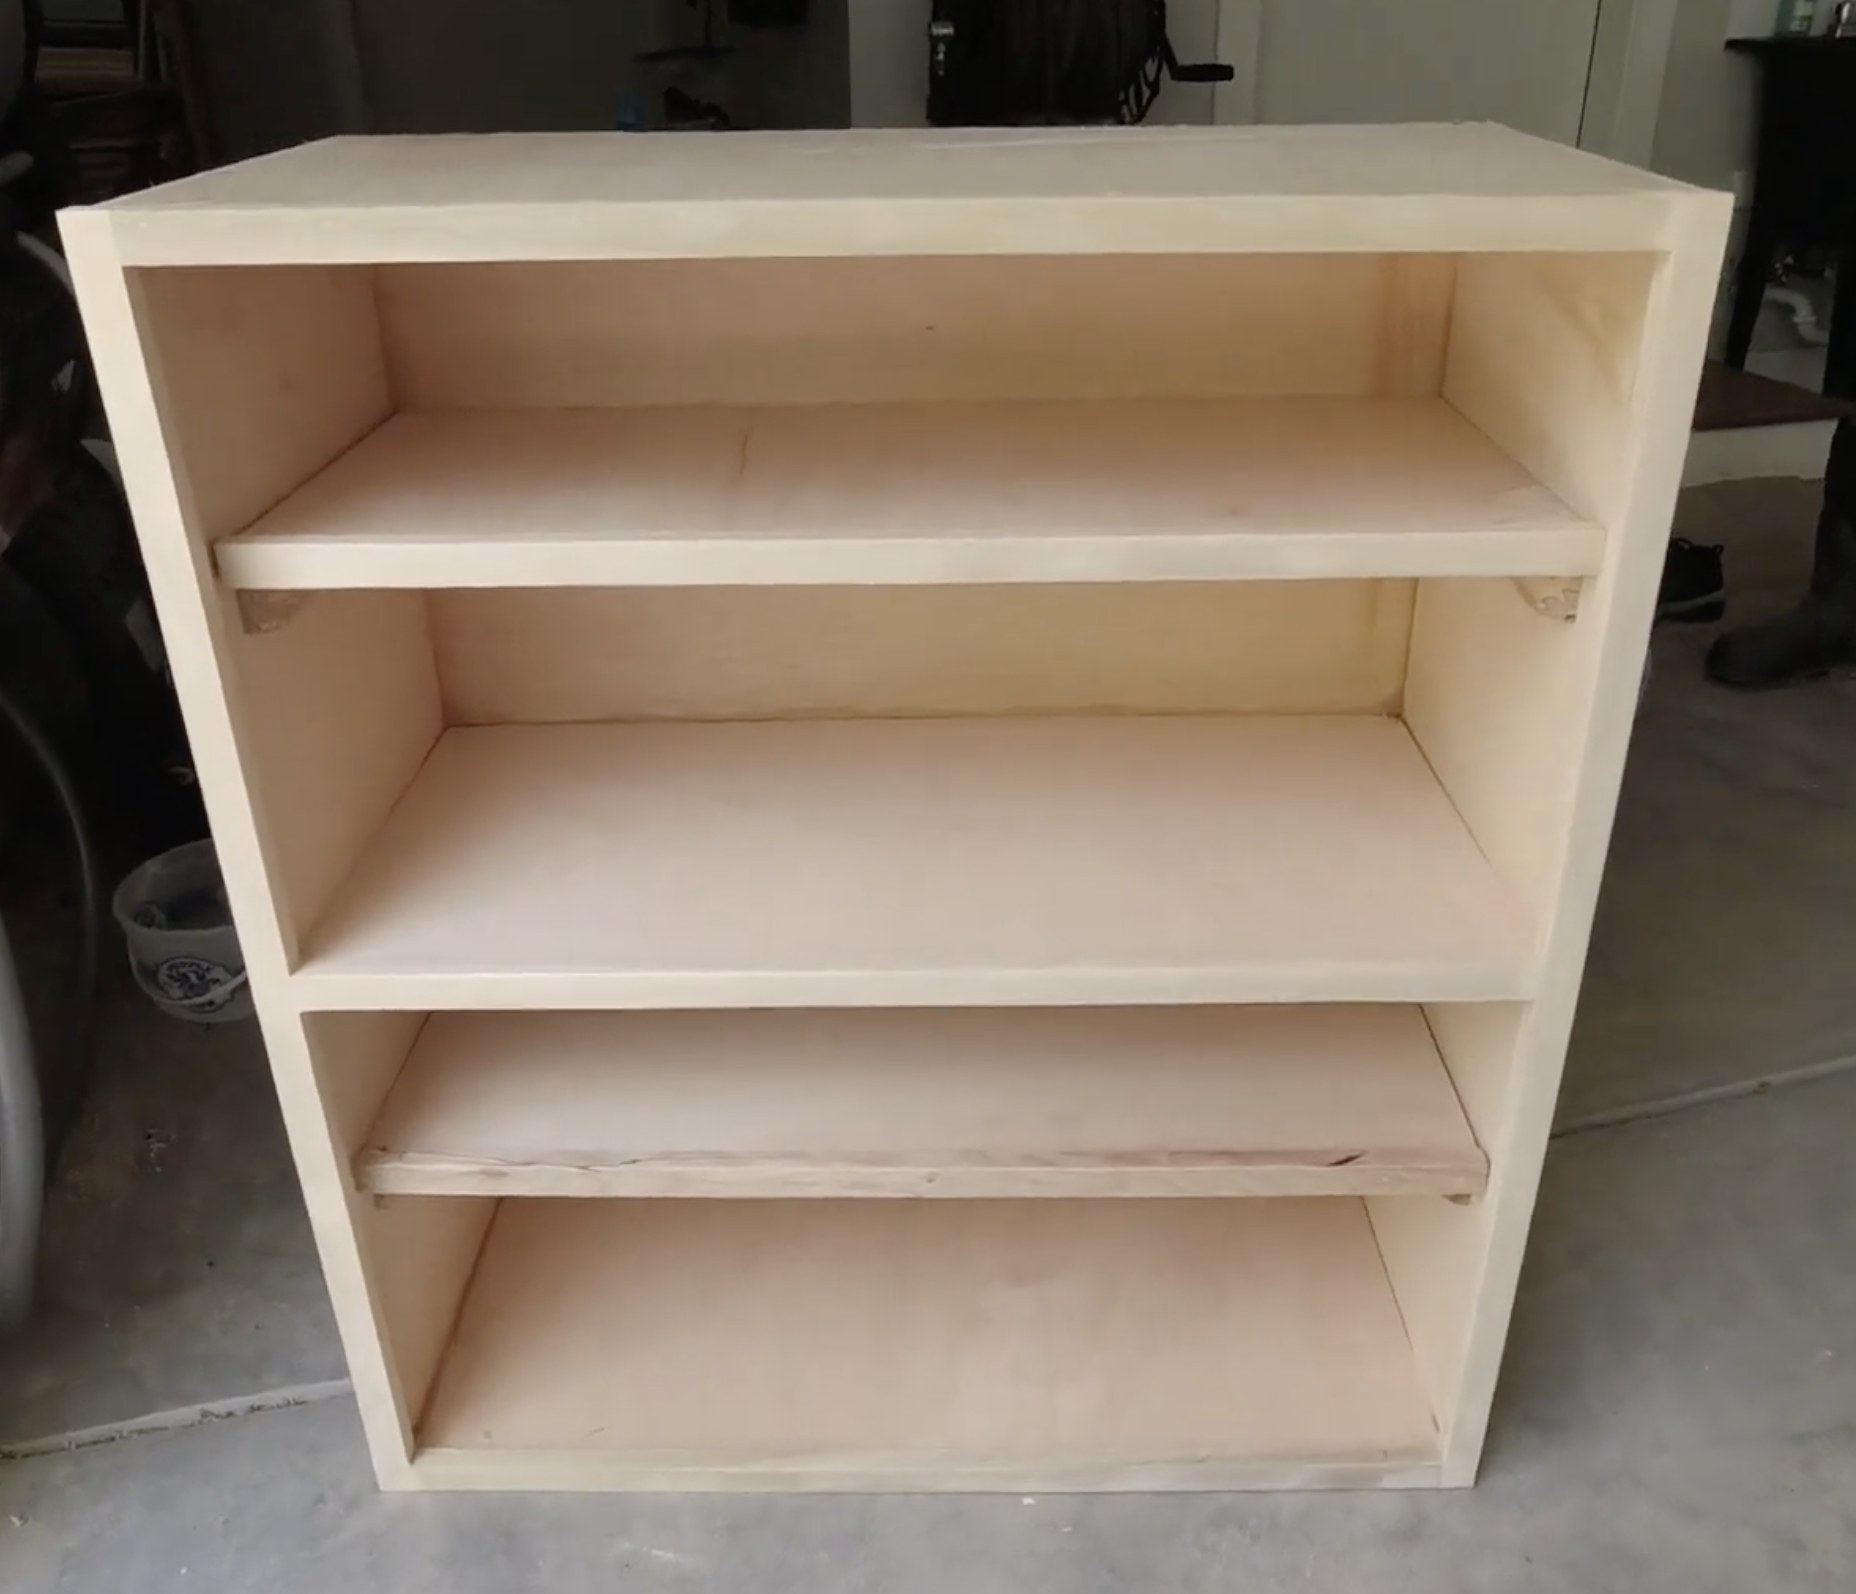
Simple Plywood Garage Cabinet
by Indy Farm Life
Open the project guideKeep reading
All posts
How to Drill Straight Holes Without a Drill Press
Three proven methods for drilling perpendicular holes by hand: a shop-made guide block, the square-and-mirror trick, and portable drill guide attachments.
How to Square a Frame or Cabinet When Clamping
Three reliable methods to check and fix squareness during glue-up: diagonal measurements, corner clamping jigs, and the 3-4-5 triangle for larger builds.
How to Build a Plywood Garage Cabinet with a Circular Saw
A simple 3/4" plywood garage cabinet built with a circular saw and brad nailer. Covers plywood choice, cost, assembly, and tips for beginners.