How to Drill Straight Holes Without a Drill Press
Three proven methods for drilling perpendicular holes by hand: a shop-made guide block, the square-and-mirror trick, and portable drill guide attachments.
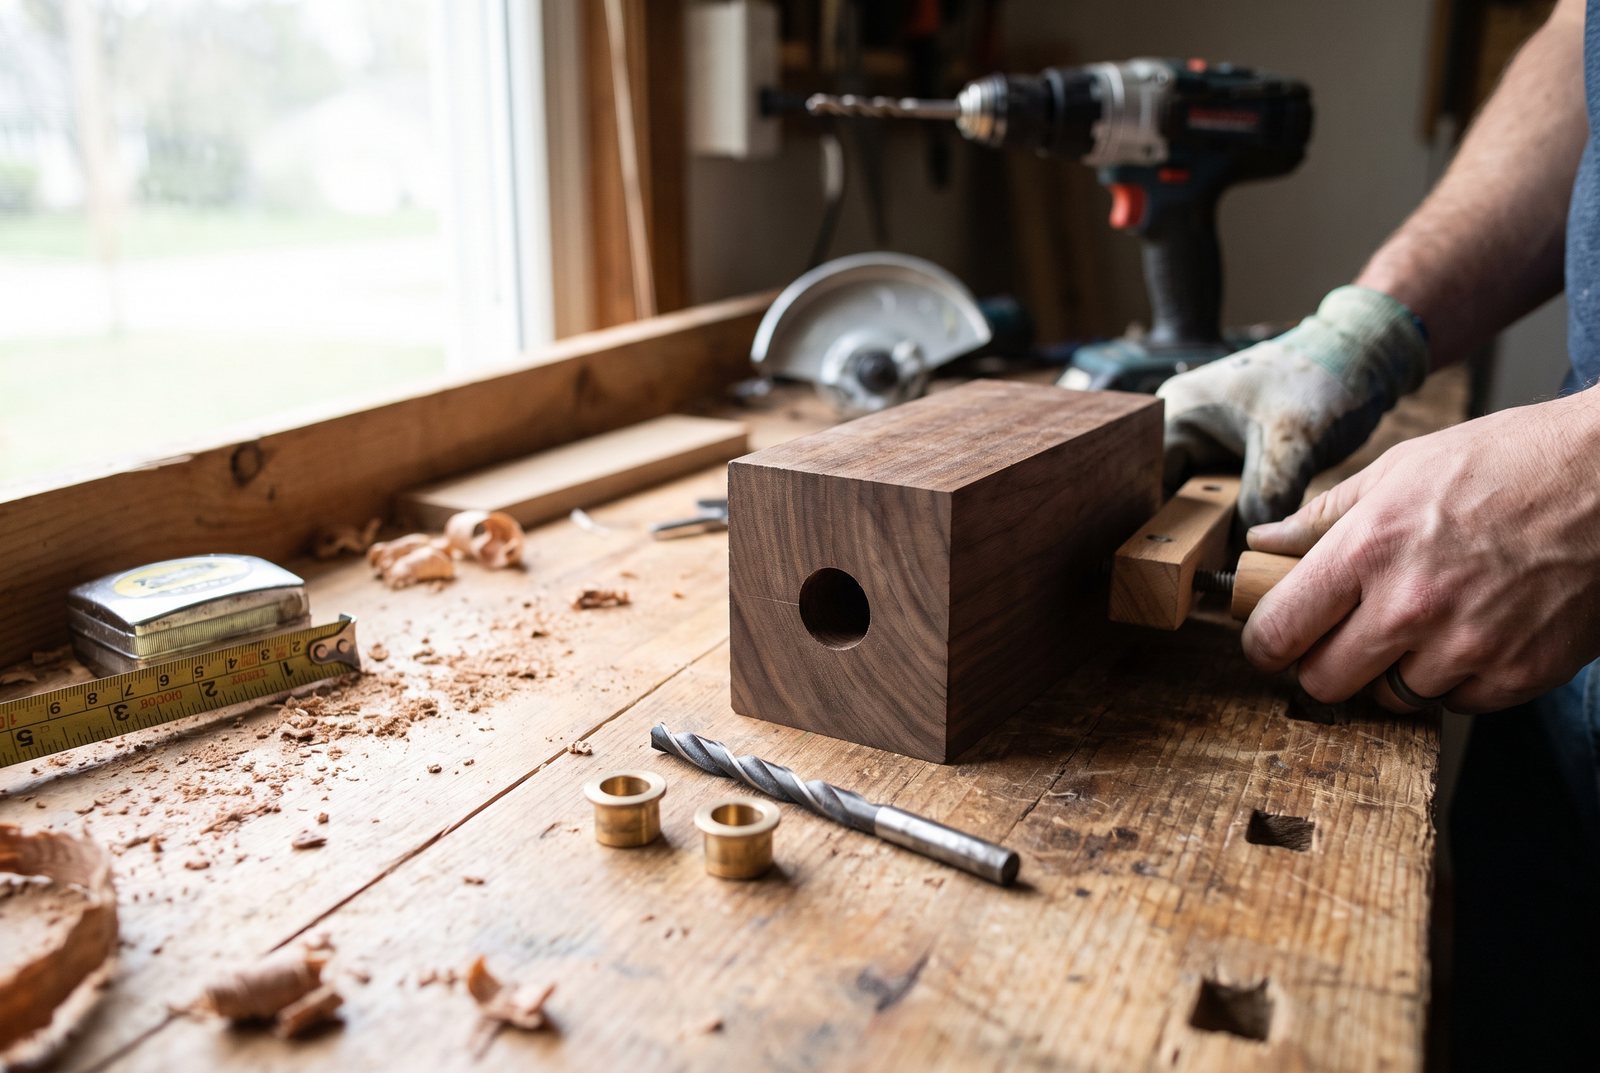
You can drill a perfectly straight hole with a handheld drill. You just need something, anything, to replace the job a drill press does: keeping the bit perpendicular to the surface. This guide covers three ways to do that, from a free scrap-wood jig to a purpose-built portable guide, so you can pick the method that fits your project and your budget.
The techniques here solve the two problems DIYers hit most often: crooked shelf-pin holes that make shelves rock, and bracket-mount holes where the screw goes in at an angle and the bracket sits proud of the wall. Both come down to the same root cause, so the fixes overlap.
Why holes go crooked (and why it matters)
A drill bit wants to follow the path of least resistance. If the grain is angled, or if your wrist drifts even two or three degrees at the start of the cut, the bit walks. On a 3/4-inch-thick shelf side, a 3-degree tilt moves the exit point about 1/32 of an inch off center. That sounds tiny, but shelf pins sit in pairs, and if two opposing pins are tilted in opposite directions the shelf seesaws.
Bracket mounts are less forgiving in a different way. A screw driven into a crooked pilot hole pulls the bracket away from the surface on one side, so it never sits flush. You tighten it, the wood compresses unevenly, and six months later the bracket is loose.
The fix in every case is the same: constrain the bit so it can only move in one axis.
Method 1: The shop-made drill guide block
This is the cheapest option and, for shelf-pin work, one of the most effective.
What you need: A flat block of hardwood, plywood, or MDF at least 2 inches thick. A 2x4 cutoff (actual 1.5 x 3.5 inches) works, but a thicker block gives the bit more guidance. You also need a drill bit that matches your shelf pins exactly. In the US, the two standard shelf-pin sizes are 1/4-inch and 5mm. They are not interchangeable; a 1/4-inch hole is slightly too large for a 5mm pin, and the pin will wobble.
How to make it: Drill one perfectly perpendicular hole through the block. If you have access to a drill press for this single step (a friend's shop, a makerspace, a home-center workshop), use it. If not, use the square-and-mirror method described below, go slowly, and check the result with a square before committing. That one good hole becomes the master guide for every hole you drill afterward.
Clamp the block to your workpiece so the guide hole sits over your mark. Insert the bit through the block, start the drill at moderate speed, and let the block keep the bit straight. The wood sleeve around the bit does the same job as a drill-press column.
The weak spot: After 30 or 40 holes in MDF, the guide hole starts to widen. You will feel the bit gaining play. The fix is to press a metal bushing (a short steel or brass tube with an inner diameter matching your bit) into the block. Bushings cost a couple of dollars and last essentially forever. Without one, plan to make a new block every couple of projects.
Cost: Free from scrap, or about $4.48 for an 8-foot 2x4 stud at Lowe's, which gives you enough material for a dozen guide blocks.
Method 2: The square-and-mirror trick
This method uses a combination square and a small flat mirror to give you two visual references at once. It costs almost nothing if you already own a square, and it works for one-off holes where building a jig feels like overkill.
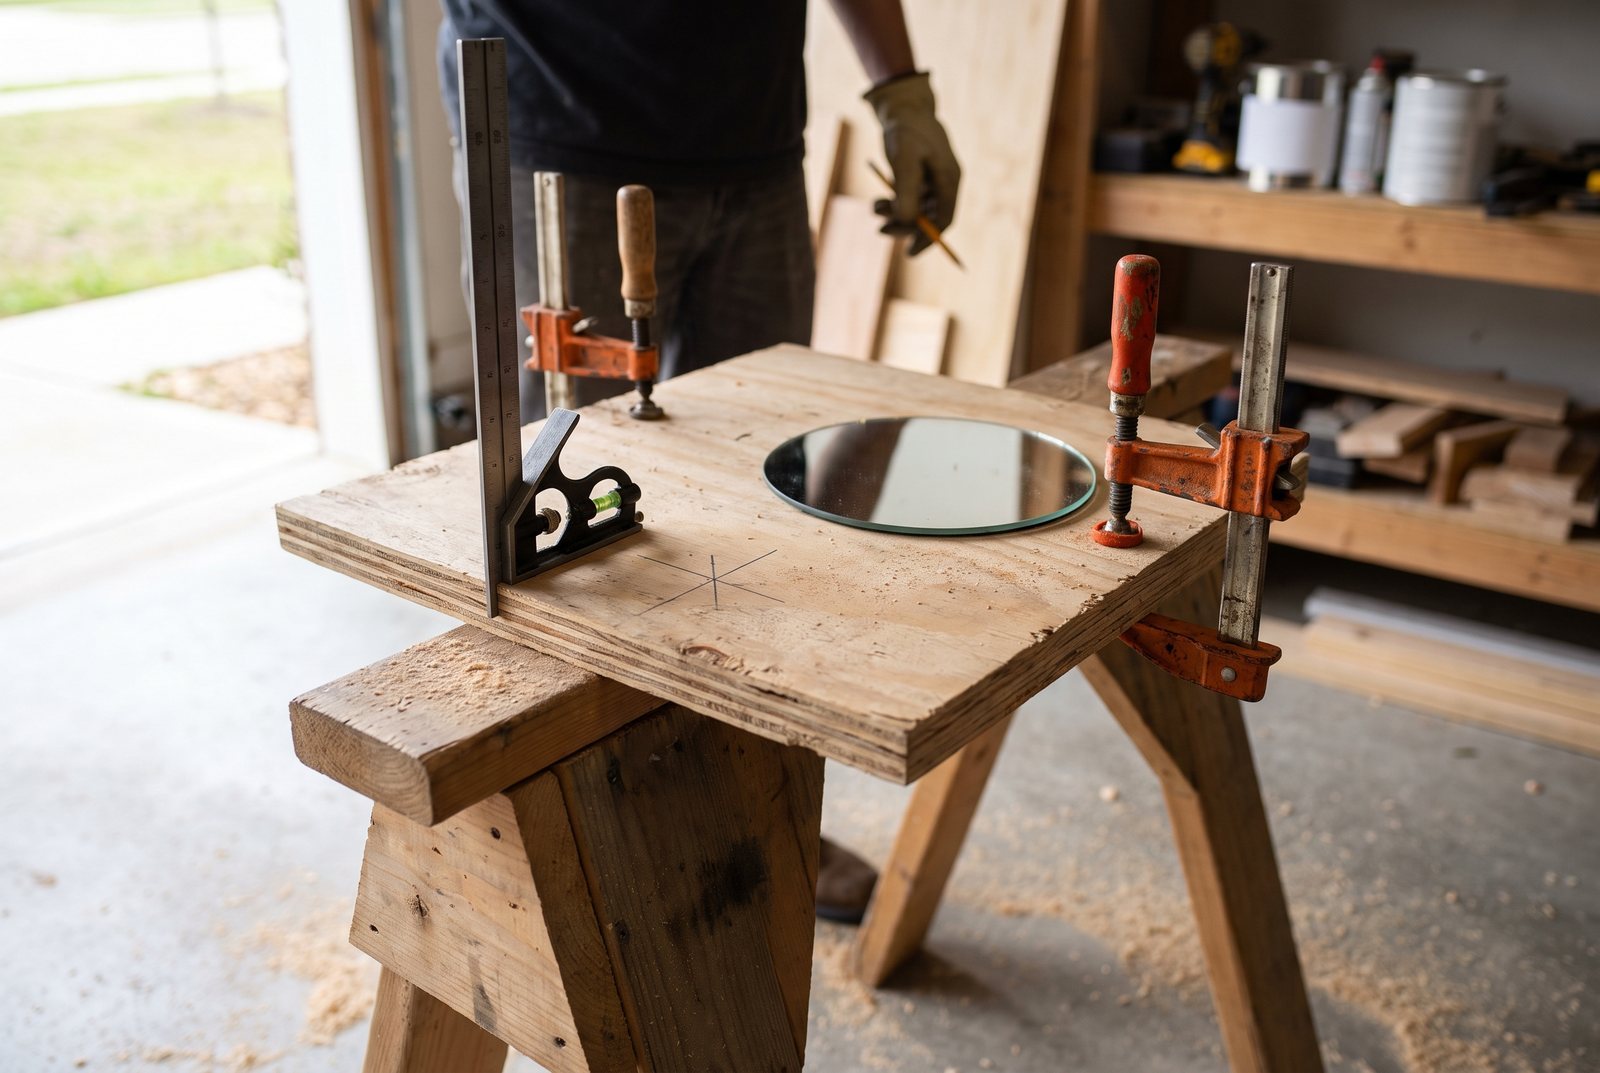
Set the combination square on the work surface with its blade standing vertical, right next to where you plan to drill. Lay a small mirror (a craft mirror, a piece of acrylic mirror, even an old CD) flat on the surface on the opposite side of the bit. Now look down at the mirror. If the bit is truly perpendicular, the bit and its reflection form one continuous straight line. Any tilt shows up as a bend at the surface. At the same time, glance at the square's blade to confirm the bit is parallel to it.
When it works well: Quick bracket mounts, single holes in awkward spots, or any situation where clamping a guide block is impractical.
When it doesn't: Repetitive work like a row of shelf-pin holes. Holding the drill steady while watching two visual cues is tiring, and parallax error creeps in if your head shifts. For anything requiring consistent accuracy across many holes, a physical guide (Method 1 or 3) is more reliable.
A 12-inch combination square is the most versatile size for general shop use. Functional models start around $10 at The Home Depot, with nicer ones running up to $30 or more.
Method 3: Portable drill guide attachments
A portable drill guide clamps onto your drill and rides on a base plate, turning your handheld drill into a small, open drill press. The bit plunges straight down through a guided column, and a depth stop lets you drill every hole to the same depth.
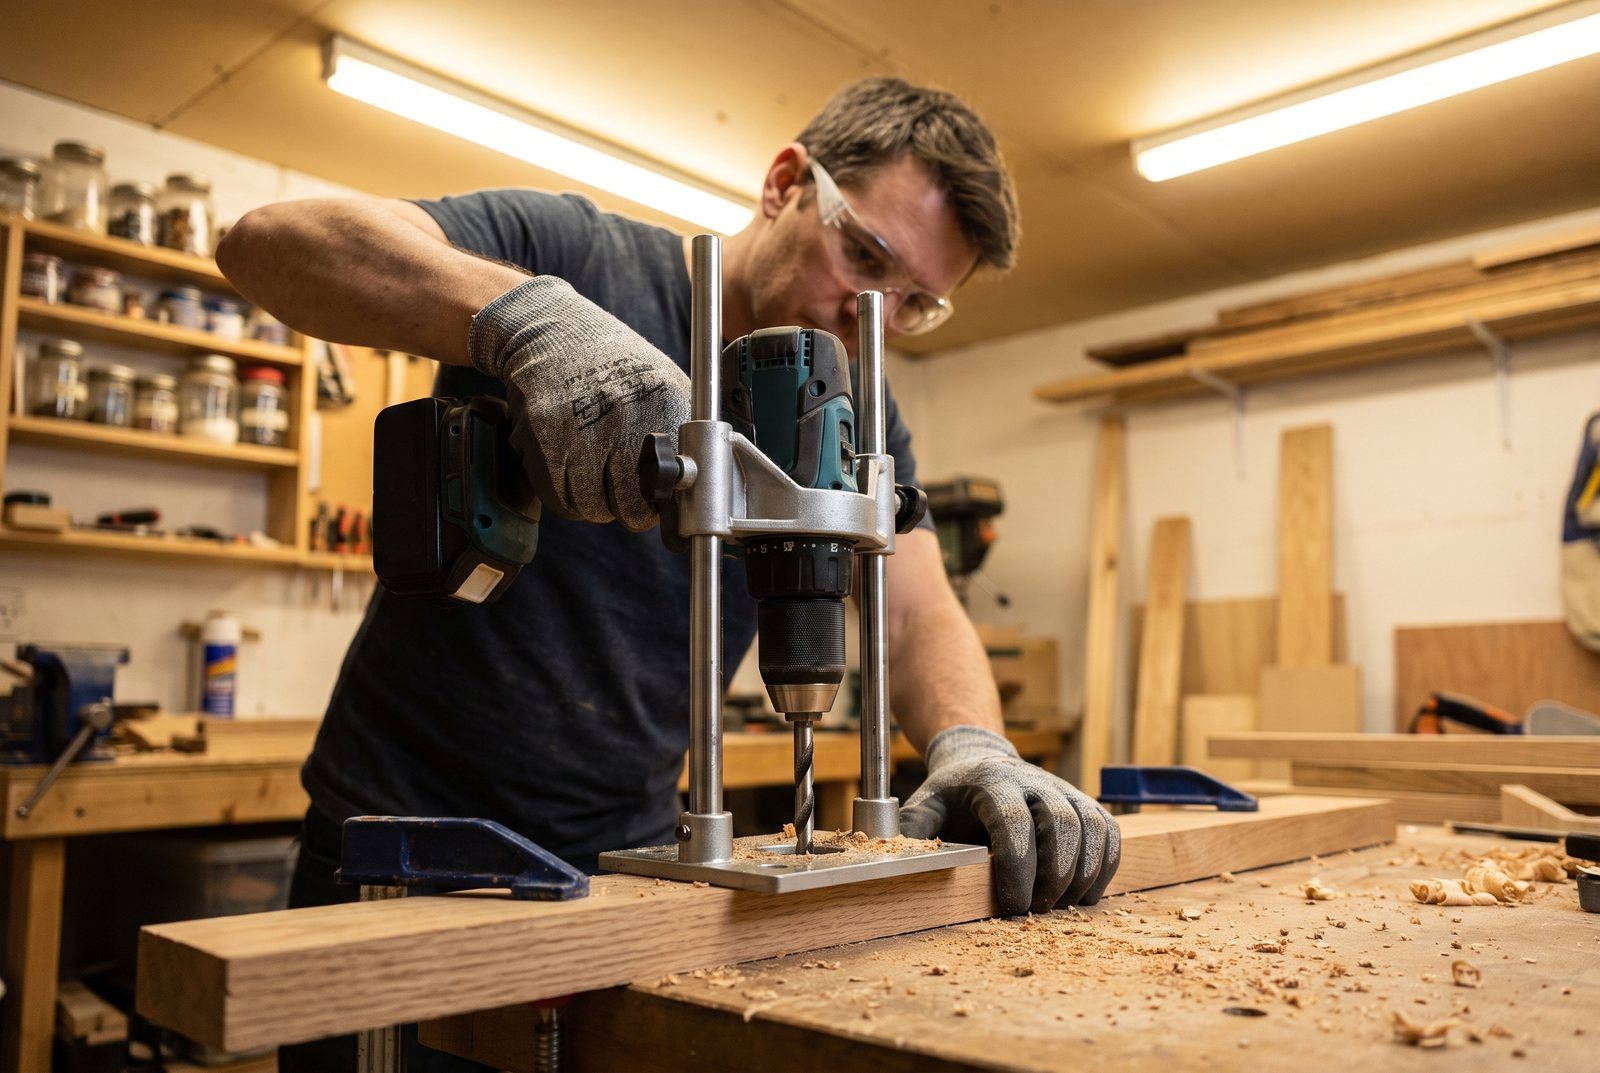
There are three tiers on the market right now:
| Tier | Example | Typical Price | Best For |
|---|---|---|---|
| Entry-level | Milescraft 1312 Drill Block | $15 to $25 | Occasional straight holes, light duty |
| Mid-range | Milescraft 1318 DrillMate | $30 to $50 | Regular use, angle drilling up to 60° |
| Higher-end | Rockler Portable Drill Guide | $70 to $120+ | Frequent use, smoother plunge action |
Most of these guides accept a standard 3/8-inch drill chuck. Before you buy, confirm your drill fits. Cordless drills with oversized clutch housings sometimes interfere with the guide's collar.
Setup matters. The most common complaint with portable guides is wobble, and it almost always comes from the drill not being fully seated in the guide's chuck collar. Tighten it, then check for play before you make your first hole. If the bit can wiggle side to side at the tip, the collar is loose or the wrong size.
Shelf-pin jig vs. portable drill guide: If your project is specifically shelf-pin holes, a dedicated shelf-pin jig (like the Kreg Shelf Pin Jig) is faster for that one task. It has pre-spaced holes and a self-positioning fence. A portable drill guide is more versatile but takes more setup per hole. For a bookcase with 60 pin holes, the specialized jig wins. For a project that mixes pin holes, bracket mounts, and dowel joints, the portable guide earns its keep.
Choosing the right method for the job
For most people, the decision comes down to how many holes and how much repetition.
A single bracket mount on drywall over a stud: use the square-and-mirror trick. Four shelf-pin holes in a small cabinet: clamp a guide block. A full wall of built-in shelving with dozens of pin holes on each side: use a portable drill guide or a dedicated shelf-pin jig with a depth stop.
The guide block is worth making even if you own a portable guide. It is faster to grab for a quick job, and because you made the master hole at the exact bit diameter you need, there is zero slop.
Tips that apply to every method
Drill a pilot hole for large bits. If you are drilling anything over 3/8 inch, start with a smaller pilot hole (1/8 inch is a good default). The pilot keeps the larger bit from walking at the start and reduces tear-out on the exit side.
Match speed to material. Higher RPM for softwoods like pine and spruce, lower RPM for hardwoods like oak and maple. If you see smoke or smell burning wood, you are pushing too hard or spinning too fast.
Clamp the workpiece. Always. A board that spins under the bit is a safety hazard and a guaranteed crooked hole. Two clamps minimum, positioned so they do not interfere with the drill or the guide.
Know what is behind the surface. Before drilling into a wall for brackets, check for electrical wires and plumbing with a stud finder that detects AC wiring. If you are unsure about what is inside the wall, especially in older homes, call a licensed electrician if you have any doubts about what's behind the drywall.
Wear safety glasses. Wood chips and metal shavings fly unpredictably, especially when a bit breaks through the back side of a board.
Shelf pins: getting the fit right
Shelf-pin holes deserve a quick word because they are the most common reason people search for straight-drilling techniques. Standard steel shelf pins are rated for roughly 35 lbs per shelf, and spoon-style supports handle closer to 50 lbs. But those ratings assume the pin sits snugly in a correctly sized, perpendicular hole. A sloppy hole shifts the load to the pin's edge, and the shelf side (especially in plywood or particleboard) can blow out long before the pin itself fails.
Use a 1/4-inch bit for 1/4-inch pins and a 5mm bit for 5mm pins. Do not substitute one for the other. Mark your depth with a piece of painter's tape wrapped around the bit, or use the depth stop on your guide. Shelf-pin holes are typically 1/2 inch to 5/8 inch deep. Drill them all from the same reference edge (usually the front of the cabinet) so the shelf sits level even if the cabinet is not perfectly square.
If you want to see how drilling and layout decisions play out in a real wall-mounted project, Kathartic Studios' DIY Rustic Coat Rack project guide walks through drilling into a single plank for hardware and then mounting the finished piece to wall studs. It is a small project, but the drilling and mounting principles are the same ones that scale up to shelving.
Quick answers
What size drill bit do I need for shelf-pin holes?
Use a 1/4-inch bit for 1/4-inch pins or a 5mm bit for 5mm pins. These are the two standard sizes in the US. Check the pins you bought before you drill, because the difference between the two is small but enough to cause a loose fit.
Can I drill straight holes without any guide at all?
You can get close with the square-and-mirror trick, which uses tools you likely already own. For repeated holes that need to be consistent, a physical guide (shop-made block or portable attachment) is far more reliable than eyeballing it.
How much does a portable drill guide cost?
Entry-level models like the Milescraft 1312 run $15 to $25. Mid-range guides with angle adjustment cost $30 to $50. Higher-end options from Rockler start around $70 and go past $120.
How do I keep my drill guide block from wearing out?
Press a metal bushing into the guide hole. The bushing's inner diameter should match your drill bit exactly. This prevents the wood from enlarging over time and keeps the guide accurate for hundreds of holes.
The project in this post
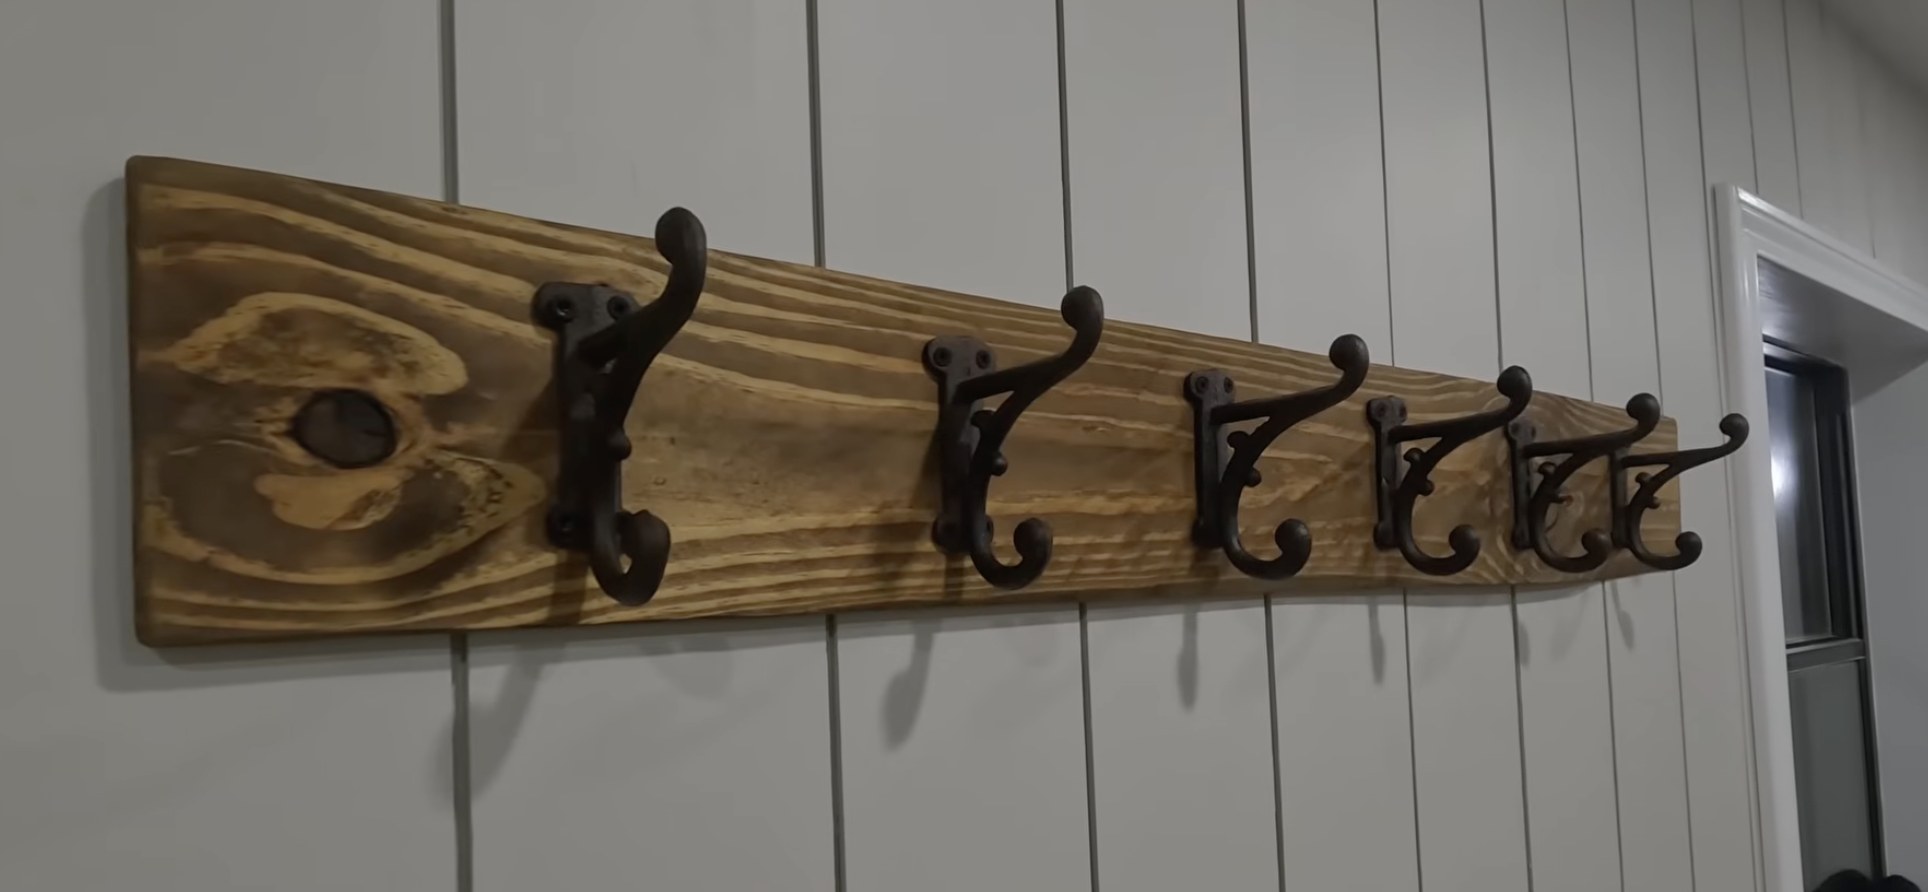
DIY Rustic Coat Rack
by Kathartic Studios
Open the project guideKeep reading
All posts
How to Support Plywood for Solo Cutting Without a Table Saw
Three setups for cutting a full 4x8 plywood sheet alone: foam board on the ground, 2x4 rails on sawhorses, and a cutting grid with dimensions and costs.
How to Square a Frame or Cabinet When Clamping
Three reliable methods to check and fix squareness during glue-up: diagonal measurements, corner clamping jigs, and the 3-4-5 triangle for larger builds.
How to Build a Plywood Garage Cabinet with a Circular Saw
A simple 3/4" plywood garage cabinet built with a circular saw and brad nailer. Covers plywood choice, cost, assembly, and tips for beginners.