How to Build a Plywood Garage Cabinet with a Circular Saw
A simple 3/4" plywood garage cabinet built with a circular saw and brad nailer. Covers plywood choice, cost, assembly, and tips for beginners.
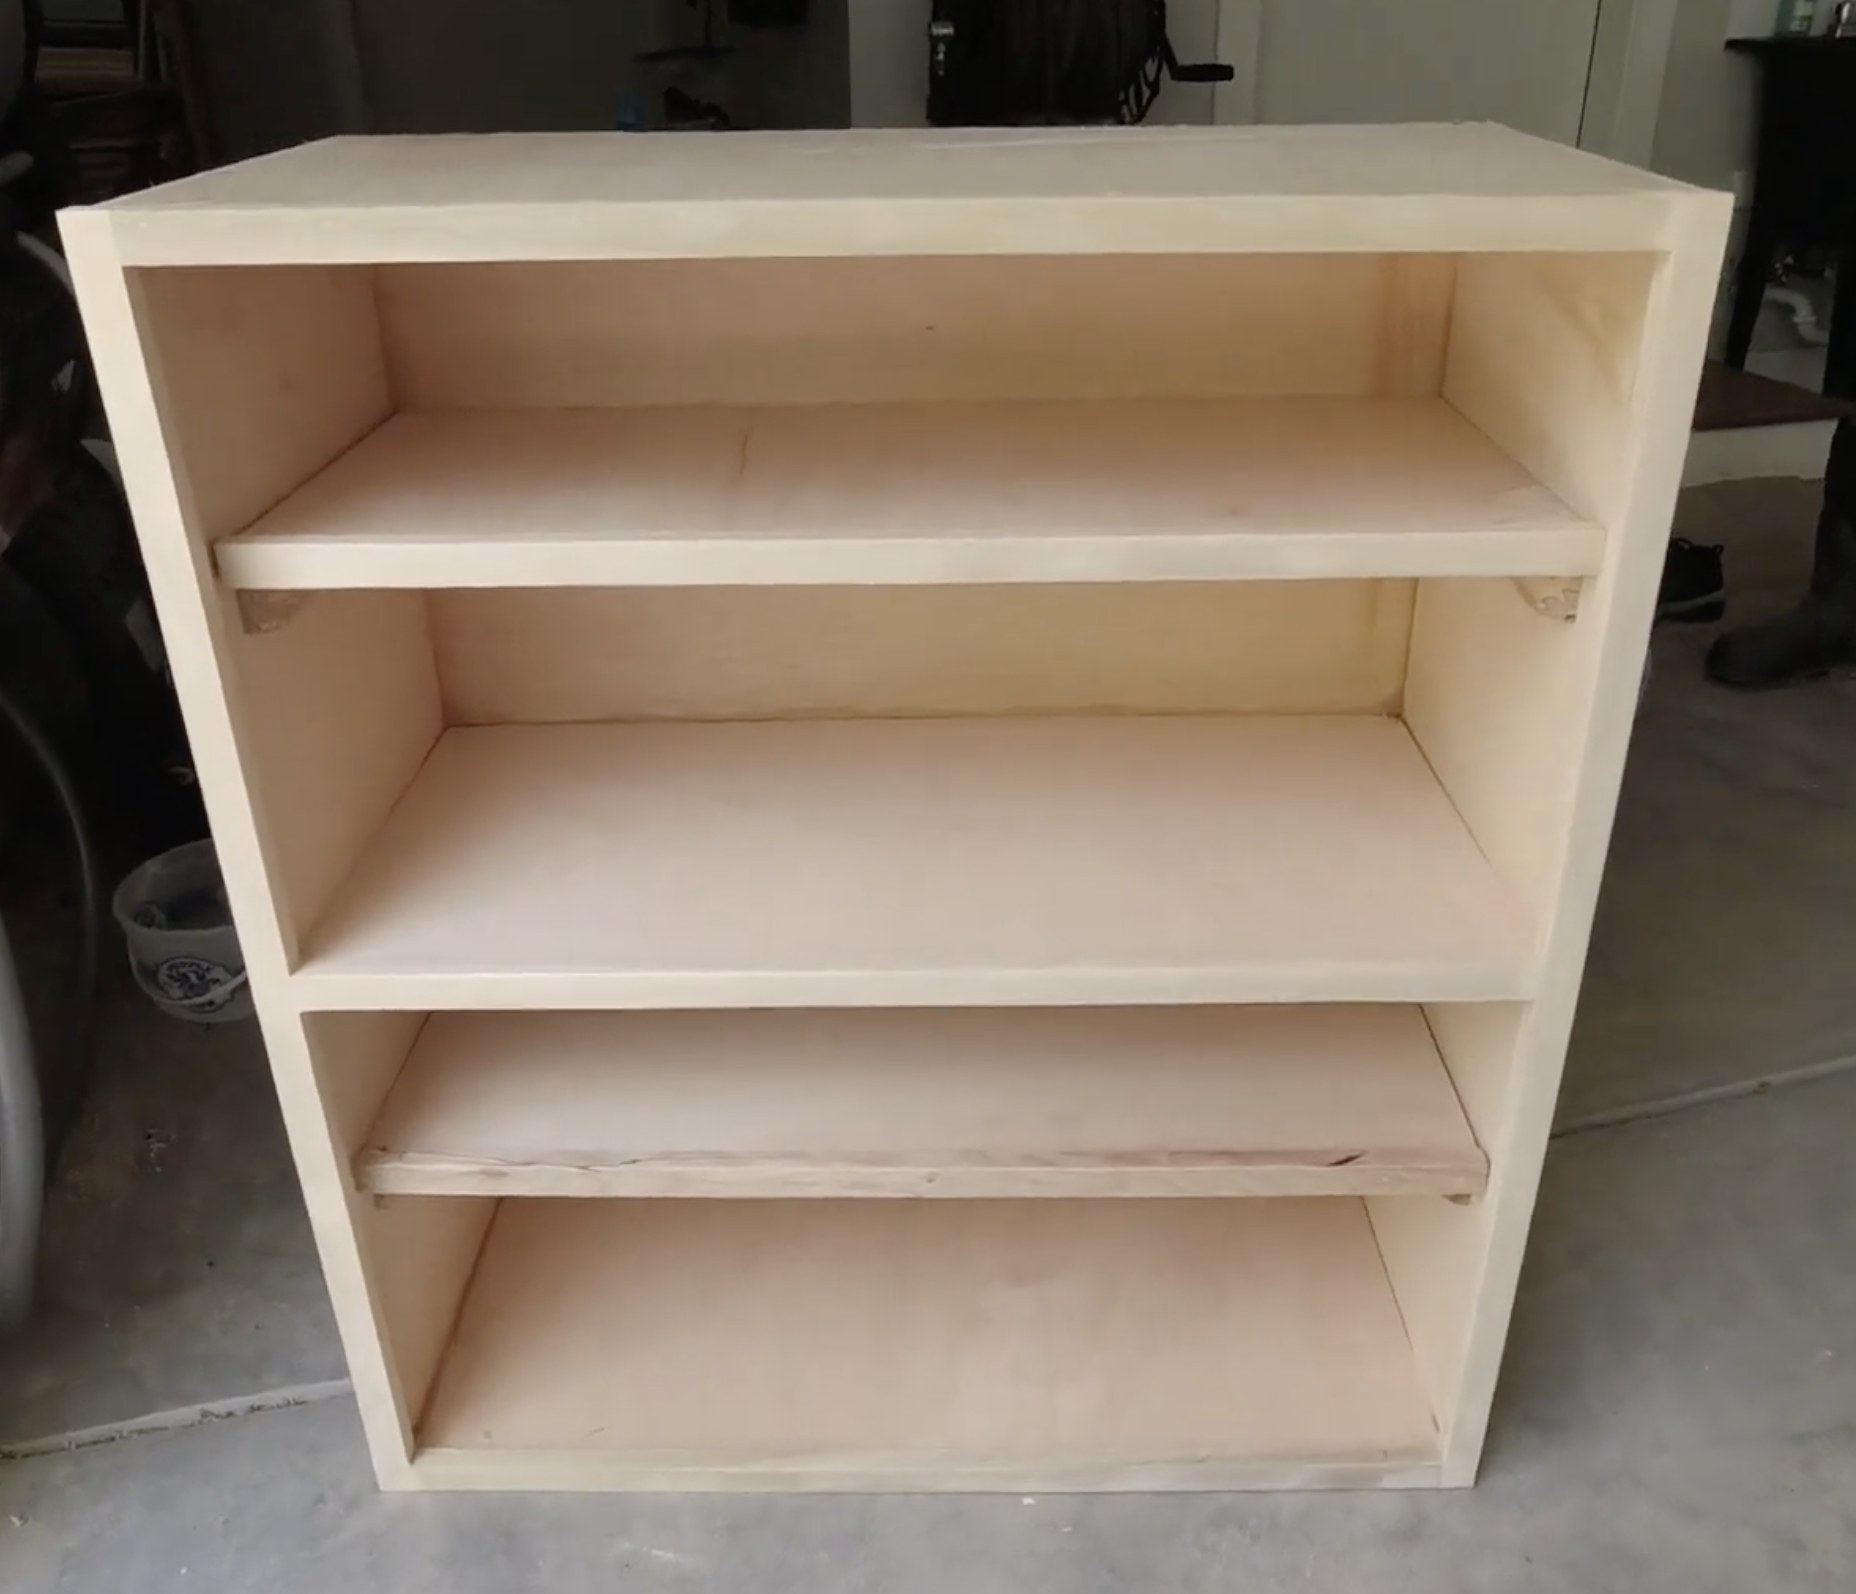
This build turns two sheets of 3/4" plywood into a 36" H x 32.5" W x 16" D garage cabinet using tools most people already own or can pick up cheaply: a circular saw and a cordless brad nailer. No table saw required. The result is a solid, paintable box with one fixed shelf and two removable ones, ready to swallow the clutter that's been living on your garage floor.
The project comes from Indy Farm Life, and you can follow the full step-by-step in the Simple Plywood Garage Cabinet project guide. Below, we'll walk through how it came together, the decisions that matter, and the spots where beginners tend to get tripped up.
What this cabinet costs in materials
The single biggest question people have about a build like this is money. Here's the short answer: the materials alone, not counting tools you may already own, run roughly $170 to $200 depending on your plywood choice and how much paint and filler you already have on the shelf.
The main expense is the plywood. Two sheets of 3/4" Sande plywood at about $50.70 each from Home Depot puts you at around $101 for the wood. Sande is smooth, sanded on both faces, and paints well. Birch plywood gives you a harder surface and finer grain, but a full 4x8 sheet costs noticeably more. For a garage cabinet that's getting primer and paint, Sande or BC sanded pine plywood does the job.
On top of the plywood, budget for a bottle of wood glue (Titebond II runs about $28 for a gallon, which is way more than you need for one cabinet), a box of 1-1/4" 18-gauge brad nails (under $10), wood filler, caulk, primer, and paint. A gallon of a durable enamel like BEHR Premium Urethane Alkyd Semi-Gloss covers up to 400 square feet, costs $40 to $50, and will handle several cabinets.
Skip MDF for this. Garages get humid, and MDF swells when it absorbs moisture. Plywood handles that environment far better and holds screws more reliably.
| Item | Approximate Cost |
|---|---|
| 3/4" Sande plywood (x2 sheets) | $101 |
| Wood glue (Titebond II, gallon) | $28 |
| 18-gauge brad nails (1,000 ct) | Under $10 |
| Wood filler, caulk, sandpaper | $15 to $20 |
| Primer and paint (1 gallon enamel) | $40 to $50 |
| Materials total | ~$120 to $160 |
Breaking down the plywood
This is the step that scares beginners most, and it's the one that matters most. A bad cut at the start follows you through every joint.
Indy Farm Life uses a homemade track saw guide clamped to the plywood, then runs a circular saw along it for long, straight rip cuts. If you don't have a track guide, you can build one from a single sheet of plywood. Indy Farm Life actually has a separate guide for that: the DIY Circular Saw Track Guide. It's worth making before you start the cabinet.
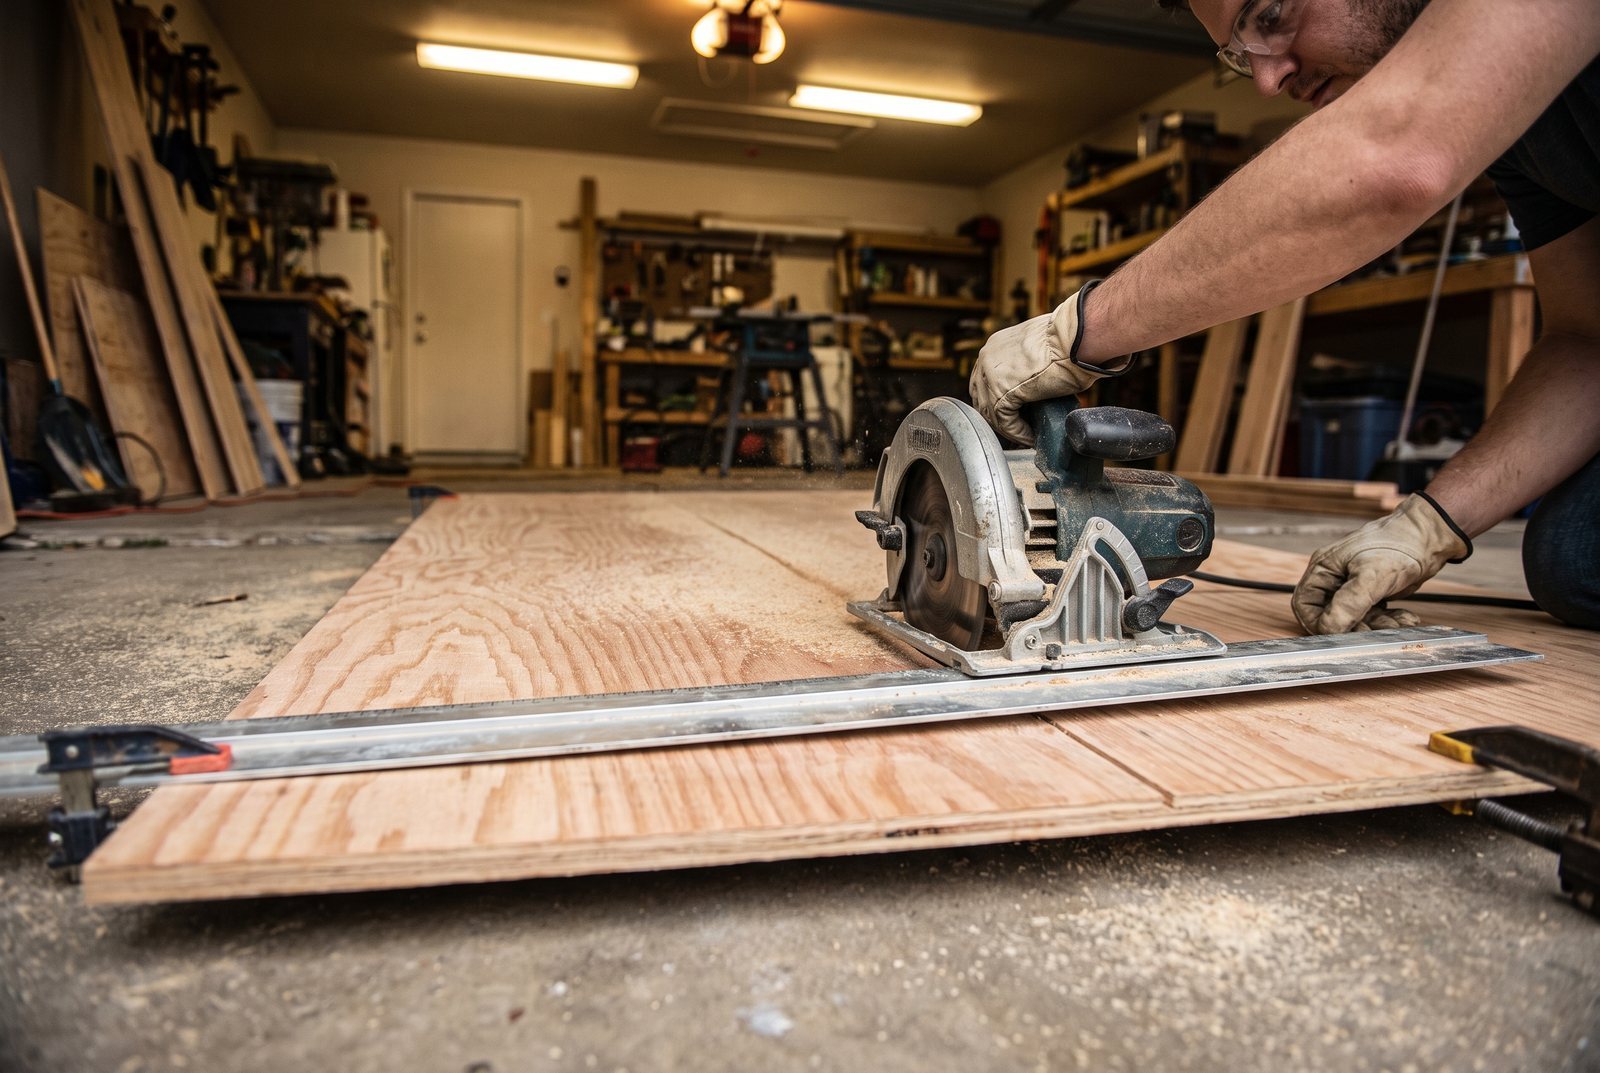
A couple of things that make the difference here. First, swap out the stock 24-tooth blade on your circular saw for a 40-tooth or 60-tooth finish blade. A Diablo 7-1/4" 40-tooth blade costs about $15 and dramatically reduces tearout on plywood. Second, support the full sheet so it doesn't sag or pinch the blade mid-cut. Lay a sheet of rigid foam insulation on the garage floor and set the plywood on top. That way the offcut doesn't fall and bind. Third, label every piece the moment you cut it. Once you have a pile of similar-looking rectangles, it's easy to grab the wrong one during assembly.
Keep in mind that 3/4" plywood actually measures closer to 23/32". That tiny difference matters when you're sizing shelves to fit inside the box. Measure the actual thickness of your sheets before you finalize your cut list.
Assembling the box
The cabinet carcass is just a box: two sides, a top, a bottom, and a back panel, joined with wood glue and brad nails. No pocket holes, no biscuits, no complicated joinery.
Start by laying the bottom panel flat. Run a generous bead of wood glue along one end, stand the first side panel on it, clamp it flush, and drive 18-gauge brad nails every few inches. The glue does the structural work here. The brads are really just clamps that hold everything tight while the glue sets. Titebond II needs 30 to 60 minutes of clamp time and cures fully in 24 hours, so don't stress the joints hard right away.
Repeat for the second side. Then set the back panel between the two sides and nail it in. Finally, glue and nail the top panel to close the box. The whole assembly goes faster than you'd expect. For a cabinet this size, plan on a couple of hours for the glue-up if you're being careful.
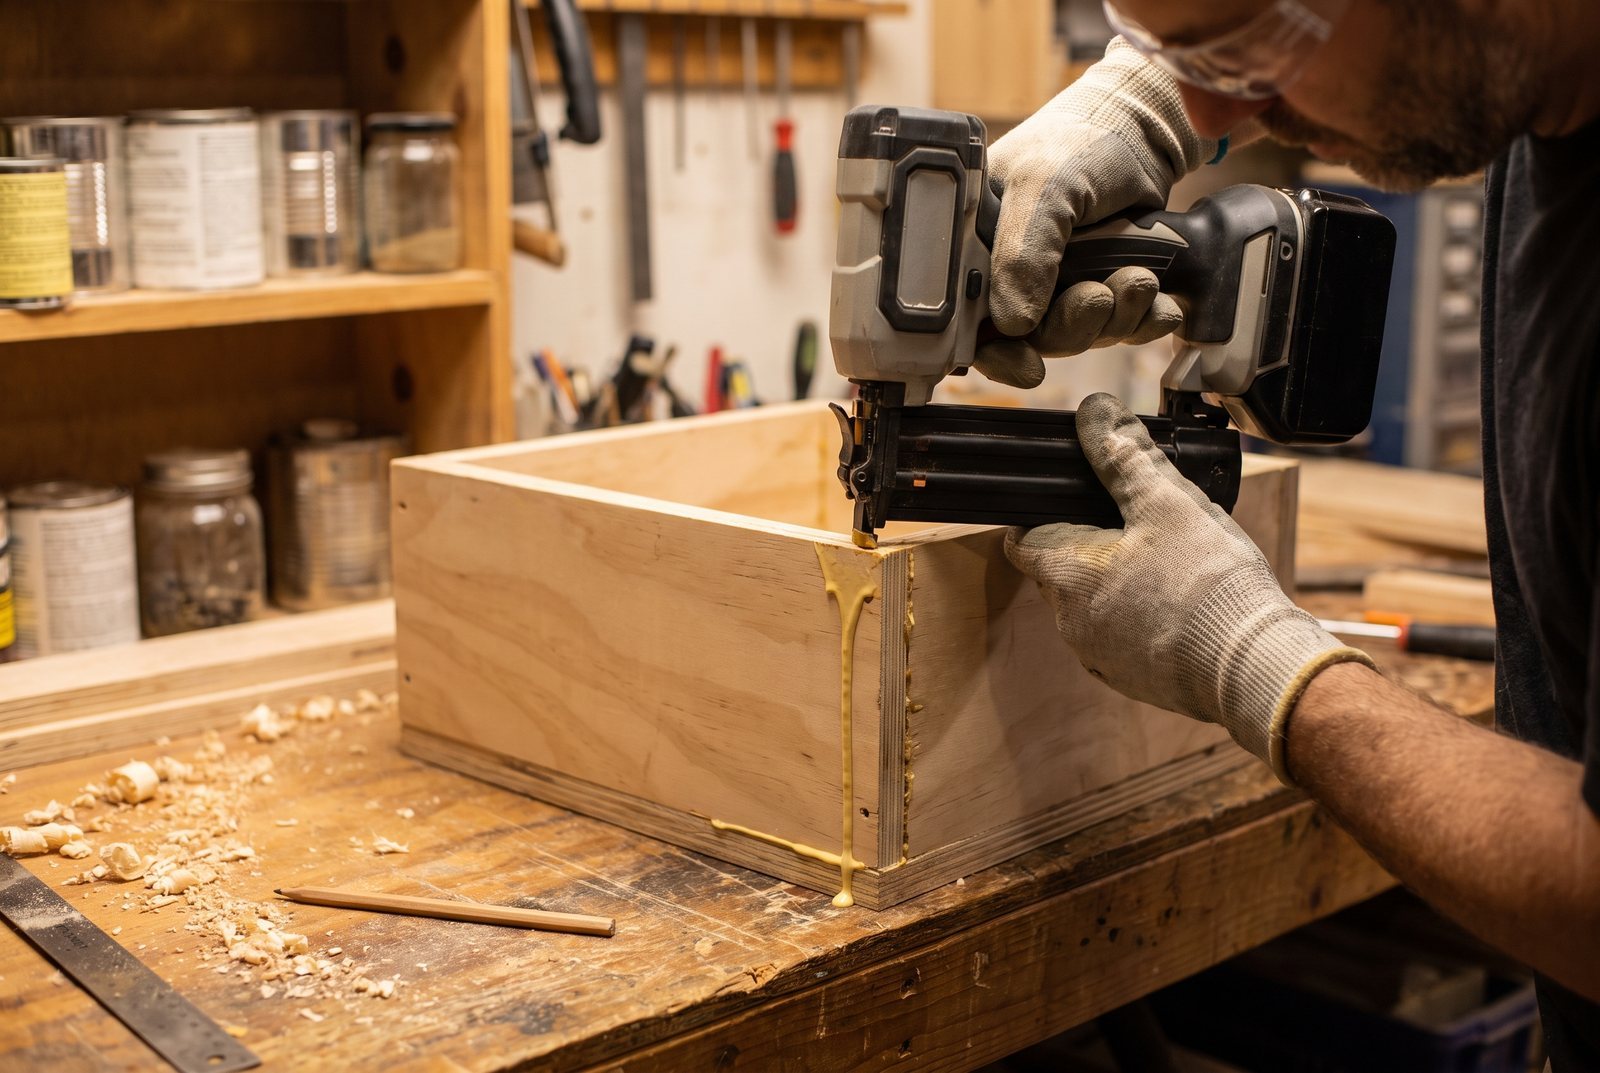
One thing to watch: wipe excess glue immediately with a damp rag. Dried glue doesn't accept paint or stain, and it's miserable to sand off plywood. If you see squeeze-out at a joint, clean it now, not later.
Shelves: one fixed, two removable
Indy Farm Life installs one fixed shelf in the middle of the cabinet, glued and nailed through the sides. This shelf does double duty: it adds storage and it stiffens the whole box, preventing the sides from bowing under load.
For the other two shelves, small cleats cut from scrap hardwood are nailed to the inside walls. The shelves just rest on these ledges and can be repositioned or removed. Hardwood scraps (oak, maple, whatever you have) make better cleats than softwood or plywood offcuts because they're less likely to split or crush under weight.
Why not make every shelf adjustable? A fixed middle shelf makes the cabinet noticeably more rigid. Without it, a tall, narrow plywood box can rack side to side, especially if you load it unevenly. For a 32.5"-wide cabinet, that center shelf matters.
For heavy items, keep shelf spans to 32 inches or less to prevent sagging over time. This cabinet's interior width falls right around that range, so you're in good shape. If you build a wider version, reinforce the front edge of each shelf with a 1x2 strip glued and nailed along the underside.
Face frame and prep for paint
After the box is together, Indy Farm Life adds a simple face frame: two vertical strips and three horizontal strips (top, bottom, middle) cut from 3/4" plywood ripped to about 1 inch wide. These get brad-nailed to the front edges, flush with the inside of the cabinet. The face frame hides the raw plywood edges and gives the cabinet a cleaner look.
This is where patience pays off. Fill every brad nail hole with wood filler and let it dry. Fill any voids on exposed plywood edges too. Sand with 120-grit to smooth things out, then follow with 220-grit for a surface that takes paint evenly. Caulk the interior corners and seams for a finished appearance.
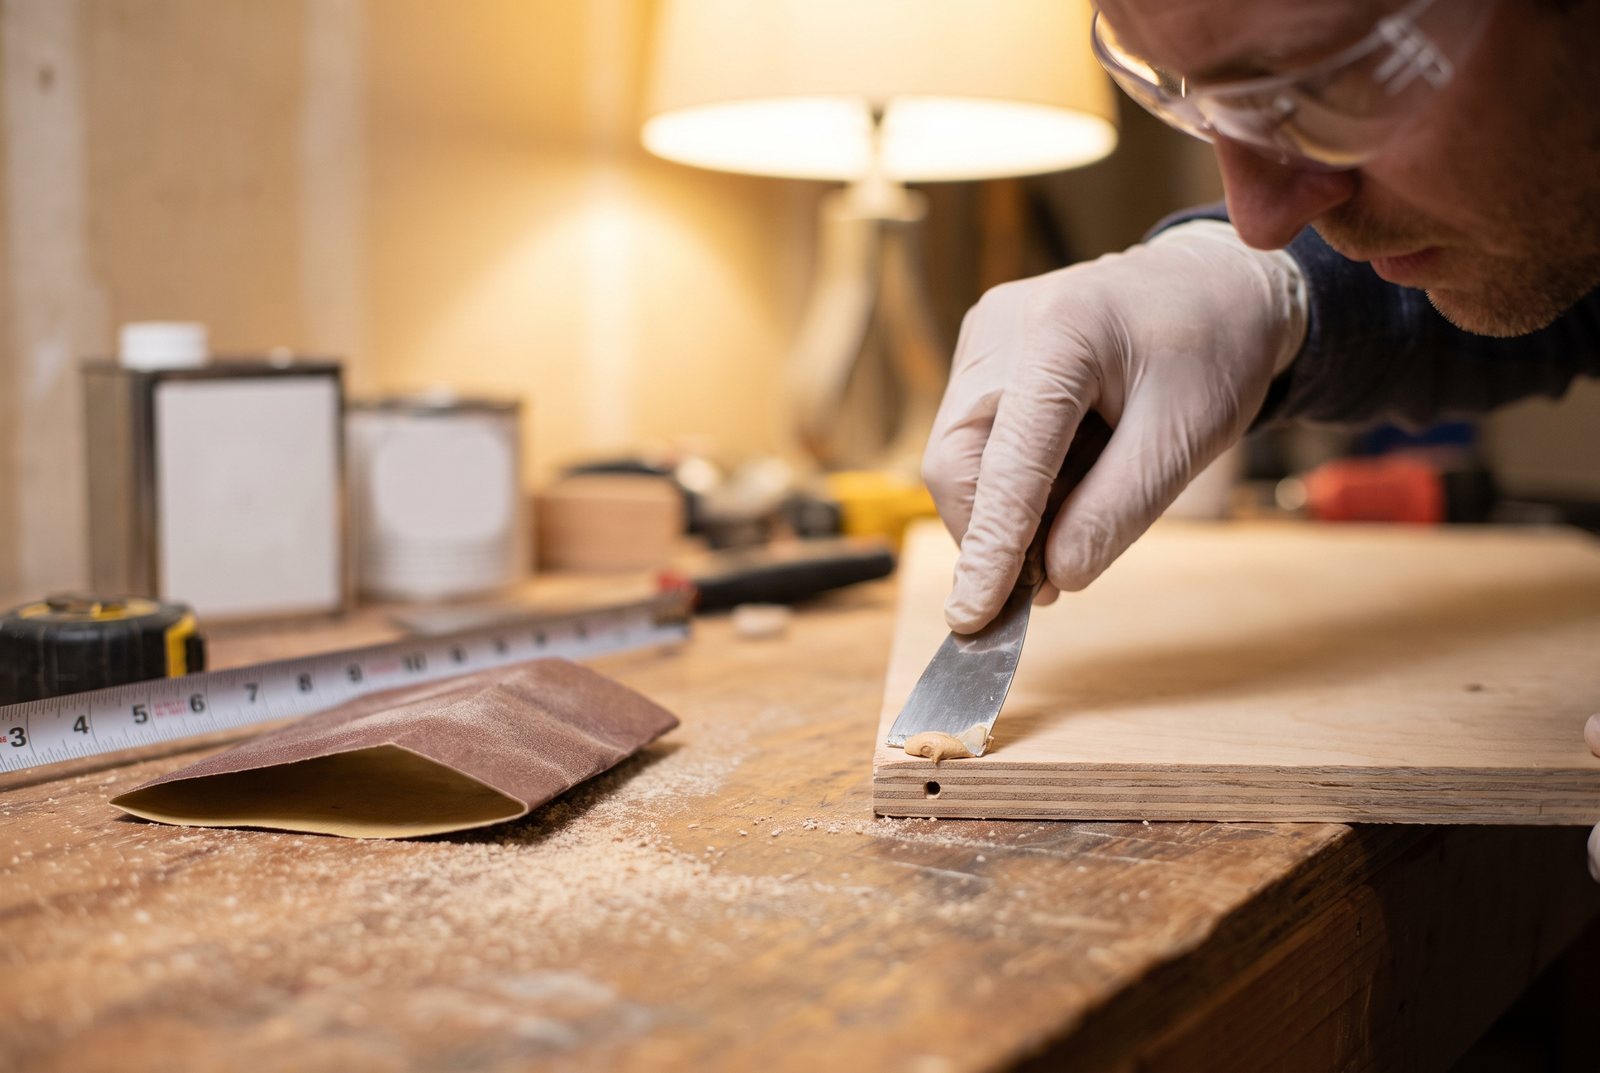
Don't skip primer. Plywood is porous and will drink your first coat of paint unevenly, leaving blotchy spots. A coat of quality primer seals the surface and gives the topcoat something to grip. After primer, lightly sand again with 220-grit before your finish coats. Allow 2 to 4 hours of dry time between coats of paint.
Hanging it on the wall
If you're mounting this cabinet to the wall, fasten it into studs. No exceptions. Use #10 x 2-1/2" cabinet screws driven through the back panel (or a mounting rail) into the framing. Studs are typically 16 or 24 inches on center; use a stud finder to locate them.
For a heavier setup, a French cleat system works well. A single 24-inch cleat made from 3/4" plywood, properly screwed into studs, can support over 200 pounds. Rip a strip of plywood at a 45-degree angle, screw one half to the wall (into studs) and the other to the back of the cabinet. The cabinet hooks over the wall piece and sits rock solid.
One safety note: if your garage shares a wall with the house, that wall likely has a fire-rated drywall assembly. Don't remove or compromise that drywall when mounting cabinets. Screw through it into the studs, but leave the fire barrier intact.
A temporary ledger board screwed to the wall at the cabinet's bottom edge gives you a shelf to rest the cabinet on while you drive the mounting screws. This is much easier than trying to hold a heavy box in place and drill at the same time, especially working alone.
Can a beginner actually do this?
Yes. This is rated beginner-level for good reason. The joinery is glue and nails. The cuts are straight lines. The most advanced technique is clamping a guide to a sheet of plywood and running a circular saw along it. If you've never built anything from wood, this is a reasonable first project, and you'll end up with something genuinely useful.
Budget a full weekend. Cutting and assembly can happen on Saturday. Let the glue cure overnight. Fill, sand, prime, and paint on Sunday, with a second paint coat that evening or the next day. A 30" x 30" x 16" cabinet would go a bit faster since there's less material to cut and handle.
For the full cut list, assembly order, and close-up details, see Indy Farm Life's Simple Plywood Garage Cabinet project guide. It's a good one to have open on your phone while you work.
Quick answers
Do I need a table saw to build a plywood cabinet?
No. A circular saw with a straight-edge guide or track saw jig makes the same long rip cuts. Use a 40-tooth or higher finish blade for clean edges in plywood.
How much does a DIY plywood garage cabinet cost?
Materials only, expect roughly $170 to $200 for a cabinet this size, depending on plywood choice and whether you already have glue, paint, and sandpaper on hand.
What type of 3/4" plywood should I use for garage cabinets?
Sande or BC sanded pine plywood are both good, affordable options that paint well. Avoid MDF in a garage because it swells with moisture. Birch plywood is a premium upgrade but costs more.
How long does it take to build a garage cabinet?
Plan on a full weekend. Cutting and assembly take a few hours each, but wood glue needs 24 hours to fully cure, and you'll want at least two coats of paint with drying time between them.
Projects in this post
Simple Plywood Garage Cabinet
by Indy Farm Life
Open the project guide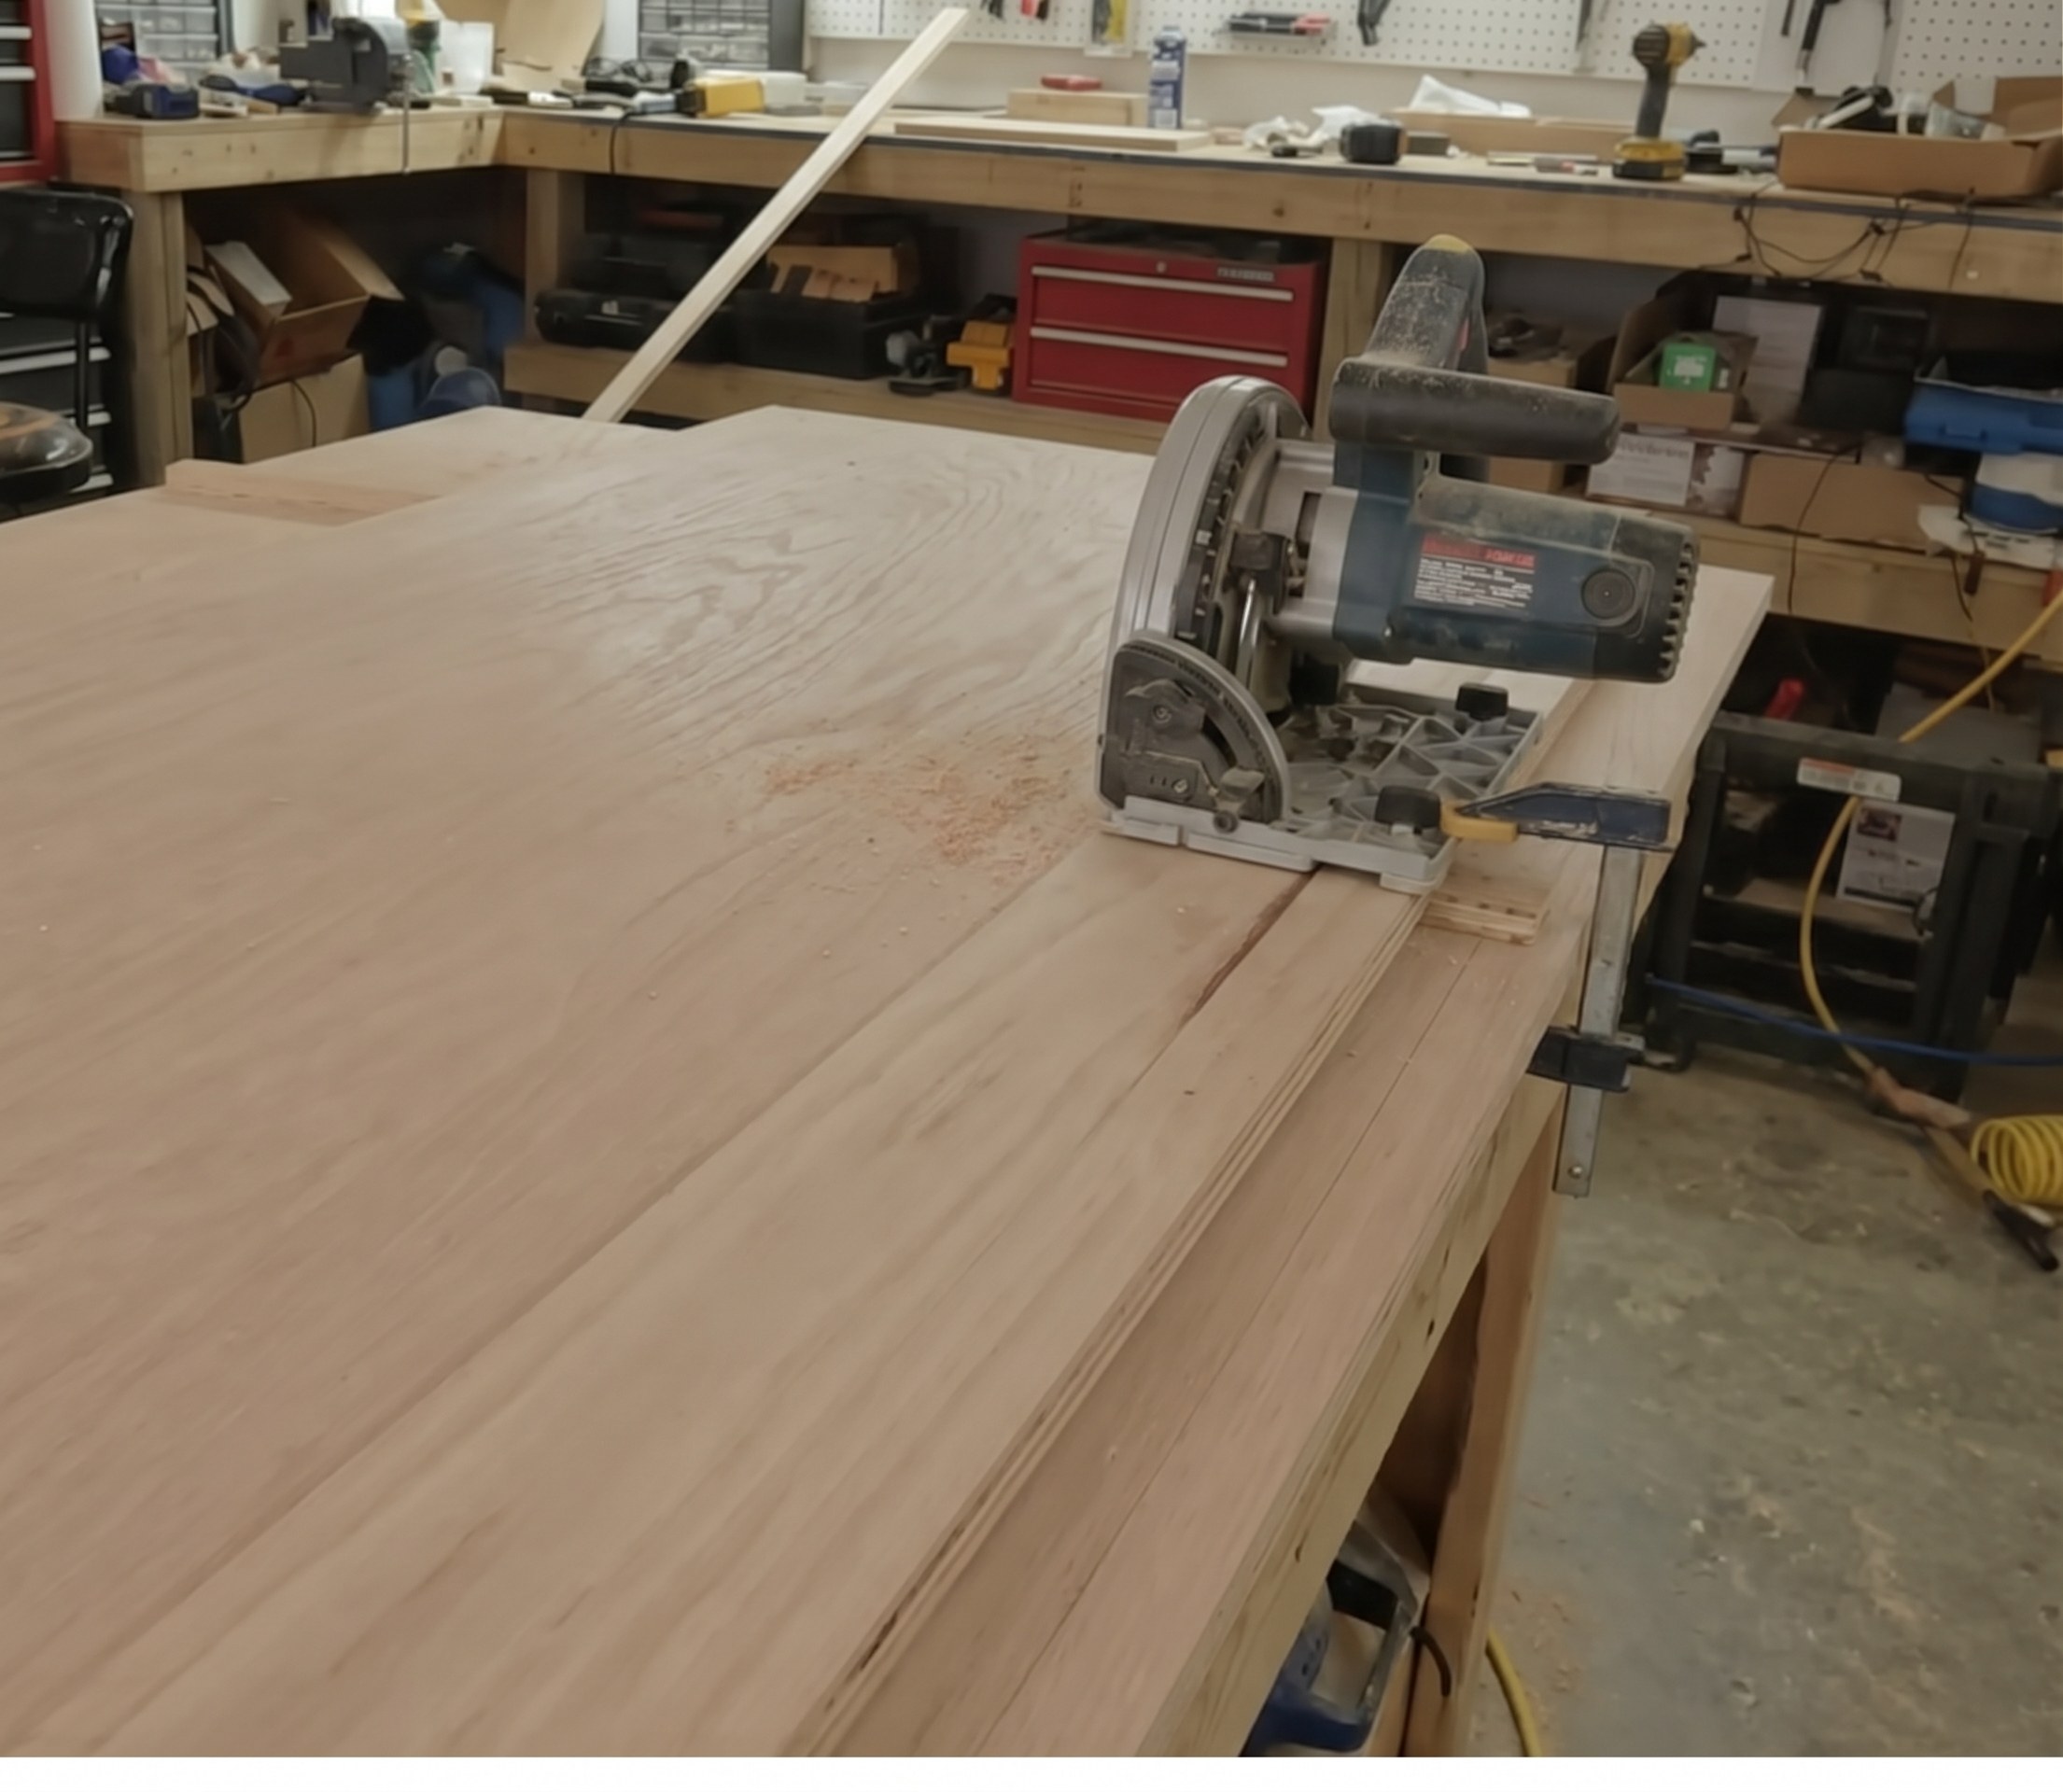
DIY Circular Saw Track Guide
by Indy Farm Life
Open the project guideKeep reading
All postsHow to Build a DIY Track Saw Jig from One Sheet of Plywood
With one sheet of plywood, some glue, and a few screws, your circular saw can cut as straight as a track saw. Here is how to build the jig.
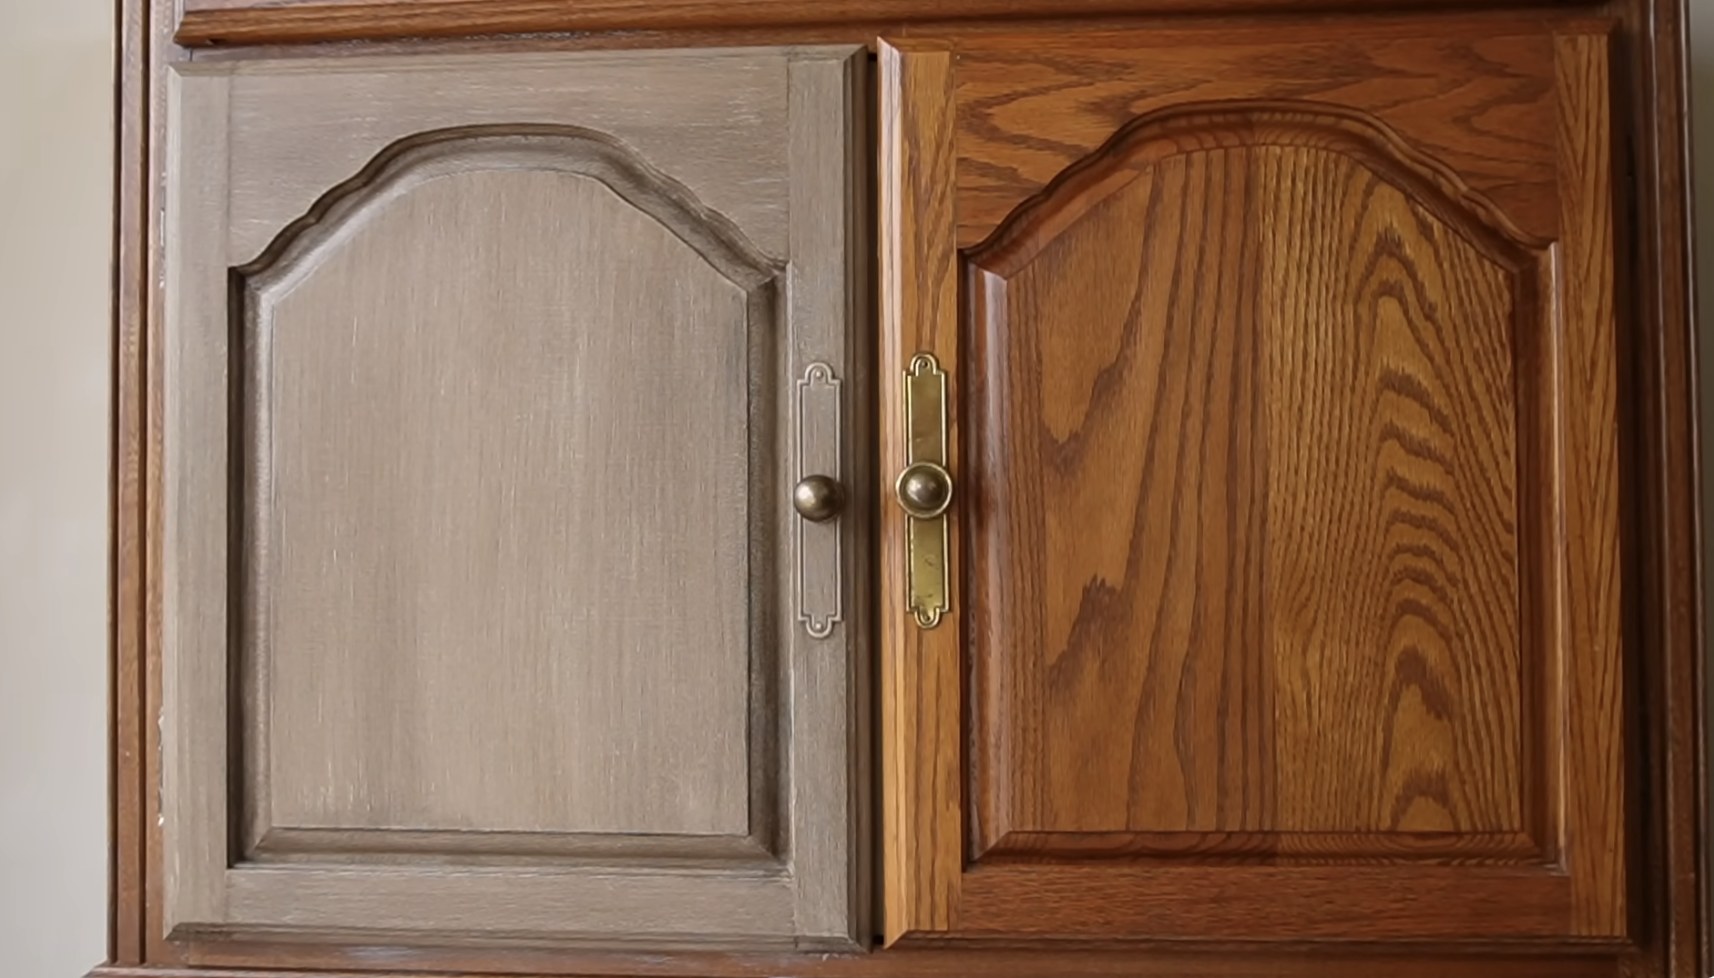
Faux Wood Grain Finish on Kitchen Cabinets with Paint and Glaze
How Black Sheep House gave dated kitchen cabinets a Pottery Barn-style faux wood finish using bonding primer, paint, and glaze with no sanding.
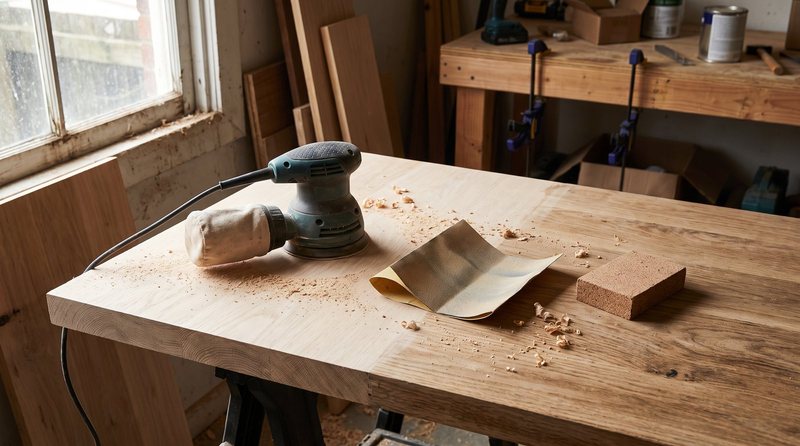
Orbital Sander vs Hand Sanding: When to Use Which
A scenario-by-scenario look at when to use an orbital sander and when hand sanding works better, covering flat surfaces, curves, edges, and more.