How to Resize DIY Plans Without Wrecking the Design
A guide to scaling woodworking plans up or down. Learn the scaling factor formula, how to adjust joints and material thickness, and common mistakes to avoid.
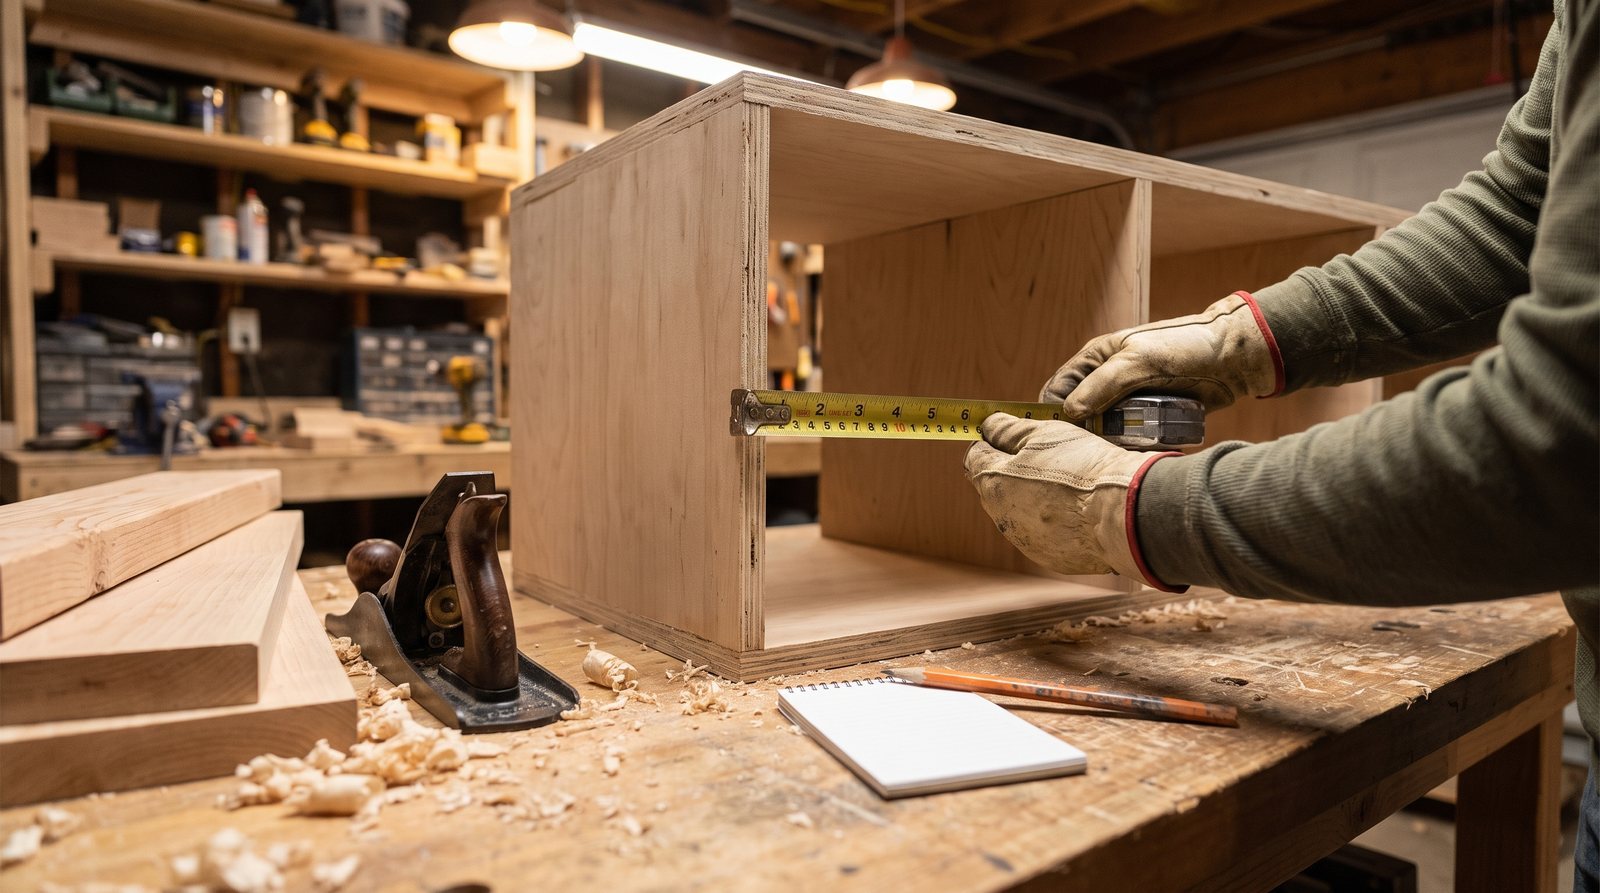
You found a plan you like, but it's 48 inches wide and your wall has 36 inches. Or you want to double a small bookshelf into a full entertainment center. This post gives you the math and the judgment calls to change the dimensions of almost any DIY furniture or woodworking project while keeping it strong, proportional, and buildable.
Start with the scaling factor
The scaling factor is a single number that drives every other decision. Divide your desired dimension by the original dimension.
New width ÷ Original width = Scaling factor
If the original plan calls for a 48-inch-wide vanity and you need 36 inches, your scaling factor is 36 ÷ 48 = 0.75. If you're stretching a 30-inch-wide shelf unit to 60 inches, your factor is 2.0.
Apply that factor to all three axes (width, height, depth) and you get a proportionally identical piece at a new size. That's the simple version. The problem is that simple proportional scaling is only the starting point, not the whole answer.
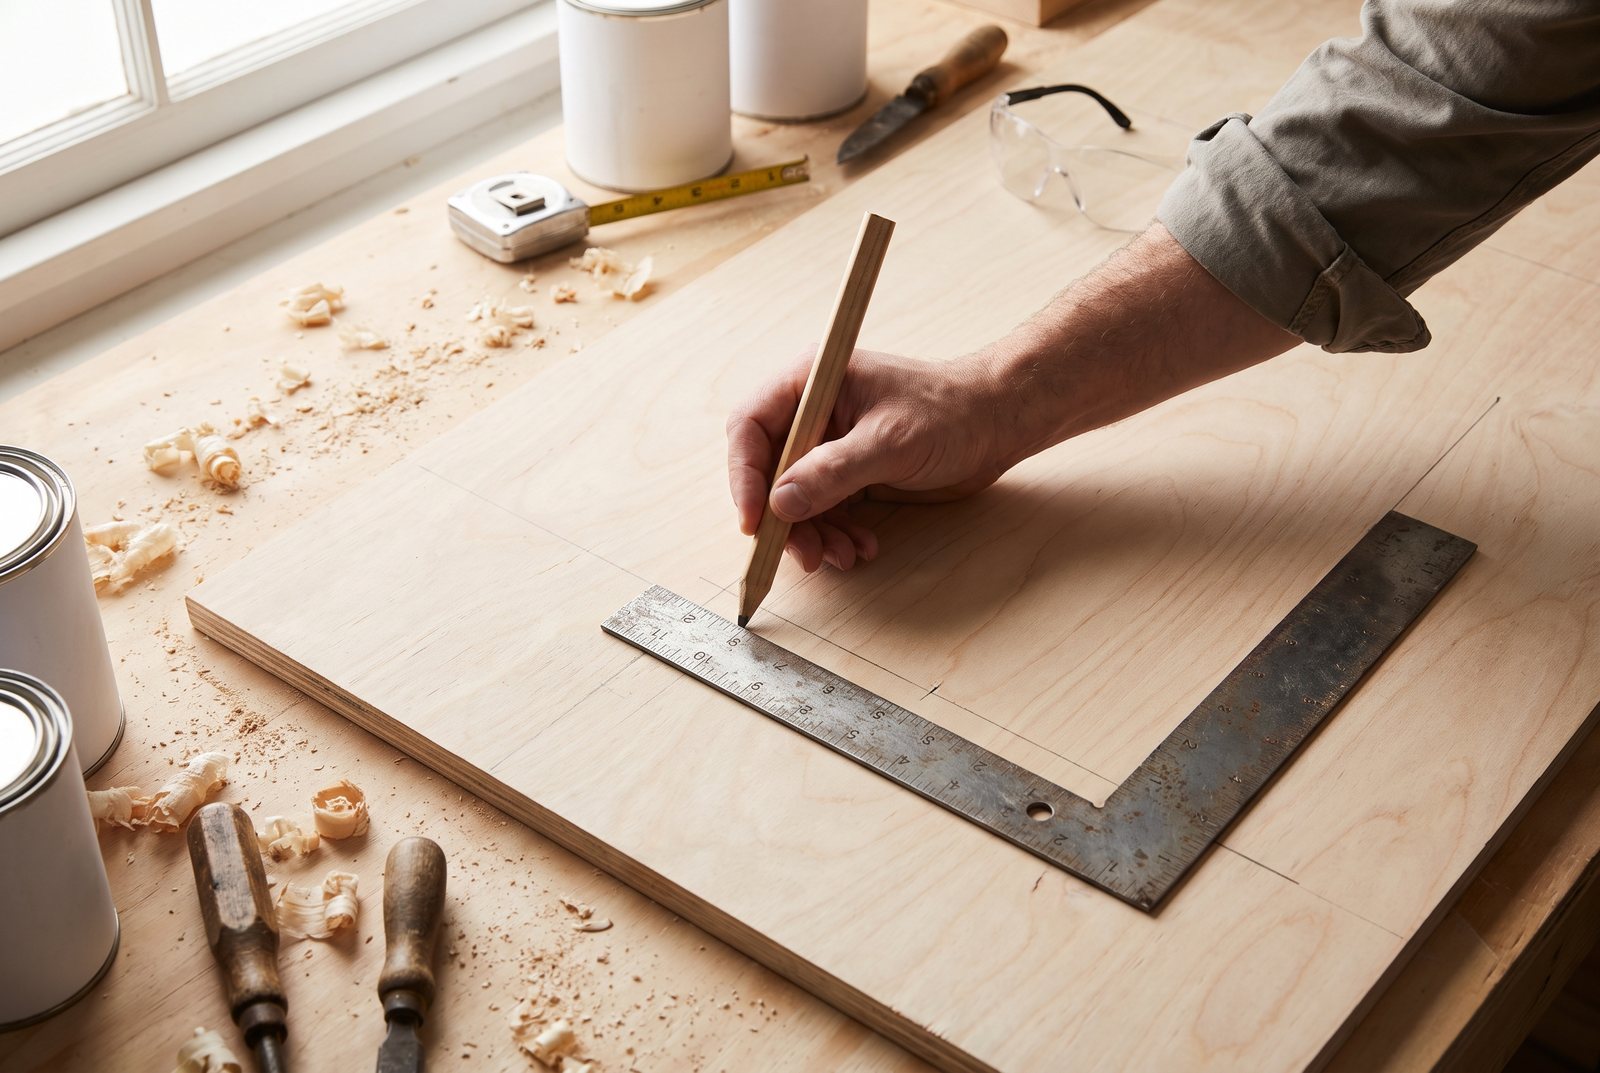
Why doubling the size doesn't just double the weight
This is where most people get tripped up. Physics has a rule called the square-cube law: when you double every dimension of an object, its surface area quadruples and its volume (and weight) increases by a factor of eight. A coffee table scaled up by 2x doesn't weigh twice as much. It weighs roughly eight times as much.
That means the joints, the fasteners, and the material thickness all need to handle dramatically more stress. A shelf that held books at 24 inches wide might sag badly at 48 inches with the same 3/4-inch plywood thickness and the same bracket spacing.
A useful guideline for material thickness: multiply the original thickness by the square root of your scaling factor. Scaling up by 2x means multiplying thickness by roughly 1.4 (the square root of 2). So 3/4-inch stock becomes about 1-1/16 inch, which in practice means stepping up to a full 1-inch board or even 1-1/4-inch stock depending on what's available.
This is a guideline, not a law. Combine it with common sense about what the piece actually carries. A decorative frame holds its own weight. A workbench holds engine blocks.
Scaling joints without weakening them
Joints are where resized projects fail first. Each joint type has its own rules of thumb, and those rules need to travel with your new dimensions.
Mortise and tenon
The classic ratio: tenon thickness should be about one-third the thickness of the rail it's cut from. When you scale up and increase your rail thickness (using the square-root guideline above), recalculate the tenon at one-third of that new thickness. Tenon length should be at least five times its thickness for a solid mechanical connection.
One thing to watch: keep individual tenon width under about 4 to 6 inches. Wider than that and seasonal wood movement can crack the joint or the surrounding mortise. If your scaled-up rail is very wide, split it into two tenons separated by a gap.
Dovetails
Dovetails are more forgiving because their proportions are partly aesthetic. Scale the pin and tail spacing with the piece, but trust your eye. A jewelry box with tiny, tight dovetails looks refined. A blanket chest with the same tiny spacing looks odd and is unnecessarily tedious to cut.
Pocket holes
Pocket hole joints are common in plan-based builds, and they scale differently from traditional joinery. The screw length is dictated by your material thickness (your jig's chart will tell you which screw to use for 1/2-inch, 3/4-inch, or 1-1/2-inch stock). What changes when you scale is the number of screws and their spacing. A good rule is one pocket screw every 6 to 8 inches along a joint. For narrow boards between 1-1/2 and 4 inches wide, use at least two screws to prevent the board from twisting over time.
The parts you should not scale proportionally
Not every dimension should move with the scaling factor. This is the difference between a resized project that looks right and one that looks like a shrunken or bloated version of the original.
Tabletop and panel thickness. If you scale a small side table down to a nightstand, the proportionally reduced top might end up thinner than any available lumber. And if you scale a nightstand up to a dining table, a proportionally thick top can look clunky and waste material. In practice, 3/4-inch plywood or solid wood works for most tabletops up to about 36 inches wide. Beyond that, or for heavy-use surfaces, step up to 1-inch or 1-1/4-inch stock based on the load, not just the ratio.
Leg dimensions. Legs that are proportionally correct can look spindly when scaled down or cartoonishly thick when scaled up. Adjust leg cross-sections for structural need first (the piece must not rack or wobble), then refine for appearance.
Hardware. Hinges, drawer slides, and handles come in standard sizes. You can't scale a 16-inch drawer slide by 0.75 and buy a 12-inch slide that works the same way. Check the hardware you plan to use before you finalize your dimensions, and design the piece around what's actually available.
Overhangs and reveals. A 1-inch overhang on a 48-inch tabletop is subtle. That same 1-inch overhang on a 24-inch tabletop is visually heavy. These small aesthetic dimensions often stay the same or change only slightly regardless of overall scale.
A worked example: resizing a simple bookshelf
Say the original plan is a bookshelf 36 inches wide, 72 inches tall, 12 inches deep, built from 3/4-inch plywood with four shelves.
You need it 48 inches wide to fill a wall. Your scaling factor for width is 48 ÷ 36 = 1.33.
| Dimension | Original | Scaled (x 1.33) | Adjusted |
|---|---|---|---|
| Width | 36 in | 48 in | 48 in |
| Height | 72 in | 96 in | 72 in (keep it) |
| Depth | 12 in | 16 in | 12 in (keep it) |
| Shelf thickness | 3/4 in | 1 in (√1.33 ≈ 1.15 x 0.75) | 3/4 in or 1 in |
| Shelf span | 36 in | 48 in | 48 in (check sag) |
In this case, you probably don't want the bookshelf taller or deeper, just wider. So you apply the factor only to width and leave height and depth alone. That's a selective scale, and it's the most common real-world scenario.
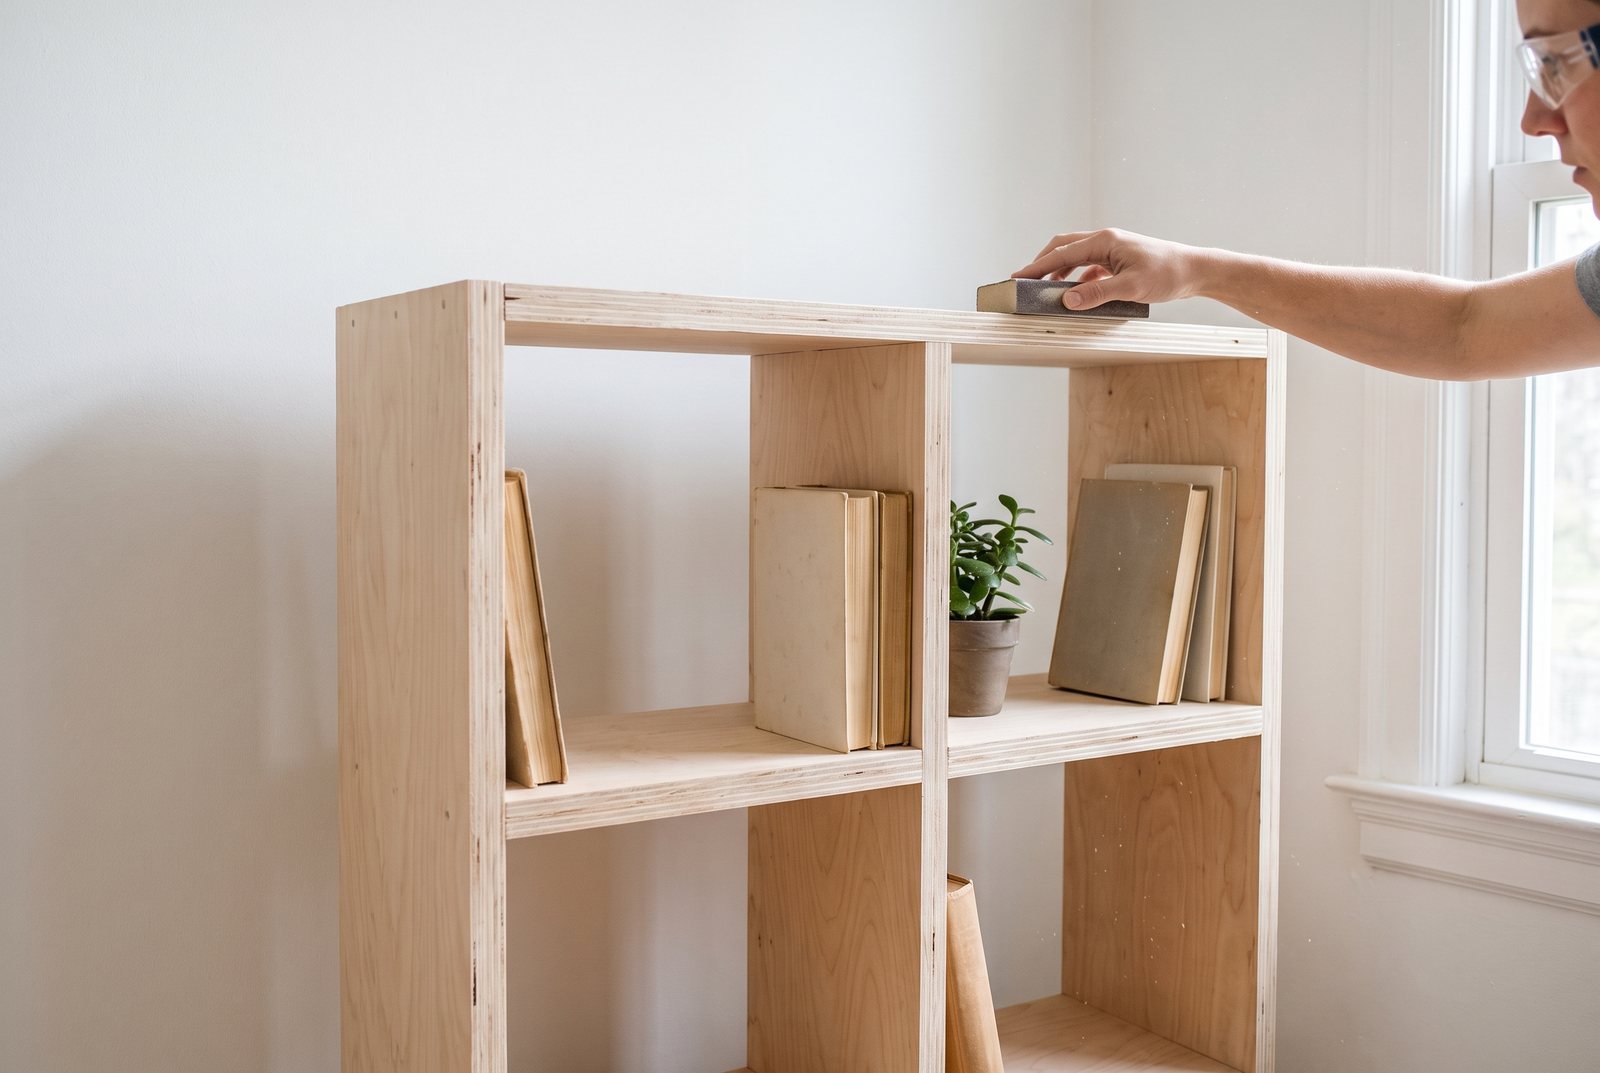
But now your shelves span 48 inches instead of 36, and a 48-inch span of 3/4-inch plywood loaded with books will sag. You have two options: step up to 1-inch material for the shelves, or add a vertical divider in the center to cut the span in half. The divider is cheaper and also stiffens the whole case. Use an online deflection calculator (sometimes called a "Sagulator") to check your specific material and expected load before you commit.
Scaling down: the hidden problems
Scaling down sounds easier, but it has its own traps. Joints that were comfortable to cut at full size become fiddly when reduced. A 3/4-inch tenon scaled down to 1/2 inch is still cuttable, but a 1/4-inch tenon is fragile and hard to fit.
Material availability also gets awkward. Lumber doesn't come in every thickness. If your scaled dimensions call for 7/16-inch stock, you'll need to resaw or plane down from the nearest available size, which adds time and assumes you have the tools.
The fix is to scale dimensions to the nearest standard lumber size and then adjust the joinery to match. Start with what you can actually buy (1/4, 1/2, 3/4, 1 inch for plywood; 3/4 and 1-1/2 inch for dimensional lumber) and work backward to your joint proportions.
When you're only changing one dimension
Most of the time, people don't want a proportionally identical piece at a different size. They want a vanity that's 6 inches narrower, or a fence that's 20 feet longer instead of 12. That's a single-axis change, and it's simpler but still requires thought.
Changing width only: the piece gets wider but no taller or deeper. Main concern is shelf and panel sag over the longer span, and whether your joint spacing still provides enough support. Add fasteners or intermediate supports as needed.
Changing height only: common with bookcases, entertainment centers, and fireplace surrounds. A taller piece has a higher center of gravity and is more likely to tip. For any tall freestanding furniture, consider anchoring it to the wall. The ASTM F2057 voluntary stability standard for clothing storage units is a good safety benchmark for any freestanding piece that could tip onto a child.
Changing depth only: less common, but if you're making a shallower shelf or a deeper desk, the main issue is whether the face frame or front edge still looks proportional and whether drawer hardware fits the new depth.
For projects with a set footprint, like a wagon bed designed to fit a standard steel running gear kit, changing that dimension means confirming the new size still works with the off-the-shelf frame, or building a custom one. Changing that dimension means confirming the new size still works with the off-the-shelf frame, or building a custom one.
Don't forget the budget
Resizing changes your material cost, sometimes dramatically. Scaling up by 1.5x in all three dimensions increases volume by about 3.4x, which means roughly 3.4 times the lumber. A 4x8 sheet of 3/4-inch cabinet-grade plywood runs $60 to $90 depending on species and region, so the difference between a two-sheet project and a seven-sheet project is real. Run your cut list at the new dimensions before you start, and use our guide on estimating the real cost of a DIY project to avoid surprises.
Scaling down saves material but doesn't always save money proportionally, because you still buy full sheets and full boards. You just have more offcuts.
Quick answers
Can I just multiply every dimension by the same number?
You can, and it will give you a proportionally identical piece. But in practice you'll want to adjust material thickness (use the square root of the scaling factor as a starting point), check joint sizes against standard rules of thumb, and verify that hardware comes in the sizes you need.
How do I keep a resized shelf from sagging?
Either increase the material thickness or reduce the unsupported span by adding a vertical divider or extra brackets. An online deflection calculator will tell you exactly how much sag to expect for your material, span, and load.
Do I need bigger screws when I scale up a project?
Usually, yes. Screw length should let about two-thirds of the threaded portion bite into the second piece. When your stock gets thicker, your screws need to get longer. A #8 x 2.5-inch wood screw has a withdrawal strength of about 175 lbs in SPF lumber, while a #10 x 3-inch screw handles about 220 lbs. Match the fastener to the new load.
Should I scale the finish too?
The number of coats doesn't change, but the coverage does. One gallon of paint covers roughly 350 to 400 square feet. A bigger piece means more surface area, so buy accordingly. Sanding grits and application methods stay the same regardless of project size.
The project in this post
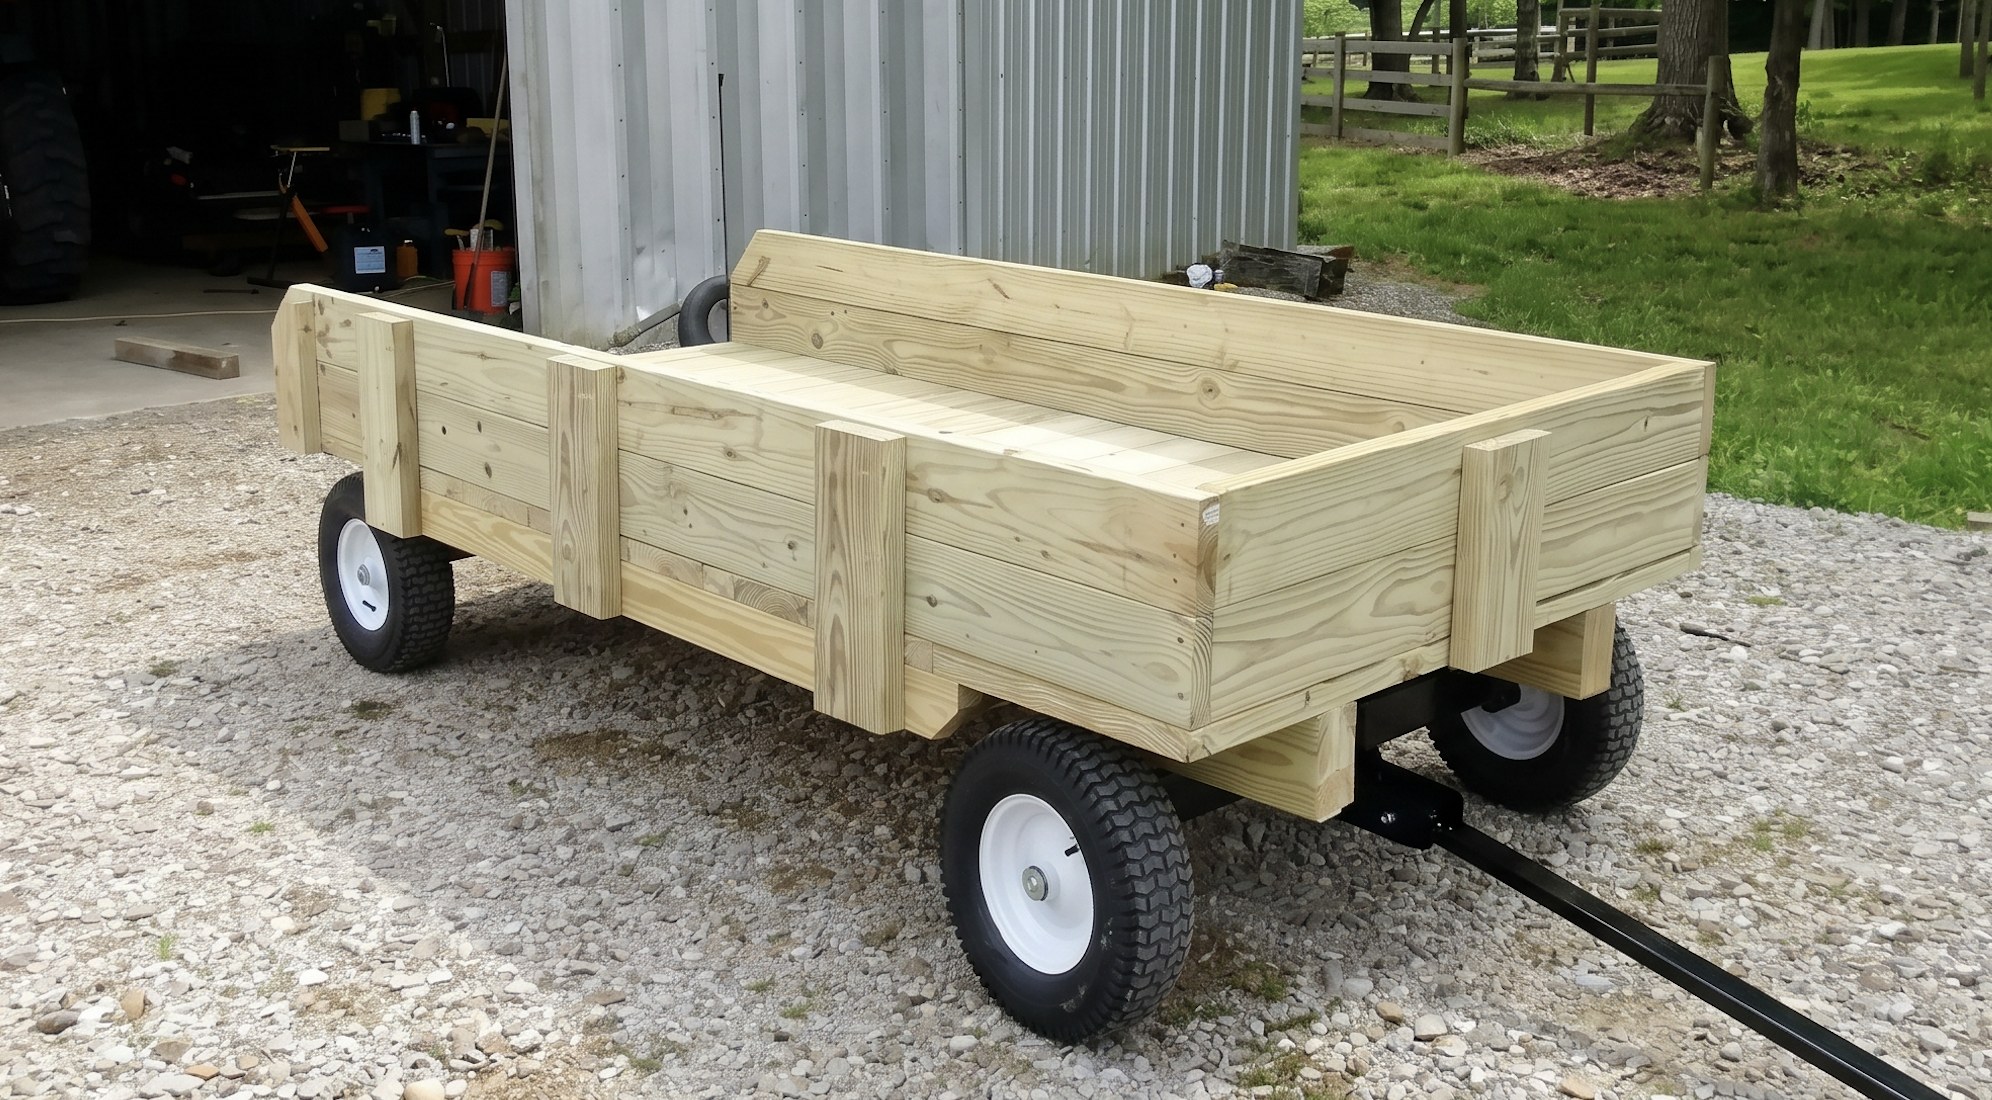
DIY Wooden Farm & ATV Wagon
by Indy Farm Life
Open the project guideKeep reading
All posts
How to Calculate Exactly How Many Boards You Need
A simple method for counting 2x4s, pickets, or deck boards for any project. Covers linear and square footage, waste factors, and converting to store quantities.
How to Estimate DIY Project Time and Save Your Weekend
Most beginners underestimate DIY project time by half. Learn to break projects into phases and set realistic hours, including drying time nobody plans for.
How to Estimate the Real Cost of a DIY Project
A step-by-step framework for listing materials, calculating board feet and coverage, adding waste, and checking current prices so your budget actually holds.