How to Estimate DIY Project Time and Save Your Weekend
Most beginners underestimate DIY project time by half. Learn to break projects into phases and set realistic hours, including drying time nobody plans for.
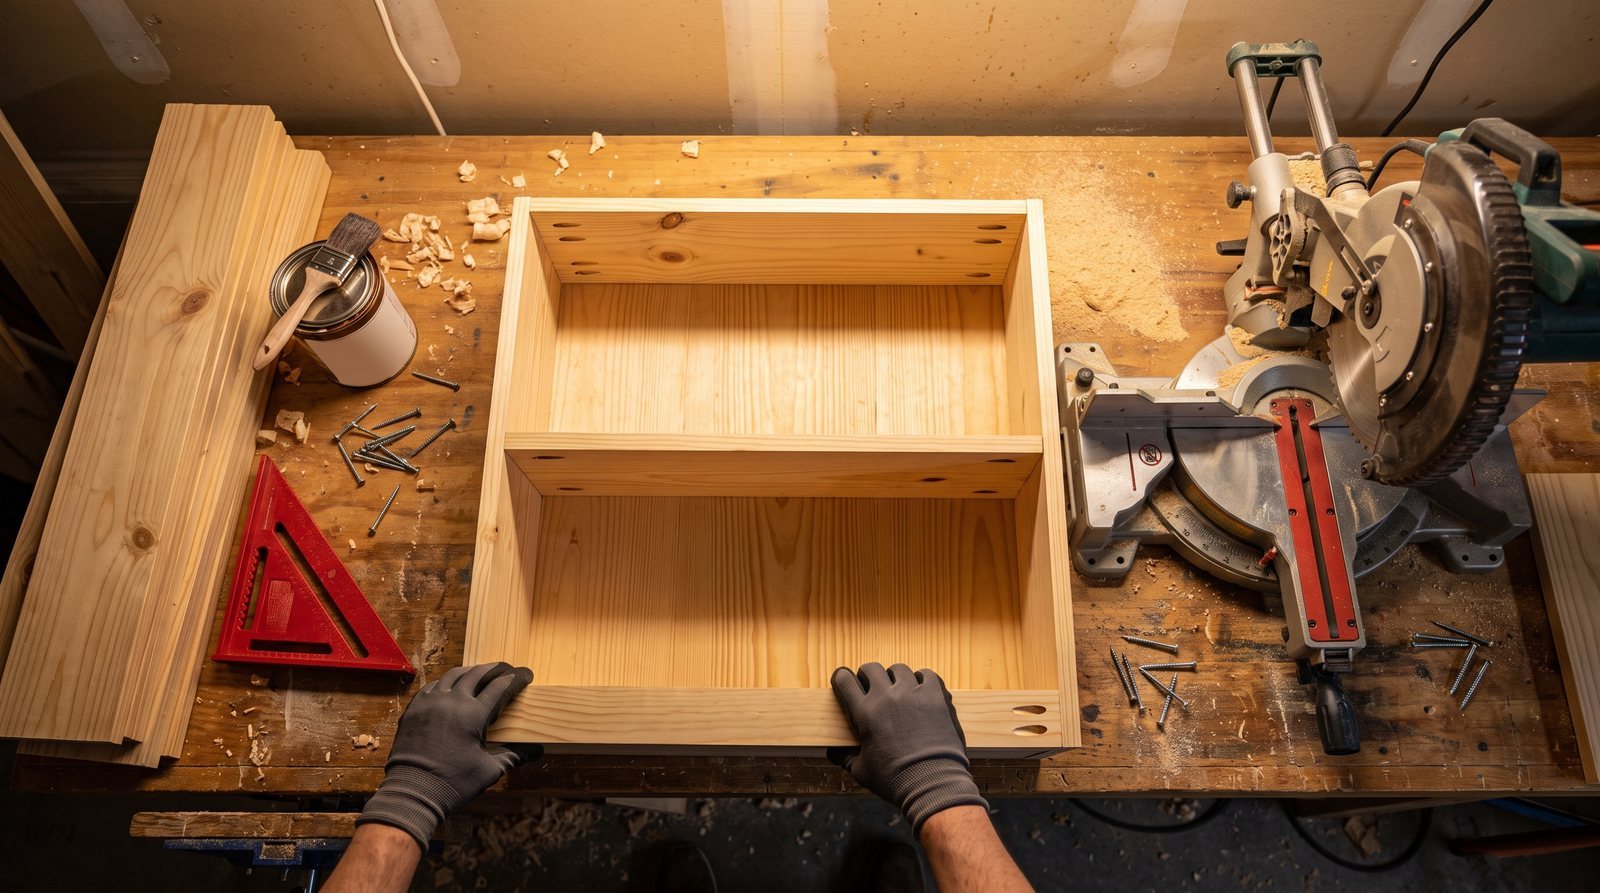
The single biggest planning mistake in DIY is underestimating how long a project takes. Not by a little. Most beginners guess about half the actual time, then end up with a half-finished bookshelf on Sunday night and wet stain they can't touch until Wednesday. This guide breaks projects into phases with real time ranges so you can plan your weekends honestly, whether you're building furniture, painting a room, or laying a new floor.
Every project has the same five phases
No matter what you're building, the work falls into roughly the same buckets: planning, prep, cutting/shaping, assembly or application, and drying or curing. The trick is that only some of those phases involve you actively working. The rest is waiting, and that waiting is what turns a "Saturday project" into a full weekend or longer.
Here's the framework:
| Phase | What it includes | Beginner trap |
|---|---|---|
| Planning & purchasing | Sketching, measuring, making a cut list, driving to the store | Forgetting the second trip for the thing you forgot |
| Prep | Sanding, cleaning, taping, removing old material | Skipping it entirely, then paying for it later |
| Cutting & shaping | Sawing lumber, trimming planks, cutting in paint edges | Measuring once, cutting twice |
| Assembly or application | Joining pieces, rolling paint, clicking flooring together | Assuming this is the whole project |
| Drying & curing | Stain, paint, glue, polyurethane setting up | Not realizing "dry to touch" and "ready to use" are days apart |
When someone asks "how long will this take to build," they're usually thinking about the assembly phase only. That's typically less than half the total time, and it ignores drying completely.
A bookshelf: 6 hours of work, 3 days of calendar
A simple 3 to 4 shelf pine bookshelf (roughly 48 inches tall, 30 inches wide, 12 inches deep) is a common first project. Here's how the time actually breaks down.
Planning and purchasing: 1 to 2 hours. Sketching and making a cut list takes 15 to 30 minutes. The hardware store trip takes 45 to 90 minutes, and that's if you don't wander. You'll need 1x12 pine boards, 1-1/4 inch #8 wood screws, sandpaper in 120 and 220 grit, and your finish of choice.
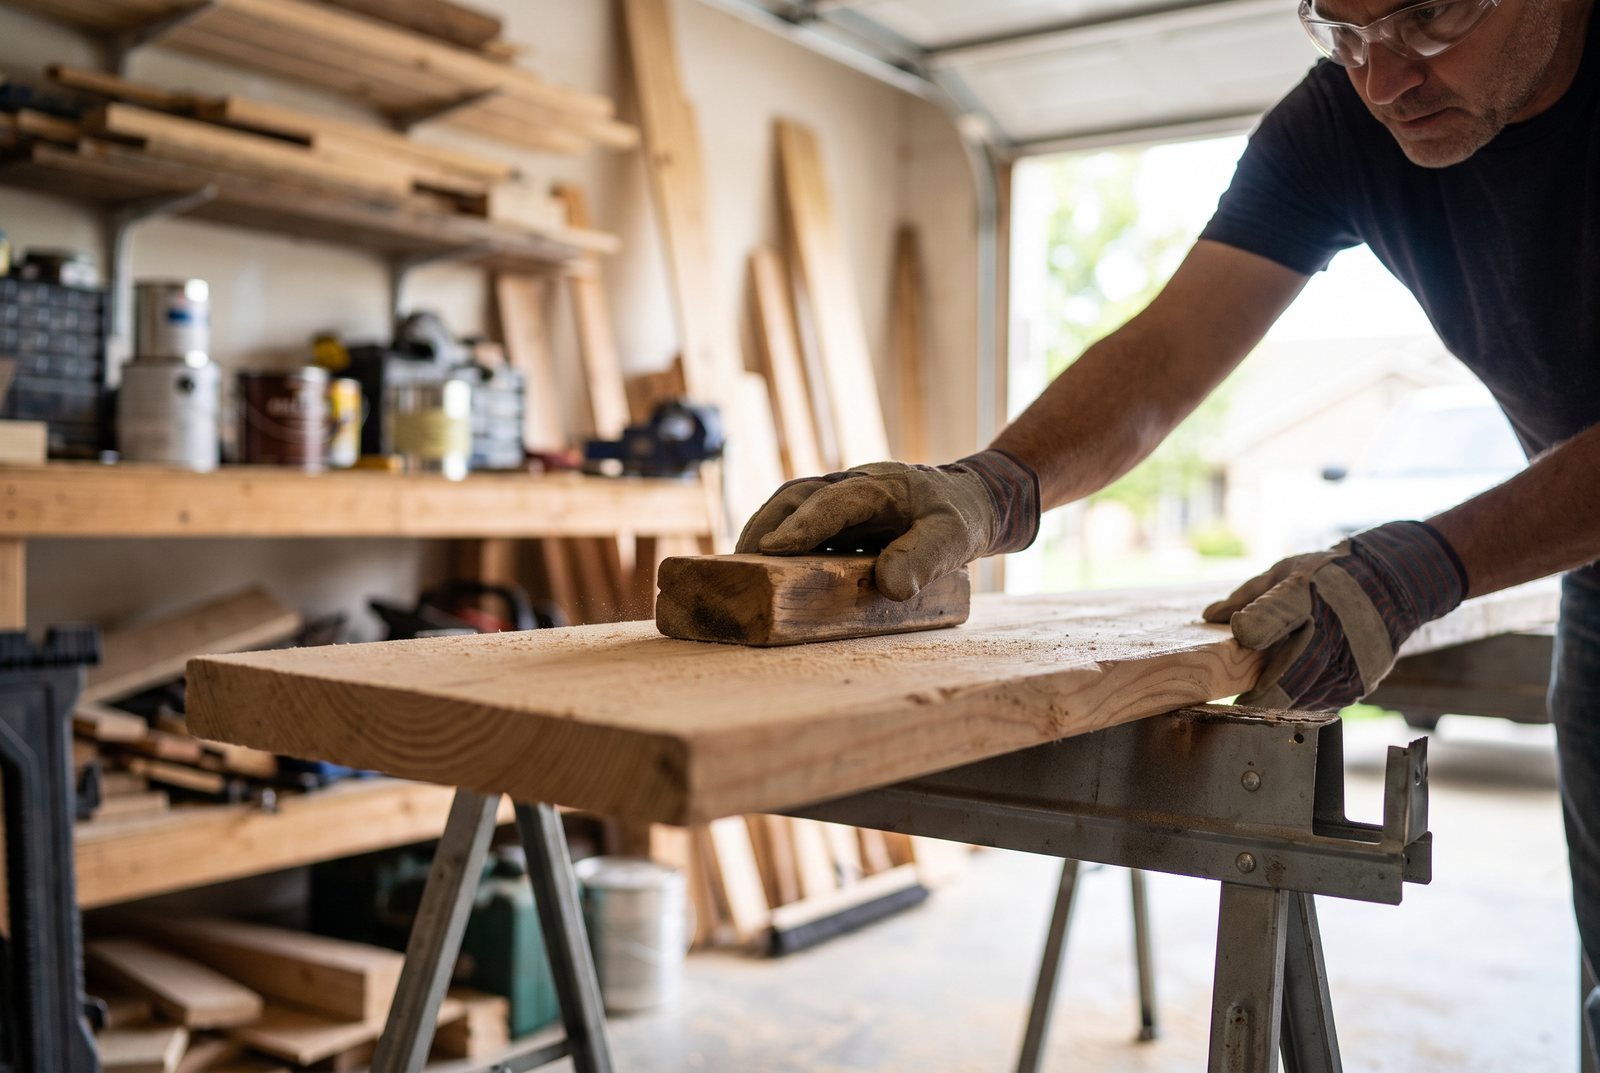
Cutting and sanding: 1 to 2 hours. Cutting the lumber with a circular or miter saw runs 30 to 60 minutes; always wear safety glasses and hearing protection. Then sand every piece before assembly (start at 120 grit, finish at 220). Sanding adds 30 to 45 minutes, but skipping it is a mistake you'll see in the final finish. It's far harder to sand inside corners once the shelf is assembled.
Assembly: 1 to 2.5 hours. Pocket holes are one of the fastest joinery methods for beginners. Pre-drill your holes in pine to prevent splitting. Use a level and square as you go, because fixing a crooked shelf after the screws are in is miserable.
Finishing: 1 to 2 hours of active work. Applying stain or paint goes quickly. But here's where the calendar explodes.
Drying and curing: 24 to 72+ hours. Oil-based stain needs 8 to 24 hours before you can apply a polyurethane topcoat, and some products recommend waiting a full 48 to 72 hours. Water-based stain dries faster, in about 2 to 6 hours. Then the polyurethane itself needs 24 to 48 hours before even light use, and it won't fully cure and harden for up to 30 days.
So the active work is 4 to 8 hours. But you need 2 to 3 calendar days minimum, and you shouldn't load those shelves with books for a few weeks if you used poly.
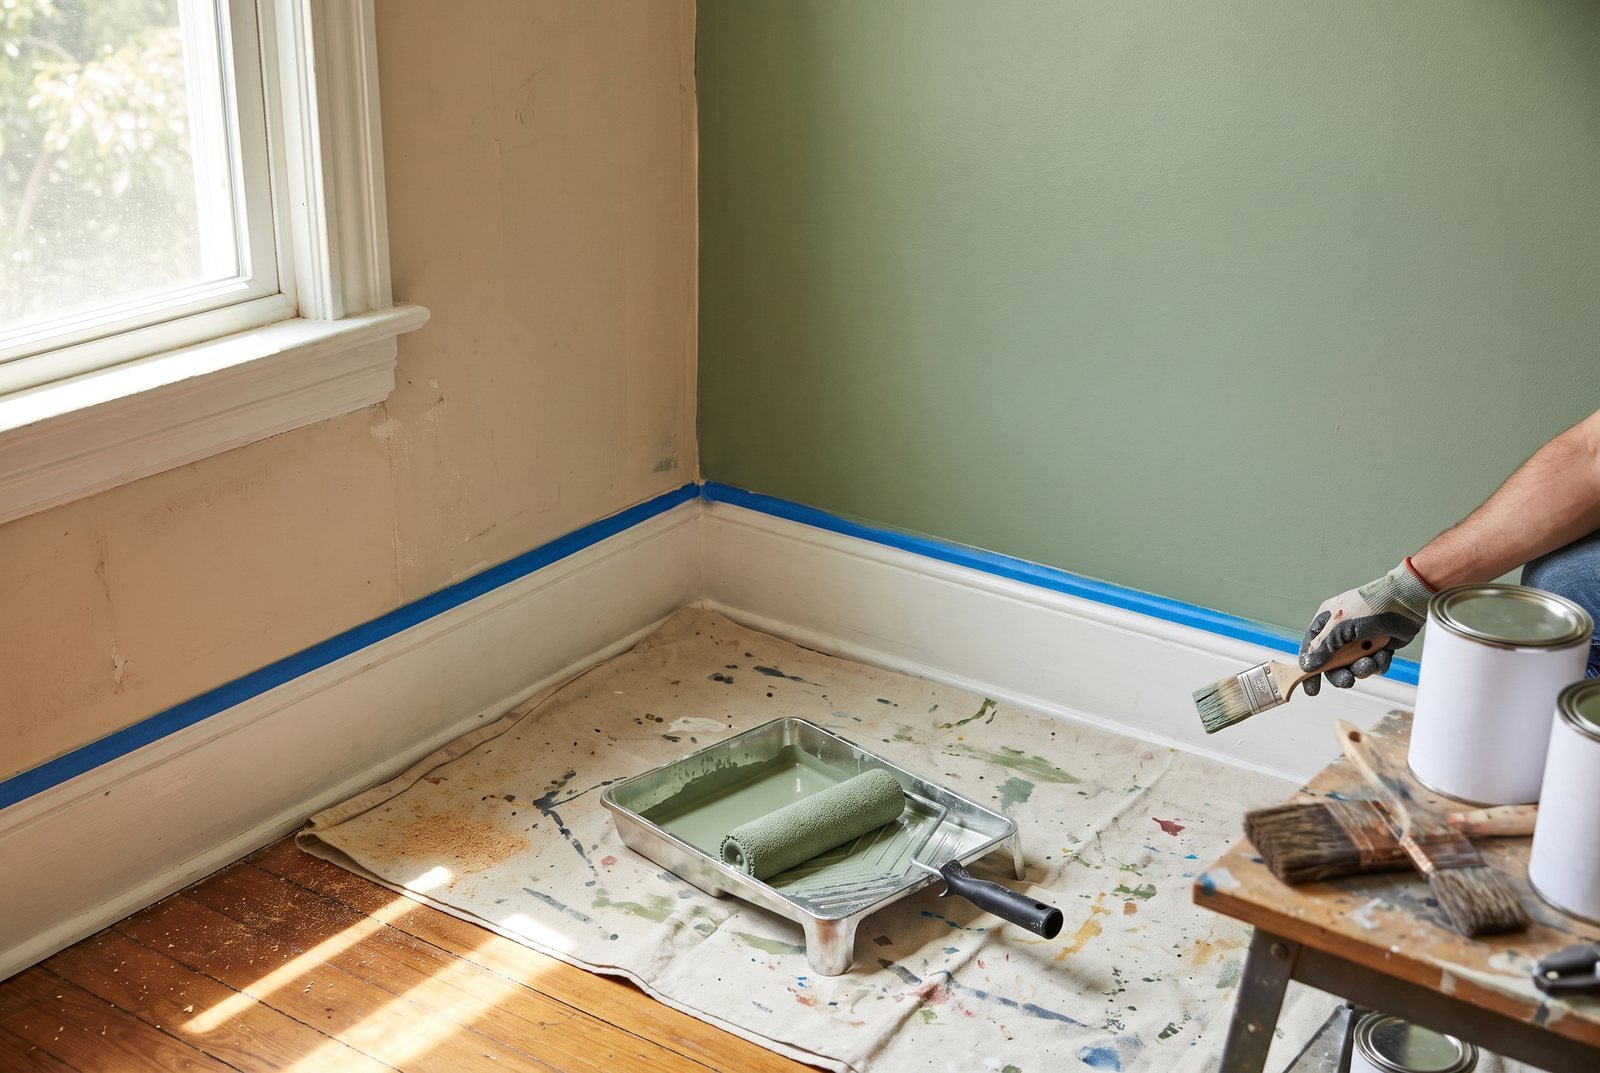
Painting a room: one day of work, a weekend of patience
Painting a standard 12x12 foot room takes 5 to 8 hours of active work for one person, but you'll spread it over a weekend. Ensure you have good ventilation, and if your home was built before 1978, test for lead paint before you begin.
Prep: 2 to 4 hours. This is the phase people cut short, and it shows. Moving and covering furniture takes 30 to 60 minutes. Washing walls with a mild detergent or TSP substitute takes another 30 to 60 minutes (skip this and the paint won't stick to greasy spots near the kitchen or bathroom). Taping trim, patching nail holes with spackle, and sanding patches smooth takes 1 to 2 hours. If you're painting over a semi-gloss surface, you need to lightly scuff it with sandpaper first or the new paint will peel.
Painting: 2 to 4 hours per coat. "Cutting in" the edges and corners with a brush takes 1 to 1.5 hours. Rolling the main walls takes 1 to 2 hours. You'll almost certainly need two coats, so double those numbers.
Drying between coats: 2 to 4 hours for latex. You can usually recoat latex paint in 2 to 4 hours. Oil-based paint needs a full 24 hours between coats. Latex is dry to the touch in about an hour, but full curing (when you can scrub the walls without damaging them) takes 2 to 4 weeks.
One gallon of interior latex covers roughly 350 to 400 square feet. A 12x12 room with 8-foot ceilings has about 384 square feet of wall space, so plan on two gallons for two coats.
The realistic weekend plan: prep and first coat on Saturday, second coat Sunday morning, remove tape Sunday afternoon.
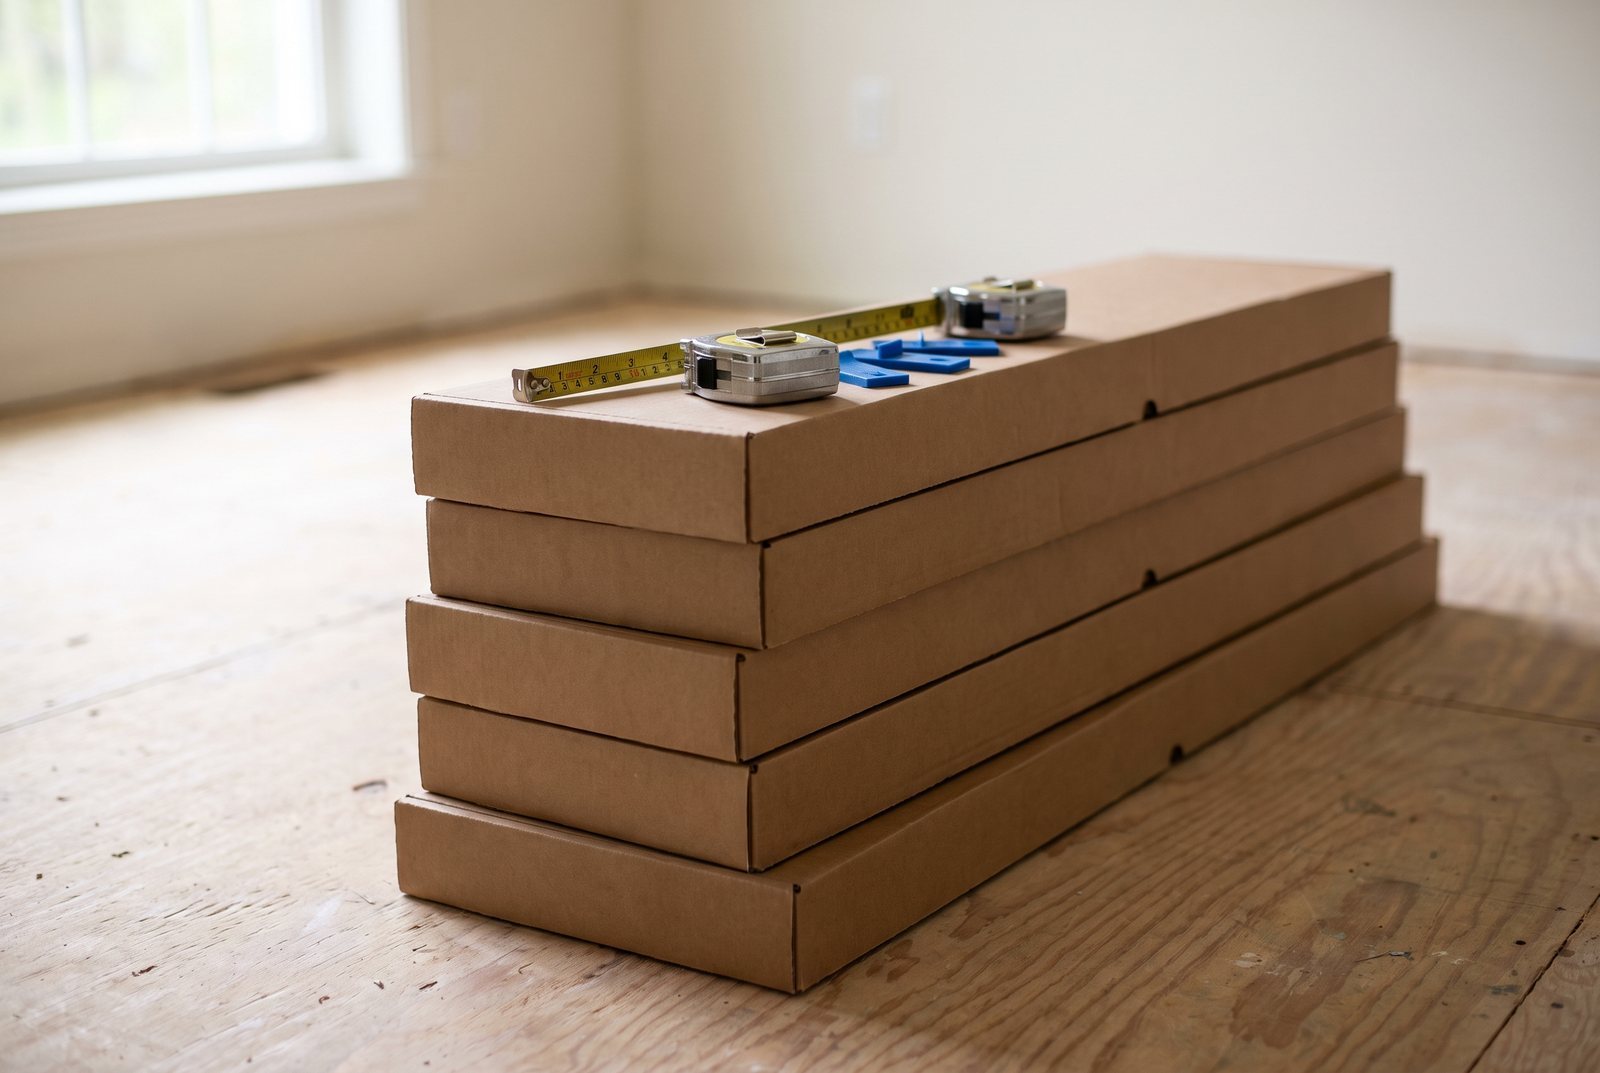
Laminate flooring: plan for the week before, not just the weekend
Installing laminate flooring in a 10x10 foot room (100 square feet) takes a full weekend of active work for a beginner. But the project actually starts days earlier, and this is the part that catches people off guard.
Acclimation: 48 to 72 hours. Before you cut a single plank, the unopened boxes of laminate need to sit in the room where they'll be installed. This lets the material adjust to your home's temperature and humidity. Skip this step and the floor can buckle or gap after installation. So if you're installing on Saturday, the boxes need to arrive by Wednesday at the latest.
Prep: 2 to 4 hours. Removing old flooring and baseboards takes 1 to 2 hours. The subfloor must be clean, flat, and dry, which can take another 1 to 2 hours if you need to level low spots.
Installation: 4 to 6 hours. Laying the underlayment takes 30 to 60 minutes (check your product, as some laminates come with underlayment pre-attached). Laying the planks themselves takes 3 to 5 hours, including cuts around doorways and obstacles. Be sure to wear safety glasses when cutting planks, and knee pads will make the job much more comfortable. Leave a 5/16 to 3/8 inch expansion gap around the entire perimeter, or the floor will buckle when it expands with seasonal humidity changes. Always buy 10% extra material for waste and mistakes.
The realistic plan: boxes in the room by Tuesday or Wednesday, demo and prep on Saturday morning, installation Saturday afternoon through Sunday.
The multiplier nobody talks about
Beyond the phase-by-phase breakdown, there's a general multiplier that accounts for reality. For beginners, start with your best honest estimate and multiply it by 1.5 to 2. This covers the things you can't plan for: a blade that needs changing, a board that splits and needs replacing, 20 minutes spent looking for a pencil, the trip back to the store for the drill bit you forgot.
Experienced builders are faster not because they work faster, but because they make fewer trips, fewer mistakes, and fewer decisions in the moment. They've already figured out that you sand before assembly, that you need two gallons not one, and that the second coat of paint goes on thinner than the first because the wall is already sealed and the roller doesn't absorb as much.
For a good example of how finishing time can stretch a project, look at Kathartic Studios' Rustic Farmhouse Dining Table Refinish. The active work of cleaning, painting with chalk paint, and applying a gray wood stain glaze is relatively quick, but the layering and drying between coats is what defines the real timeline.
How to build a weekend plan that actually works
Instead of asking "how many hours will this take," ask "which weekends will this take." Then work backward:
- List every phase, including drying and curing.
- Note which phases have to happen in order (you can't stain before you sand) and which can overlap (you can prep the next room while the first coat dries).
- Block drying time as real calendar time. If your stain needs 24 hours before topcoat, that's Saturday to Sunday, not "a few hours."
- Add one buffer block. Something will go wrong or take longer than expected. A half-day buffer on a weekend project saves you from a panicked Sunday night.
For a bookshelf, that means: Saturday morning for cutting and assembly, Saturday afternoon for first coat of finish, Sunday afternoon for second coat or topcoat, and don't load the shelves for a couple of weeks. For a room paint job: Saturday for prep and coat one, Sunday for coat two and cleanup. For laminate flooring: midweek delivery, Saturday demo and prep, Sunday installation.
The goal isn't to rush. It's to avoid the frustration of starting something you can't finish because you didn't account for the parts of the project where you're just waiting.
Quick answers
How long does it take to build a simple bookshelf?
Active work takes 4 to 8 hours for a beginner. But you need 2 to 3 calendar days because stain and polyurethane each need 24 hours or more to dry between coats. The finish won't fully cure for up to 30 days.
How long does it take to paint a 12x12 room?
Plan for 5 to 8 hours of active work spread over a weekend. Prep takes 2 to 4 hours, and each coat of paint takes 2 to 4 hours. You need 2 to 4 hours of drying time between latex coats.
Why do DIY projects take longer than expected?
Beginners typically estimate only the assembly or application phase and forget about planning, prep, store trips, and drying time. A good rule of thumb is to start with your honest estimate and multiply it by 1.5 to 2.
Do I need to let laminate flooring acclimate before installing?
Yes. Laminate flooring needs 48 to 72 hours in the room where it will be installed so the planks adjust to your home's temperature and humidity. Skipping this step can cause buckling or gaps after installation.
The project in this post
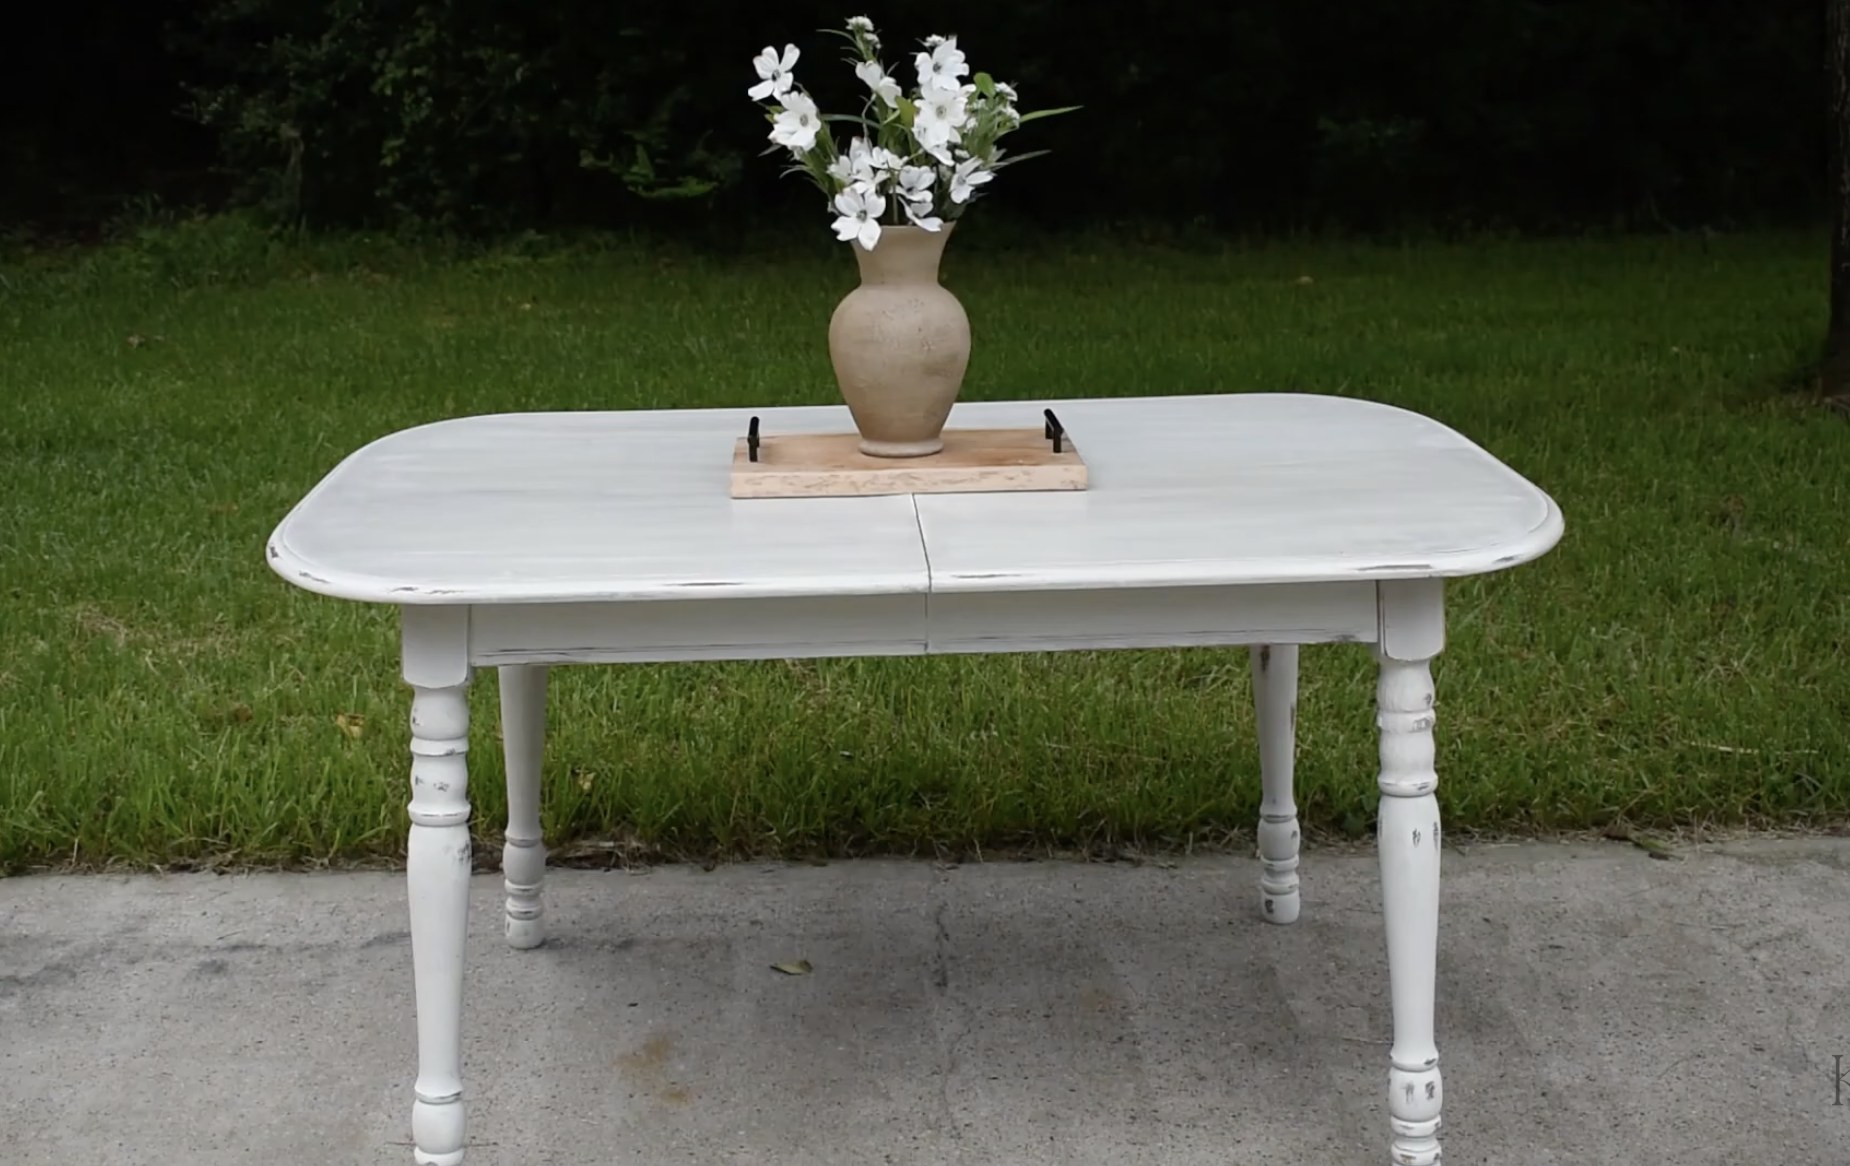
Rustic Farmhouse Dining Table Refinish
by Kathartic Studios
Open the project guideKeep reading
All posts
How to Estimate the Real Cost of a DIY Project
A step-by-step framework for listing materials, calculating board feet and coverage, adding waste, and checking current prices so your budget actually holds.
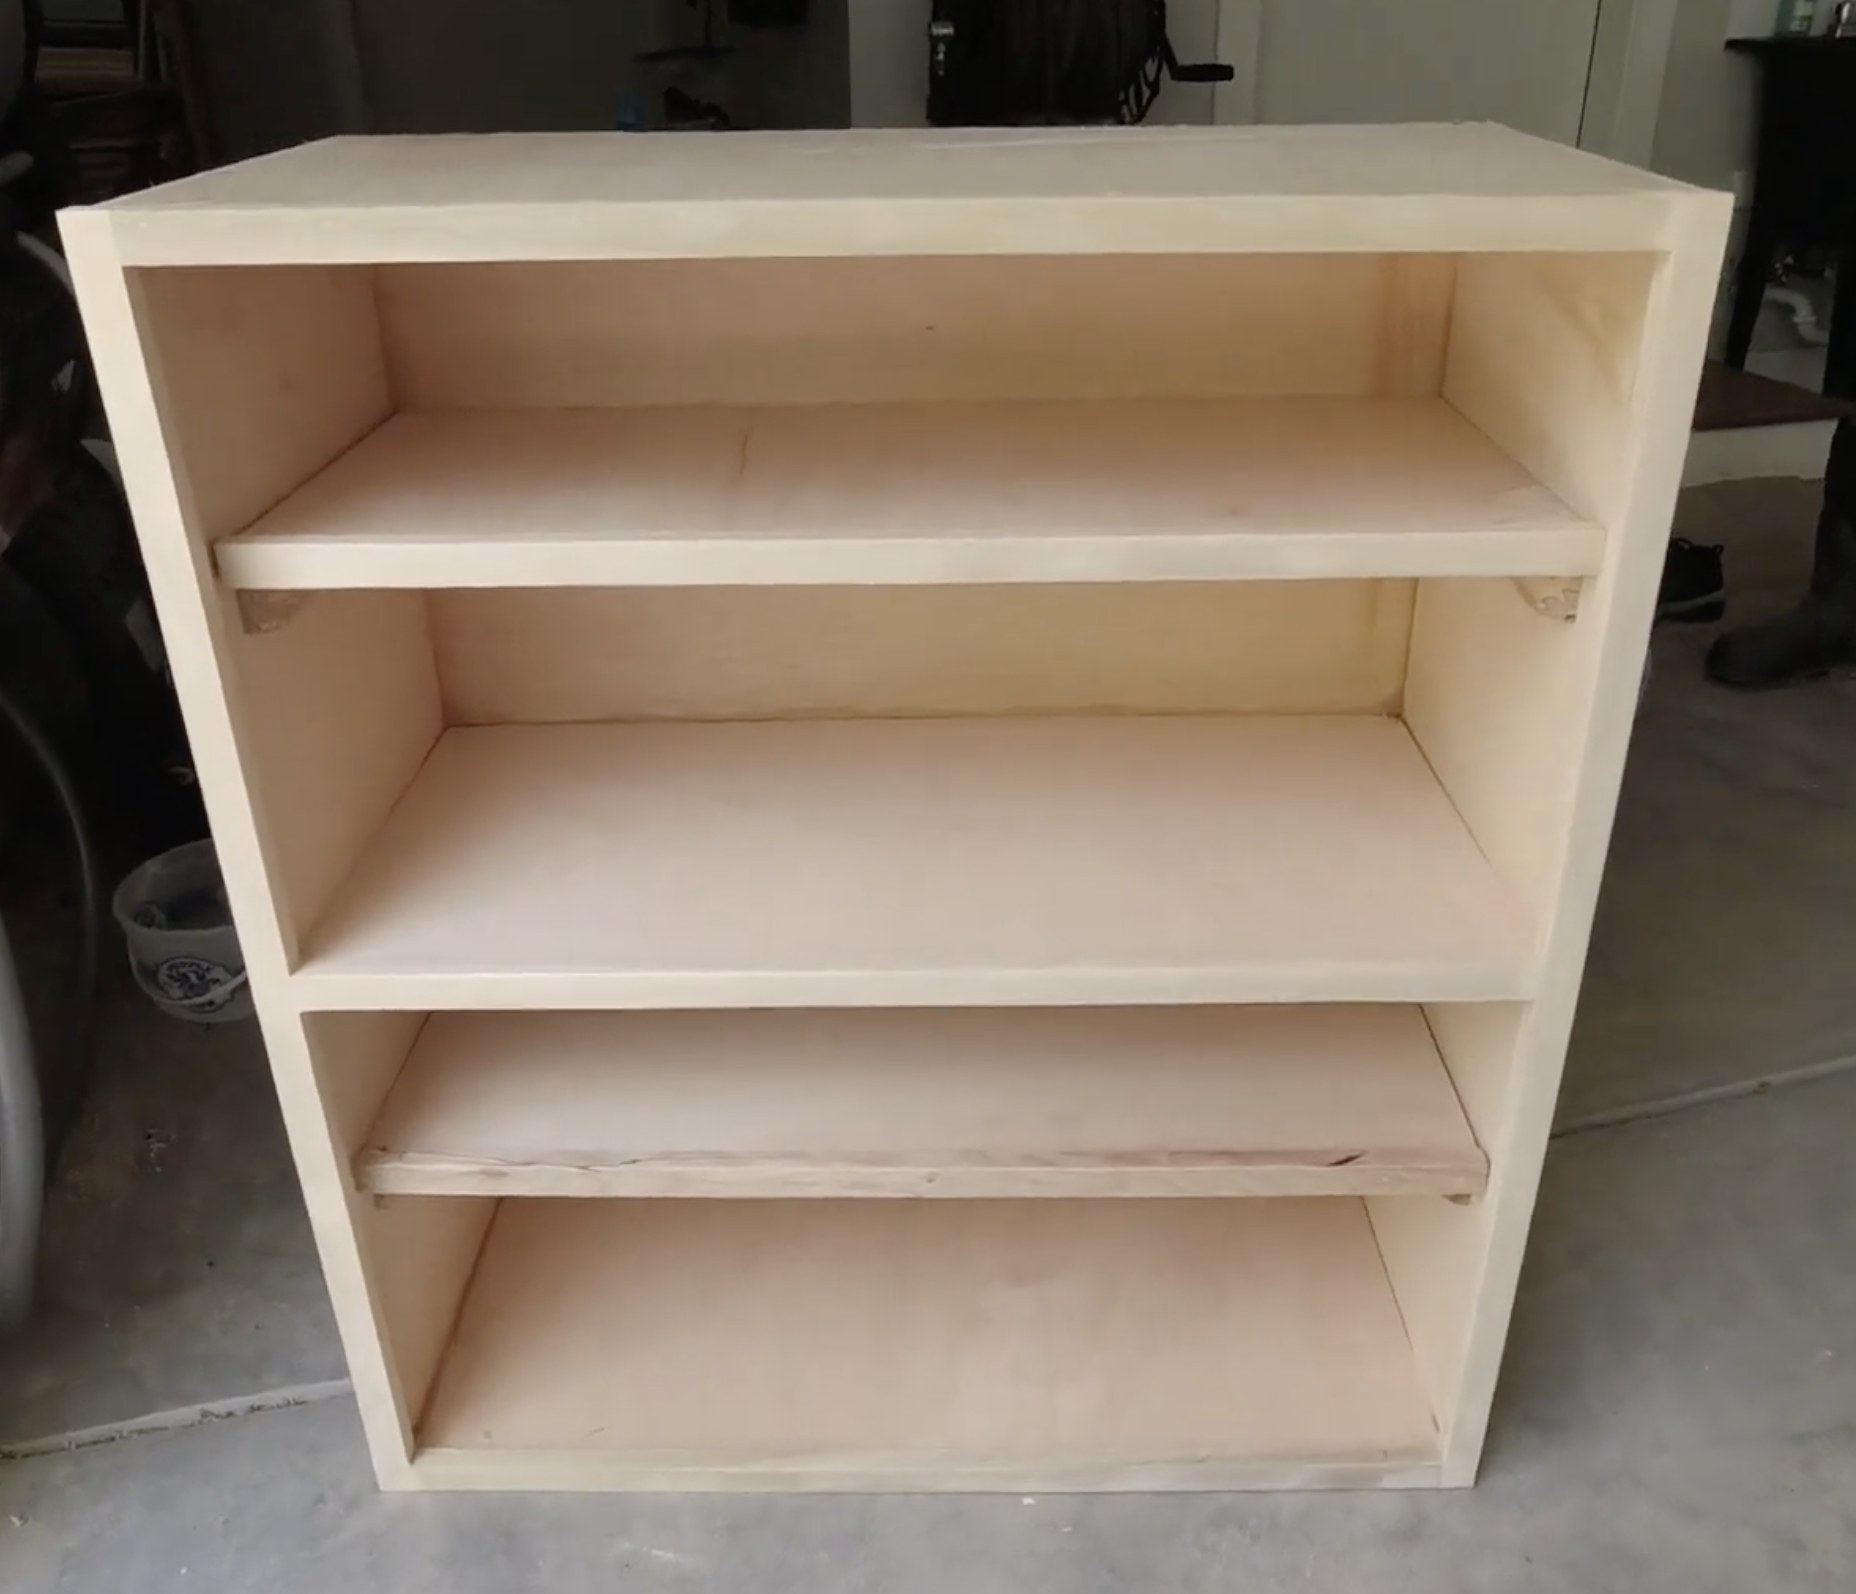
How to Build a Plywood Garage Cabinet with a Circular Saw
A simple 3/4" plywood garage cabinet built with a circular saw and brad nailer. Covers plywood choice, cost, assembly, and tips for beginners.
Orbital Sander vs Hand Sanding: When to Use Which
A scenario-by-scenario look at when to use an orbital sander and when hand sanding works better, covering flat surfaces, curves, edges, and more.