How to Build a Polished Concrete Outdoor Countertop
A full build covering a block base, cast slab, diamond pad progression, and the hardener step most guides skip to get a terrazzo finish outdoors.
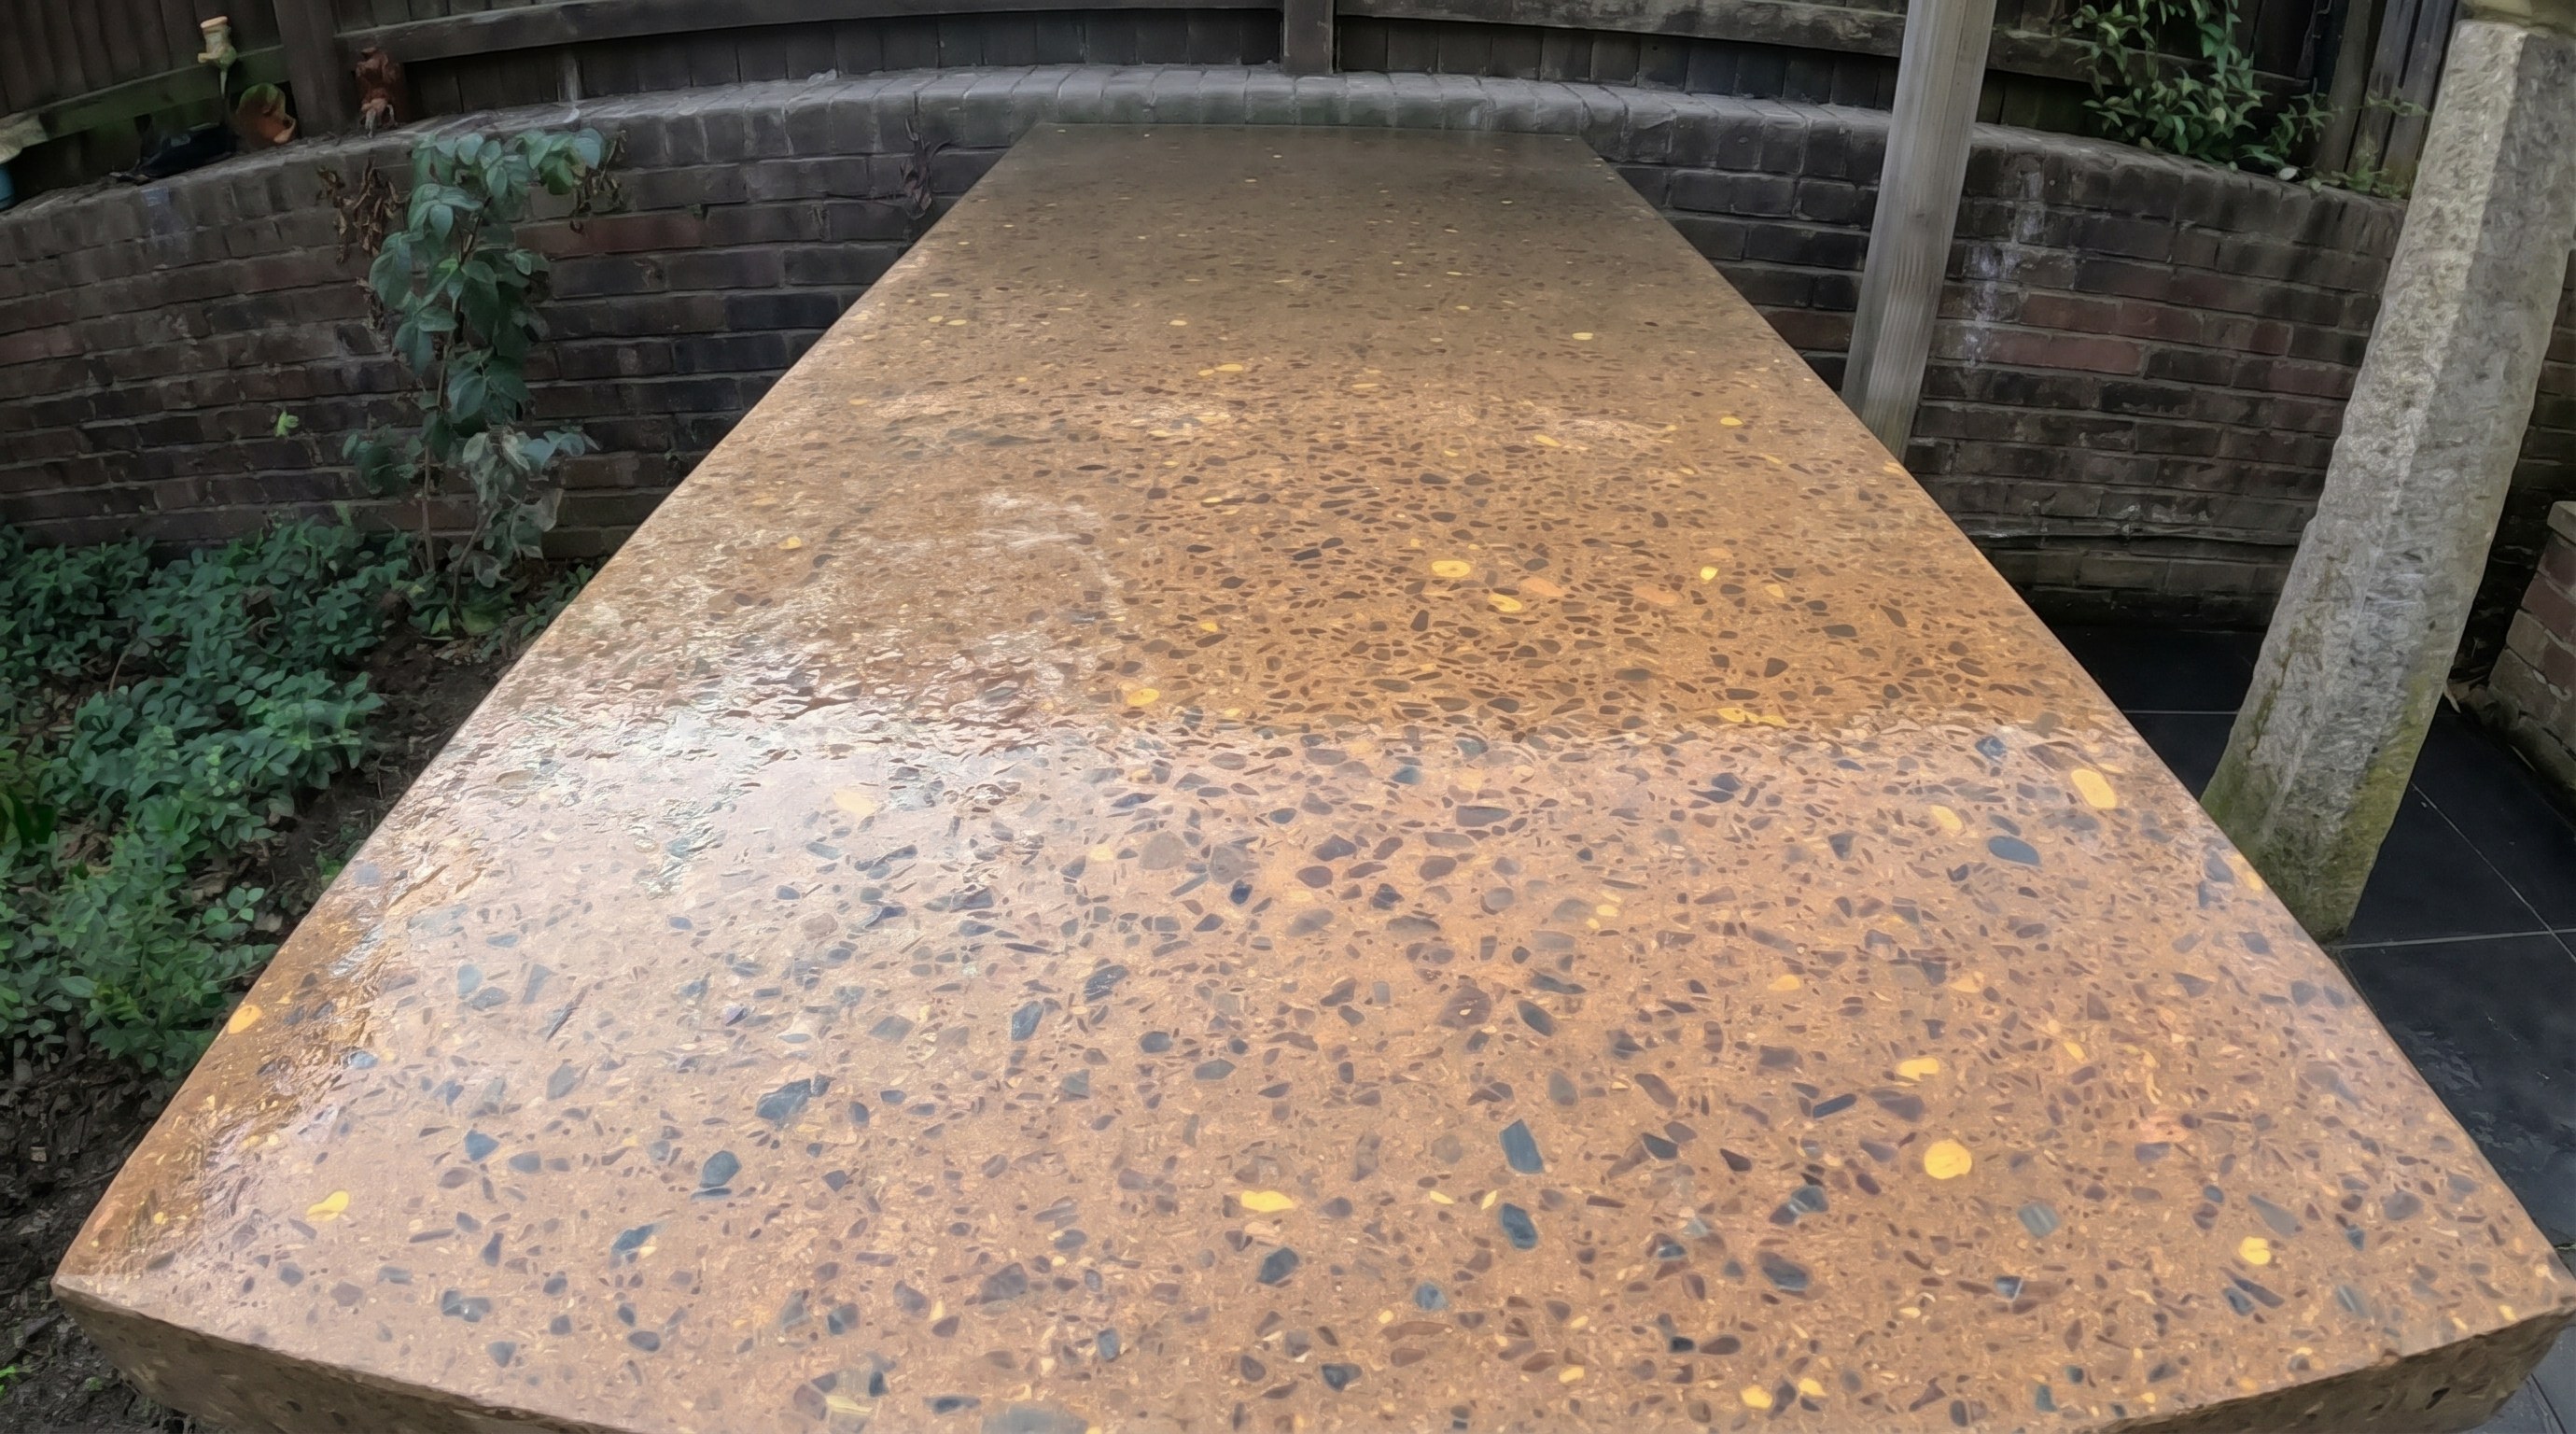
Tidybricks patio restore built a polished concrete outdoor countertop from the ground up: blockwork base, cast slab with embedded steel mesh, a seven-stage diamond pad progression, and a hardener step that turns soft concrete into something you can actually polish to a shine. The finished piece is about 1.67 meters (roughly 5.5 feet) long, clad in painted tongue and groove boards, and sealed against weather. You can follow the full process in the Tidybricks project guide.
This is an intermediate build. If you can lay block, mix concrete, and operate an angle grinder without white-knuckling it, you have the skills. The part that trips people up is the polishing, specifically knowing when to apply hardener and why you cannot skip grits. That is what we will spend the most time on here.
The blockwork base
The countertop sits on a U-shaped base built from standard 8x8x16 concrete blocks (actual dimensions 7 5/8" x 7 5/8" x 15 5/8"). At current prices, those blocks run $1.98 to $2.38 each at major retailers. Tidybricks mixed mortar from cement and building sand in a large bucket using a drill with a paddle mixer attachment, then added a few drops of washing-up liquid as a plasticizer. That tiny addition makes the mortar slide off the trowel more smoothly and gives you a few extra minutes of working time before it stiffens.
For an outdoor structure like this, Type S mortar is the right choice. You can buy it premixed or combine 2 parts Portland cement, 1 part hydrated lime, and 8 to 9 parts sand by volume. Each course needs to be checked with a spirit level as you go. A block base that is out of level by even a quarter inch will haunt you when you pour the slab, because concrete finds every low spot and pools there.
Building the formwork
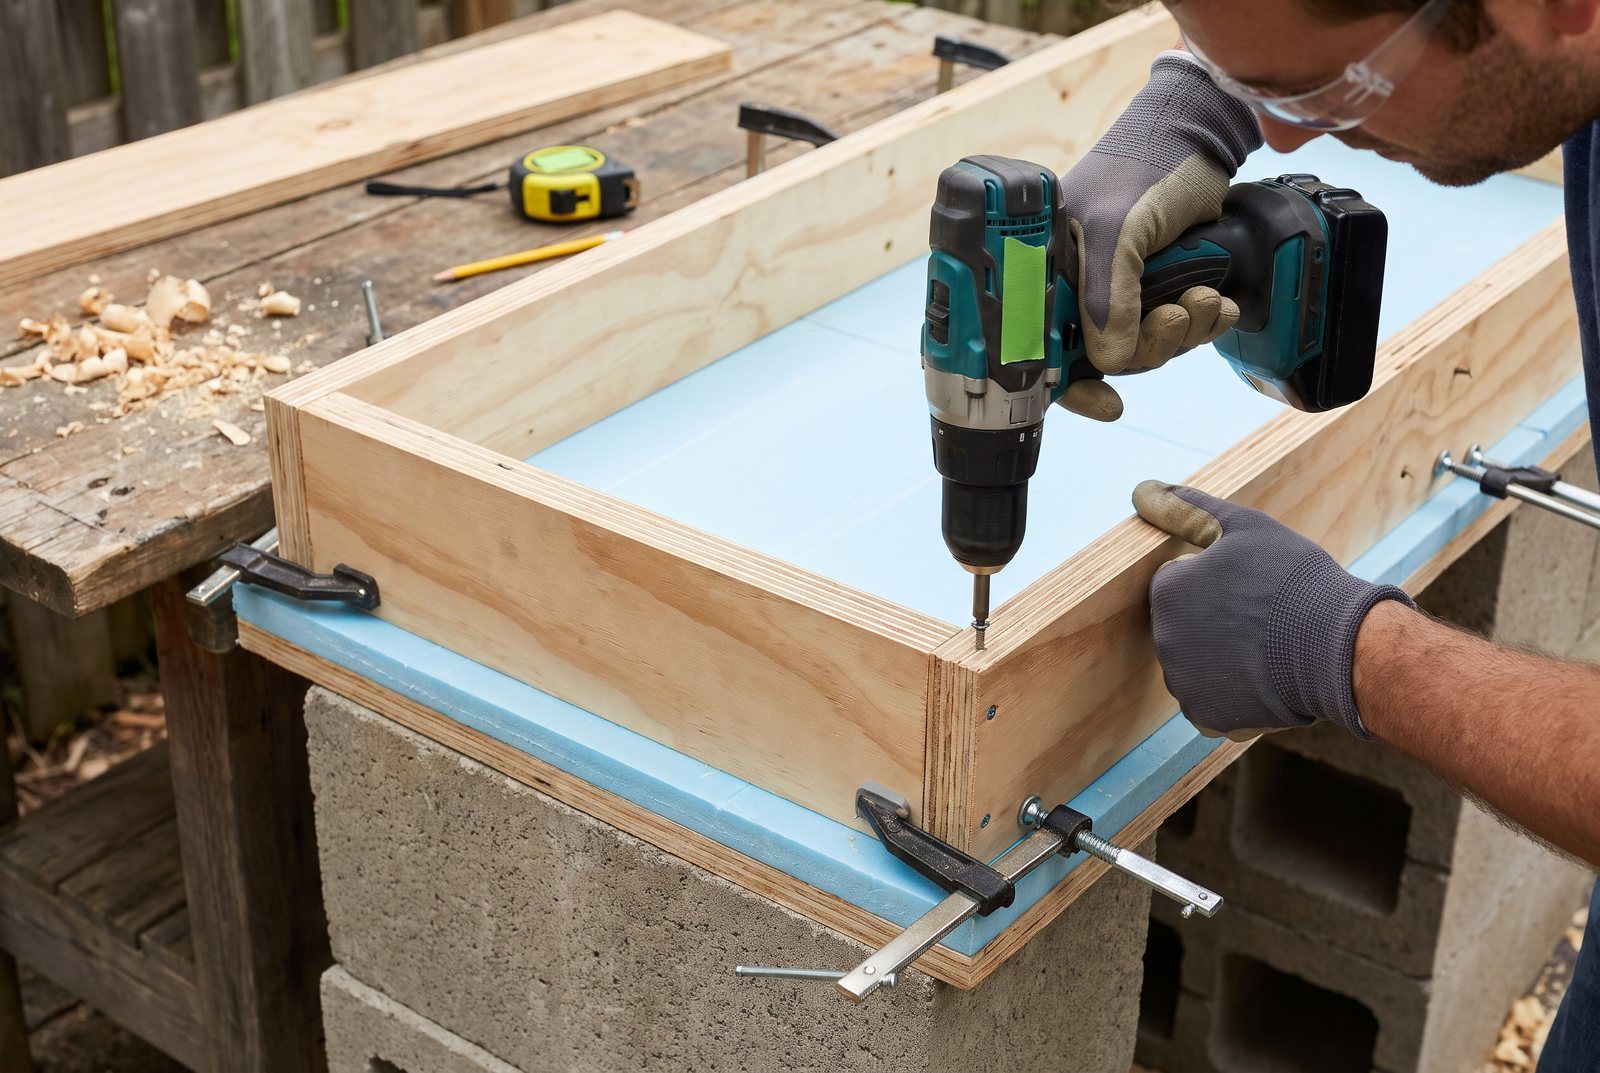
Once the block base was up, Tidybricks built a wooden form directly on top of it. The bottom of the mold is a piece of rigid insulation board (Celotex or similar) set inside the U-shape. The sides are plywood, screwed and clamped tight against the insulation.
Leaky formwork is one of the most common failures in countertop casting. Concrete mix is liquid enough to find any gap, and once it seeps through, you get fins and voids along the edges that are difficult to grind out cleanly. Seal every joint. Caulk works, tape works, but the key is clamping pressure: if the sides can flex outward under the weight of wet concrete, they will.
For the form material, 3/4-inch melamine-coated particleboard (around $44 for a 4x8 sheet) gives you the smoothest release surface. Plywood works too, but you will do more grinding on the underside later.
Casting the slab
Tidybricks mixed concrete to a workable consistency and poured it into the form in two stages. The first pour filled the form about halfway. Then the steel reinforcement mesh went in, sitting in the middle of the slab's thickness rather than at the bottom. Reinforcement placed too low does almost nothing to resist the bending forces that crack a countertop over an open span.
After placing the mesh, the remaining concrete went in to fill the form. Two things matter at this point: vibration and leveling. Tidybricks used an oscillating multi-tool and tapped the sides of the form with a hammer to shake trapped air bubbles to the surface. Air pockets left inside become pinholes on the finished face, and while a few add character, too many weaken the surface layer.
The top was leveled with a trowel and a spirit level used as a screed, dragged across the form edges. Do not over-trowel. Working the surface too early brings excess water up (a weak layer called laitance), which will dust off during grinding and leave you with a soft, chalky top. Let the bleed water evaporate first, then make one or two finishing passes.
A specialized countertop mix like Quikrete Countertop Mix (about $22.42 per 80 lb. bag, yielding roughly 0.60 cubic feet) is worth the cost over standard concrete. It contains shrinkage-reducing additives and produces fewer air bubbles. Standard bags from the driveway aisle are not formulated for this.
Demolding
Tidybricks waited a full week before removing the formwork. That is a reasonable minimum. Concrete reaches most of its working strength by 28 days, but after seven days it is hard enough to handle demolding and the initial grind without chipping. Remove clamps and screws first, then pry the side forms away gently. The insulation board base peels off.
The diamond pad progression (this is the part that matters)
Most guides list "grind and polish" as if it were one step. It is not. It is seven steps, each one doing a specific job, and skipping any of them leaves scratches from the previous grit visible in the final finish.
Tidybricks started with a coarse grinding disc (a flap disc on an angle grinder) to knock down the top layer of cement paste and expose the aggregate underneath. This is the roughest stage and removes the most material. Once the aggregate pattern looked even, the switch to diamond polishing pads began.
Here is the full grit sequence:
| Grit | What it does |
|---|---|
| 50 | Aggressive cut, exposes aggregate, removes form marks |
| 100 | Refines the 50-grit scratches, evens the surface |
| 200 | Smooths the profile, prepares for hardener |
| Hardener applied here | |
| 400 | First polish on hardened surface, scratches start disappearing |
| 800 | Surface begins to reflect light |
| 1500 | Final polish, glass-smooth to the touch |
One critical detail: Tidybricks polished dry. Wet polishing controls dust and is common on indoor jobs, but dry polishing lets you see exactly what the surface looks like as you work. Slurry from wet polishing fills scratches and hides them, so you think you are done when you are not. If you polish dry, wear a respirator rated for silica dust, every single time. This is not optional. Silica dust causes permanent lung damage.
Use a variable speed angle grinder and keep the speed low. High RPMs generate heat that burns through diamond pads fast and can scorch the concrete surface, leaving discoloration you will have to grind back out. Let the diamonds do the cutting, not the speed.
The hardener step everyone skips
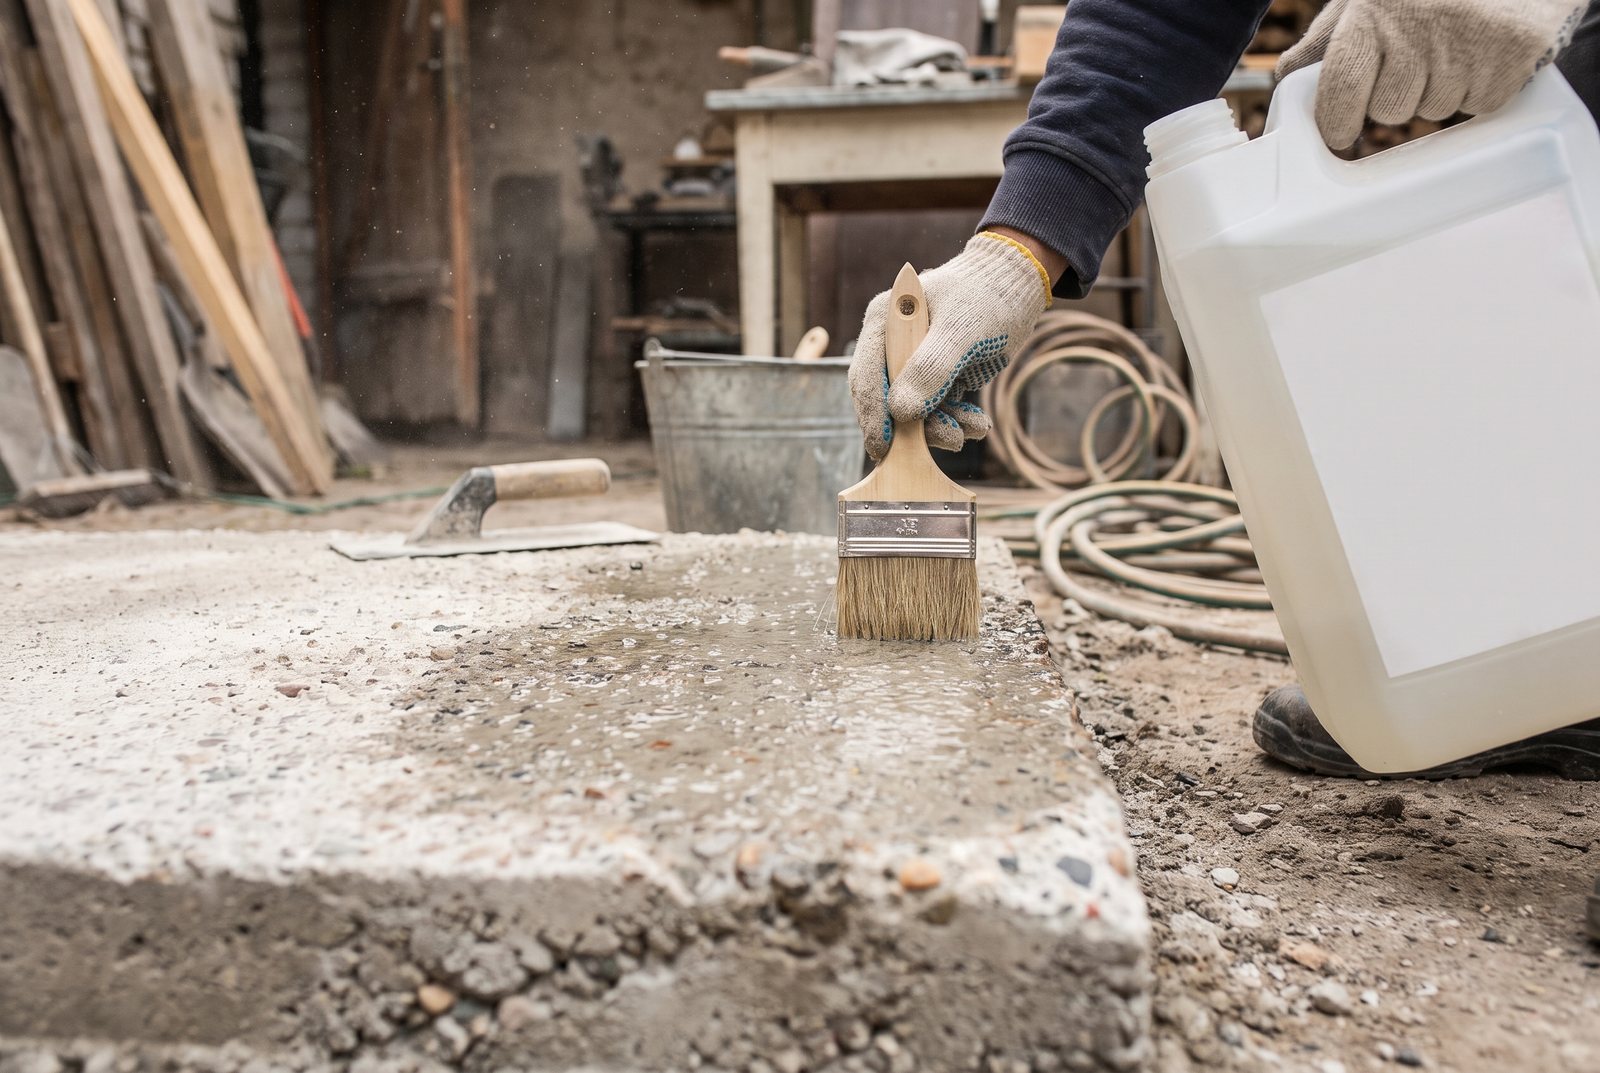
After the 200-grit pass, Tidybricks brushed on a liberal coat of concrete hardener and dustproofer (a 5-liter container) and let it soak in overnight. This is the step that separates a countertop that looks polished from one that actually is.
A concrete densifier (the generic term for these products) is a liquid silicate that penetrates the surface and reacts with the free lime in the concrete. It fills microscopic pores, increases surface hardness, and reduces dusting. Without it, the finer diamond pads (400 and above) are polishing a surface that is too soft to hold a shine. You will burn through pads, the finish will look hazy, and within a few months of outdoor exposure the surface will start chalking.
There are two common types. Sodium silicate is cheaper but must be rinsed thoroughly after application or it leaves a white film. Lithium silicate has smaller molecules, penetrates deeper, and is spray-and-leave with no rinse needed. Either works. Apply liberally, keep the surface wet with the product for 20 to 30 minutes, and do not let it puddle and dry.
The timing matters: apply after 200 or 400 grit, not before. The initial grinding opens up the pore structure so the hardener can actually penetrate. Apply it to an unground surface and most of it sits on top doing nothing.
Cladding the base and sealing
With the slab polished, Tidybricks finished the base by drilling into the blockwork with a hammer drill and attaching vertical wooden battens using masonry screws. Pre-painted tongue and groove cladding was then fixed horizontally to the battens, covering the front and sides of the block base. It is a simple detail that makes the whole thing look like furniture instead of construction.
For sealing, Tidybricks applied two coats of a paving sealer, brushing the first coat on generously and waiting until it was tacky before adding the second. For outdoor countertops, a penetrating sealer is generally the better long-term choice over a topical one. Topical sealers form a film that can peel or cloud with UV exposure. Penetrating sealers soak in and protect from within, leaving a more natural look. Avoid cheap acrylic sealers from the home center bargain aisle; they break down quickly outdoors.
If you plan to prep food on the surface, choose a food-safe, non-toxic sealer. Ghostshield Siloxa-Tek 8510 is a penetrating option that covers about 150 square feet per gallon for two coats, priced around $159.88.
What it takes
This is a multi-weekend project. The blockwork and formwork can fill one weekend. The pour takes a day, then you wait at least a week (ideally longer) before demolding and grinding. The polishing itself, seven grit stages plus hardener cure time, is another full day or two of hands-on work. For a realistic time estimate on a project like this, our guide on estimating DIY project time is worth reading before you commit your weekends.
Materials cost will vary by region and slab size, but for a countertop this length, expect to spend in the range of a few hundred dollars on blocks, mortar, concrete mix, reinforcement, diamond pads, hardener, sealer, and form materials. The variable speed angle grinder is the most important tool purchase if you do not already own one.
The full step-by-step process, from first block to final seal coat, is laid out in the Tidybricks project guide. Start there if you want to see each stage up close before buying materials.
Quick answers
How hard is it to build a concrete countertop yourself?
It is an intermediate project. Laying block and mixing concrete are basic skills, but the polishing stage requires patience and the right grit sequence. If you can operate an angle grinder and follow a progression without skipping steps, you can do it.
Do I need a concrete hardener before polishing?
Yes. Applying a silicate densifier after the 200 or 400 grit stage hardens the surface so the finer pads can produce an actual shine. Without it, the concrete is too soft to hold a polish and will chalk over time.
Can I skip grits when polishing concrete?
No. Each grit removes the scratch pattern left by the one before it. Jumping from 100 to 800, for example, leaves visible scratches from the 100 pad that the 800 pad cannot remove. Follow the full sequence: 50, 100, 200, hardener, 400, 800, 1500.
Should I wet polish or dry polish a concrete countertop?
Both work, but dry polishing lets you see your progress clearly instead of hiding scratches under slurry. If you polish dry, a silica-rated respirator is mandatory. Wet polishing controls dust and is easier on pads, so some builders use wet for the coarse stages and switch to dry for the final passes.
The project in this post
DIY Polished Concrete Outdoor Countertop and Base
by Tidybricks patio restore
Open the project guideKeep reading
All posts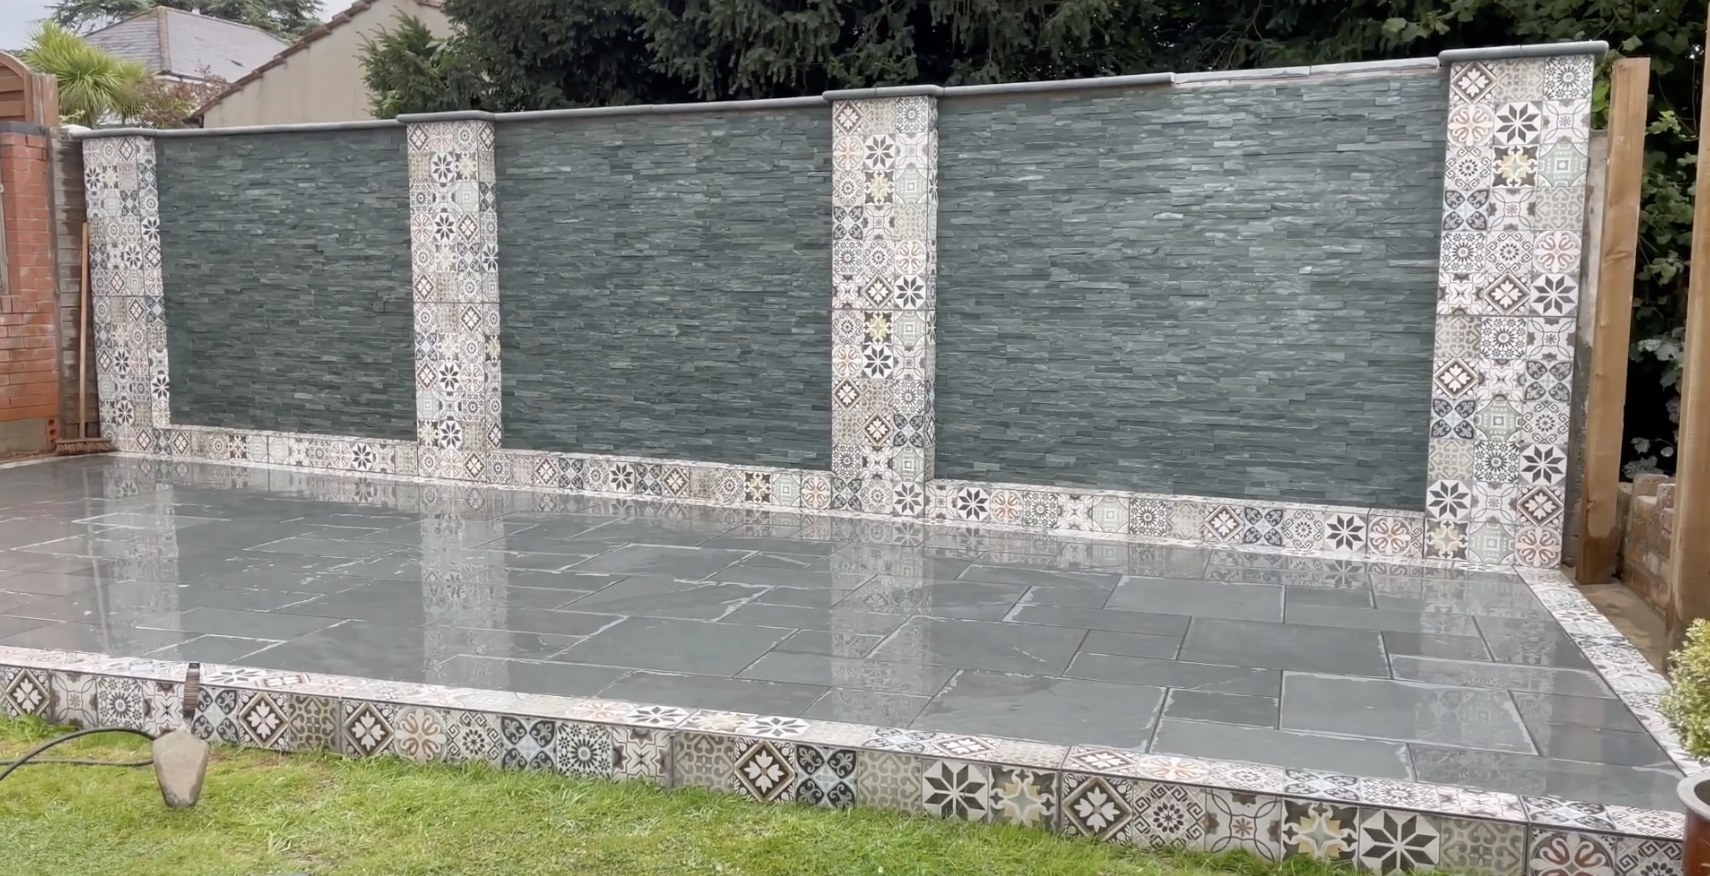
How a Garden Feature Wall with Slate and Patterned Tiles Holds Up
A build story breaking down the drip groove, dual-surface priming, and coping stone details that keep an outdoor slate feature wall looking good for years.
How to Build a Plywood Garage Cabinet with a Circular Saw
A simple 3/4" plywood garage cabinet built with a circular saw and brad nailer. Covers plywood choice, cost, assembly, and tips for beginners.
How to Build a DIY Track Saw Jig from One Sheet of Plywood
With one sheet of plywood, some glue, and a few screws, your circular saw can cut as straight as a track saw. Here is how to build the jig.