How a Garden Feature Wall with Slate and Patterned Tiles Holds Up
A build story breaking down the drip groove, dual-surface priming, and coping stone details that keep an outdoor slate feature wall looking good for years.
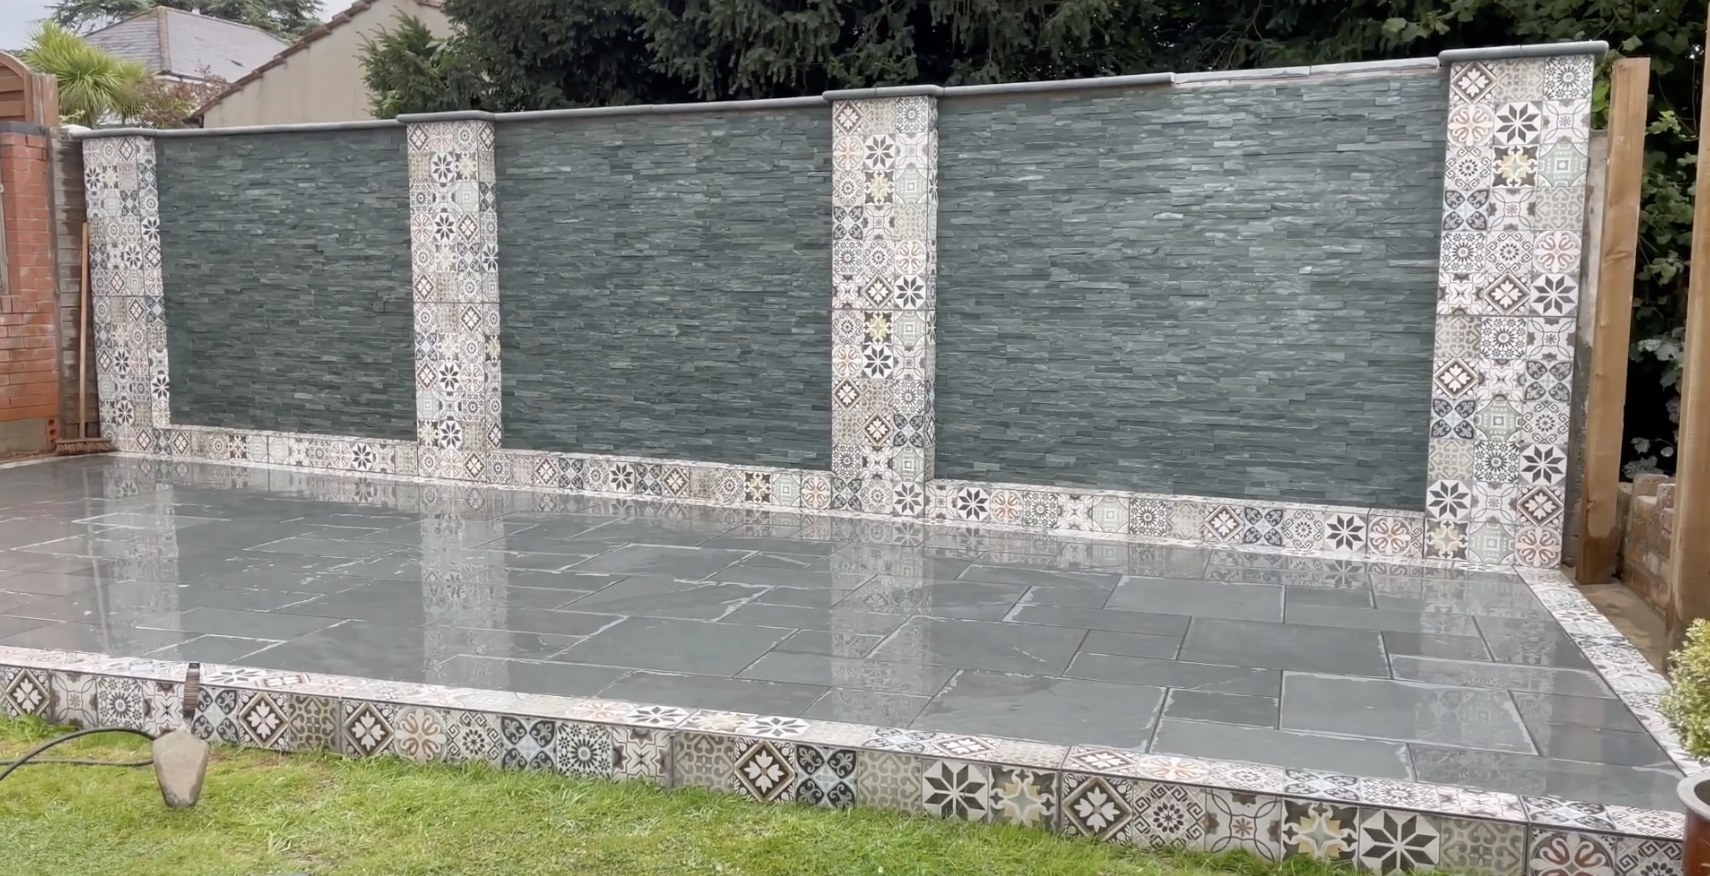
An outdoor tiled wall looks great the day you finish it. The question is whether it still looks great after two winters of rain, frost, and sun. The difference between a feature wall that lasts and one that sheds tiles comes down to three things most people skip or rush: priming both surfaces before bonding, using a high-performance construction adhesive, and cutting a drip groove into the coping stones so water falls to the ground instead of streaking down your new slate.
This build by Tidybricks patio restore shows all three techniques in action. The full project guide is here. The wall is a concrete block core clad with slate veneer panels on the main faces and patterned ceramic tiles on the pillars, then capped with coping stones. It is rated intermediate, and the tools are things most DIYers already own or can rent for a day: an angle grinder, a wet tile saw, a caulk gun, a paintbrush, a measuring tape, and a square.
Starting with the block core and material choices
The structure underneath is standard concrete blockwork. That might sound boring, but it matters. Block gives you a flat, plumb substrate to tile onto, and it is heavy enough to resist wind loads without extra bracing for a low garden wall. In most US jurisdictions, a freestanding garden wall under 4 feet tall does not require a permit, but check with your local building department because the threshold varies by municipality.
For the cladding, Tidybricks chose natural slate veneer tiles. Slate veneer comes in panels (common sizes are 4"x12" and 6"x24") that interlock along one edge with a stepped profile. The color was selected to complement an existing slate patio, so the wall reads as part of the same outdoor space rather than an afterthought. Patterned ceramic tiles dress up the pillars and break up the slate with a contrasting texture. If you go this route, make sure any ceramic or porcelain tile you pick is rated for outdoor and frost-resistant use. Porcelain is generally less porous and holds up better through freeze-thaw cycles than standard ceramic.
Why you prime both the wall and the tile
Porous concrete block will suck moisture out of adhesive before it has time to cure. That leaves you with a weak, chalky bond that fails quietly over months. The fix is a bonding primer on the block surface. Tidybricks used Sika Primer-3 N, brushed on in an even coat across every section that would receive tile.
Here is the part people skip: you also prime the back of each tile. Slate veneer has a rough, dusty back face. Adhesive sticking to loose dust is adhesive sticking to nothing. A coat of the same primer on the tile back gives the adhesive a sound surface on both sides of the joint.
One practical warning from this build: Sika Primer-3 N is solvent-based and will dissolve most plastic containers. Pour it into a metal or glass vessel for brushing. If you grab a yogurt tub out of the recycling bin, you will end up with a melted mess and wasted primer.
For US buyers looking at primer options, Mapei Eco Prim Grip (around $60 to $70 per gallon at Floor & Decor, covering 150 to 300 square feet) is a popular water-based alternative that creates a gritty bonding surface. Insl-X Stix Waterborne Bonding Primer ($25 to $30 per quart at Lowe's) is another option and can be applied in temperatures as low as 35°F, which is useful for fall or early spring builds.
Setting the slate: adhesive placement and staggering
With both surfaces primed and dry, Tidybricks applied beads of Sikaflex EBT+ adhesive to the back of each tile using a caulk gun. The adhesive goes on the middle of the tile, not near the edges. Keeping it away from the top and bottom prevents squeeze-out when you press the tile to the wall. Squeeze-out between joints is hard to clean off slate without leaving marks.
The first tile on each panel needs a straight edge. Slate veneer panels have a stepped, interlocking profile on one end for locking into the next panel. That profile does not sit flush against a pillar, so you trim it square with an angle grinder. If you are mitering corners where panels meet at a pillar edge, a polishing pad on the grinder smooths the cut for a clean finish.
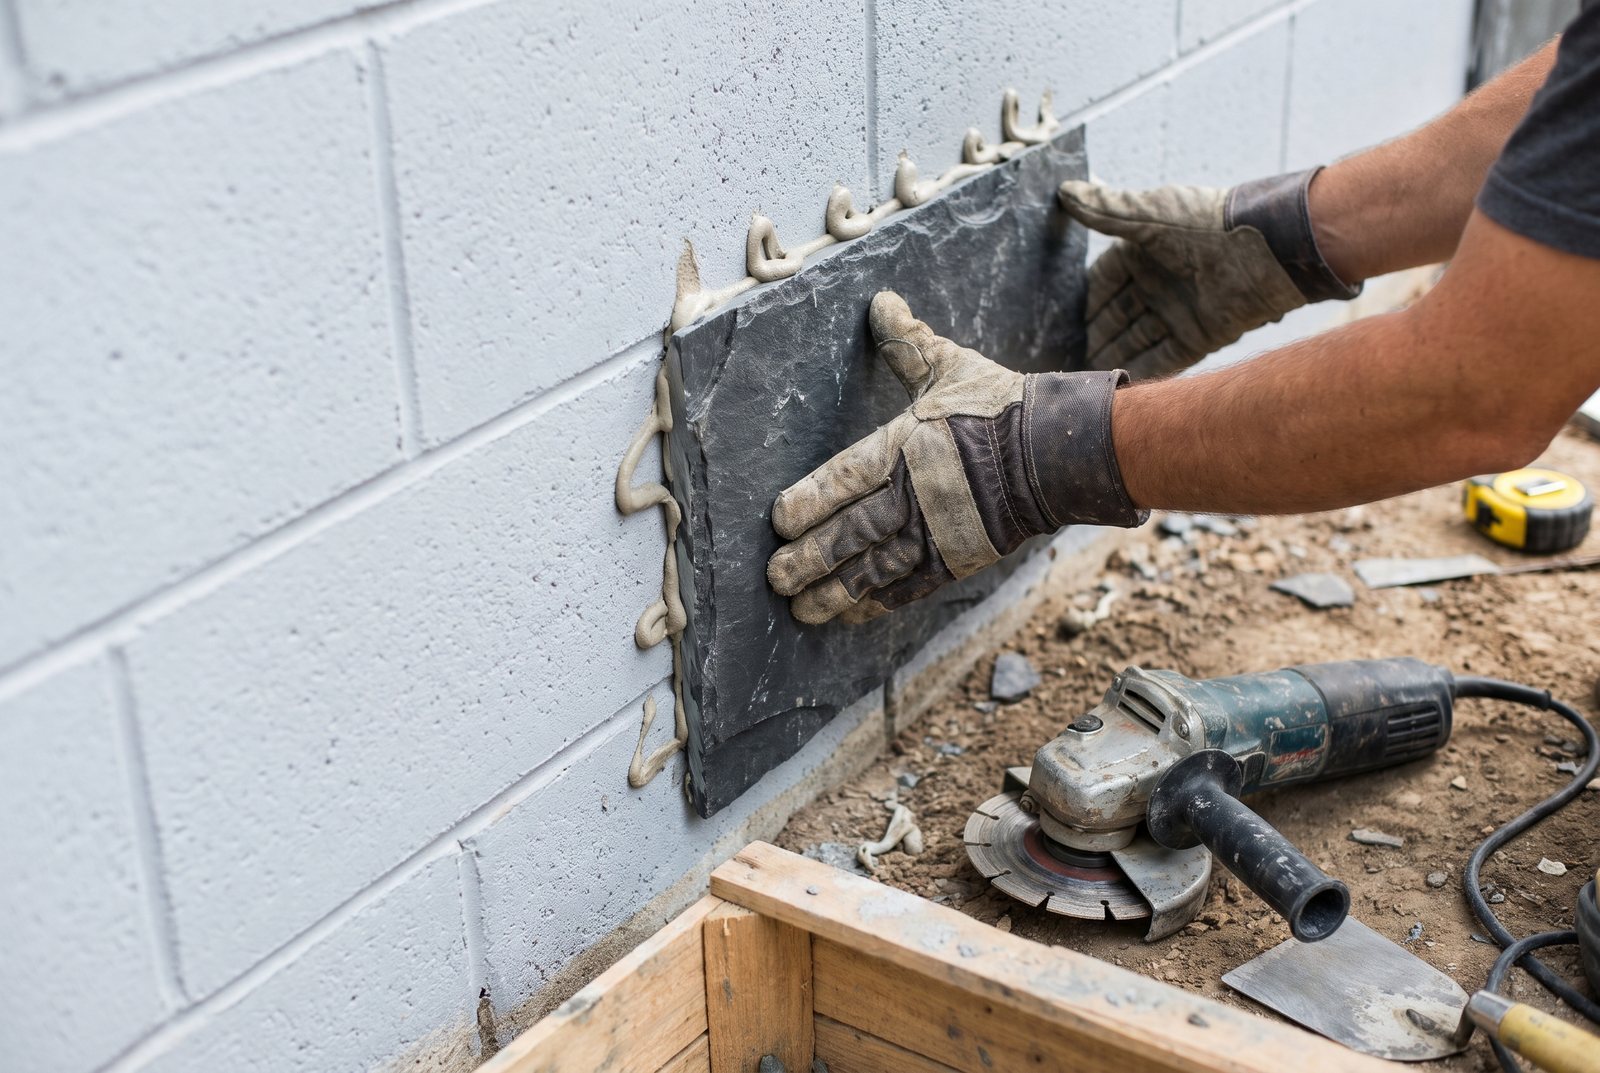
For the layout, each row starts with a different-length piece so the vertical joints are staggered. This is not just for looks. Staggered joints distribute stress from expansion and contraction across the wall face instead of concentrating it along one vertical line. Cut your starter pieces to random lengths (not a repeating pattern) for a more natural appearance. Measure the remaining gap at the end of each row, cut a tile to fit with the angle grinder, and keep working upward. Press each tile firmly by hand. Do not use a hammer. Slate veneer is brittle and will crack under impact.
Coping stones: the cap that protects everything below
Coping stones are not decorative trim. They are the lid on your wall. Without them, rain soaks straight into the top of the blockwork, saturates the mortar joints, and eventually pushes tiles off from behind.
Tidybricks mixed a mortar bed (a standard 3:1 ratio of sharp sand to cement works well) and added Marshall's Primer as an admixture to boost the bond strength. The mortar bed should be about 15 to 20mm thick. Before spreading it, dampen the top of the block wall so the block does not pull water out of the mortar too fast.
Set the coping stones onto the mortar, pressing firmly. The stones should overhang the wall face by at least 1 to 2 inches on each side. That overhang is not optional. It is what makes the drip groove work.
A 12"x24" concrete coping stone runs roughly $8 to $15 at retailers like Menards. Natural stone costs more but weathers well. Whichever material you choose, consider sealing the coping after the mortar has fully cured to reduce staining and water absorption.
The drip groove: what it is and why it matters
A drip groove is a shallow channel cut into the underside of the coping stone, running parallel to the long edge. It is typically about 5mm wide, cut roughly 25mm (about 1 inch) in from the edge.
Here is what it does. Rainwater flows over the top of the coping and wraps around the underside thanks to surface tension. Without a groove, that water travels all the way along the bottom of the stone and then runs down the face of your tiles, carrying dirt, mineral deposits, and moisture into every joint. Over time you get white efflorescence staining on the slate and water damage behind the tiles.
The groove breaks the surface tension. When the water reaches the channel, it has nowhere to cling and drops straight to the ground. You need a groove on both overhanging sides of the coping.
Tidybricks cut the groove with a wet tile saw after the coping was set. You can also cut it before installation if that is easier with your saw setup. Either way, a wet saw with a diamond blade handles concrete and natural stone coping cleanly. One pass at the right depth is all it takes.
What to watch out for
The most common failure on outdoor tiled walls is water getting behind the cladding. Every technique in this build (dual-surface priming, keeping adhesive away from edges, coping overhang, drip groove) is aimed at that single problem. If you skip one, the others have to work harder.
A few more things to keep in mind:
- Footing depth. The block wall needs a footing below the frost line for your region, on undisturbed soil. A general guideline is to make the footing twice the width of the wall. A shallow footing shifts, and shifting cracks tiles.
- Mortar type for veneer. Polymer-modified thin-set mortar is the standard recommendation for slate and tile veneer because it offers better flexibility than traditional mortar. Always check the tile manufacturer's specs.
- Joint pointing. After the coping mortar cures (24 to 48 hours), point the joints between coping stones with a suitable jointing compound. Leaving open joints invites water in from the top.
- Safety. Wear safety glasses and gloves when cutting slate or block. Use a dust mask when mixing mortar or running the angle grinder. These are not optional extras.
What it takes
This is an intermediate build. You need basic block-laying ability and comfort with an angle grinder and wet saw. Slate veneer tiles run $3 to $10 per square foot depending on type and brand (MSI Montauk Black Gauged Slate at Home Depot is around $3.99 per square foot as of October 2026). Patterned porcelain tiles for the pillars range from $5 to $25 per square foot depending on source and style. Add primer, adhesive, mortar, and coping, and the material cost for a modest garden wall is manageable, though it varies with wall size. For help estimating your own numbers, our guide on how to estimate the real cost of a DIY project walks through the math.
The full step-by-step build, from block core to finished coping, is in the Tidybricks project guide. If you are planning a similar wall, start by checking your local frost line depth and permit requirements, then order your slate samples to match your existing hardscape before committing to a full pallet.
Quick answers
What is a drip groove and why does it matter?
A drip groove is a shallow channel (about 5mm wide) cut into the underside of a coping stone, roughly 25mm from the edge. It breaks the surface tension that lets rainwater travel along the bottom of the stone and run down the wall face. Without it, you get staining, efflorescence, and long-term water damage behind the tiles.
Do I need to prime both the wall and the tiles?
Yes. Priming the block wall prevents it from drawing moisture out of the adhesive too quickly. Priming the tile back removes dust and gives the adhesive a sound bonding surface. Skipping either side weakens the bond and risks tile failure, especially through freeze-thaw cycles.
How do I stagger slate veneer tiles on a wall?
Cut the first tile in each row to a different, random length so vertical joints never line up from one row to the next. This distributes stress from expansion and contraction and gives the wall a natural stone appearance instead of a grid pattern.
Do I need a permit for a garden feature wall?
In most US jurisdictions, a freestanding garden wall under 4 feet tall does not require a building permit. The threshold varies by municipality, and walls retaining soil often have stricter rules, so check with your local building department before you start.
The project in this post
Garden Feature Wall with Slate and Patterned Tiles
by Tidybricks patio restore
Open the project guideKeep reading
All posts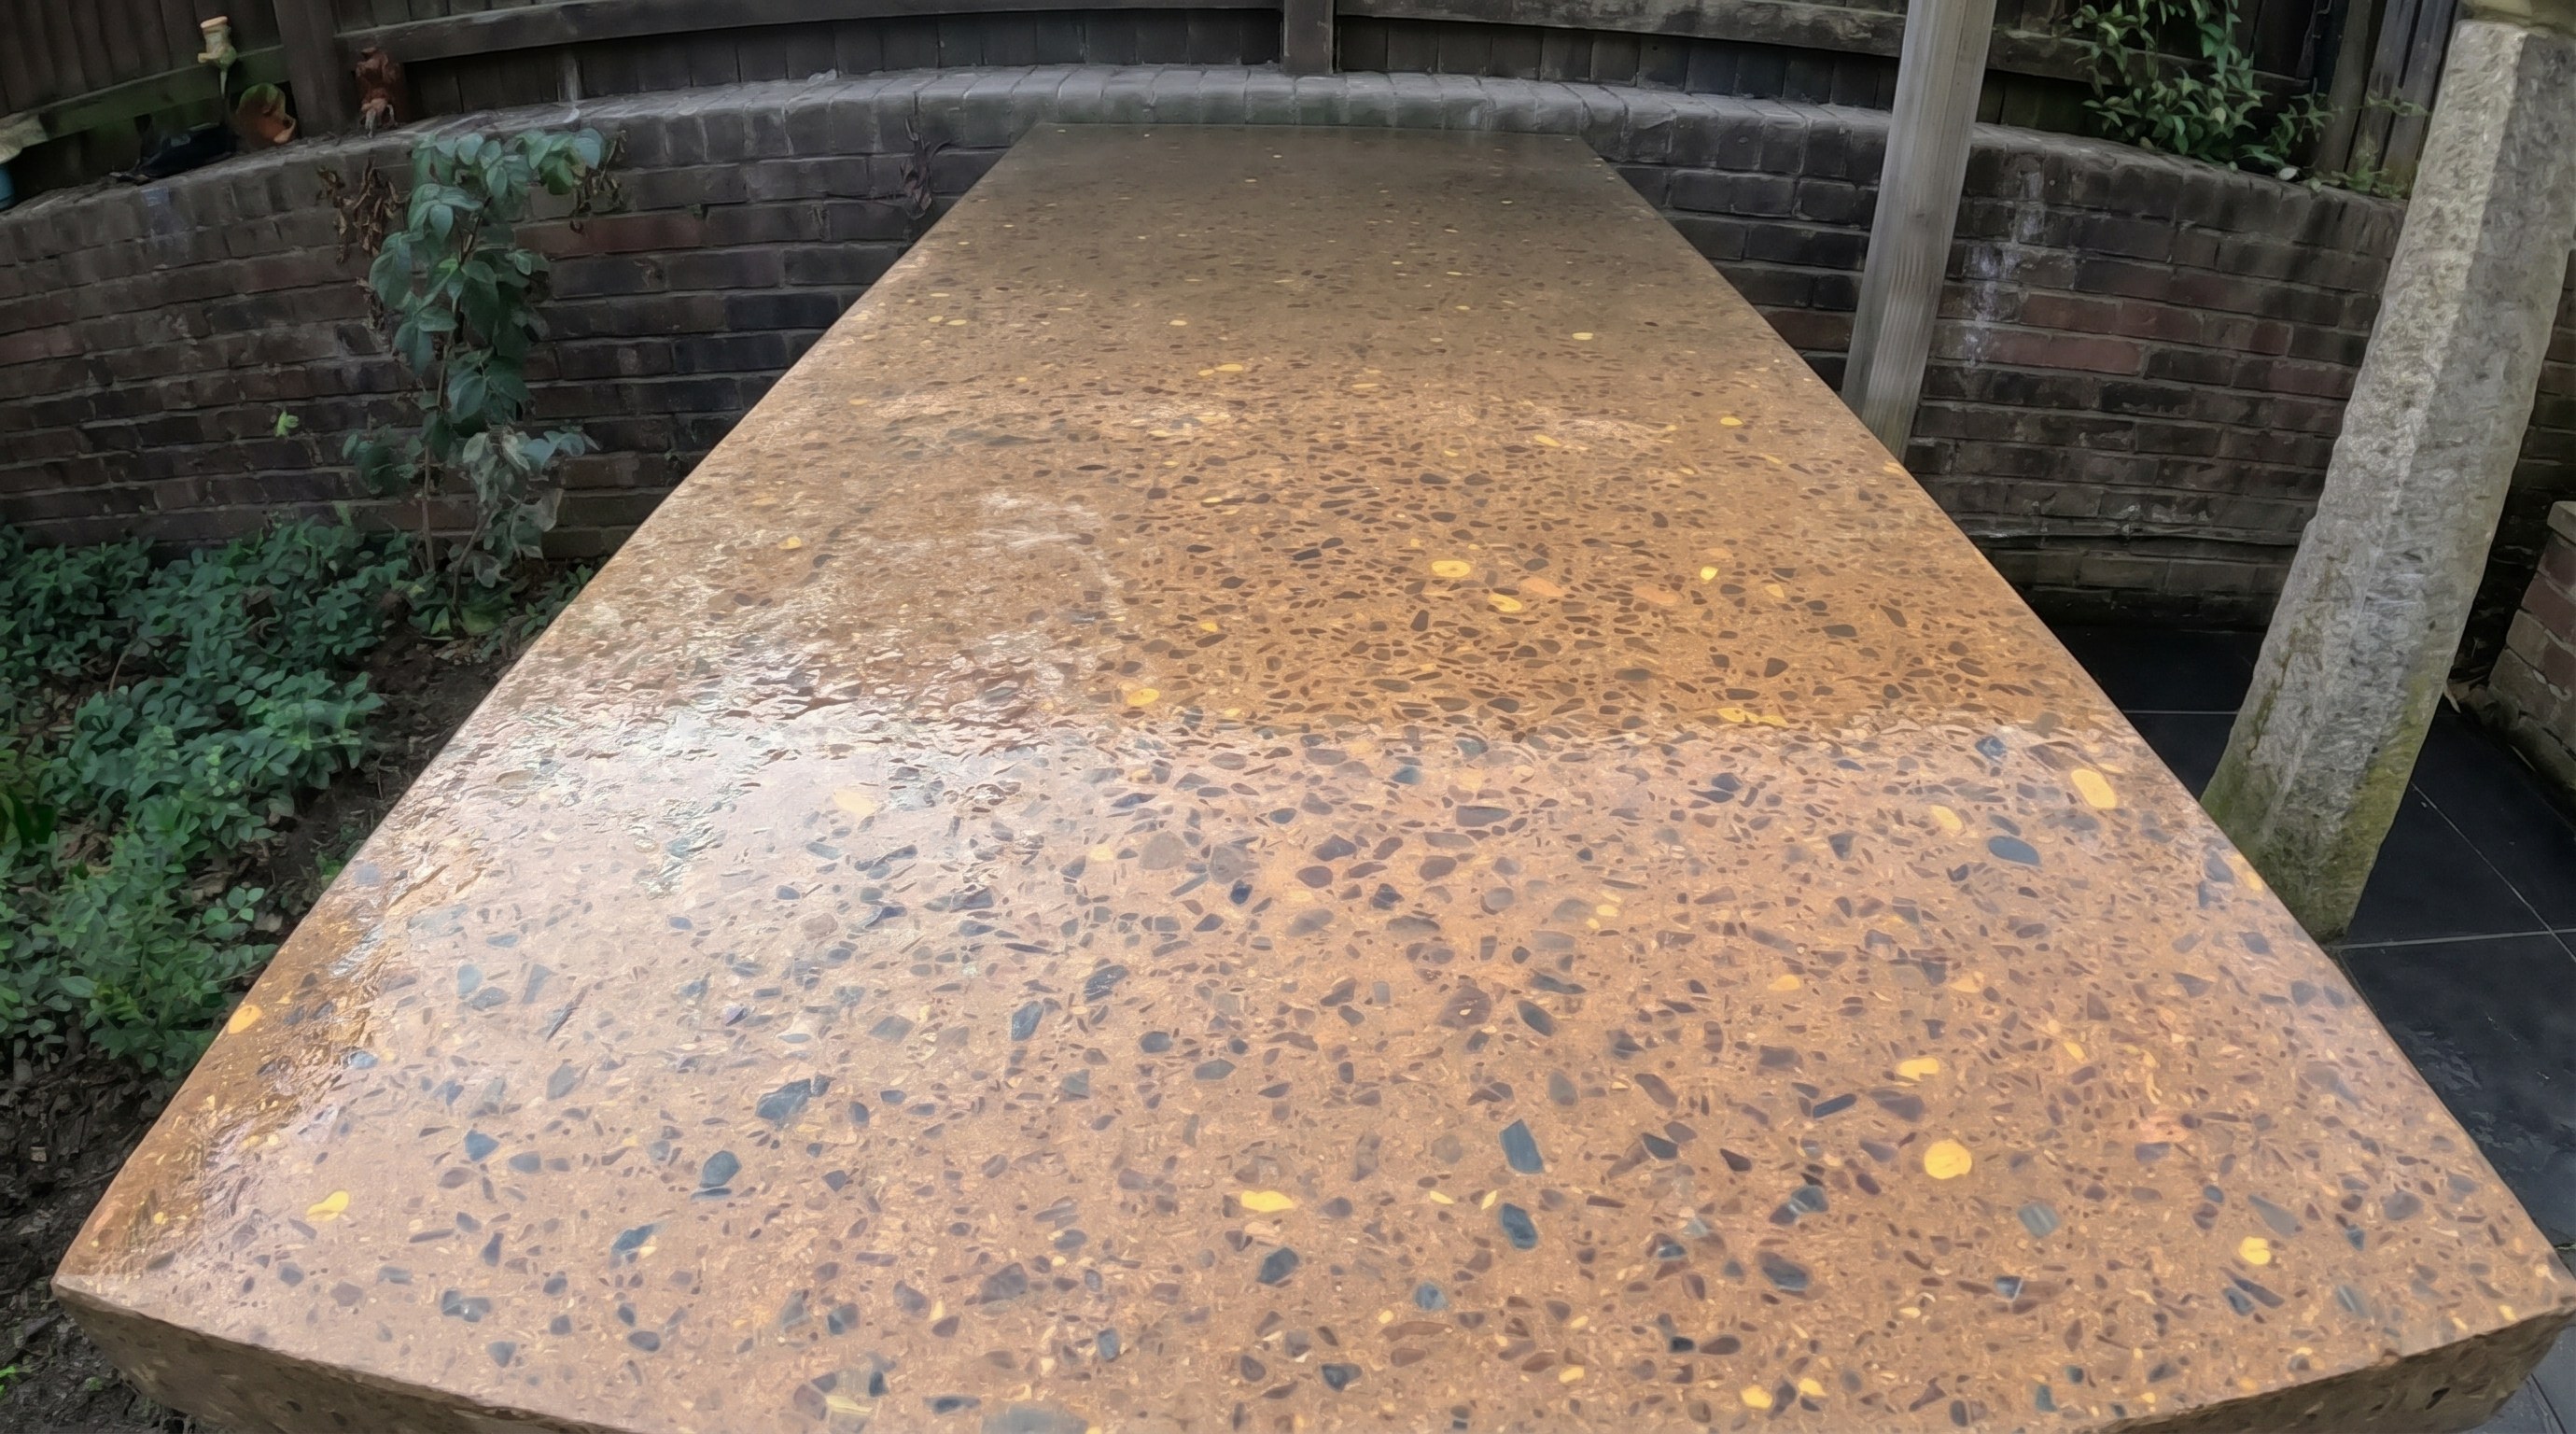
How to Build a Polished Concrete Outdoor Countertop
A full build covering a block base, cast slab, diamond pad progression, and the hardener step most guides skip to get a terrazzo finish outdoors.
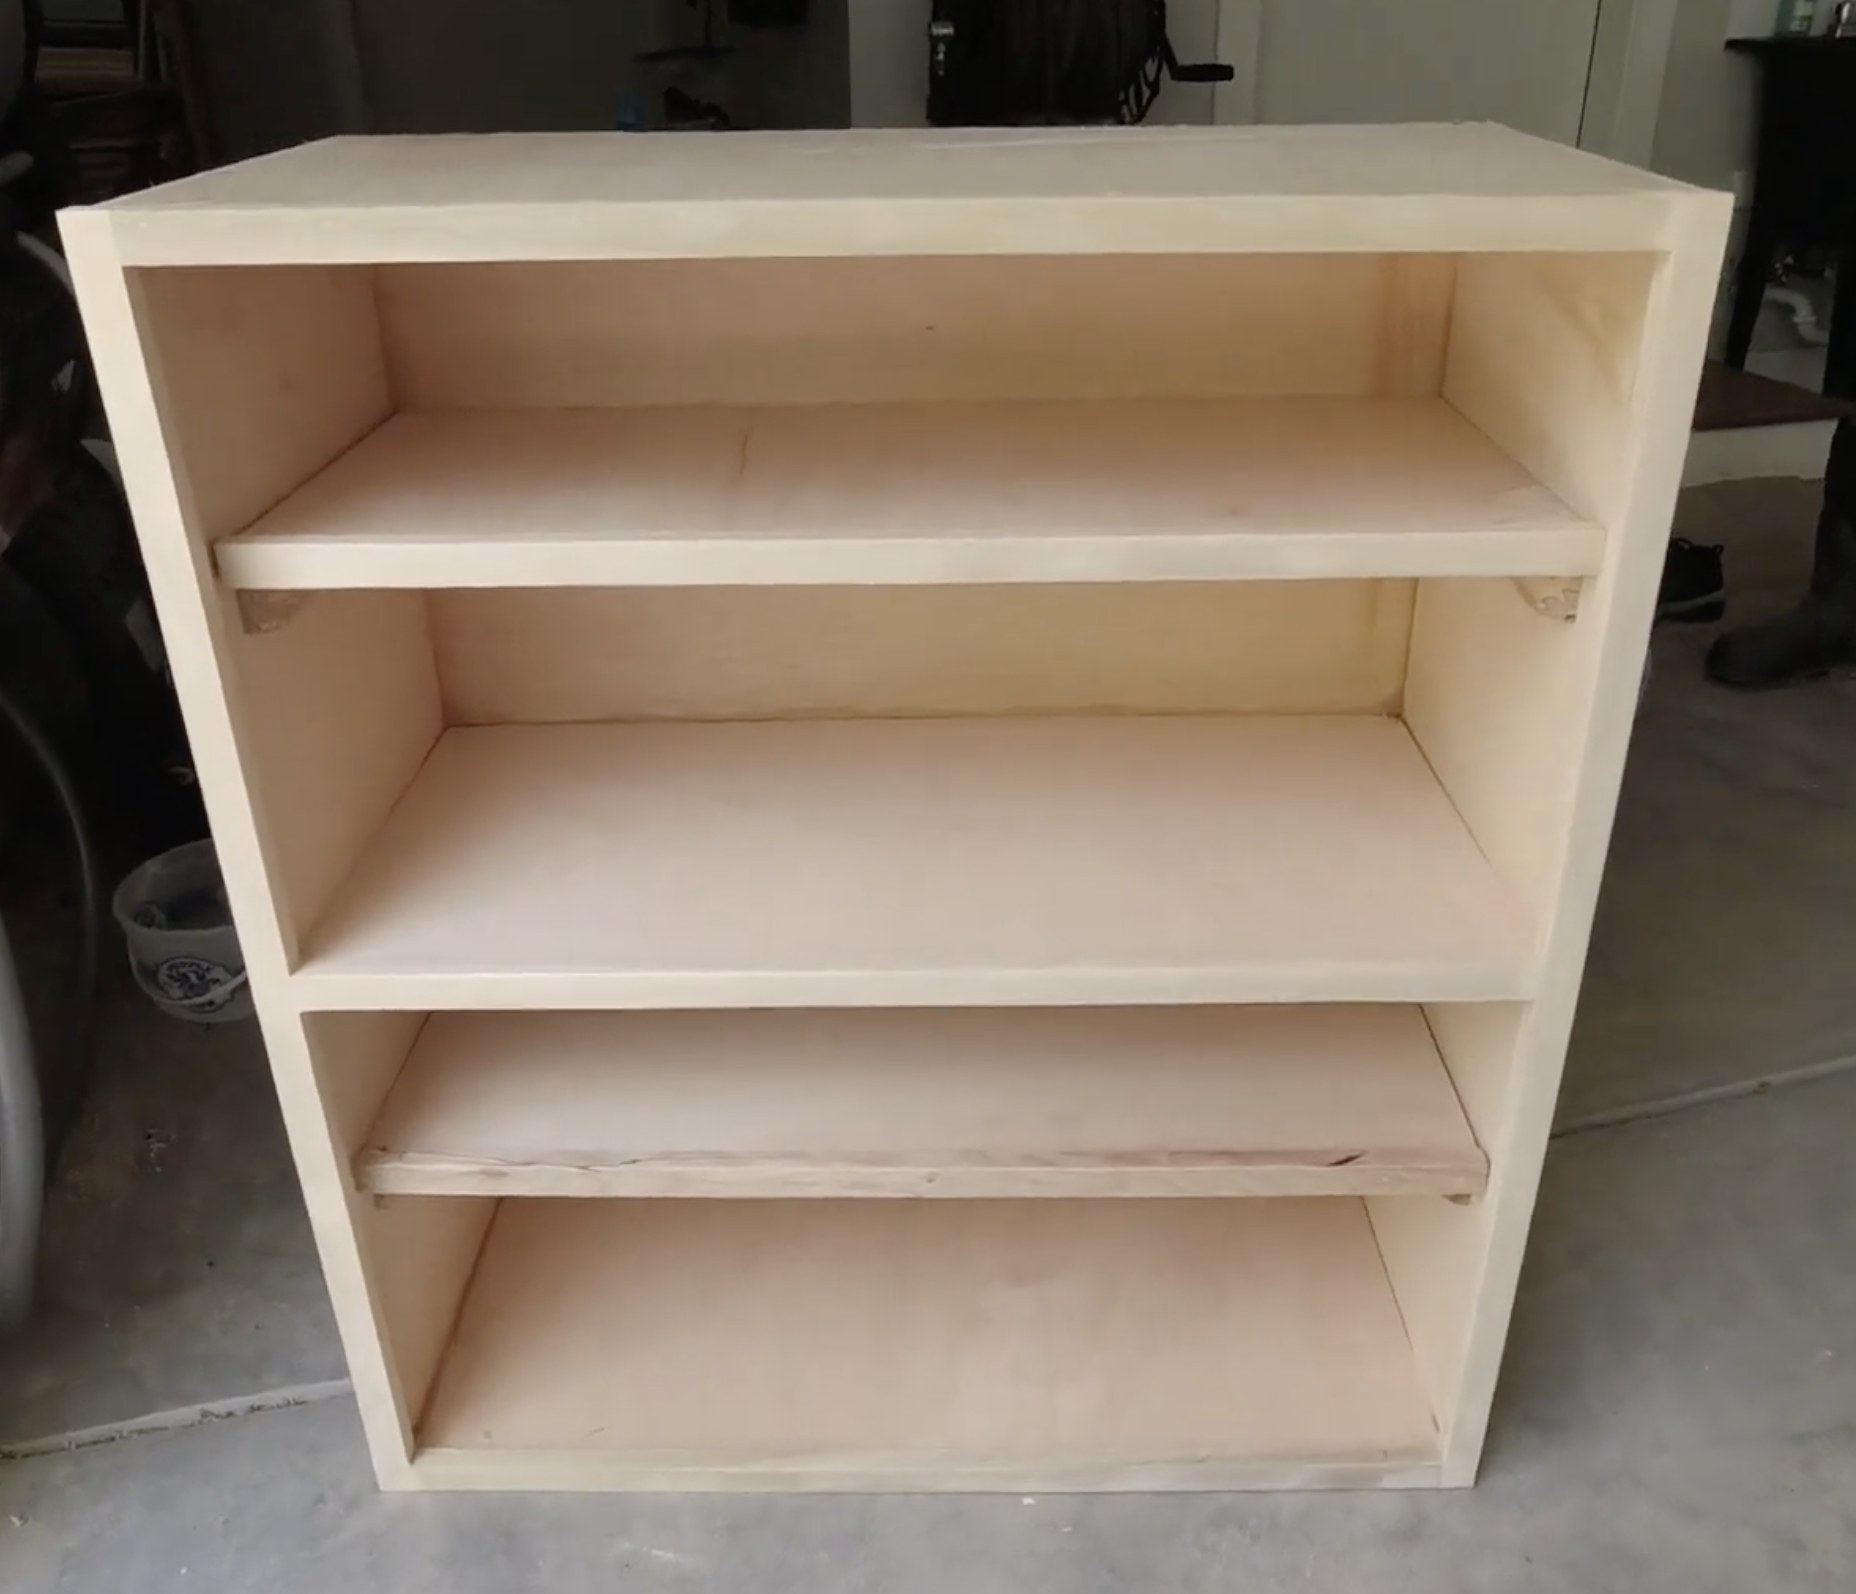
How to Build a Plywood Garage Cabinet with a Circular Saw
A simple 3/4" plywood garage cabinet built with a circular saw and brad nailer. Covers plywood choice, cost, assembly, and tips for beginners.
How to Build a DIY Track Saw Jig from One Sheet of Plywood
With one sheet of plywood, some glue, and a few screws, your circular saw can cut as straight as a track saw. Here is how to build the jig.