How to Protect Outdoor Faucets from Freezing in 15 Minutes
Three ways to winterize outdoor hose bibs before a freeze: insulated covers, interior shut-off valves, and frost-proof sillcocks. Choose what fits your setup.
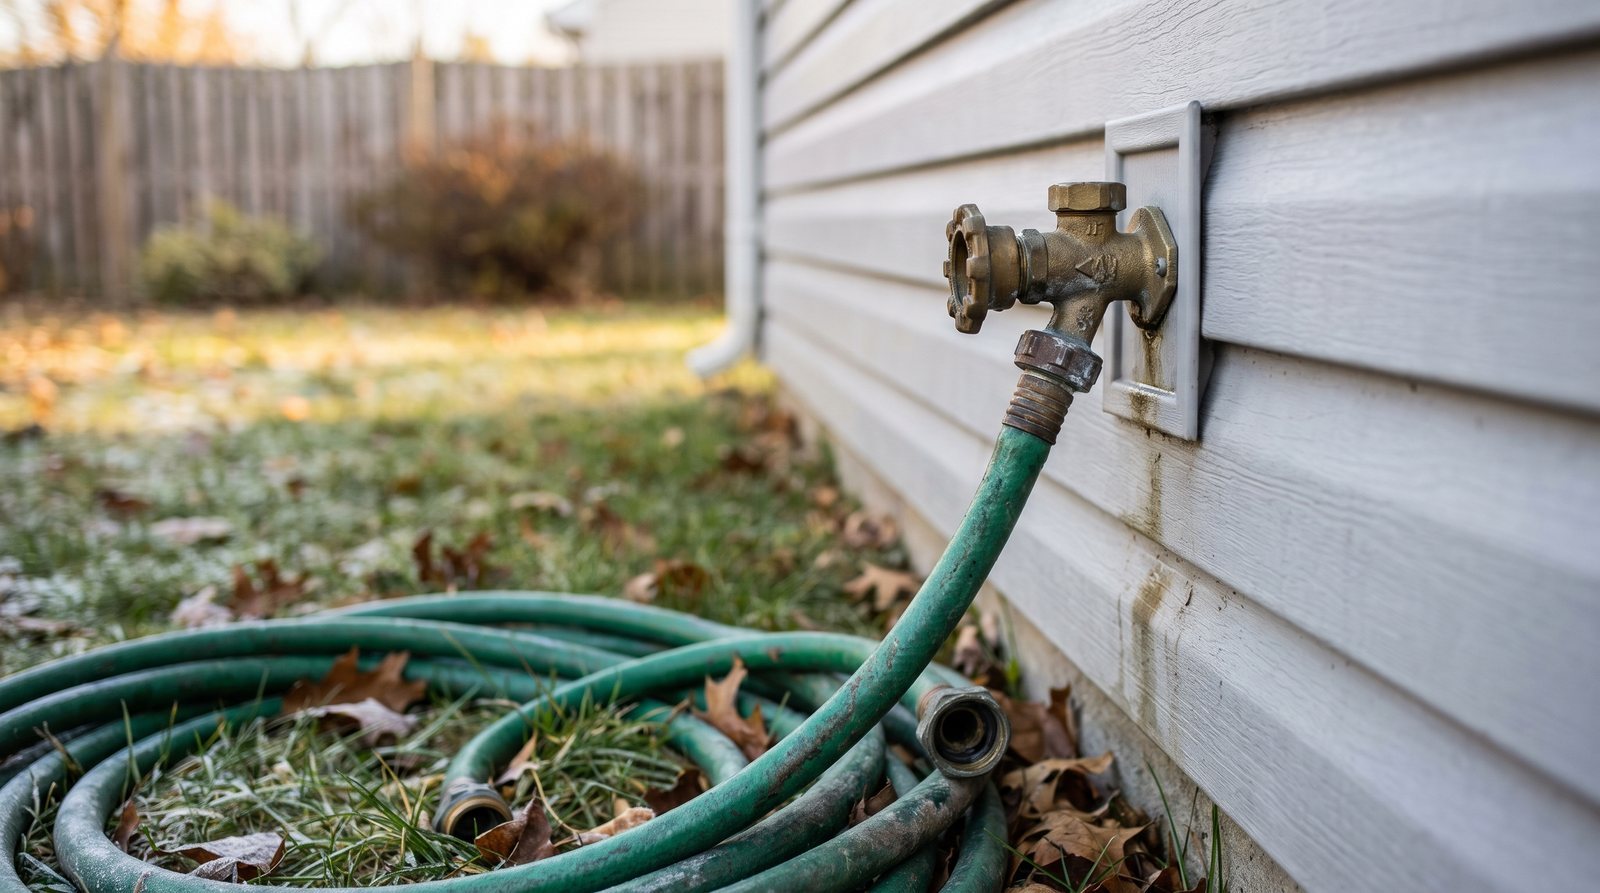
A burst pipe from a frozen outdoor faucet can cost hundreds or thousands of dollars to repair, and the fix to prevent it takes about 15 minutes. This guide covers the three main protection methods (insulated covers, interior shut-off valves, and frost-proof sillcocks), explains which one fits your house, and walks through the steps so you can get it done before the first hard freeze.
Why outdoor faucets burst (and the mistake behind most failures)
Water expands by about 9% when it freezes. But the burst usually doesn't happen right at the ice. It happens because pressure builds between a plug of ice forming in the pipe and the closed faucet on the other end. That trapped, pressurized water has nowhere to go, and eventually the pipe gives way, often inside the wall where you won't notice until it thaws and starts leaking.
The single most common cause of a frozen outdoor faucet is leaving a hose connected. Even on frost-proof models, a hose traps water in the line and stops it from draining. Splitters and quick-connect adapters do the same thing. Before you do anything else, go disconnect every hose from every outdoor faucet right now. Drain the hoses, coil them, and store them.
Pipes are generally at risk once temperatures drop below 20°F, though wind chill speeds things up. If you're winterizing your outdoor plumbing, it's a good time to prep your deck for winter too.
Method 1: Insulated faucet covers
Insulated covers are the simplest option. They trap heat radiating from the house through the wall and keep wind and precipitation off the faucet. They don't generate heat, so think of them as a blanket, not a heater.
There are two types:
Hard shell covers are rigid polystyrene foam domes that fit over a standard faucet and press flat against siding or brick. The Frost King FC1 runs about $13 for a four-pack on Amazon. The Duck Brand plastic cover is around $5 at Walmart. They work best on flat wall surfaces.
Soft shell covers (insulated bags or socks) are flexible fabric pouches, sometimes lined with 3M Thinsulate. The PF WaterWorks insulated sock is about $7.50 at Home Depot. These conform to oddly shaped faucets or uneven surfaces like stone veneer much better than a rigid dome.
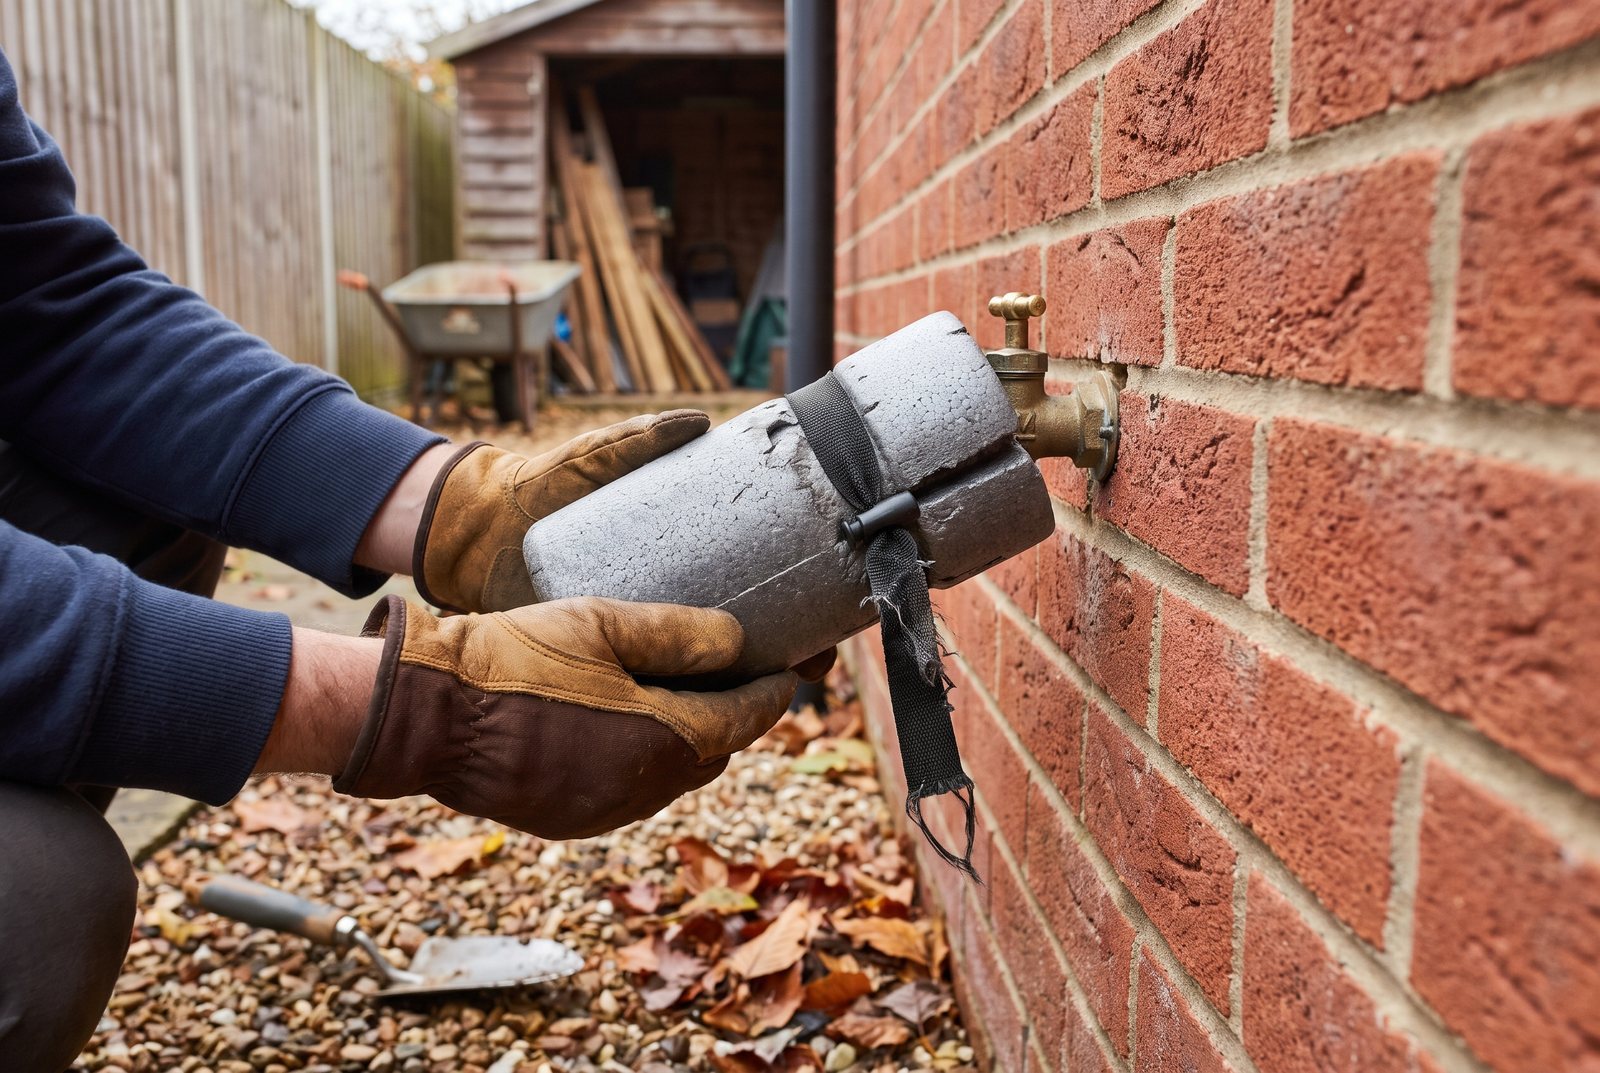
Standard foam covers hold up reasonably well for temperatures down to about 25°F, particularly when daytime temps climb above freezing. Below that, or during a sustained cold snap, a cover alone is not enough. In regions with hard freezes, use a cover as a supplement to shutting off the interior valve (Method 2), not as your only line of defense.
A cover that doesn't seal tight against the wall is barely doing anything. If your wall surface is rough or bumpy, go with a soft shell.
Method 2: Interior shut-off valves
Shutting off the water supply from inside the house is the most reliable freeze protection for a standard outdoor faucet. If your home has a basement, crawl space, or utility room, there's a good chance you have a dedicated shut-off valve for each outdoor faucet. It's usually on the pipe running through the interior wall directly behind the faucet.
You'll find one of two valve types:
| Valve type | Handle style | How to close it |
|---|---|---|
| Gate valve | Round wheel handle | Turn clockwise several full turns until it stops |
| Ball valve | Lever handle | Quarter turn so the lever is perpendicular to the pipe |
Gate valves can seize up if they sit untouched for years. If yours is stiff, don't force it with pliers. Apply a penetrating lubricant, wait 10 minutes, and try again. If it still won't budge, call a plumber rather than risk snapping the stem.
The full shut-off procedure
- Disconnect the hose (yes, again, it matters that much).
- Close the interior shut-off valve using the method above.
- Go outside and open the faucet. This drains the water trapped between the valve and the spigot. You should see a small amount of water come out.
- Open the bleeder valve, if you have one. Some shut-off valves have a small metal cap on the side. Open it after closing the main valve to let any remaining water drain into a bucket, and leave it open until spring.
- Leave the outdoor faucet handle in the open position all winter. This lets any residual moisture escape and prevents pressure buildup.
The step people skip is draining the line after closing the valve. Shutting off the water but leaving the pipe full is like locking the front door and leaving the back door open. The water sitting between the closed valve and the outdoor faucet can still freeze and burst the pipe.
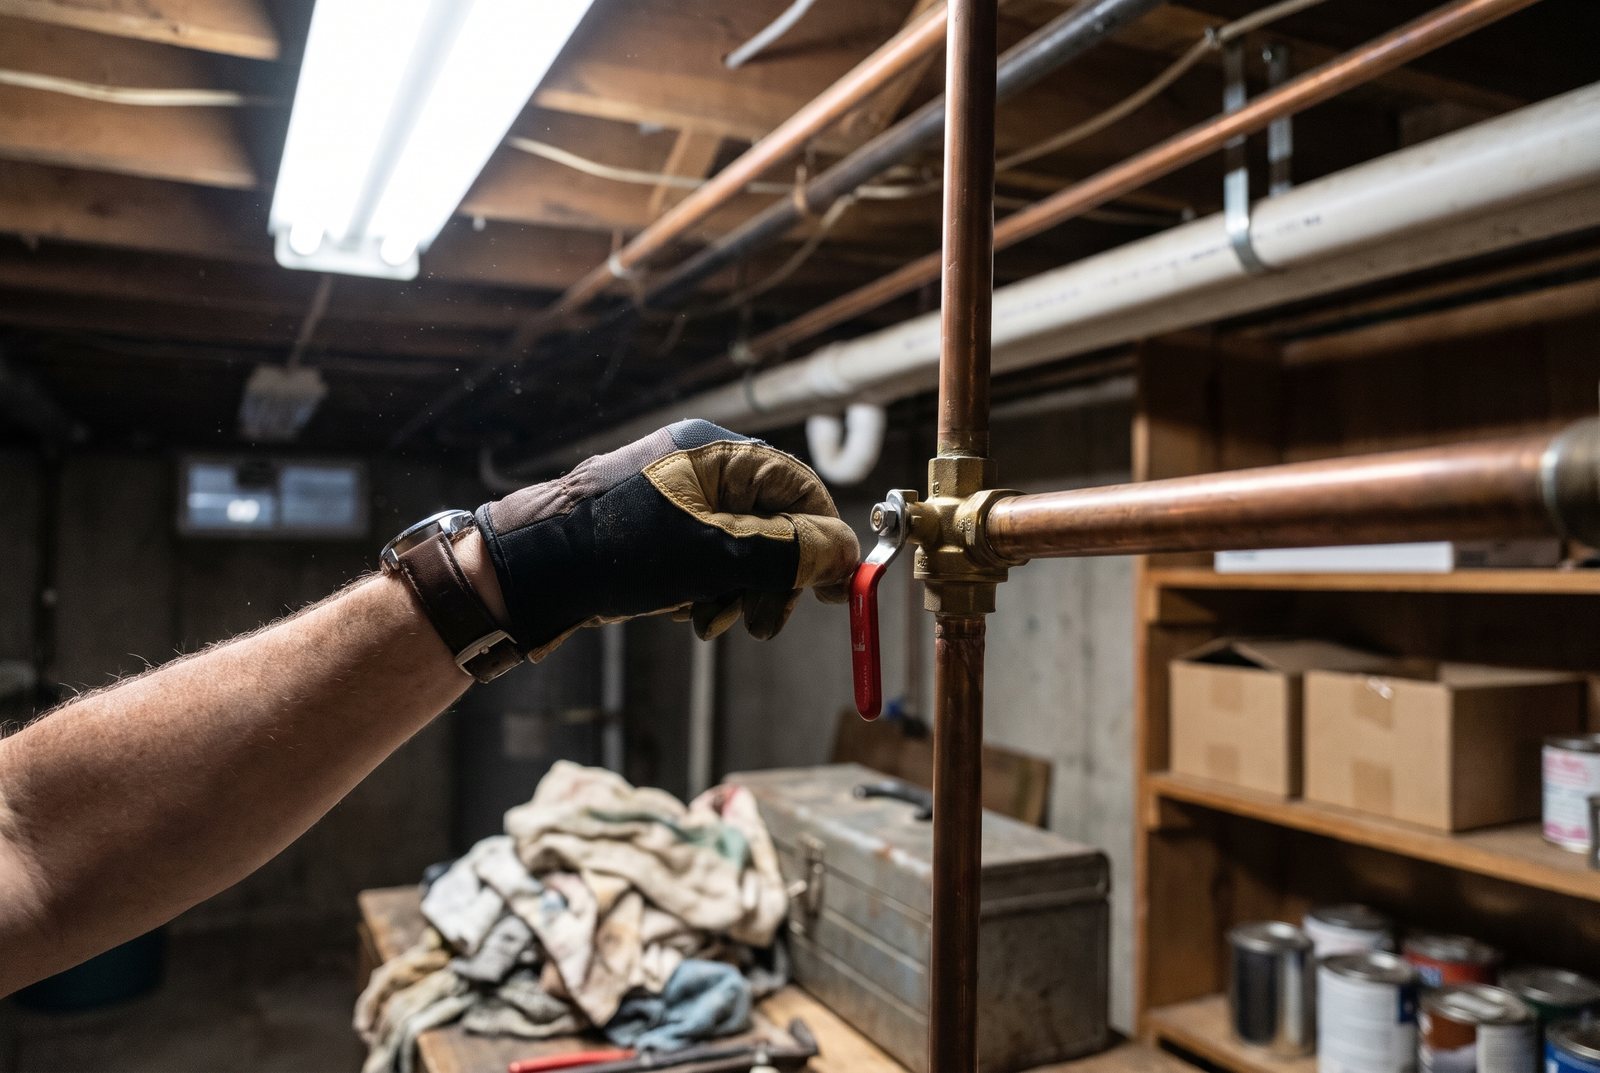
Homes in warmer climates, and many older homes everywhere, may not have interior shut-off valves for outdoor faucets. If you can't find one, you have two choices: rely on insulated covers for mild freezes, or upgrade to a frost-proof sillcock.
Method 3: Frost-proof sillcocks
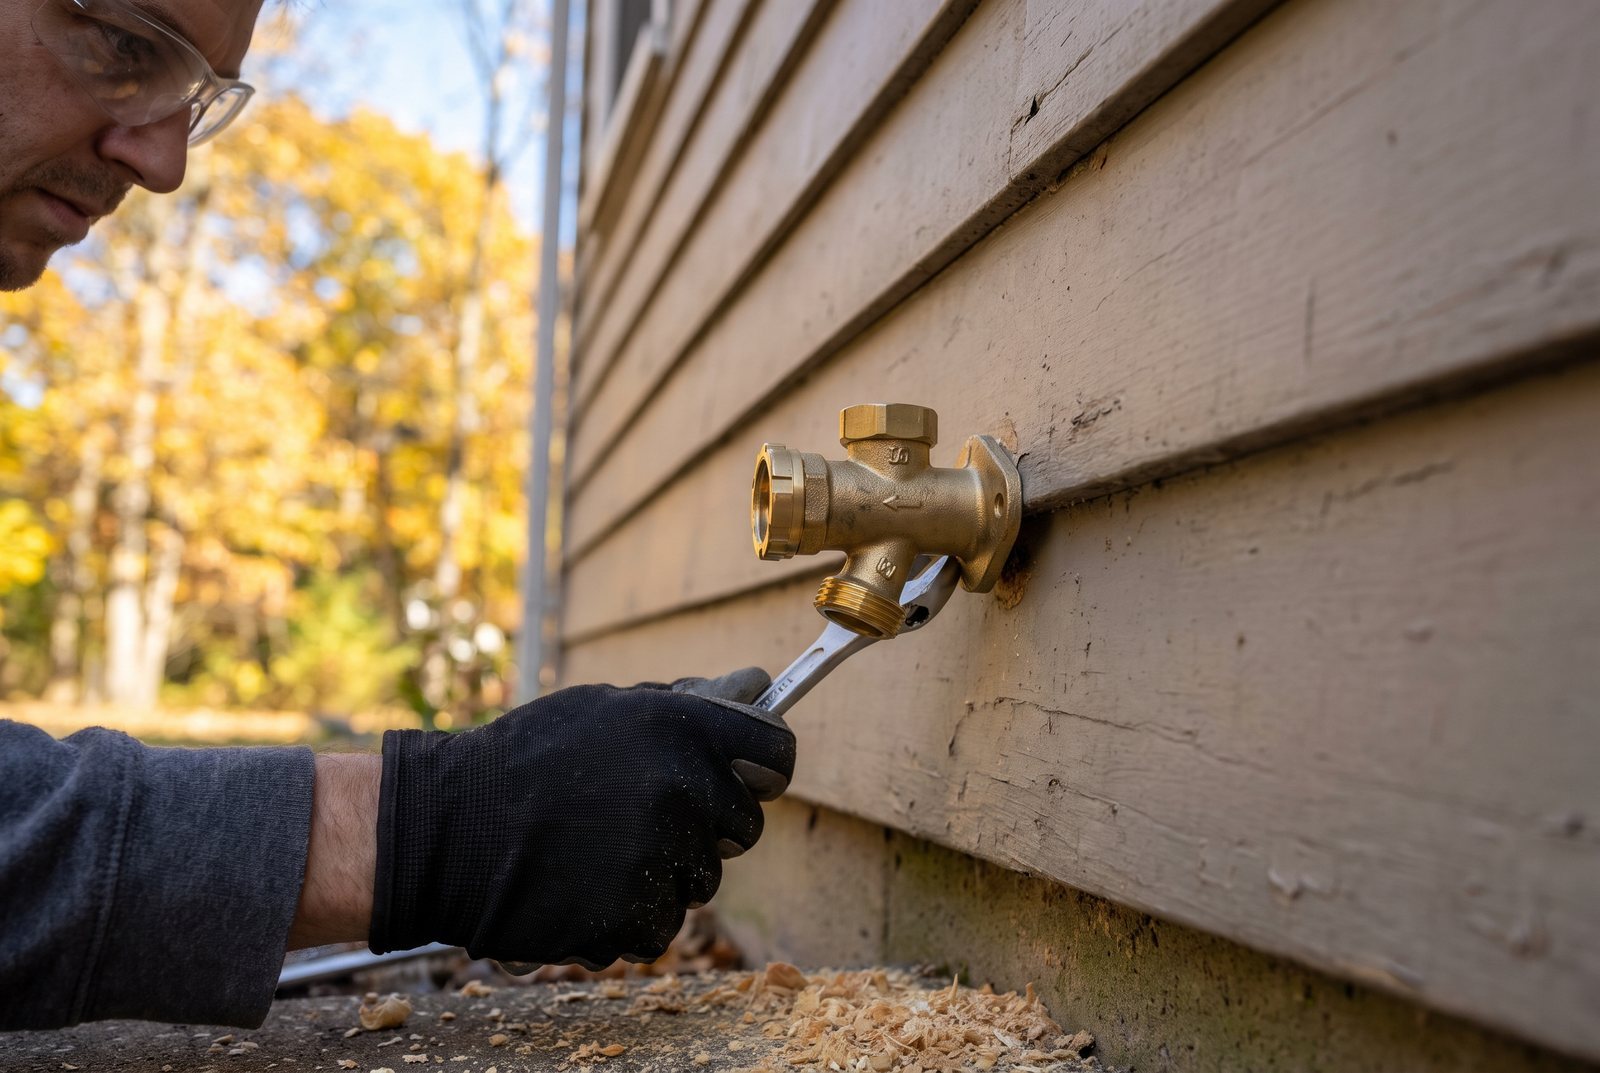
A frost-proof sillcock moves the actual water shut-off point 4 to 24 inches inside the wall, into the heated envelope of the house. When you turn the handle, a long stem closes a valve deep inside. The water left in the outer portion of the pipe drains out the spigot by gravity, so nothing is sitting in the cold section to freeze.
This is the best long-term solution if you live in a climate with regular hard freezes. The sillcock itself costs $15 to $40. They come in lengths from 4 to 24 inches (in 2-inch increments) to match different wall thicknesses, so measure your wall depth before buying.
Installation considerations
Professional installation typically runs $250 to $400, sometimes up to $475 depending on access and pipe material. A DIY replacement is possible if you're comfortable cutting and soldering copper or working with PEX fittings, but a bad connection inside a wall can leak for weeks before you notice.
Two details that make or break a frost-proof sillcock:
Downward pitch. The sillcock must be installed with a slight slope toward the outside so water drains out after every use. If it's level or pitched inward, water pools in the stem and you're right back to a freeze risk. This is the most common installation error.
Backflow prevention. Most US building codes (including the IRC) require an anti-siphon device on outdoor faucets to protect your drinking water. Many modern frost-proof sillcocks have one built in. Check the packaging before you buy, and check your local code requirements.
Even with a frost-proof sillcock, the IRC generally requires a separate interior stop-and-waste valve unless the sillcock stem extends into an open heated space. So you may still need that interior shut-off.
And the rule still applies: never leave a hose connected. A hose defeats the entire drain-back design.
Picking the right method for your house
Most homeowners don't need to choose just one method. They layer them.
If you have interior shut-off valves, use them. That's your primary protection. Add an insulated cover on the outside for extra insurance, especially if the faucet is on a north-facing wall or an exposed area.
If you don't have interior shut-offs and you live where temperatures regularly hit the teens or single digits, a frost-proof sillcock upgrade is worth the investment. In the meantime, insulated covers plus letting the faucet drip during the worst nights can bridge the gap.
If you're in a mild climate where freezes are brief and rarely dip below 25°F, a good insulated cover and disconnecting the hose may be all you need.
A note on temperature-activated drip valves
Devices like the Freeze Miser screw onto the end of your hose bib and automatically release a small drip when the water temperature approaches 37°F. They run about $45 each. They're a reasonable backup for faucets you can't easily shut off from inside, but they do use water continuously during cold snaps and aren't a substitute for proper winterization in areas with deep or prolonged freezes.
Get it done before the first freeze
The best time to winterize outdoor faucets is a dry afternoon in fall when temperatures are still comfortable. Walk the outside of your house, count every hose bib, disconnect every hose, and then go inside and trace the pipes. If you find shut-off valves, close them and drain the lines. If you don't, measure your wall thickness and decide whether this is the year you upgrade to frost-proof sillcocks or whether covers will carry you through. Fifteen minutes now saves a very bad morning in January.
Quick answers
Do I need to winterize a frost-proof faucet?
Yes. You still need to disconnect all hoses before freezing weather. A hose traps water in the stem and defeats the drain-back design. If your local code requires an interior shut-off valve, use that too.
At what temperature will an outdoor faucet freeze?
Water freezes at 32°F, but outdoor pipes are most at risk of bursting below 20°F, especially with wind chill or when temperatures stay below freezing for several hours.
Can I just wrap my outdoor faucet with a towel?
A towel provides minimal insulation and absorbs moisture, which can actually make things worse once it freezes solid. A purpose-built foam or insulated cover costs under $5 and works far better.
Should I leave the outdoor faucet open or closed in winter?
If you've shut off the interior valve, leave the outdoor faucet open so residual water can drain and any pressure can escape. If you haven't shut off the interior valve, the faucet should be closed.
Keep reading
All posts
How to Install Gutter Guards on a Steep Roof Without Overshoot
Water overshoots gutters on steep roofs because it moves too fast for most guards. Learn which guard style works and the right install angle.
How to Winterize a Wood or Composite Deck Before Frost
A fall checklist for cleaning, sealing, and protecting your deck before winter. Covers wood and composite options, fastener checks, and furniture storage.
How to Keep Fence Pickets Level on Uneven Ground
A string line, the right layout method, and a plan for your slope are all it takes. Here's how to get a straight fence top on ground that isn't.