When to Use Wood Glue Even If the Plans Don't Say To
Many DIY plans skip the glue step entirely. Here's how to decide which joints need wood glue, which ones shouldn't get it, and what type to use.
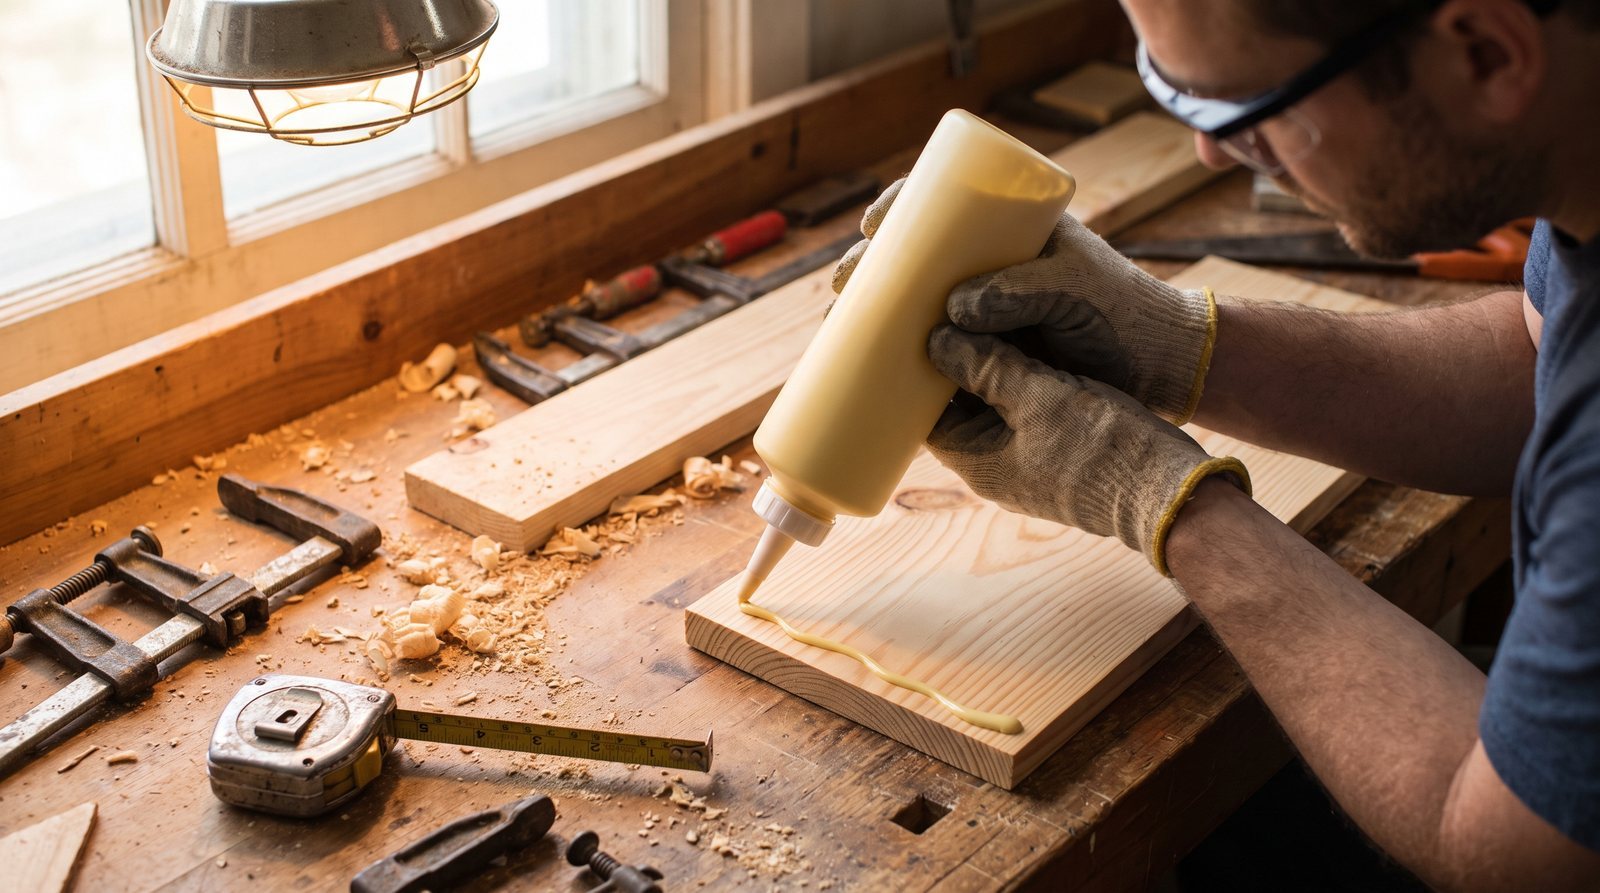
You're halfway through a build, the plans say "attach with screws," and you're standing there with a bottle of Titebond wondering: should I glue this too? The short answer is yes, for most structural wood-to-wood joints, even when the instructions are silent about it. By the end of this guide you'll know exactly which joints benefit from glue, which ones you should leave dry, and how to pick the right adhesive for the job.
Why plans leave glue out
It's not because glue doesn't matter. It almost always does. Plans omit it for a few reasons, and none of them are great ones.
First, many plan writers assume you already know. In traditional woodworking, gluing every structural joint is so fundamental that calling it out feels like reminding someone to breathe. Second, plans aimed at beginners sometimes strip out steps to keep the project from looking intimidating. A parts list with screws and pocket holes feels approachable. Adding clamps, glue, open time, and squeeze-out cleanup adds perceived complexity. Third, some projects genuinely don't need glue because the joints aren't under real stress or the piece is meant to come apart later.
The problem is that the first two reasons leave you with a weaker build than you could have. A screwed joint without glue can loosen over months of use. A glued and screwed joint stays tight for decades.
Joints that should always get glue
Any joint carrying weight or resisting racking (the side-to-side wobble in a bookcase or table) benefits from glue. That includes table aprons to legs, shelf dados, cabinet face frames, chair stretchers, and edge-to-edge panel glue-ups.
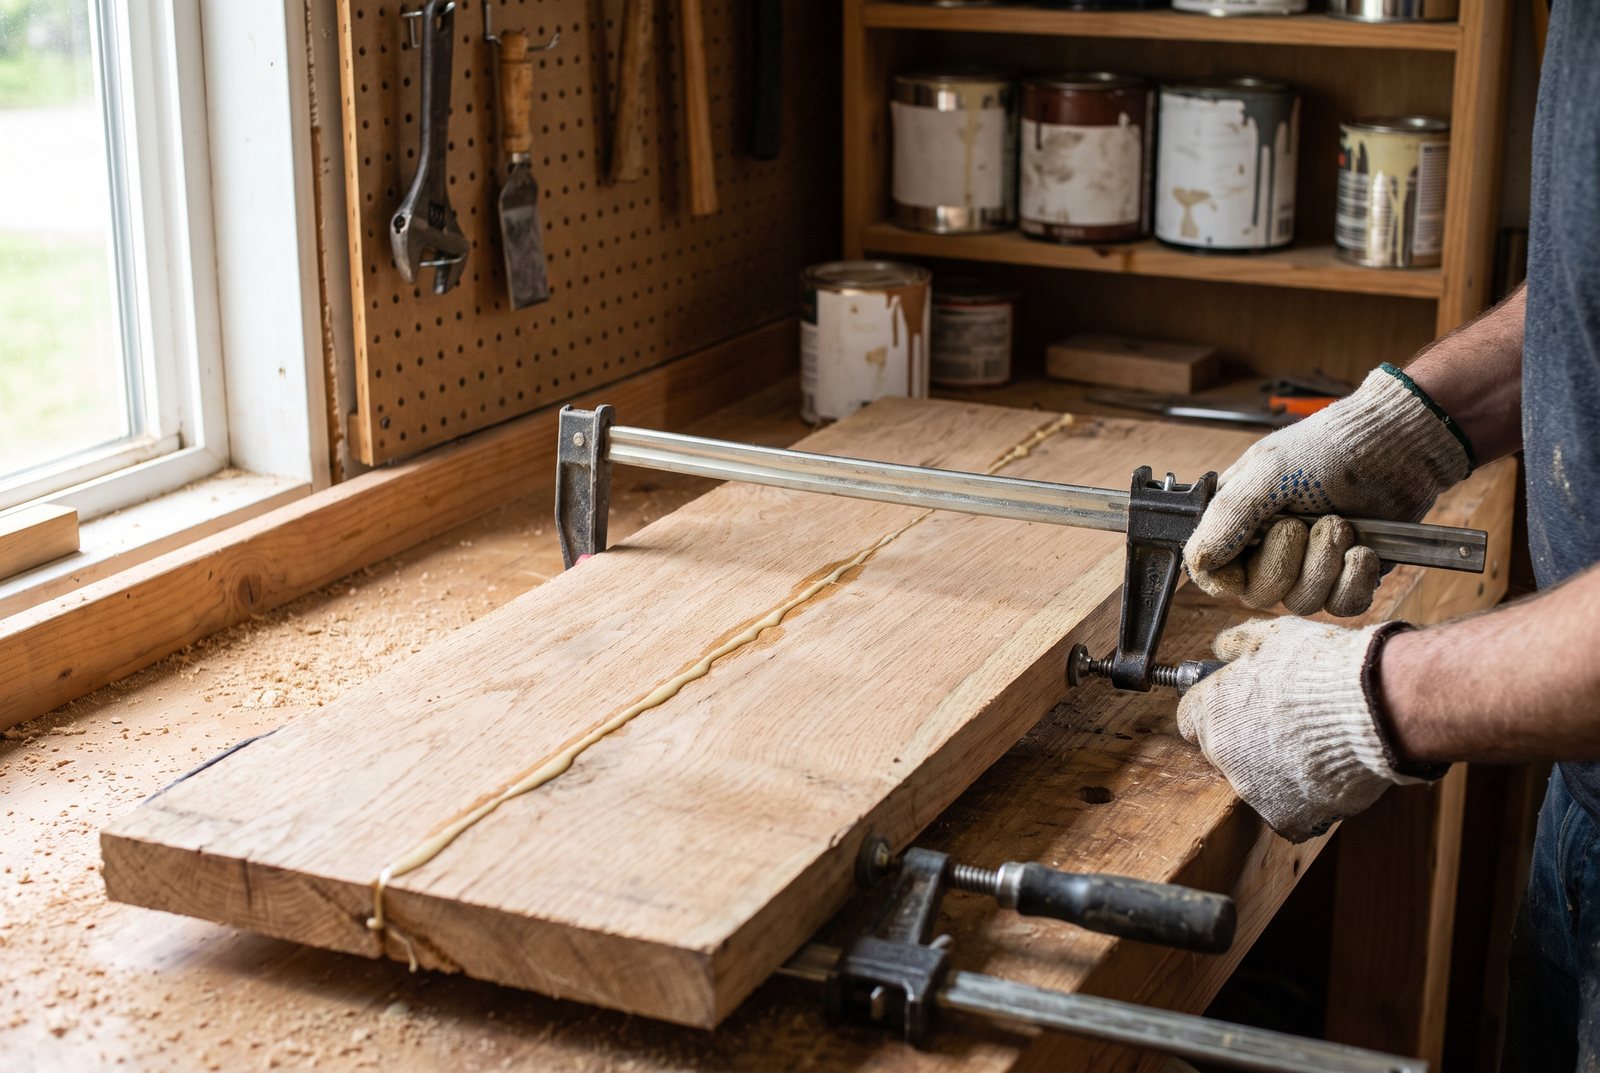
Here's the key fact: a properly made PVA glue joint is often stronger than the wood around it. If you try to break a well-glued edge joint, the wood fibers will tear before the glue line fails. Screws and nails alone can't make that claim. They hold by friction and thread engagement, both of which can loosen as wood expands and contracts through the seasons.
When you combine glue with mechanical fasteners, each one covers for the other's weakness. The glue creates a rigid bond across the entire mating surface. The screws or brads act as clamps while the glue cures and add shear resistance. This is why you'll see experienced builders run a bead of glue on a joint even when they're also driving three pocket screws into it.
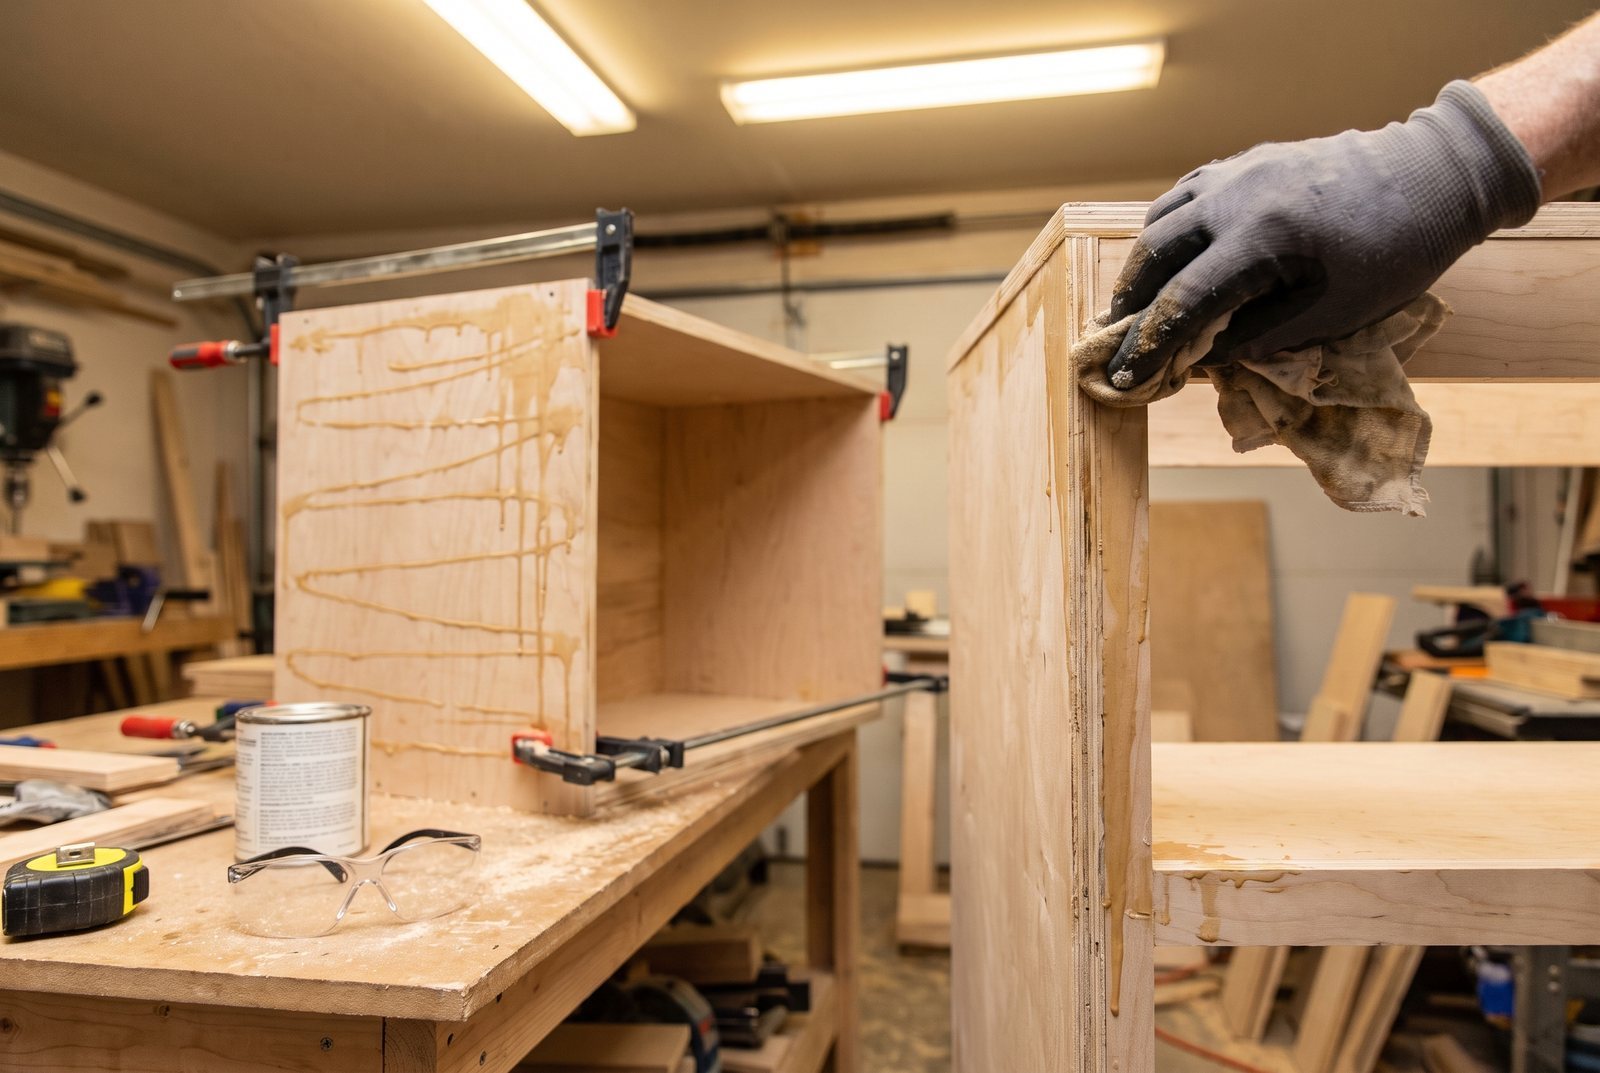
Indy Farm Life's Simple Plywood Garage Cabinet is a good example of a straightforward build where glue and brad nails work together on plywood box joints. It's a utility cabinet, not fine furniture, but the combination keeps the case square and solid under the weight of tools and supplies.
Joints you should leave dry
Not every joint wants to be permanent. Wood moves. A solid-wood tabletop can expand and contract by 1/4 inch or more across its width over the course of a year. If you glue that top directly to the apron, the top has nowhere to go and it will crack.
Floating tabletop attachments (like figure-eight fasteners or Z-clips) exist specifically to let the top slide while staying flat. Gluing here would defeat the purpose.
Other cases where you should skip the glue:
- Furniture you'll disassemble. Knockdown hardware, bed rail brackets, and threaded inserts are designed for repeated assembly. Glue turns a removable joint into a permanent one.
- Joints between wood and non-porous materials. Standard PVA glue bonds wood fibers to wood fibers. It won't grab metal brackets, plastic laminate, or glass. For those, you need epoxy or polyurethane adhesive.
- Joints with large gaps. If the mating surfaces don't come together tightly, PVA glue won't bridge the void. Epoxy is the better choice for gap-filling, since it cures rigid without needing fiber-to-fiber contact.
Choosing the right glue for the joint
Most indoor furniture and cabinet work calls for plain PVA wood glue, the yellow stuff. But "wood glue" is a broad category, and picking the wrong type for the conditions is one of the most common mistakes.
| Glue Type | Best For | Water Resistance | Time to Handle | Shear Strength |
|---|---|---|---|---|
| PVA (Titebond II) | Interior and semi-exposed joints | Water-resistant | 30-60 min to handle | ~3,600 psi |
| PVA (Titebond III) | Cutting boards, outdoor furniture | Waterproof, FDA indirect food contact | 30-60 min to handle | Up to 4,000 psi |
| Polyurethane (Gorilla Glue) | Mixed materials, damp wood | Waterproof | 1-2 hours clamp time | 3,000-4,000 psi |
| Epoxy (two-part) | Gap-filling, non-wood surfaces, outdoor | Waterproof | 5-15 min (fast set) | Up to 8,500 psi |
| CA glue (super glue) | Tacking small parts, quick repairs | Poor | Seconds | Low for structural use |
| Hide glue | Antique repair, instruments | Poor | Varies | Moderate, reversible with heat |
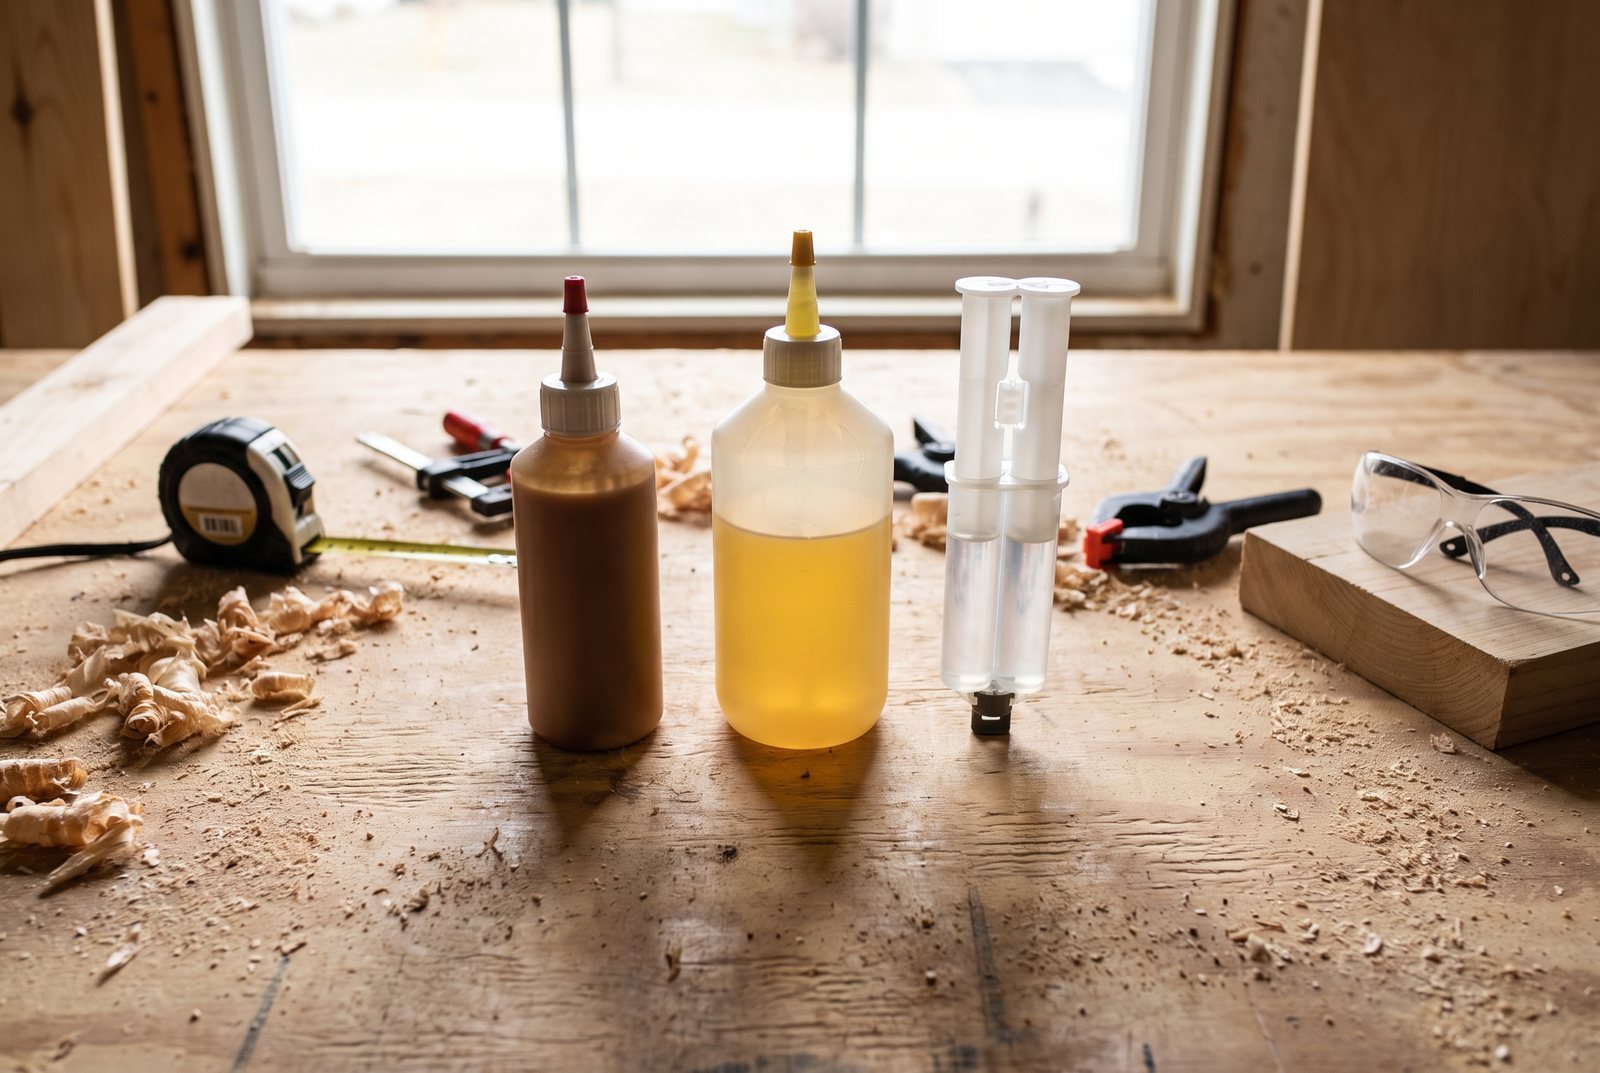
For the vast majority of indoor projects, a 16 oz. bottle of Titebond III (around $9.98 at The Home Depot as of late 2026) handles everything from shelf joints to cutting boards. If you're building something that lives outside year-round, like a dock railing or a garden bench, waterproof glue is non-negotiable.
A question that comes up often is why some builders use CA glue (super glue) instead of wood glue for certain repairs. CA glue sets in seconds, which makes it useful for tacking a small piece in place or stabilizing a crack before you apply a real structural adhesive. It's a helper, not a substitute for PVA in a load-bearing joint.
How to apply glue so it actually works
Getting a strong joint isn't just about choosing the right bottle. Surface prep and clamping matter just as much.
Start with clean, freshly prepared surfaces. Dust, oil, old finish, and even wood that's been sitting exposed for weeks can weaken the bond. A quick pass with 120-grit sandpaper right before glue-up gives the adhesive fresh fibers to grab.
Apply a thin, even layer to both mating surfaces. You don't need to drown the joint. A small brush, a flux brush, or even your finger works for spreading. The goal is full coverage without puddles.
Clamp with enough pressure to see a thin, consistent bead of squeeze-out along the joint line. That bead tells you two things: the glue reached the edges, and the surfaces are in full contact. No squeeze-out usually means not enough glue or not enough pressure. Squeeze-out gushing everywhere means you used too much, which wastes glue and makes cleanup harder.
Leave the clamps on for the manufacturer's recommended time. For most PVA glues, that's 30 to 60 minutes before handling, with full cure at 24 hours. Rushing this step is tempting, especially when you're eager to keep building, but a joint stressed before it's cured is a joint you'll be regluing later.
One detail people overlook: temperature matters. PVA glue needs to be applied above 47°F to cure properly. If your garage drops below that overnight, bring the glue and the project inside or wait for warmer weather. Epoxy is even pickier, performing best between 65°F and 85°F.
When only some joints get glued (and why)
You'll sometimes see a project where the builder glues some tenons but leaves others dry. This isn't laziness. It's usually a deliberate choice to allow wood movement in one direction while locking the joint in another. A breadboard end on a tabletop, for example, is typically glued only at the center tenon so the panel can expand outward from the middle. Gluing all the tenons would fight the wood's natural movement and eventually cause a split.
If a plan specifies "glue here but not here," follow it. If a plan says nothing and you're unsure whether a particular joint needs room to move, ask yourself: are the grain directions of the two pieces running the same way, or are they crossing? Pieces with grain running in the same direction move together and can be glued freely. Pieces with grain crossing each other (like a tabletop and a breadboard) need room to slide.
The cost of skipping glue
A bottle of wood glue costs under $10 and lasts through dozens of projects. The cost of not using it is a wobbly chair six months from now, a shelf that sags under books, or a cabinet door frame that opens at the corners. Glue is cheap insurance.
If you're about to start a build and the plans only mention screws, take 30 seconds at each joint to ask: is this wood to wood, and is it structural? If the answer to both is yes, reach for the glue.
Quick answers
Should I add wood glue if my plans only call for screws?
For any structural, wood-to-wood joint, yes. The glue creates a bond across the entire surface that screws alone can't match. Together they make a joint that's both strong and resistant to loosening over time.
How long should I let wood glue dry before sanding?
Wait the full 24-hour cure time before sanding the joint or putting it under load. You can handle and move the piece after 30 to 60 minutes with most PVA glues, but the bond isn't at full strength yet.
What wood glue should I use for a cutting board?
Use a glue that's FDA-approved for indirect food contact. Titebond III is the most common choice and is also waterproof, which helps the board survive regular washing.
Can I use wood glue on plywood?
Yes. PVA glue bonds plywood faces and edges well. For plywood edge joints, apply glue to both surfaces and clamp firmly, since the exposed layers are more porous and can absorb glue unevenly.
The project in this post
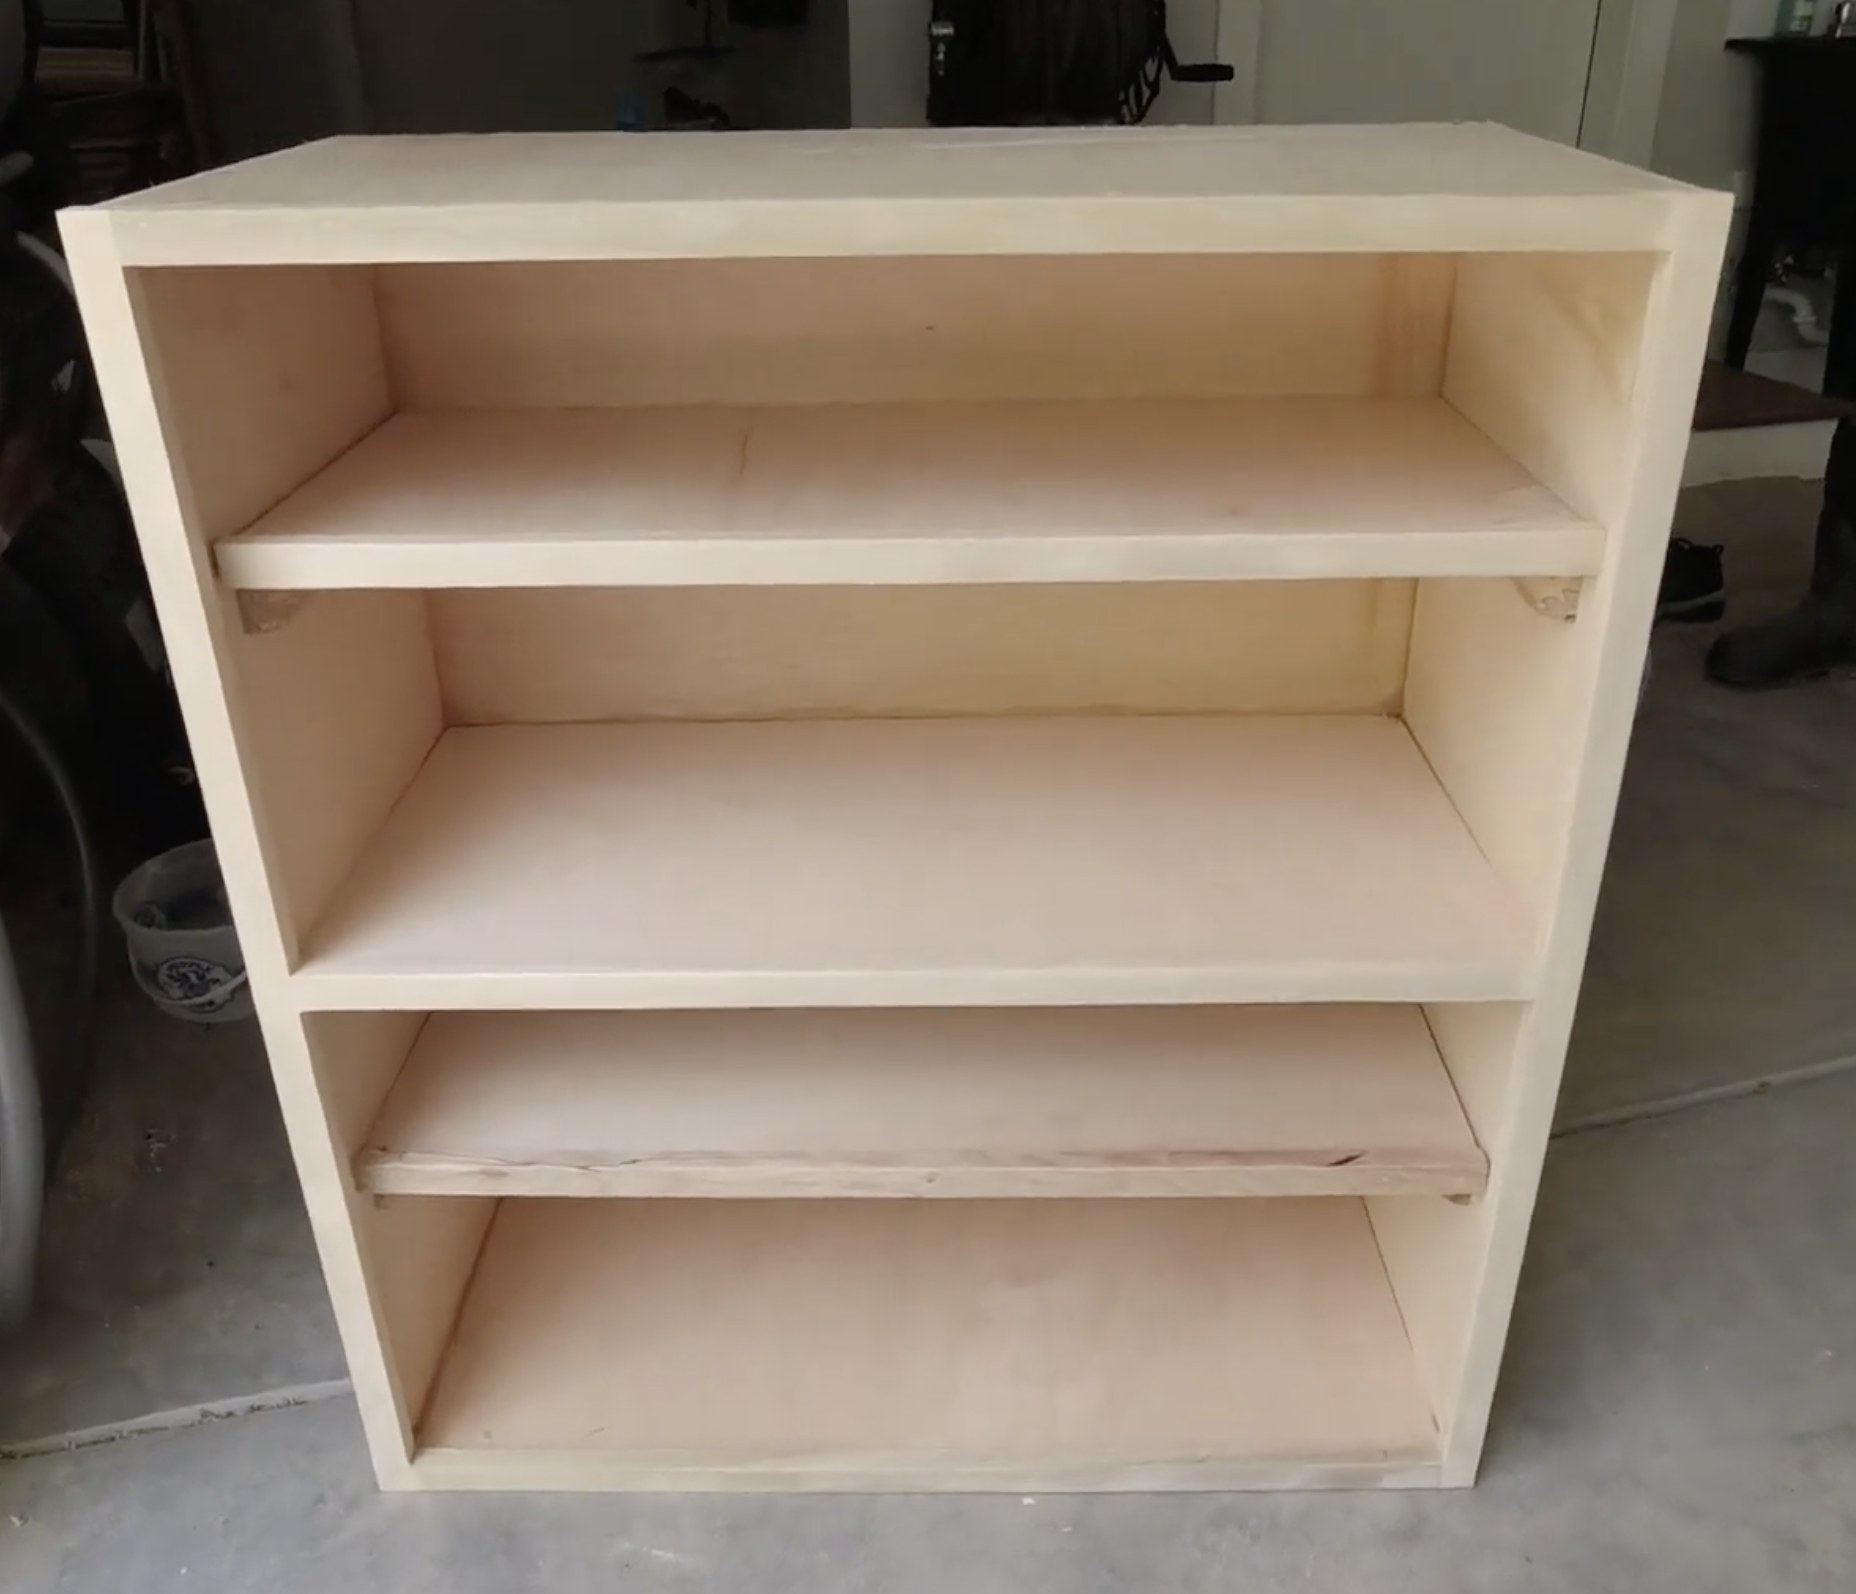
Simple Plywood Garage Cabinet
by Indy Farm Life
Open the project guideKeep reading
All posts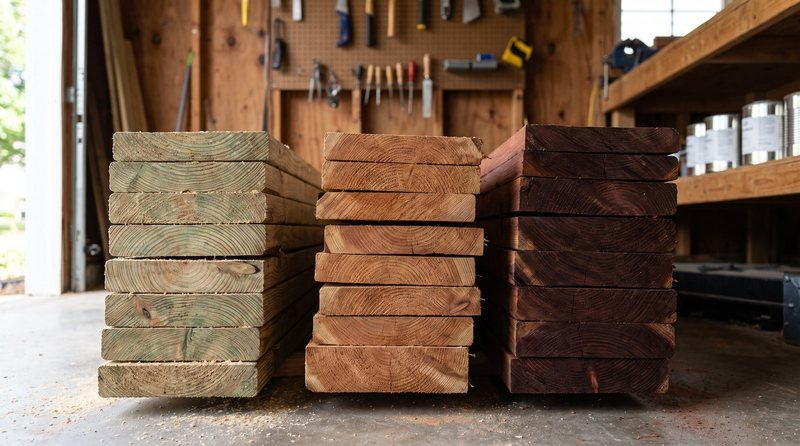
Cedar vs Pressure-Treated Pine vs Redwood for Outdoor Projects
Comparing cedar, pressure-treated pine, and redwood for fences, planters, and raised beds. Covers cost, durability, workability, and looks.
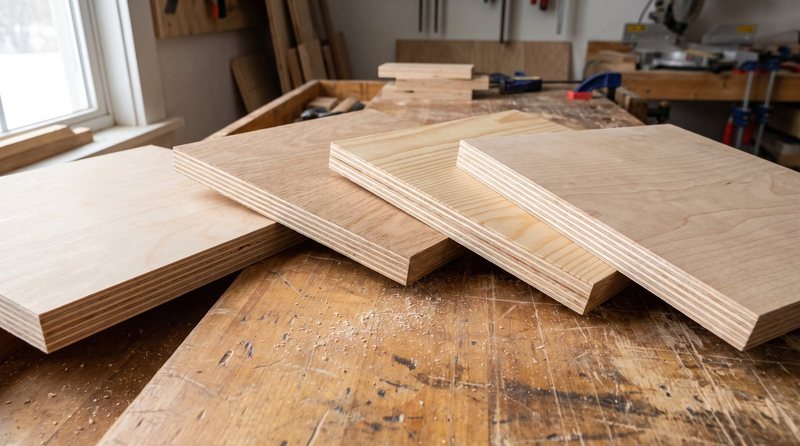
3/4-Inch Plywood for Cabinets and Shelves: Which Grade to Buy
Pine, birch, maple, or MDF core? Compare 3/4-inch plywood types by price, durability, and finish quality to pick the right sheet for your project.
How to Build a Plywood Garage Cabinet with a Circular Saw
A simple 3/4" plywood garage cabinet built with a circular saw and brad nailer. Covers plywood choice, cost, assembly, and tips for beginners.