How to Stain Pine, Poplar, and Oak to Look Like Walnut or Mahogany
Get rich walnut, mahogany, and smoked oak tones on affordable lumber using stains, dyes, and layering techniques. No expensive hardwood required.
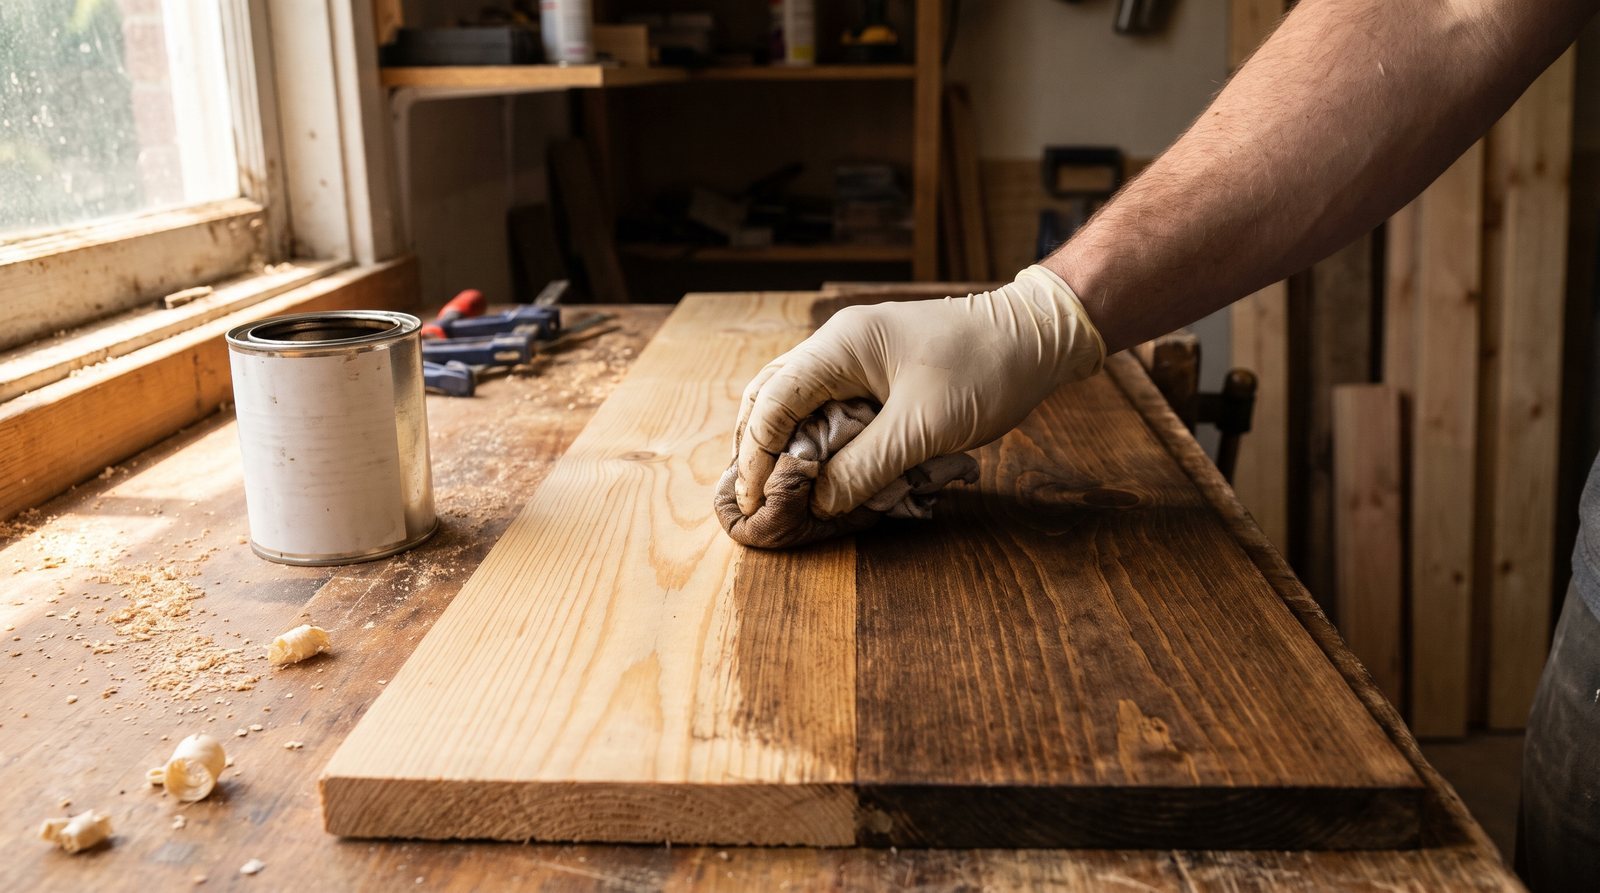
You can get a convincing walnut, mahogany, or smoked oak finish on a $2 pine board. The trick is matching the right product to the right wood and layering color in thin, controlled coats instead of drowning the grain in a single heavy application. This guide covers the three most popular dark tones for fall 2026 and how to hit each one on pine, poplar, and red oak without buying premium hardwood.
Why cheap lumber fights dark stain (and how to win)
Pine is soft and porous, with alternating bands of dense latewood and spongy earlywood. When you brush on a pigmented stain, the soft grain soaks up far more color than the hard grain, leaving you with a blotchy mess that looks nothing like walnut. Poplar has a different problem: greenish and grayish undertones that muddy warm browns. Red oak takes stain well, but its natural reddish cast can push a walnut stain toward an unexpected burgundy.
Each wood needs a slightly different prep strategy. The good news is that the products are inexpensive and the techniques are straightforward once you understand what is happening inside the wood fiber.
Choosing your stain type: oil-based, gel, or dye
Three product categories do most of the work here, and they behave differently on the surface.
Oil-based penetrating stains soak into the wood and color it from within. They enhance the grain beautifully on oak but can be unforgiving on pine. Varathane Classic Wood Interior Stain in Dark Walnut runs about $8.99 for a half-pint or $21.49 for a quart, and it dries to the touch in 1 to 2 hours.
Gel stains have a thick, pudding-like consistency that sits more on the surface than in it. Because they don't soak deep into soft grain, they produce a far more even color on pine and poplar. Minwax Gel Stain in Antique Walnut costs roughly $19 to $26 for a quart, and General Finishes Oil-Based Gel Stain is another popular choice, with a quart costing around $44. Gel stains take longer to dry (sometimes 24 to 48 hours to the touch for Minwax), so plan your schedule accordingly.
Wood dyes are made of much finer particles than pigmented stains. They penetrate deeper and produce transparent, rich color that lets the grain show through clearly. General Finishes Water-Based Dye Stain runs about $19.60 a pint or $28 a quart. Keda Wood Dye kits, which make five quarts from powder, cost around $20.99 for the set. Dyes are especially useful as a first layer under a stain when you need to shift the wood's undertone before applying your final color.
| Product | Best for | Coverage (per qt) | Dry to touch | Recoat time |
|---|---|---|---|---|
| Oil-based stain (Varathane) | Oak, already-conditioned pine | Varies by porosity | 1-2 hours | 2+ hours |
| Gel stain (Minwax) | Pine, poplar, vertical surfaces | ~200 sq ft | 24-48 hours | 6-8 hours |
| Gel stain (General Finishes) | Pine, poplar, layered finishes | ~200 sq ft | 4-6 hours | 24-48 hours |
| Water-based dye (General Finishes) | Undertone correction, layering | ~150 sq ft | 2-4 hours | 2+ hours |
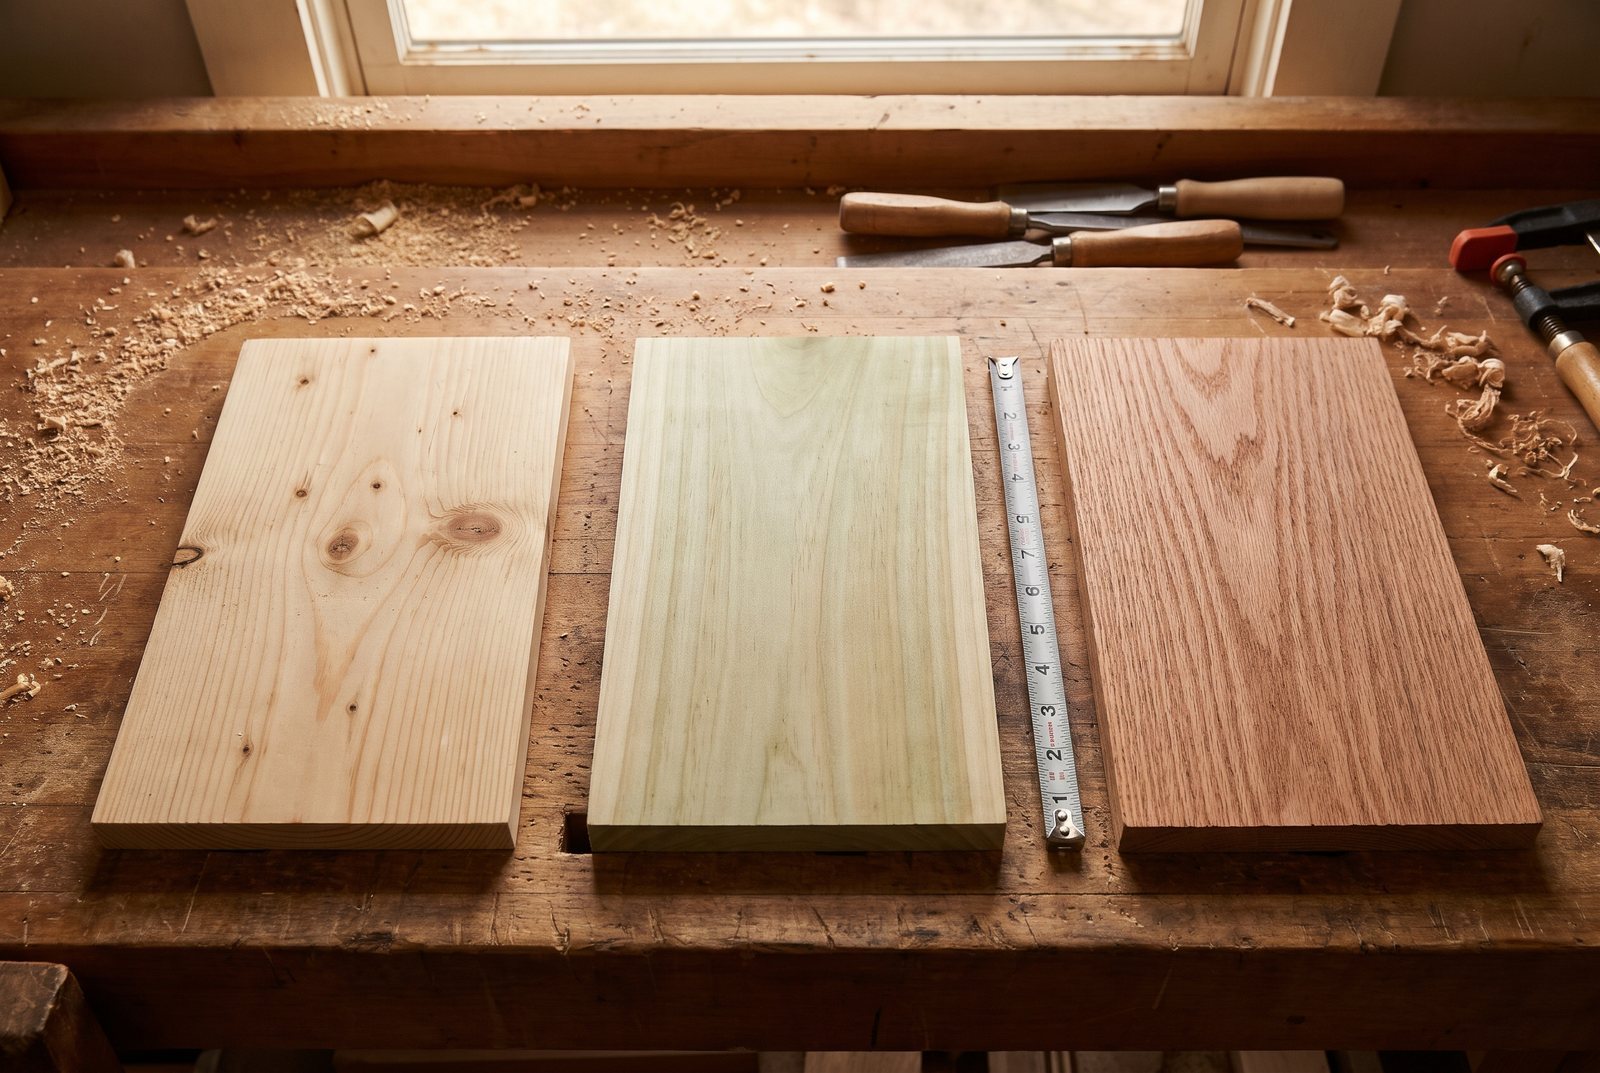
Getting a walnut tone on pine or poplar
This is the combination people ask about most, and it is completely doable if you respect the prep.
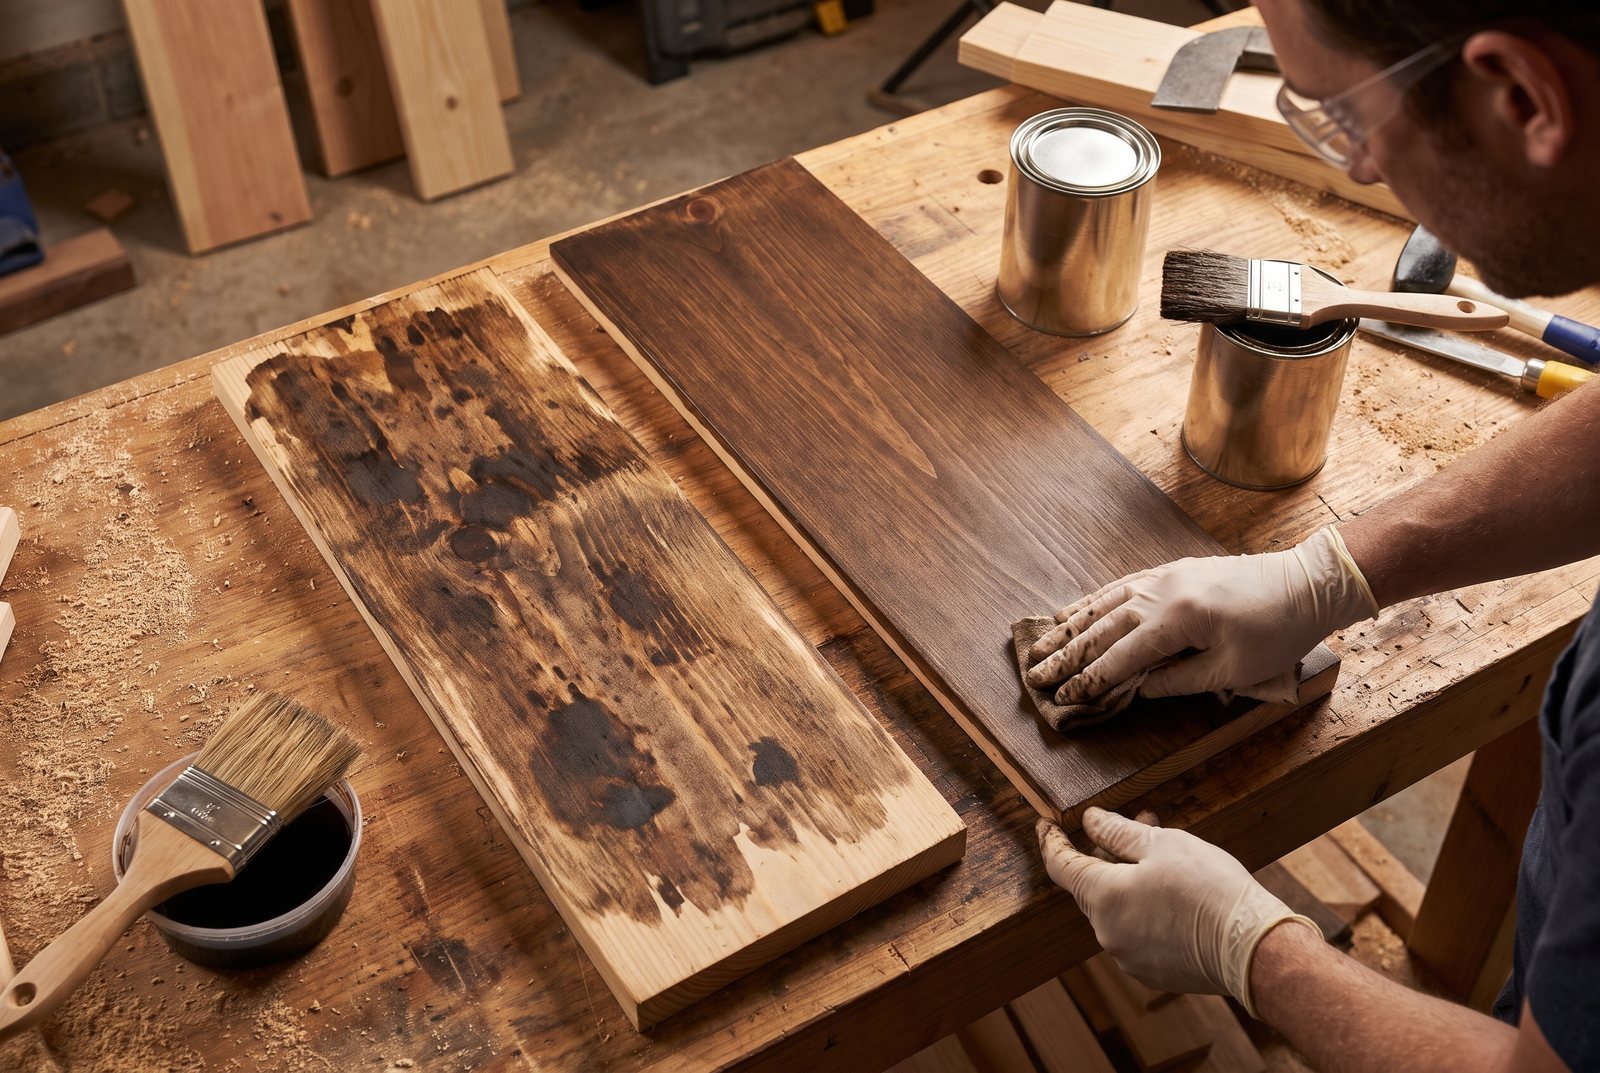
Sand to 180 or 220 grit. Don't skip grits. If you jump from 80 straight to 220, the coarser scratches will still be hiding in the surface, and the stain will find every one of them. Sand with the grain, not across it.
Apply a pre-stain wood conditioner. On pine this step is not optional. Minwax Pre-Stain Wood Conditioner is cheap and widely available. Brush it on, let it soak for the time listed on the can (usually 5 to 15 minutes), then wipe off the excess. You need to apply your stain within two hours while the conditioner is still active.
There is some debate about whether gel stain needs a conditioner underneath. Because gel stain sits on the surface, some finishers skip it. We'd recommend testing on a scrap piece of the same board you are using. If the scrap looks even without conditioner, save yourself the step. If you see any blotching, add the conditioner.
Apply a walnut gel stain. Minwax Antique Walnut or General Finishes Java are both solid choices. Use a foam brush or a lint-free rag. Apply a thin, even coat and wipe back the excess within a few minutes. Don't let it pool. For a deeper walnut, apply a second coat after the first has fully dried per the manufacturer's instructions.
On poplar, watch for green undertones bleeding through. If your test piece looks olive instead of brown, apply a warm brown or amber dye (like General Finishes Water-Based Dye in Medium Brown) as a base coat before the gel stain. Let the dye dry completely, then proceed with the gel stain on top.
Getting a mahogany tone on poplar
Mahogany's defining quality is that warm reddish-brown depth. Poplar's greenish cast is the enemy here, so you need to fight it with a red-toned underlayer.
Start with a red or reddish-brown water-based dye. Apply it to the bare, sanded wood (180 to 220 grit) and let it dry for 2 to 4 hours. This shifts the wood's base color from cool green toward warm red. Then layer a mahogany or dark reddish-brown gel stain on top. The dye provides the warmth; the gel stain provides the darkness and surface consistency.
Always test this combination on a scrap piece first. The ratio of dye saturation to stain thickness is what determines whether you land on "rich mahogany" or "muddy cherry," and every board of poplar is a little different.
Poplar boards run about $1.99 to $4.20 per linear foot for a 1x6, making it one of the most affordable hardwoods for this kind of finish work. It machines cleanly, takes dye well, and once stained, nobody will guess it cost a quarter of what actual mahogany runs.
Getting a smoked oak tone on oak or pine
Smoked oak is that warm gray-brown tone you see on European-style furniture and flooring. It looks like the wood has been aged in a smoky room for decades. The technique is a two-step layering process.
Base coat: gray stain. Apply a classic gray or weathered oak stain to the bare, sanded wood. On red oak, the prominent open grain will pull in the gray pigment and create immediate contrast. On pine, use a conditioner first, then apply the gray as a gel stain for more even coverage.
Top coat: thin dark layer. Once the gray base is fully dry, apply a very thin coat of dark brown or black gel stain. The key word is thin. Put a small amount on a rag and wipe it across the surface, then immediately wipe most of it back off. You want the dark color to settle into the grain and low spots while the gray base shows through on the flats. This creates the depth and smokiness.
For a more rustic, textured smoked look, try dry brushing. Dip just the tips of a chip brush into black or dark brown stain, wipe most of it off on a paper towel, and lightly drag the nearly dry brush across the surface in the direction of the grain. This leaves subtle dark streaks that mimic char and age.
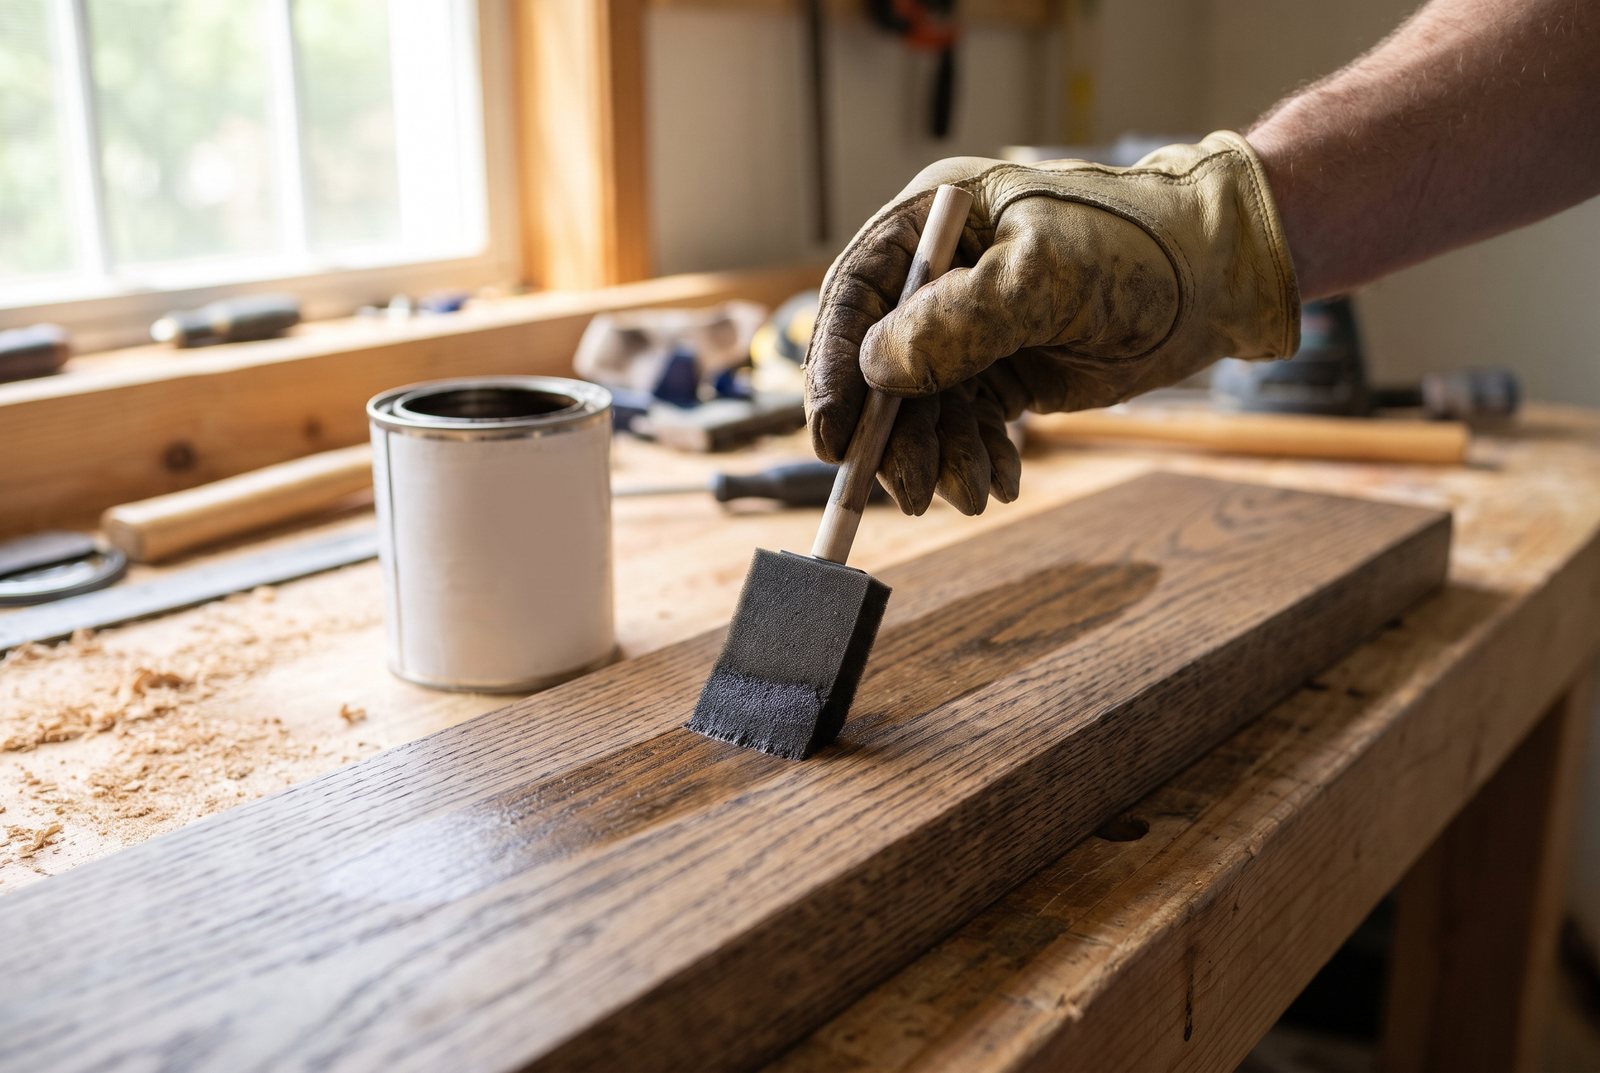
Indy Farm Life used a dark walnut stain on solid red oak for their floating shelf build, and the result shows how well oak's open grain takes dark tones. Red oak boards in a 1x6 run about $4.06 to $7.00 per linear foot, so it is pricier than pine, but the grain structure does a lot of the visual work for you.
Layering stains: the technique that makes the difference
The single most useful skill for dark finishes is layering. Instead of trying to hit your target color in one coat, build it in two or three thin layers. Each layer adds depth and dimension that a single heavy coat cannot match. This is exactly the approach Black Sheep House used in their faux walnut dresser refinishing project, where they layered paint and gel stain to create a convincing walnut look on a piece that was not solid wood.
The current trend in dark finishes favors color that lets the grain show through, not an opaque, paint-like coating. Layering with dyes and gel stains naturally produces this effect because each coat is semi-transparent.
A typical layering order: dye first (to set the undertone), then gel stain (to build the final color and even out the surface), then a clear topcoat like wipe-on polyurethane or paste wax to protect the finish. If you are working with oil-based gel stain, make sure any water-based dye underneath is completely dry before applying the oil layer on top.
Mistakes that ruin dark stain finishes
Too much stain, not enough wiping. Stain is not paint. Apply it thin, wipe off the excess within a few minutes, and let the wood do the absorbing. A thick, unwiped coat will stay tacky, look uneven, and take days to dry.
Skipping the scrap test. Every board is different. Even two pieces from the same stack at the store can absorb stain differently. Always test your full process (conditioner, dye, stain, topcoat) on a scrap or the back of the piece before committing to the visible surface.
Working in bad conditions. Stain between 55 and 90°F for oil-based products, and around 70°F with moderate humidity for water-based dyes and General Finishes gel stains. Direct sunlight will flash-dry the stain before you can wipe it, leaving lap marks.
Forgetting about oily rags. Rags soaked with oil-based stain can spontaneously combust if wadded up and left in a pile. Lay them flat outdoors to dry completely, or submerge them in a sealed container of water before throwing them away. This is not a theoretical risk.
Work in a well-ventilated space, and if you are using oil-based products in an enclosed room, a respirator with an organic vapor cartridge is a good idea. Some states, particularly California, have strict VOC limits on architectural coatings (250 g/L for stains), so check that the product you buy is compliant for your area. Water-based dyes are naturally lower in VOCs.
Quick answers
How many coats of stain do I need for a dark walnut look on pine?
Most gel stains will get you close in two coats on conditioned pine. Apply the first coat, let it dry fully, then evaluate. A second thin coat deepens the color without making it look muddy. Three coats is rarely necessary and risks building up a film that peels.
Do I need wood conditioner if I am using gel stain?
Not always. Gel stain sits on the surface more than it penetrates, so it is naturally more even on blotch-prone woods like pine. Test on a scrap piece first. If you see uneven absorption, add the conditioner. If it looks good without it, skip it.
Can I use poplar instead of pine for a dark-stained project?
Yes. Poplar is actually a hardwood, it machines cleanly, and it costs roughly the same as mid-grade pine ($1.99 to $4.20 per linear foot for a 1x6). The main thing to watch for is its green or gray undertone, which can shift warm brown stains toward olive. A warm-toned dye base coat under your stain solves this.
What is the cheapest way to get a walnut finish?
Pine boards (as low as about $1.05 per linear foot for a 1x6 in common grade), a can of pre-stain conditioner, and a quart of walnut gel stain. Total material cost for a small project like a shelf or picture frame is well under $30. Sand carefully, condition the wood, and apply two thin coats of gel stain.
Projects in this post
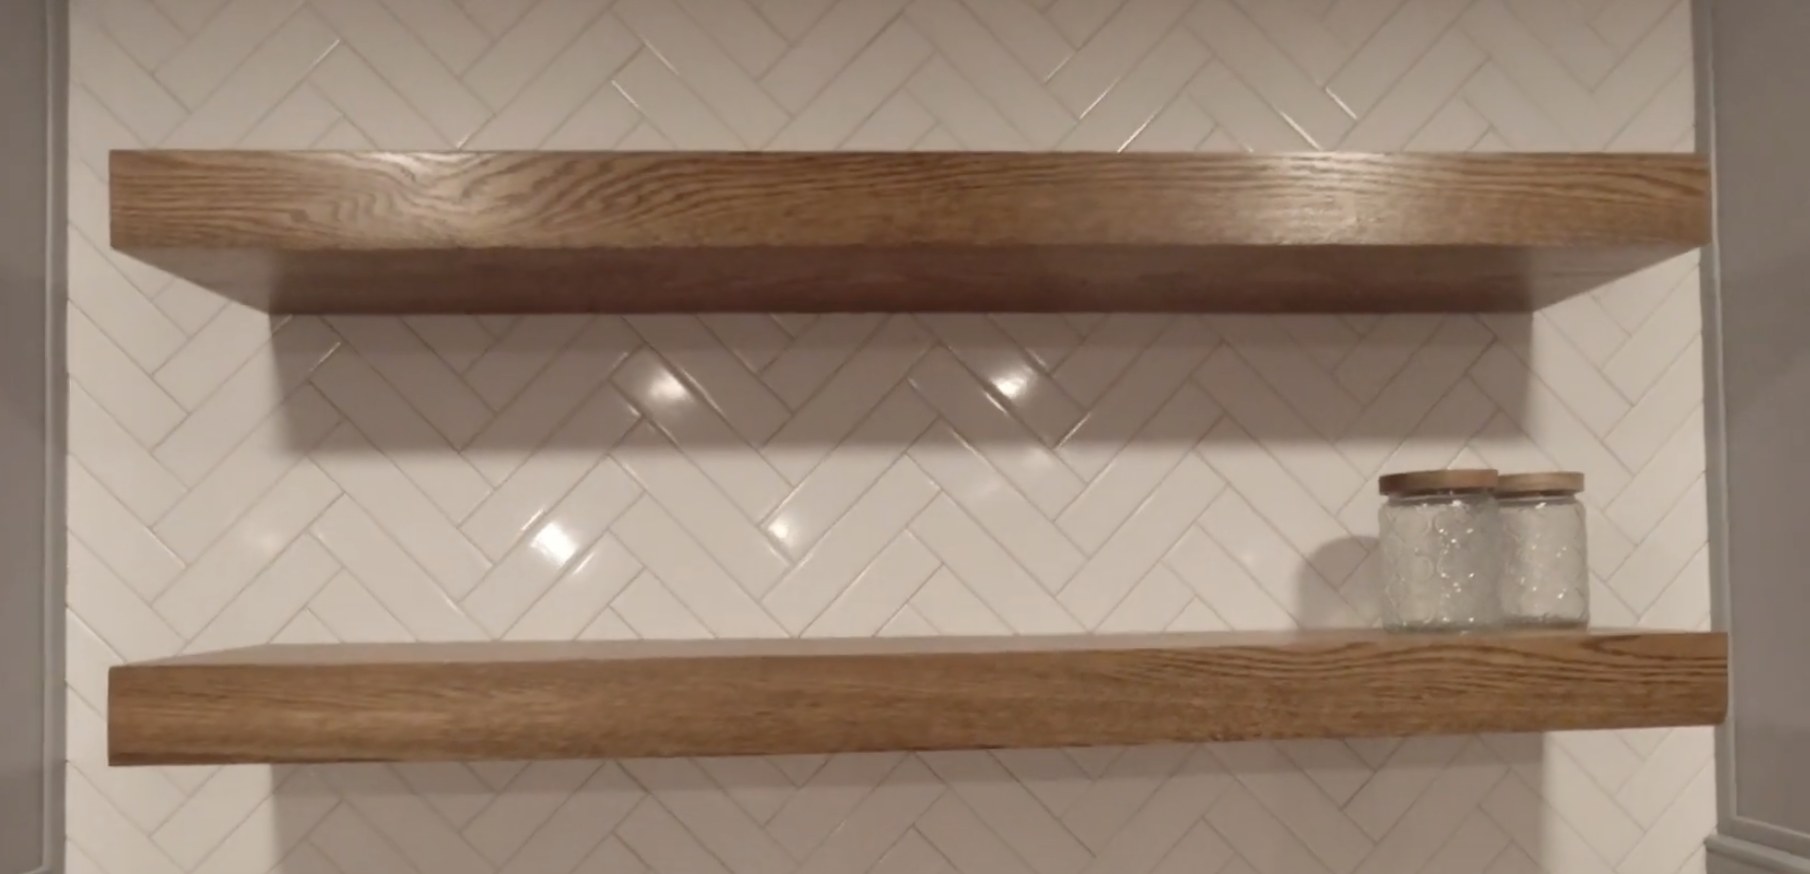
Solid Red Oak Floating Shelves
by Indy Farm Life
Open the project guide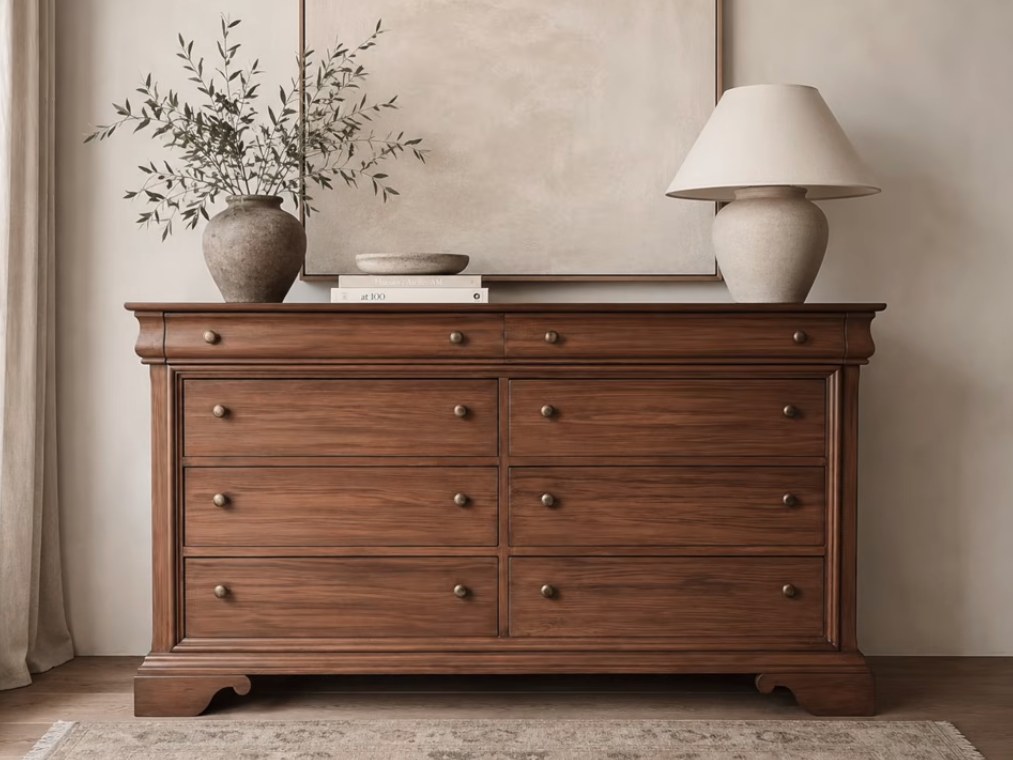
Faux Walnut Dresser Refinishing
by Black Sheep House
Open the project guideKeep reading
All posts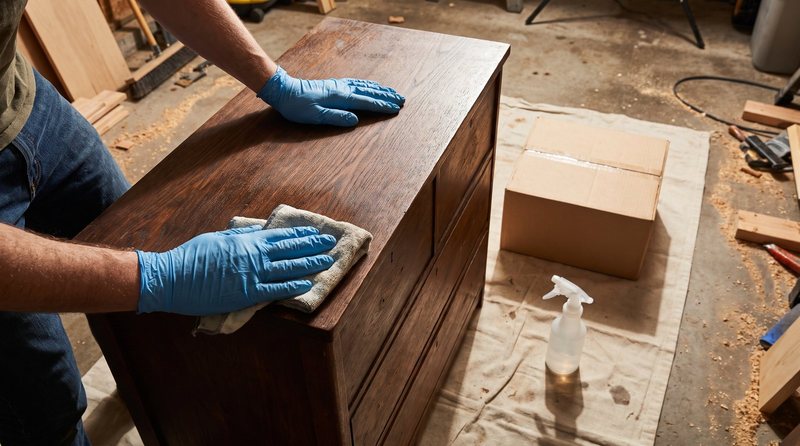
TSP Alternatives, Sanding, and Deglosser for Furniture Prep
Compare three ways to prep furniture before painting: TSP wash, sanding, and liquid deglosser. Find the right method and avoid peeling paint.
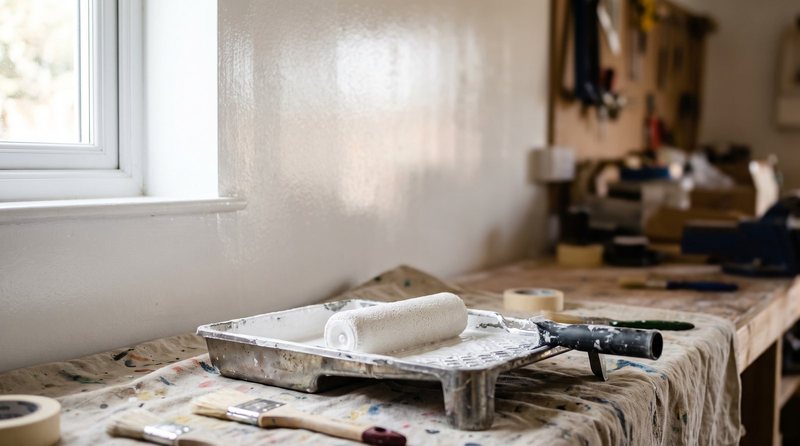
How Long to Let Paint Dry Between Coats (and Cure Times)
Dry to the touch doesn't mean done. Learn recoat times for latex, chalk paint, and polyurethane, plus why a full 21 to 30 day cure prevents chips and marks.
Clear Wood Finishes That Won't Yellow or Darken Your Wood
Water-based poly, hardwax oil, and paste wax compared for keeping wood looking raw and natural. Which one protects without changing the color.