Spetz Specs No. 7894: step-by-step restoration guide
Restoring a Wood Table with a Natural Finish
The complete step-by-step guide made from Kathartic Studios's YouTube video, free on Spetz. For the video, a step-by-step player and answers to your questions, see the Restoring a Wood Table with a Natural Finish project page.
5 steps, 7 tools, 7 materials
Overview
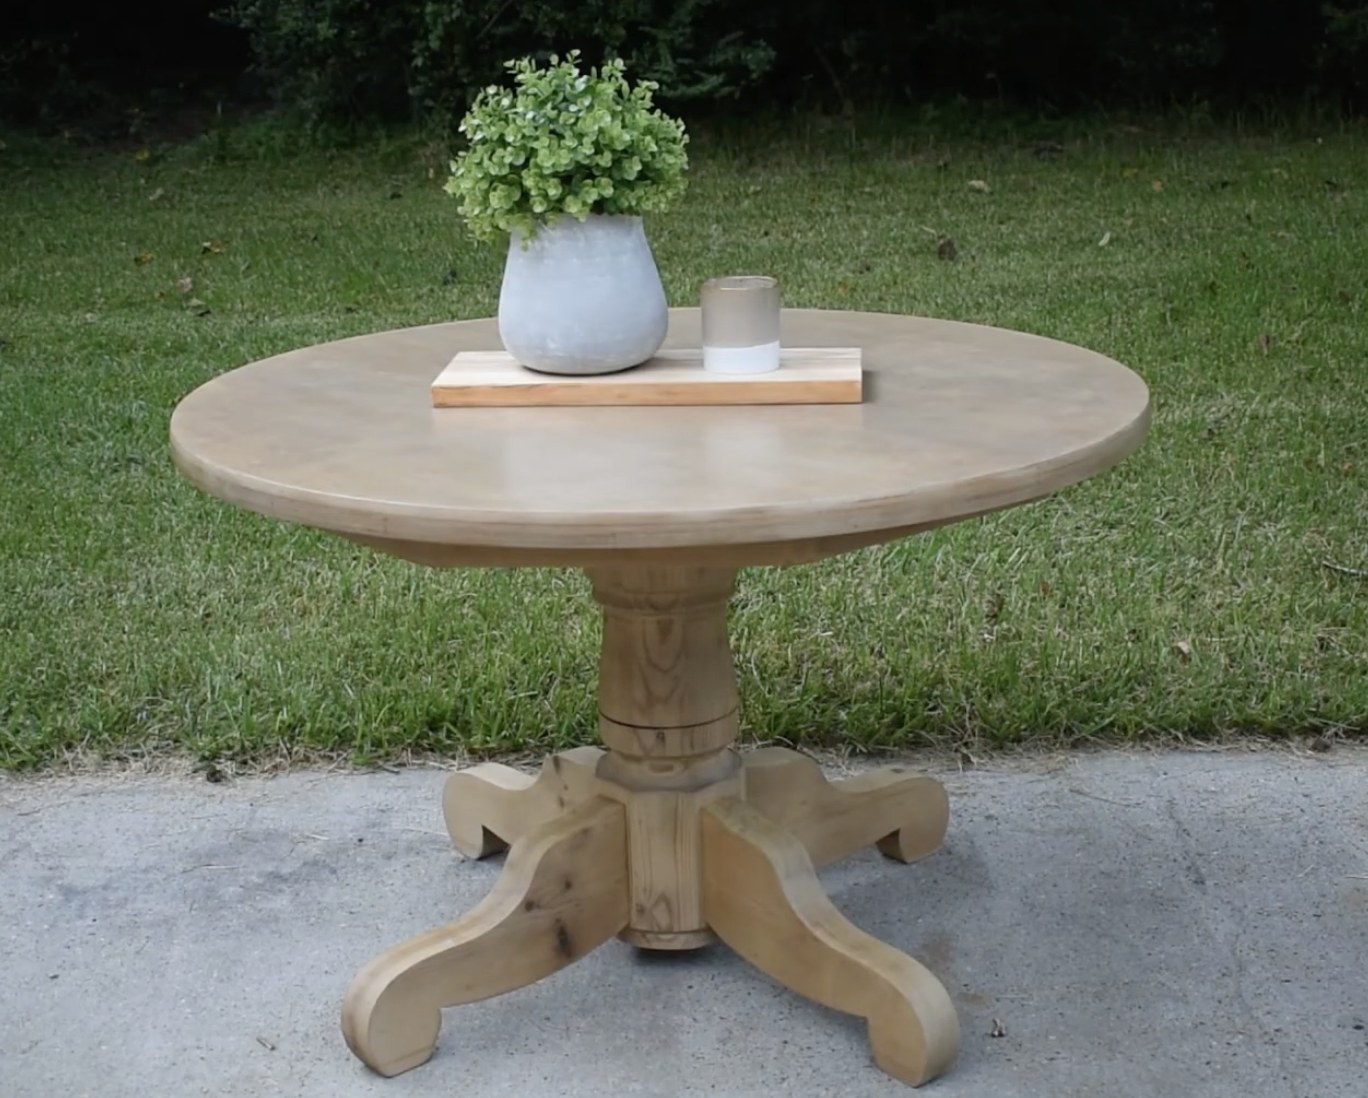
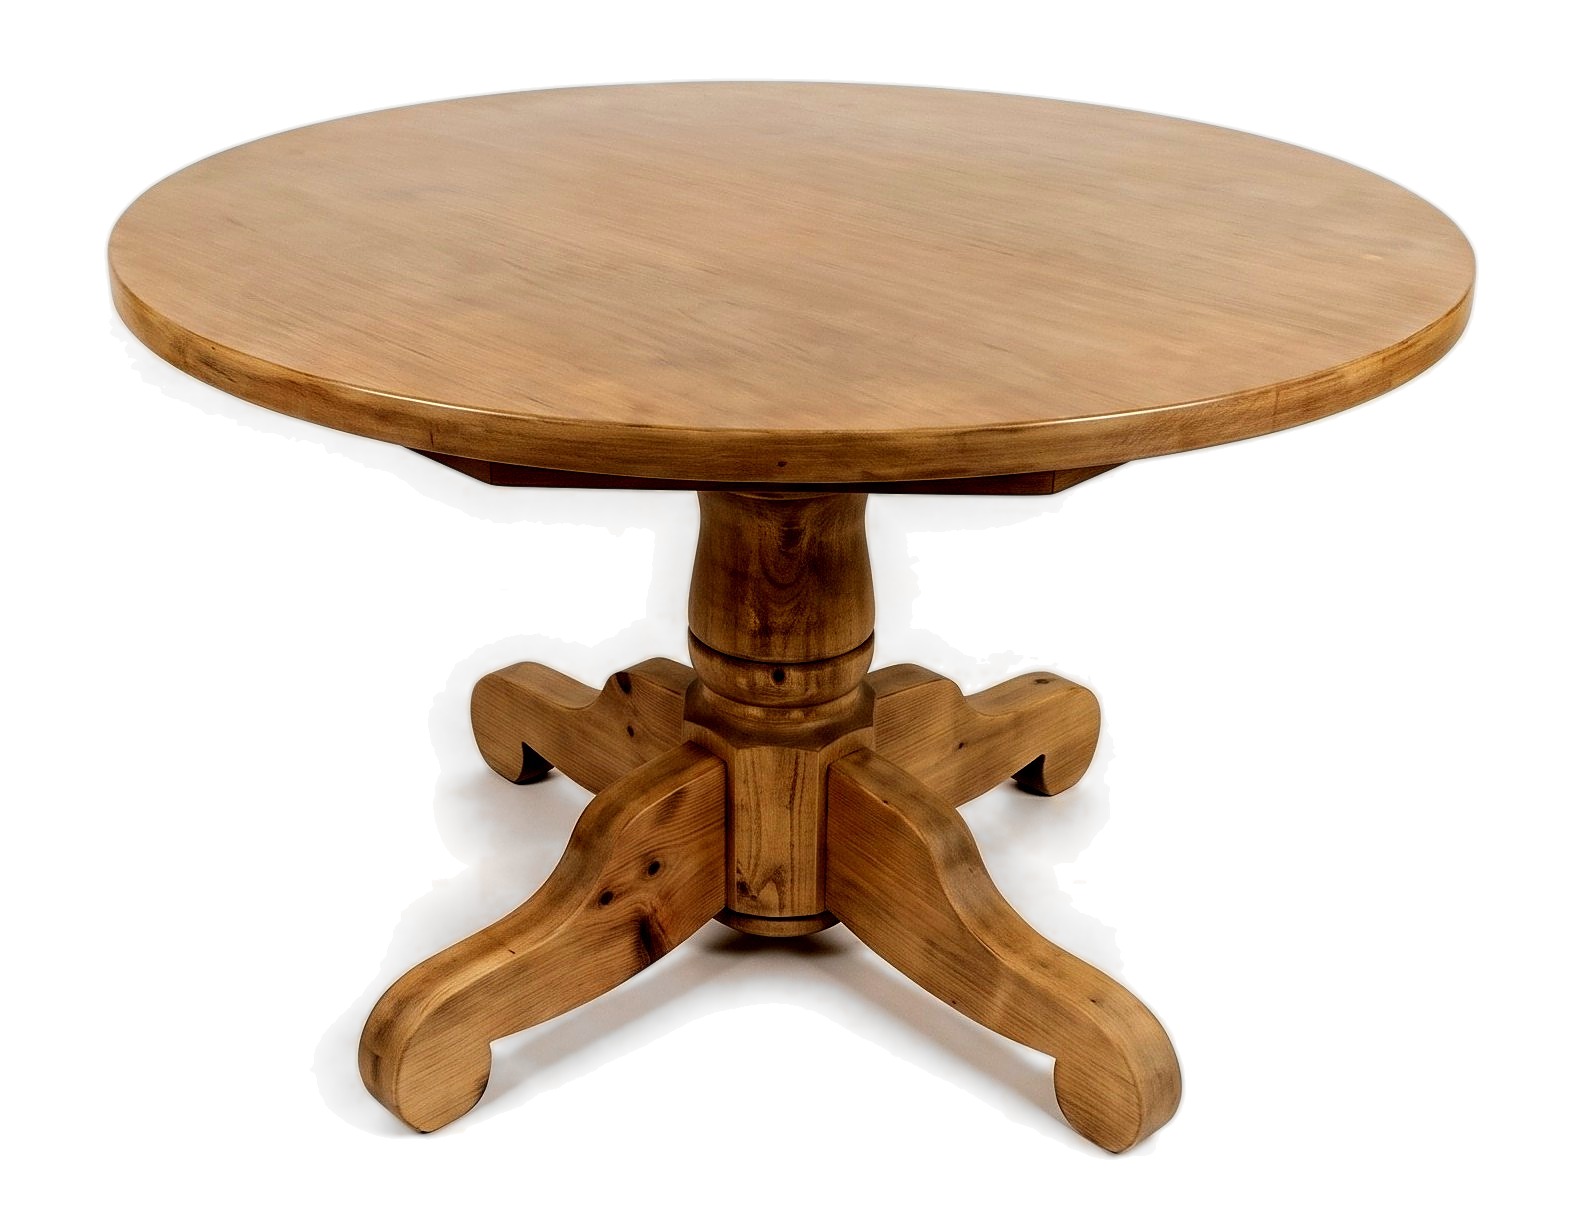
The Piece
- Solid wood dining table, likely pine based on softness, with multiple laminated planks.
- Solid wood is heavy, shows unfinished grain underneath and on edges, and has an organic, non-repeating top pattern.
- Veneer cannot survive heavy sanding; confirm solid wood first.
The Look
- Light, neutral, natural wood finish: no orange or dark stain, just toned bare wood with visible grain.
- Bleaching removes orange pine undertones; a milk paint wash adds aged character without hiding the wood.
- Suits pieces where the wood is the star.
What It Takes
- Sanding is most of the labor and takes several hours.
- Dry times between bleach coats, wash coats and sealant mean the project spans at least two days.
- Generates heavy dust and bleach fumes; plan for ventilation and cleanup.
What Decides Success
- Remove all old finish before bleaching; residue blocks the bleach and wash from penetrating evenly.
- Keep the milk paint wash thin to act as a stain, not a paint.
Health and safety
Sanding and Wood Dust
- Wear a high-quality respirator, safety goggles, and ear protection when running the orbital sander.
- Keep your respirator on until the fine wood dust clears from the air.
- Sanding takes a long time; take regular breaks to avoid fatigue and maintain focus.
Bleach and Fumes
- Bleach fumes harm your lungs; wear a respirator and work outdoors or in a well-ventilated area.
- Wear chemical-resistant gloves to protect your skin when mixing and applying the bleach and water solution.
- Never mix household bleach with ammonia or acids, as this creates highly toxic gases.
Finishes and Sealers
- Ensure adequate airflow when applying the TSP alternative cleaner, milk paint wash, polyurethane, and finishing wax.
- Wear gloves to keep the polyurethane and wax off your skin during the final sealing steps.
The piece & its condition
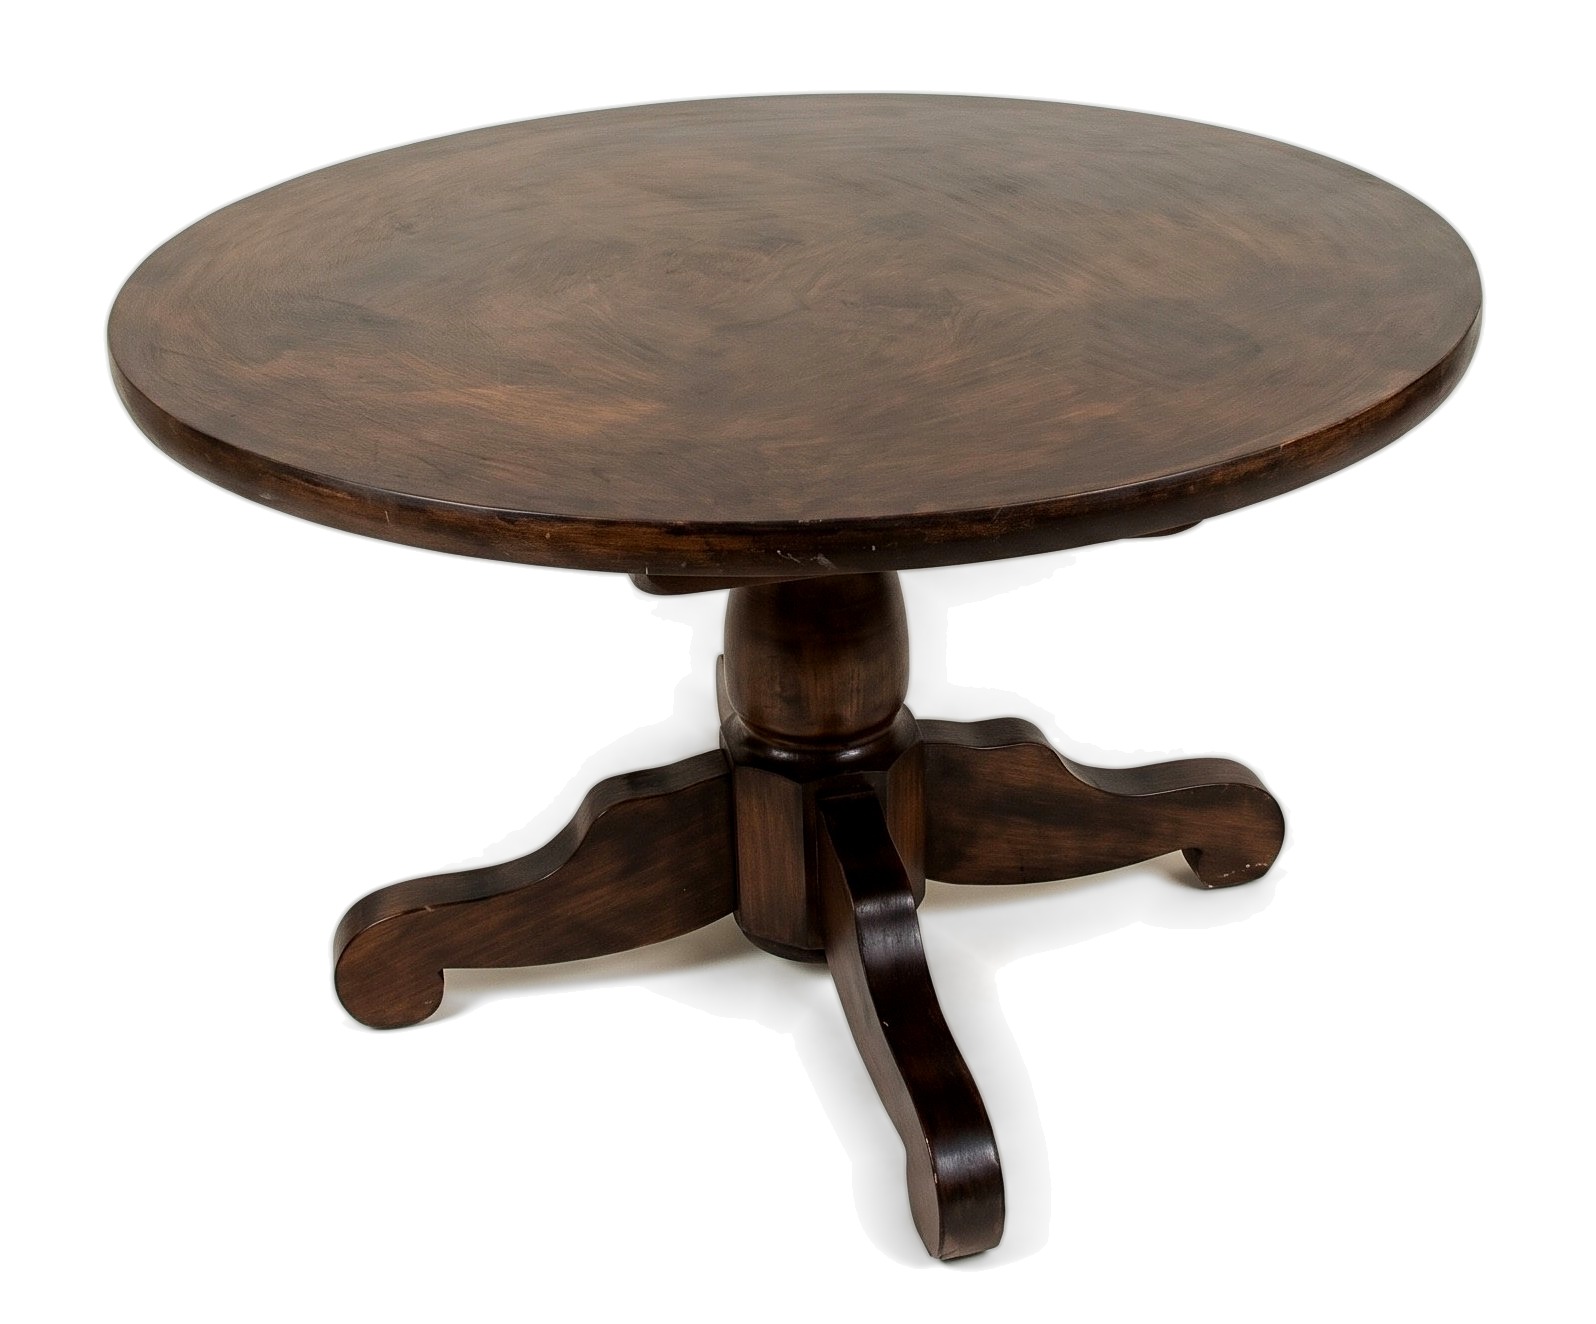
- A dark stain applied over a previous finish never bonded; it sits on top, feels sticky and shows visible brush marks.
- The underlying wood is sound but hidden beneath the failed stain layer.
- Pine wood runs orange, which shows once the old stain is removed.
- The tabletop and base are slightly different tones under the stain, requiring color unification.
- The bare wood after sanding looks patchy and dull; it needs toning to appear intentional and finished.
Tools
- Orbital Sander (Random-orbital sander, Makita)
- Respirator
- Safety Goggles
- Ear Protection
- Sanding Sponge (optional)
- Paintbrush (Synthetic brush)
- Foam Roller (Small) (optional)
Materials
- TSP Alternative (Cleaner, Fusion, 250 ml)
- Sandpaper (80 grit)
- Household Bleach (Clorox)
- Milk Paint (2 tbsp, Shackteau Interiors, Sea Smoke)
- Milk Paint (2 tbsp, Shackteau Interiors, Magnolia Pier)
- Water-Based Polyurethane (Varathane, Triple Thick, Satin)
- Finishing Wax (Protective Topcoat, Jolie, Clear)
Finishes & supplies, in the order they go on
| Product | What it does | Mix & coats | Dry time | Applied with |
|---|---|---|---|---|
| TSP Alternative | Cleans dirt and grime from all surfaces before sanding so debris is not pushed into the grain | 1 coats | Sponge | |
| Sandpaper | Removes the old finish and stain down to bare wood | Orbital sander and hand sanding with sanding sponge | ||
| Household Bleach | Lightens the wood and neutralizes orange undertones in pine | 50/50 with water, 2 coats | At least 1 hour between coats, dry in the sun | Paintbrush |
| Milk Paint | Combined with Magnolia Pier to create a thin wash that tones the wood with aged, neutral character | 2 tbsp powder (combined with 2 tbsp Magnolia Pier) to approximately 1.5–2 cups water (about 5 parts water to 1 part powder), 2 coats | Paintbrush | |
| Shackteau Interiors Milk Paint, Magnolia Pier | Combined with Sea Smoke to create a thin wash that tones the wood with aged, neutral character | 2 tbsp powder (combined with 2 tbsp Sea Smoke) to approximately 1.5–2 cups water (about 5 parts water to 1 part powder), 2 coats | Paintbrush | |
| Water-Based Polyurethane | Seals and protects the tabletop from spills and daily use without yellowing | Small foam roller then tipped with a synthetic brush (roll and tip) | ||
| Finishing Wax | Seals the table base and legs with a soft, natural, low-sheen protective finish | Overnight before use | Paintbrush, then rubbed in with a lint-free cloth |
Before you start
Workspace
- Work outdoors or well-ventilated; sanding creates heavy dust and bleach produces harmful fumes.
- Lay a drop cloth underneath to catch dust and drips.
- Use good lighting to see remaining finish while sanding.
Confirm Solid Wood
- Check the weight: heavier suggests hardwood or solid wood.
- Check the underside and edges for unfinished, natural wood grain.
- Examine the top: organic, non-repeating grain means solid wood; a copy-paste pattern means veneer.
- Do not heavy-sand veneer; it will sand through.
Test First
- Sand a hidden area to confirm the wood responds well and is solid.
- Mix the bleach solution and milk paint wash before needing them.
Step by step
Step 1: Clean the Table
Clean all surfaces of dirt, grime and oils before sanding.
You'll need: TSP Alternative
- 1.1 Scrub with TSP Alternative
- Mix the TSP alternative with water in a bucket according to the product label.
- Sponge-scrub every surface: top, base, legs and underside.
- Scrub greasy or grimy areas well; sanding pushes left-behind dirt into the grain.
- Let the table dry completely before sanding.
- Tip: Always clean before sanding; skipping this embeds dirt permanently into the grain.
Before you move on: Run your hand across the surface: it should feel clean, without sticky or greasy residue.
Step 2: Sand to Bare Wood
Every surface is sanded to bare, clean wood with no old finish or stain.
You'll need: Orbital Sander, Sanding Sponge, Respirator, Safety Goggles, Ear Protection, Sandpaper
- 2.1 Sand Flat Surfaces
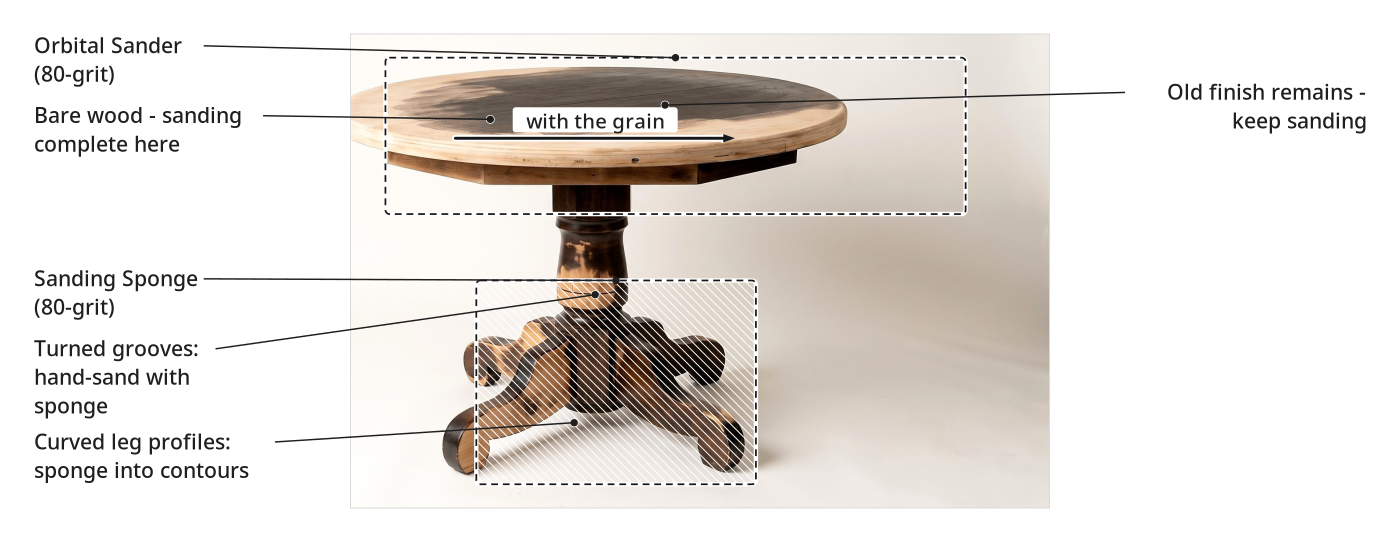
- Load an 80-grit pad onto the orbital sander.
- Sand the entire tabletop steadily; move the sander slowly with the grain in overlapping passes.
- Never park the sander in one spot; keep moving to avoid digging divots.
- Continue until the sticky stain is gone and you see only bare wood.
- Take breaks: this takes a couple of hours and is physically demanding.
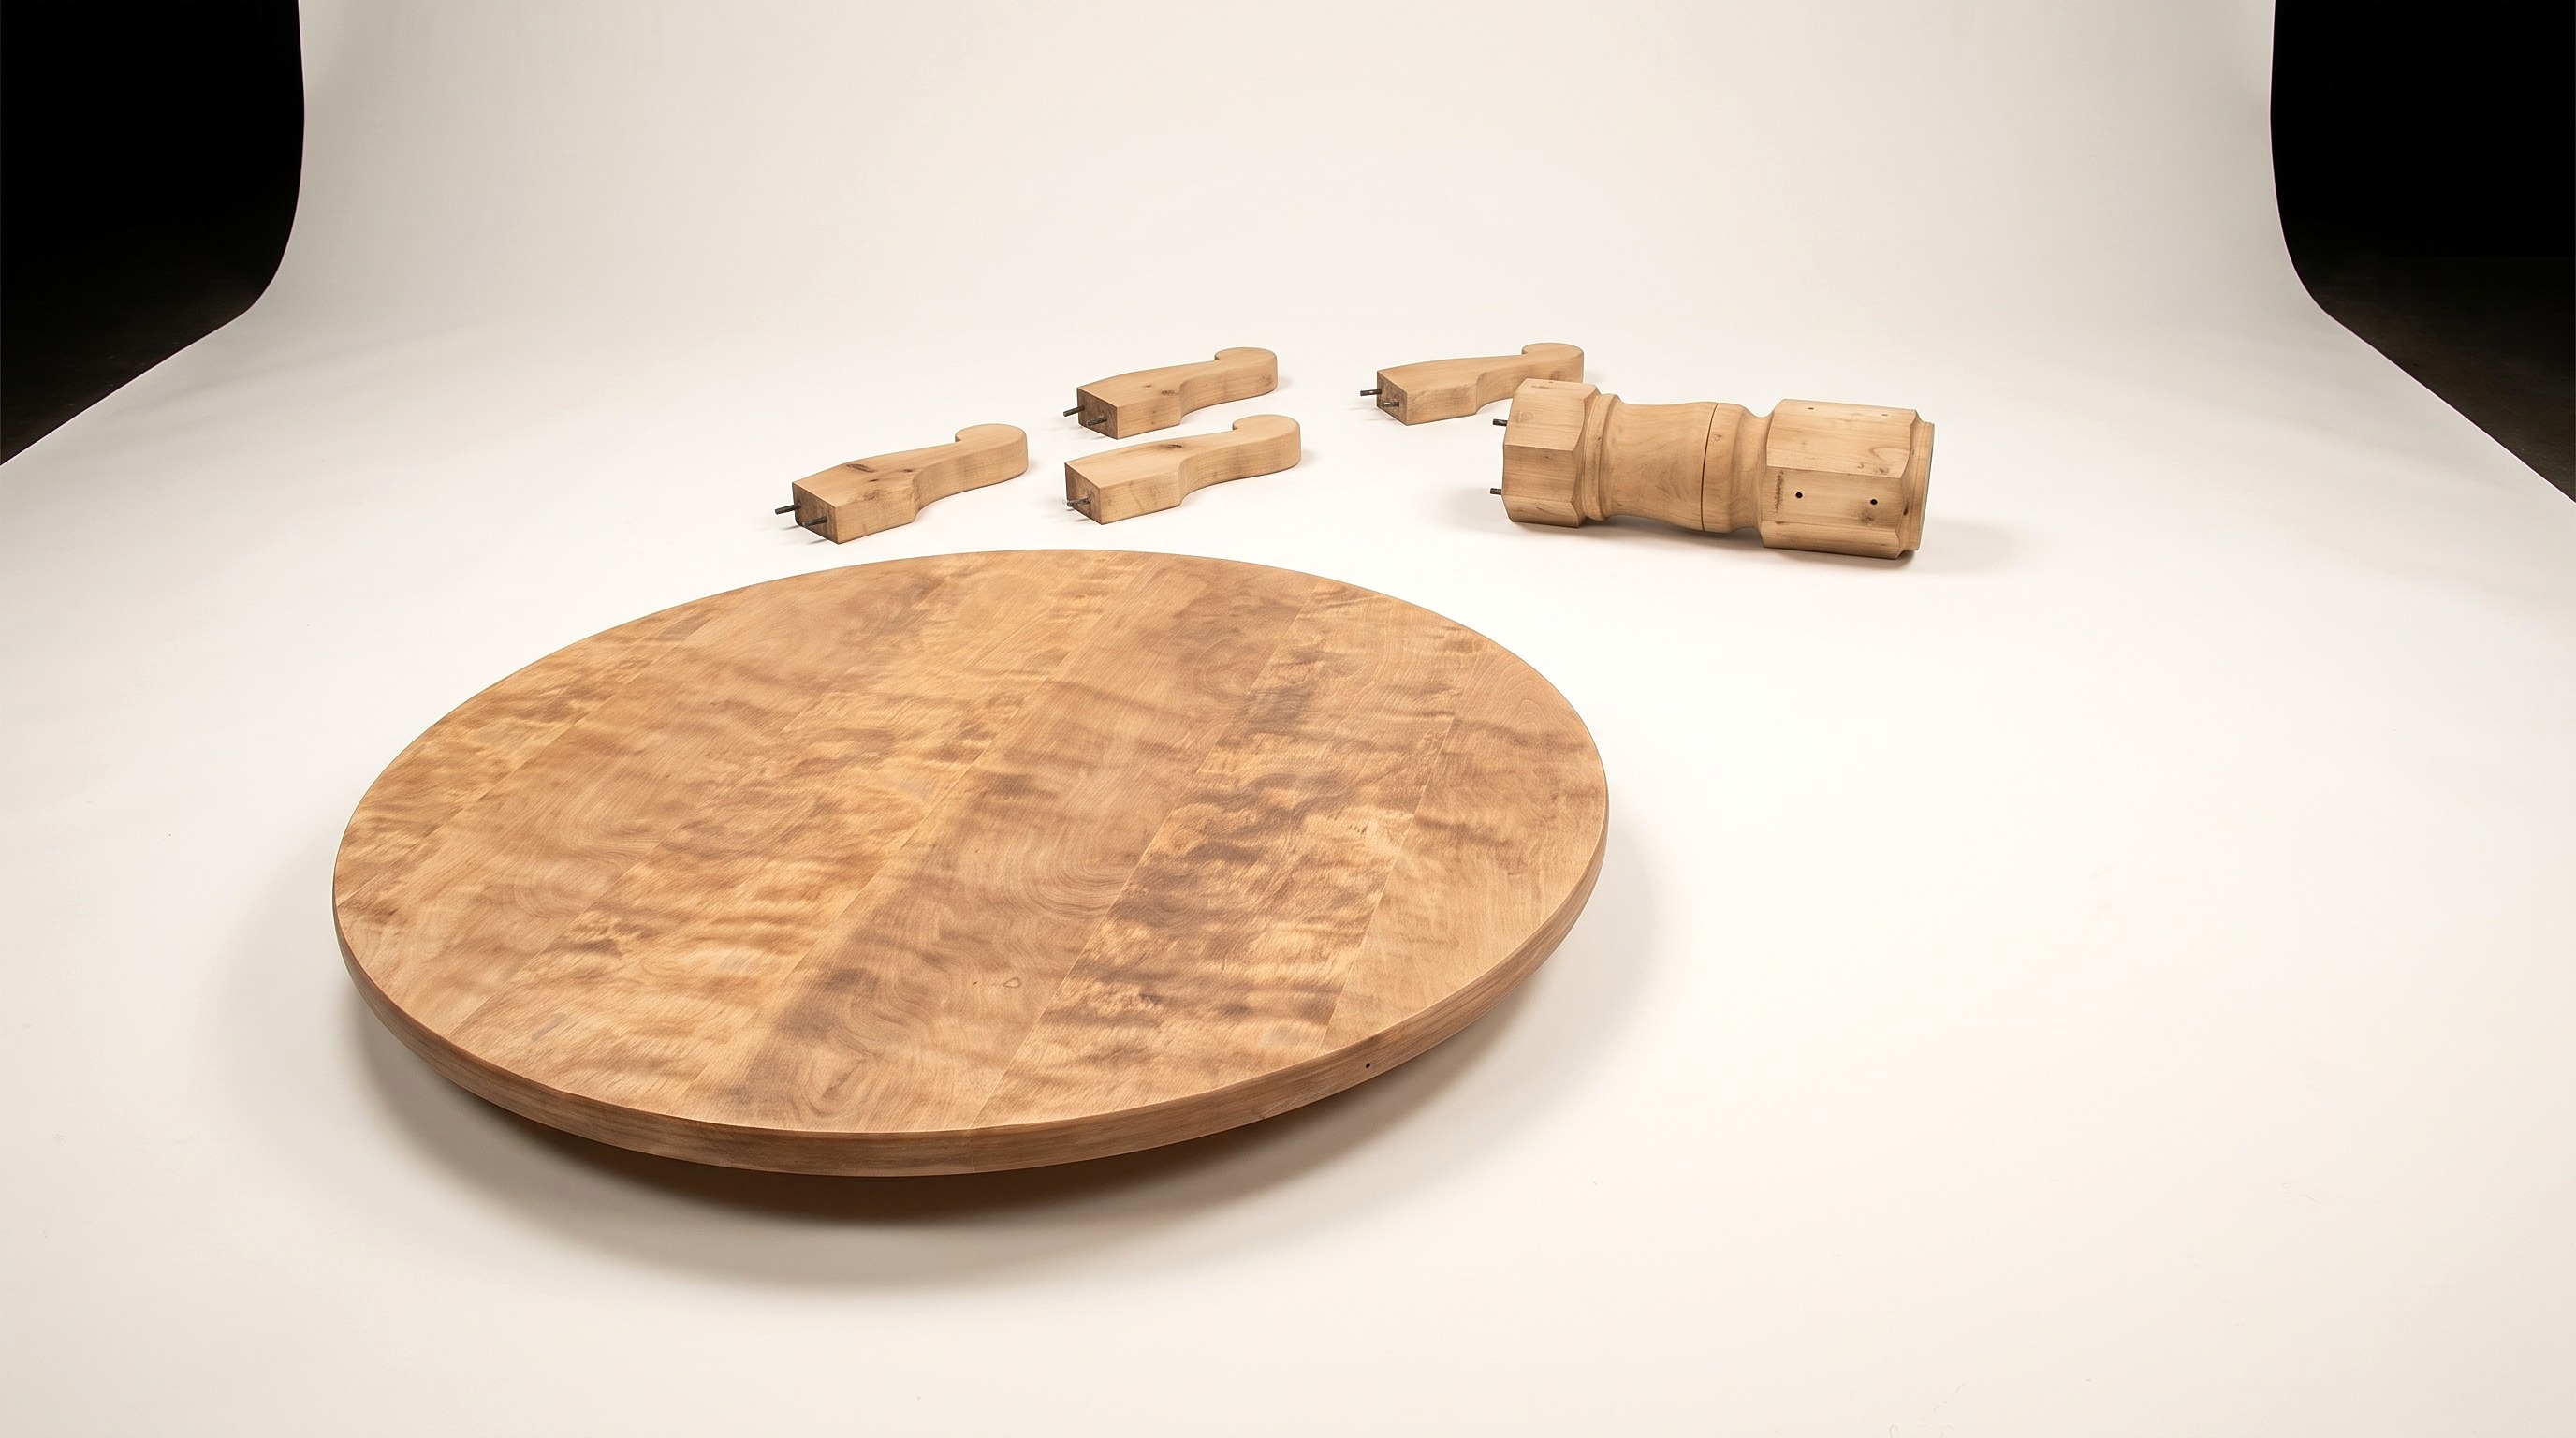
- 2.2 Sand the Base and Edges
- Use the orbital sander on flat and gently curved base parts and the tabletop edge.
- For grooves, tight corners and detailed profiles, wrap 80-grit sandpaper around a sanding sponge.
- Press the sponge into the contour and hand-sand with the grain.
- Check every surface: remaining old finish blocks the bleach and wash from penetrating.
Key measurements
- 80 grit
- Tip: A chemical stripper like Citristrip lifts old finish; it is less physical but equally time-consuming and messier.
- Tip: Sanding to bare wood gives the cleanest canvas for bleaching and washing.
- Heads up: Always wear a respirator, safety goggles and ear protection when running the orbital sander.
- Heads up: Sanding is long; take regular breaks to avoid fatigue and maintain focus.
Before you move on: Wipe with a dry cloth and inspect under good light: shiny or discolored patches mean old finish remains; resand those areas.
Step 3: Bleach the Wood
The wood is visibly lighter and orange undertones are significantly reduced.
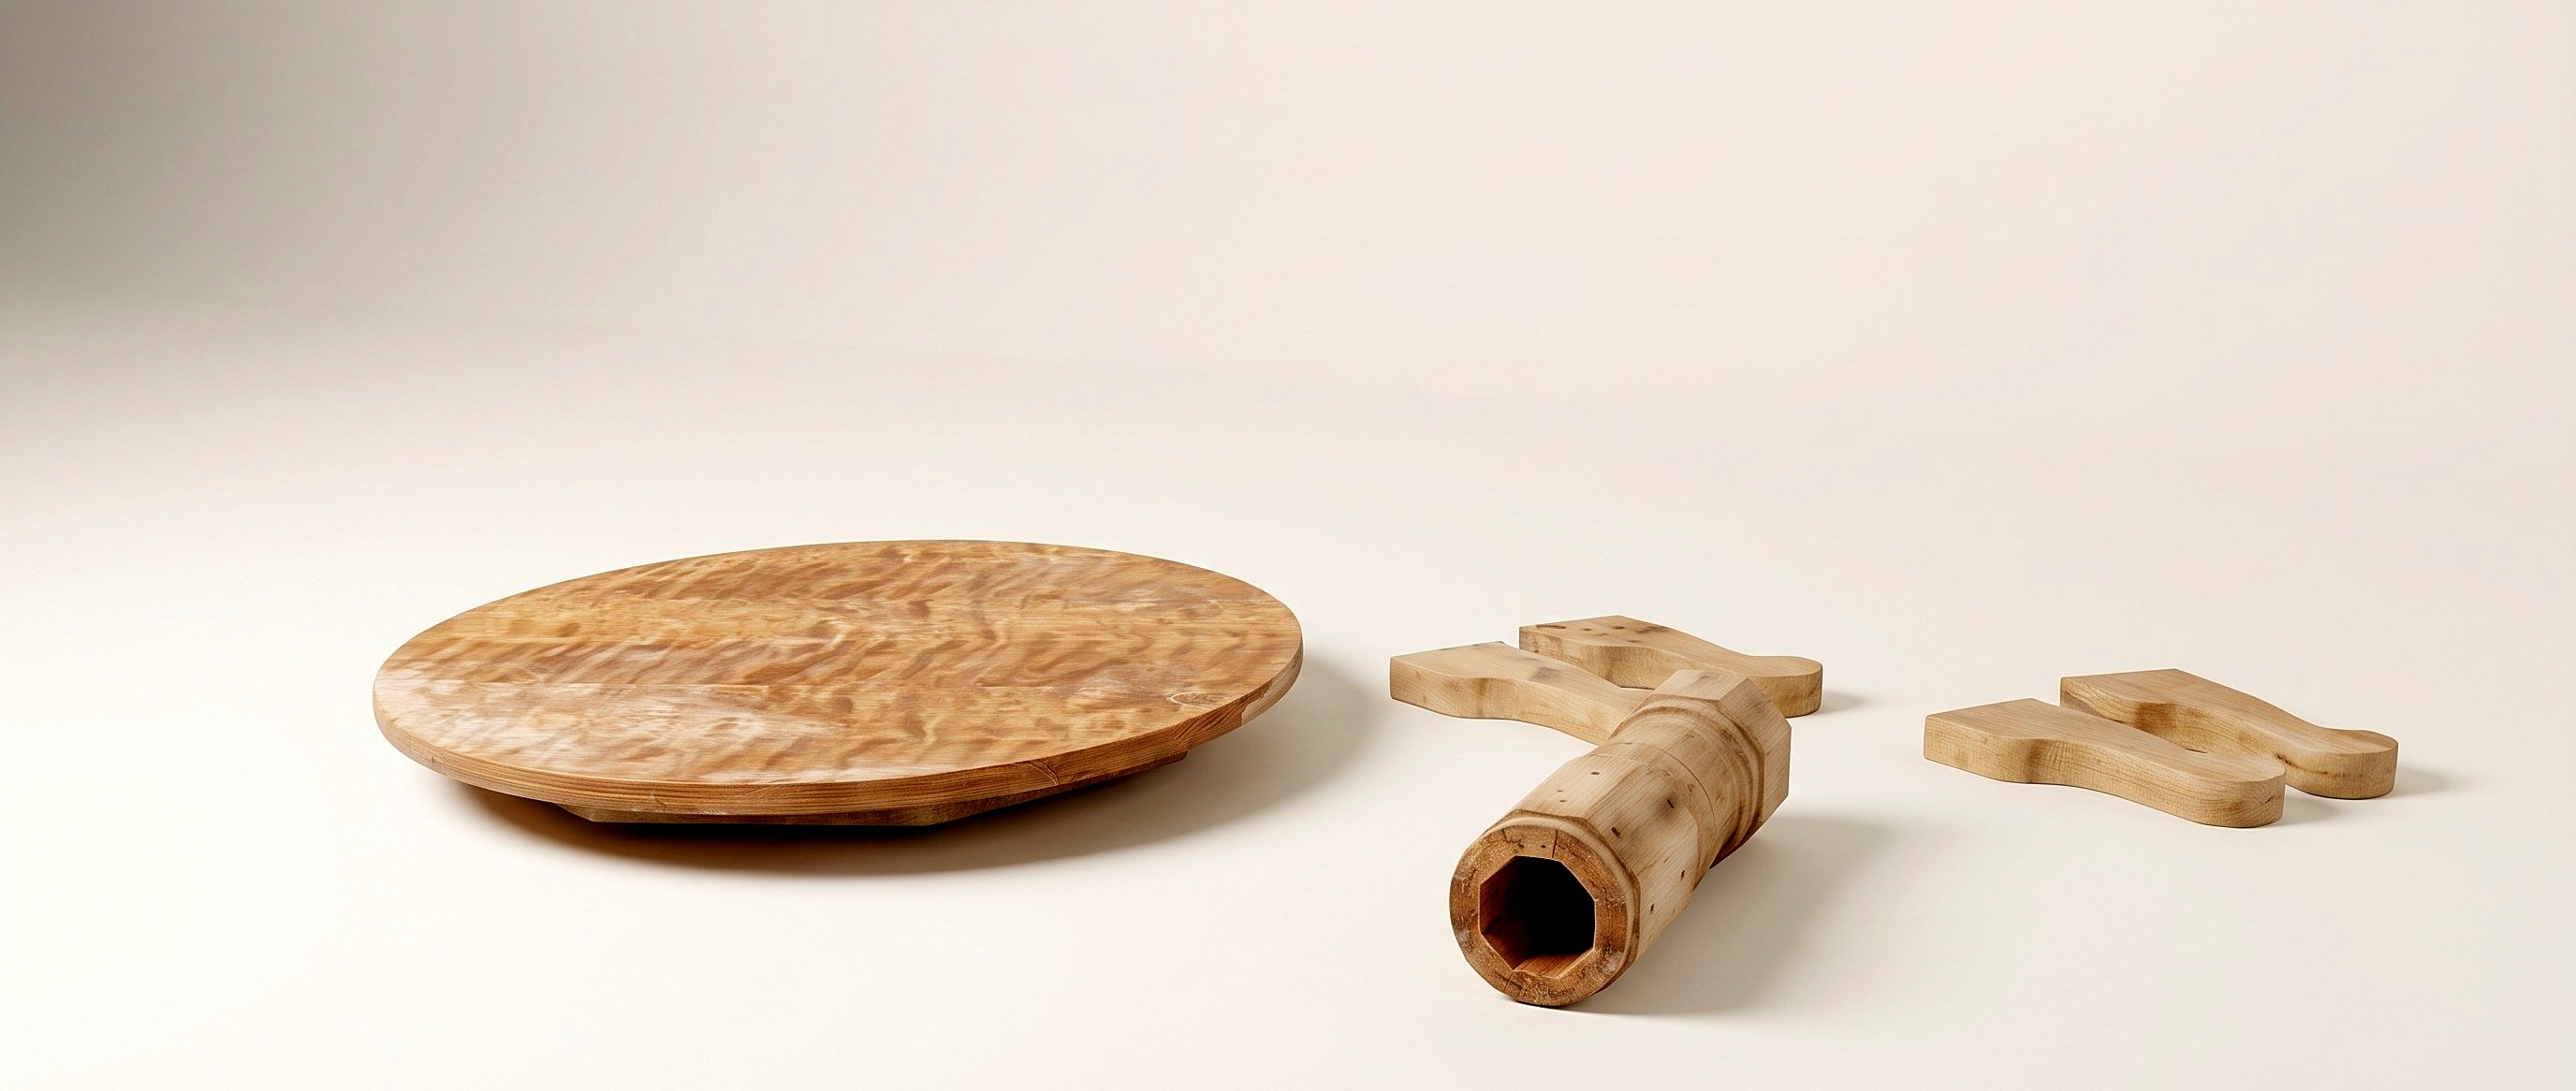
You'll need: Paintbrush, Household Bleach
- 3.1 Mix and Apply Bleach Solution
- Mix household bleach and water at a 50/50 ratio in a bucket.
- Using a paintbrush, apply the solution evenly across all sanded surfaces, top, base, and legs.
- Work in smooth strokes to avoid pooling or missed spots.
- Wear chemical-resistant gloves and ensure strong ventilation or work outdoors.
- 3.2 Let Dry and Reapply
- Let the first coat dry completely in the sun for at least one hour.
- Apply a second coat of the 50/50 bleach solution to all surfaces.
- Let the second coat dry for at least one hour in the sun.
- Compare before and after: the wood should be noticeably lighter with reduced orange tones.
Key measurements
- 50/50 bleach to water ratio
- 2 coats
- At least 1 hour dry time between coats
- Tip: Two coats lighten and neutralize tone better than one.
- Tip: Sun exposure accelerates bleaching and drying.
- Heads up: Bleach fumes harm lungs; wear a respirator and work in a well-ventilated area or outdoors.
- Heads up: Wear chemical-resistant gloves to protect your skin.
Before you move on: The wood should be uniformly lighter with no sticky or wet spots; if orange patches persist, apply a third coat and dry again.
Step 4: Apply a Milk Paint Wash
The table has a uniform, aged, neutral wood tone with visible grain and subtle character.
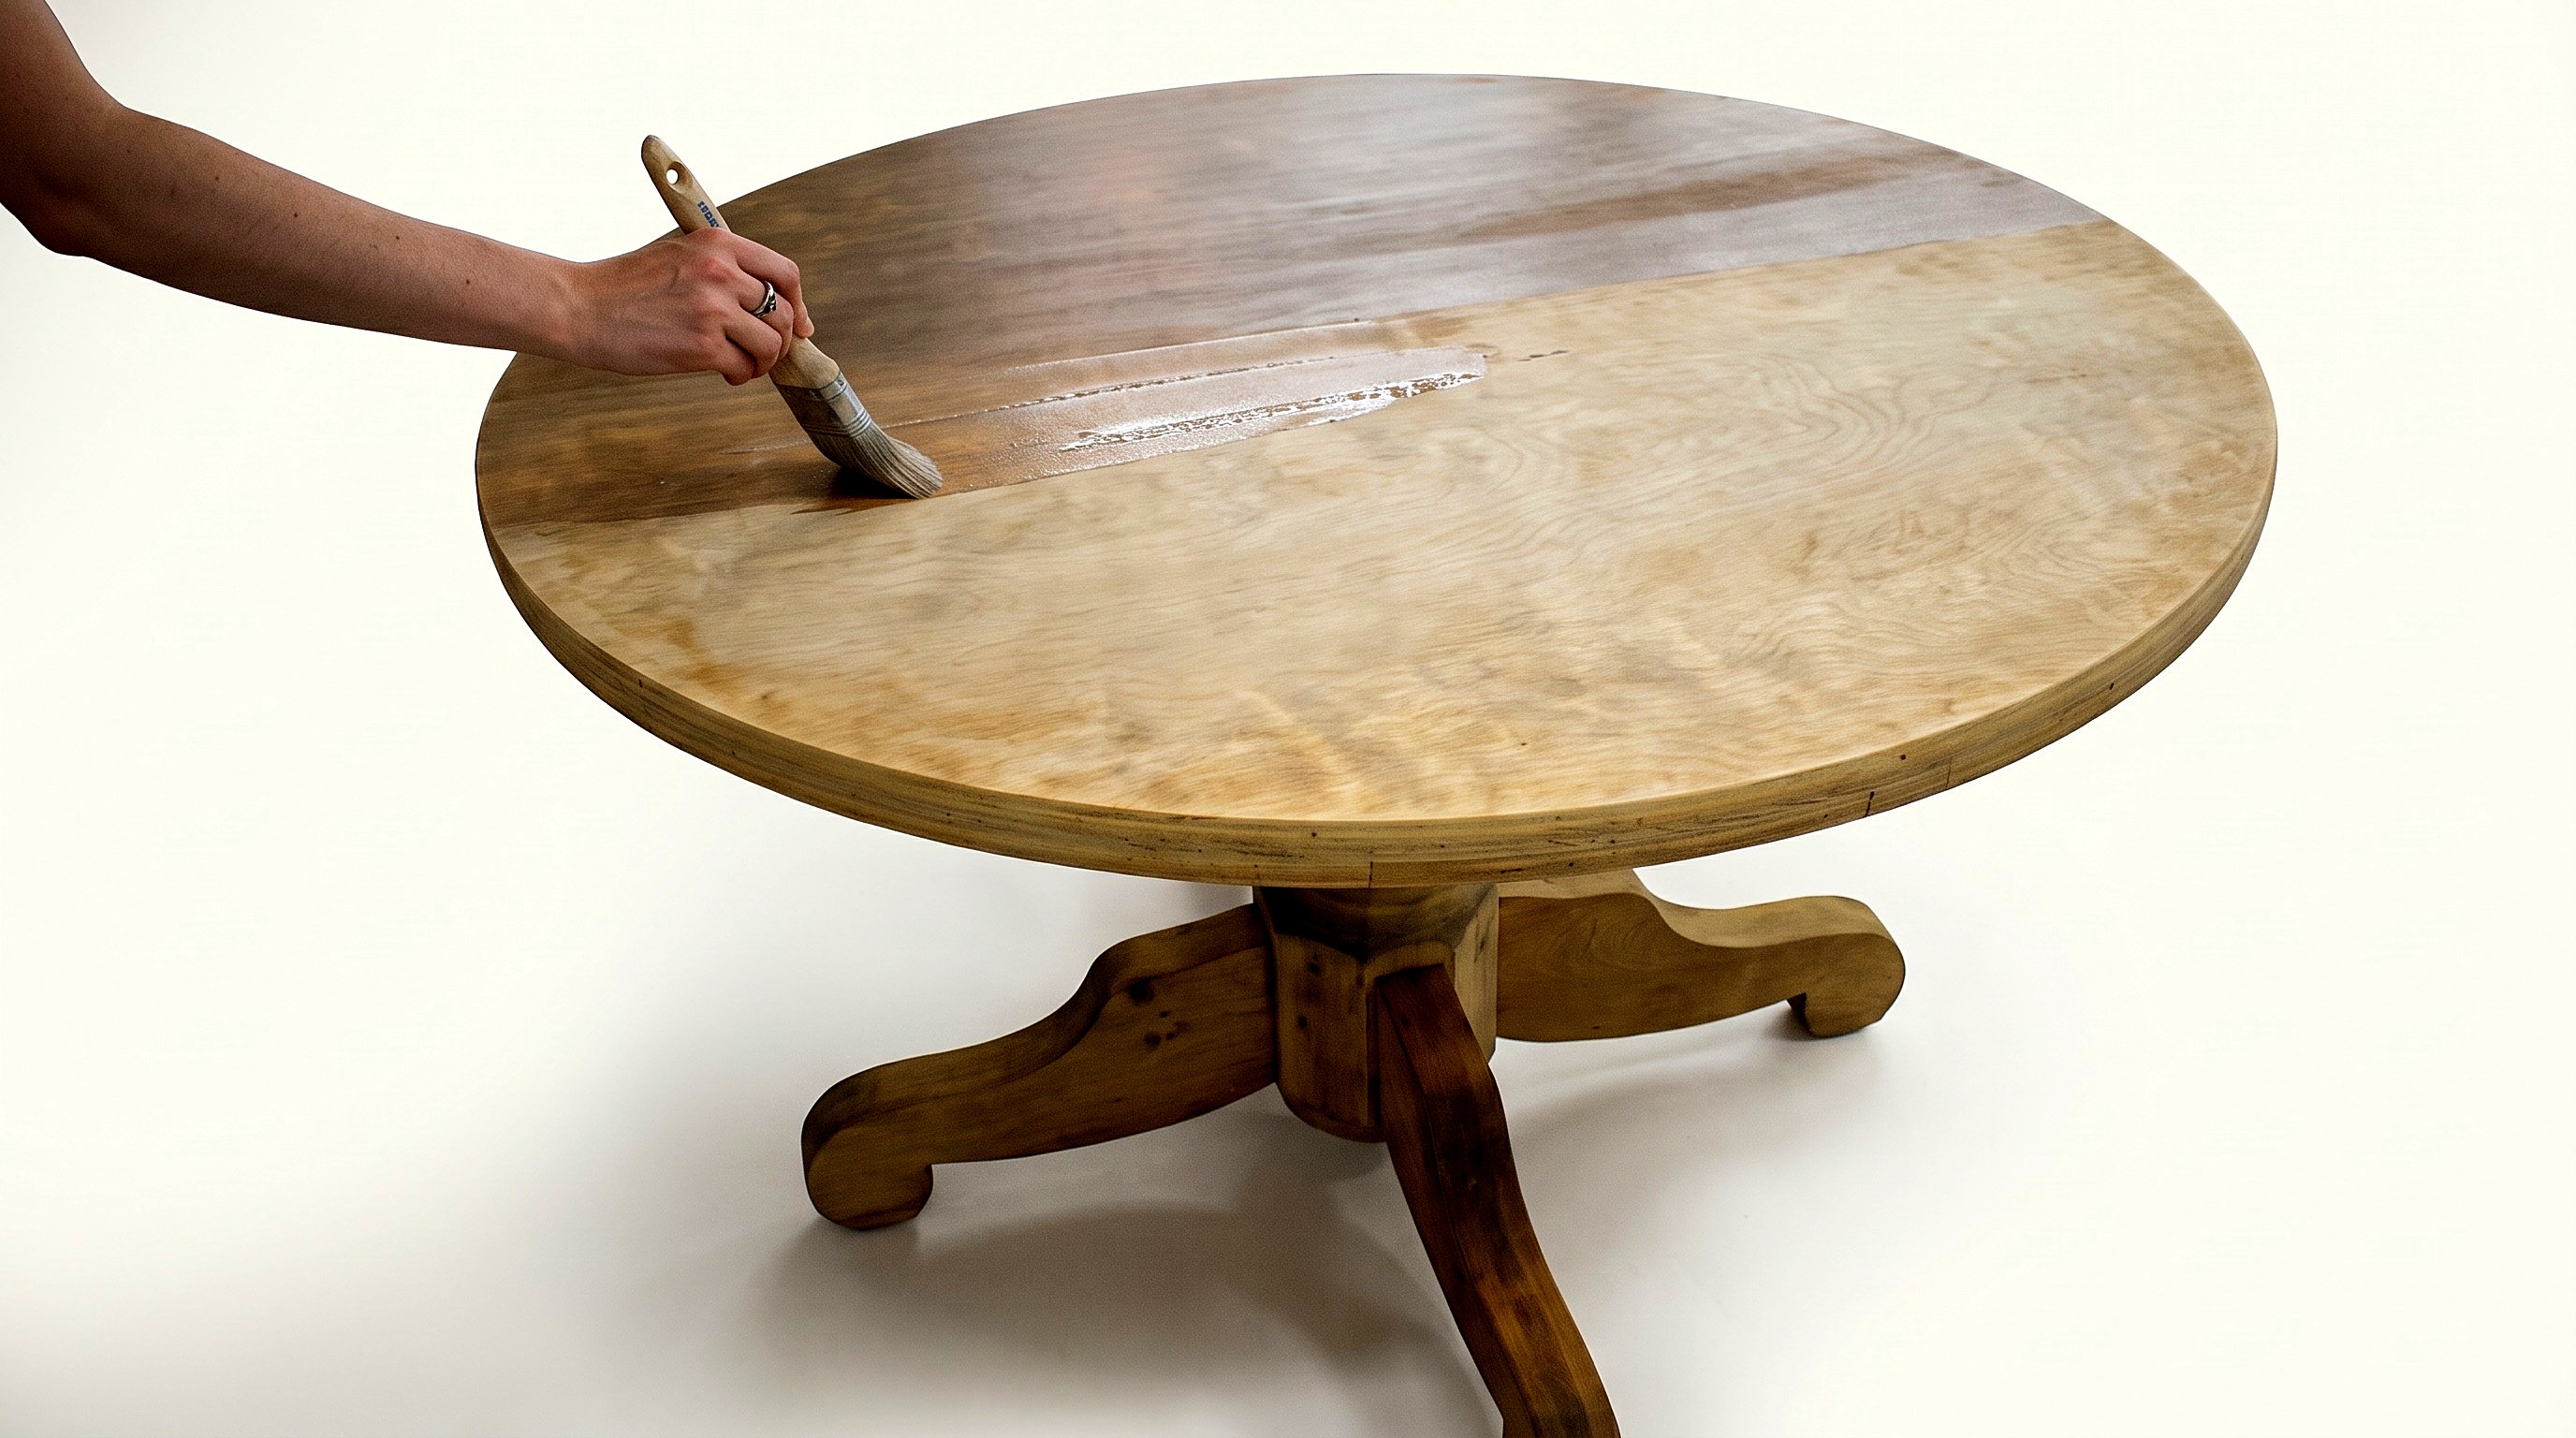
You'll need: Paintbrush, Milk Paint
- 4.1 Mix the Milk Paint Wash
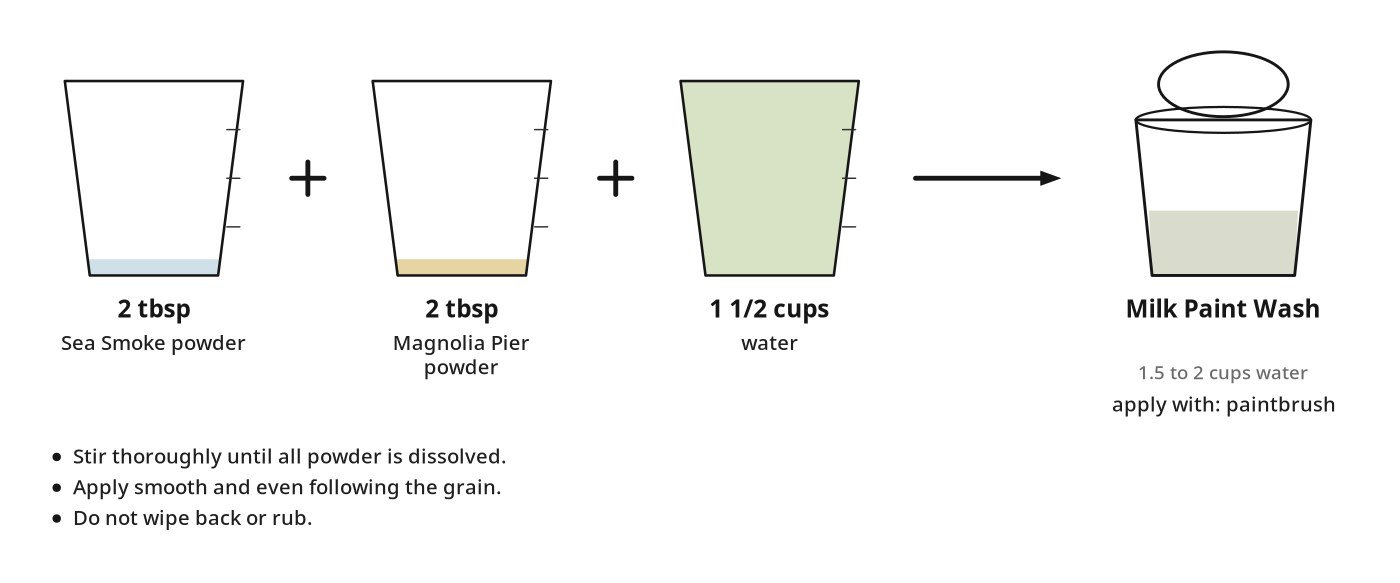
- Measure 2 tablespoons of Sea Smoke milk paint powder and 2 tablespoons of Magnolia Pier milk paint powder into a container.
- Add about 1.5 to 2 cups of water: the target ratio is 5 parts water to 1 part powder.
- Stir until all powder dissolves and the mixture is very thin and watery.
- This is a wash, not paint: it should be translucent, not opaque.
- 4.2 Apply the Wash
- Using a paintbrush, apply the wash over all surfaces, top, base, and legs, following the grain of the wood.
- Keep the application smooth; the wash is thin enough to absorb directly into bare wood.
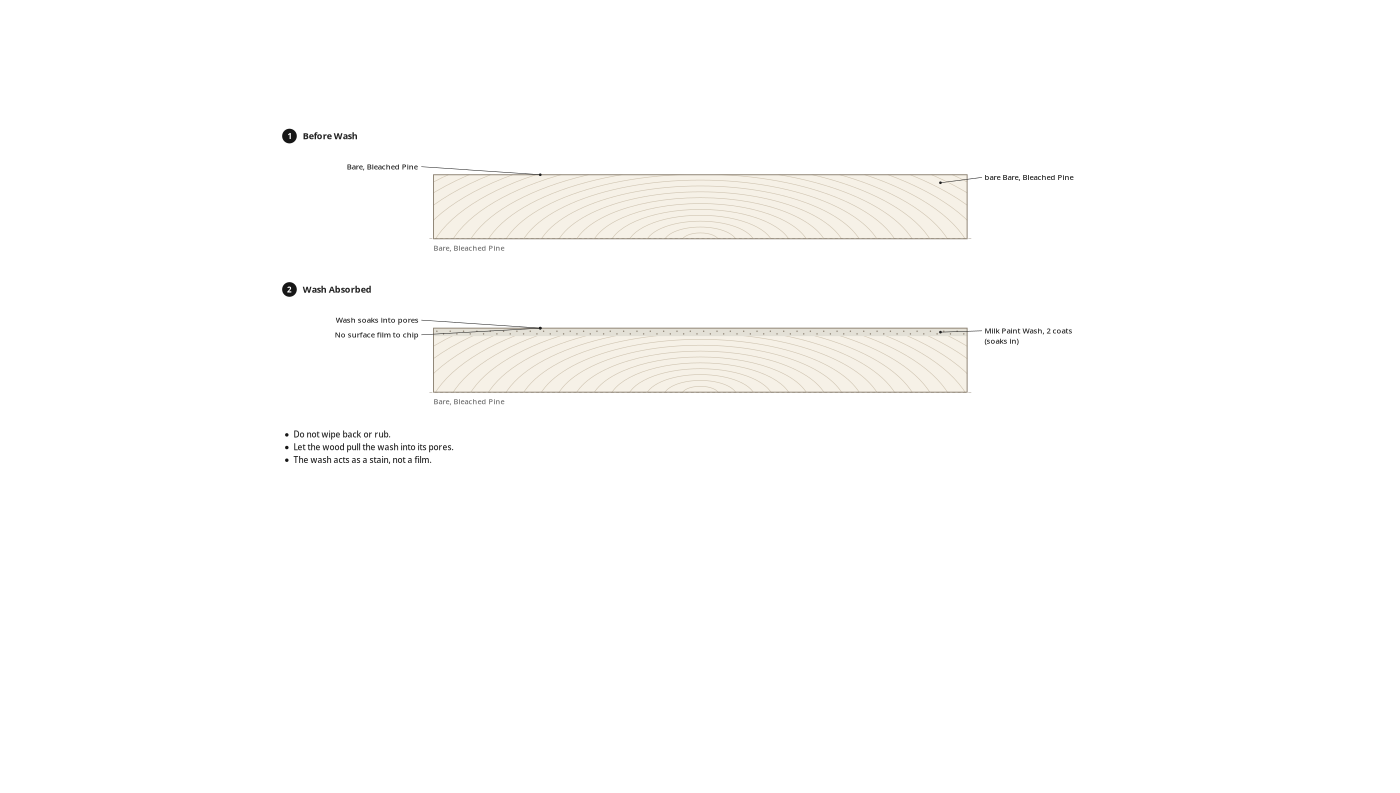
- Do not wipe back or rub; let the wood pull the wash into its pores naturally.
- Apply two coats total for uniform coverage and cohesive tone across top and base.
- At this thin ratio on bare wood, chipping is no concern; the wash acts as a stain, not a film.
Key measurements
- 2 tbsp Sea Smoke powder
- 2 tbsp Magnolia Pier powder
- 1.5–2 cups water
- Approximately 5 parts water to 1 part powder
- 2 coats
- Tip: A wash on bare wood acts as a stain; it soaks into pores, adding character without covering the grain.
- Tip: Try different milk paint colors for different effects; a white wash also works beautifully.
- Tip: Leave a small area unwashed first to compare the effect.
Before you move on: Once dry, the table should look uniformly toned with aged, natural character; top and base should match and feel cohesive.
Step 5: Seal the Finish
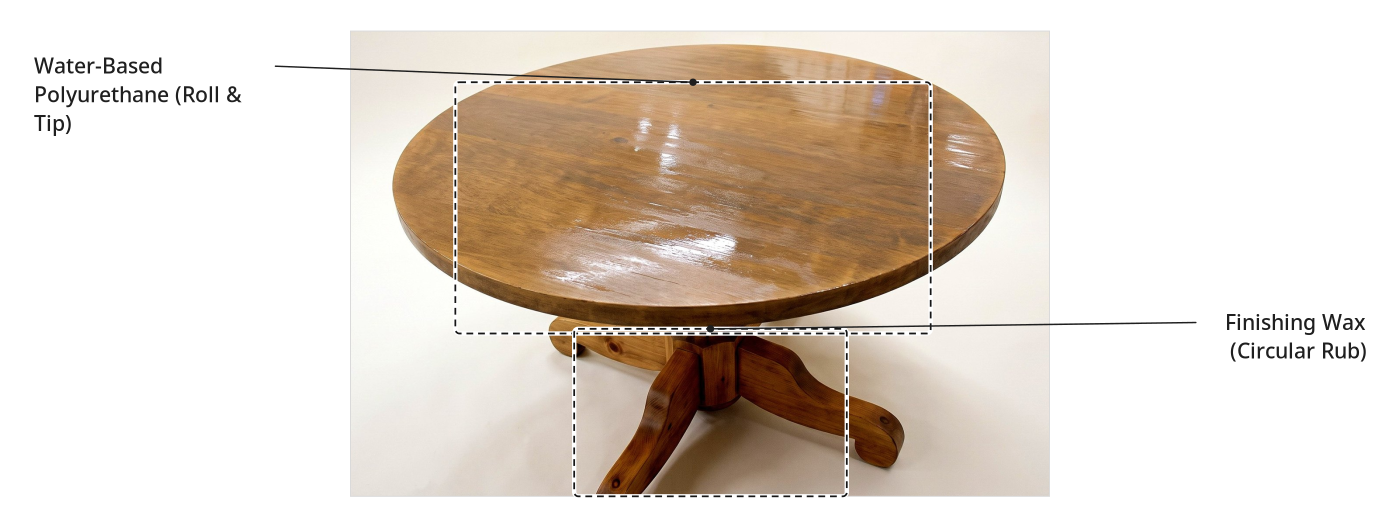
Seal the tabletop with durable polyurethane for daily use, and the base with wax for a soft, natural feel.
You'll need: Foam Roller, Paintbrush, Water-Based Polyurethane, Finishing Wax
- 5.1 Seal Tabletop with Polyurethane
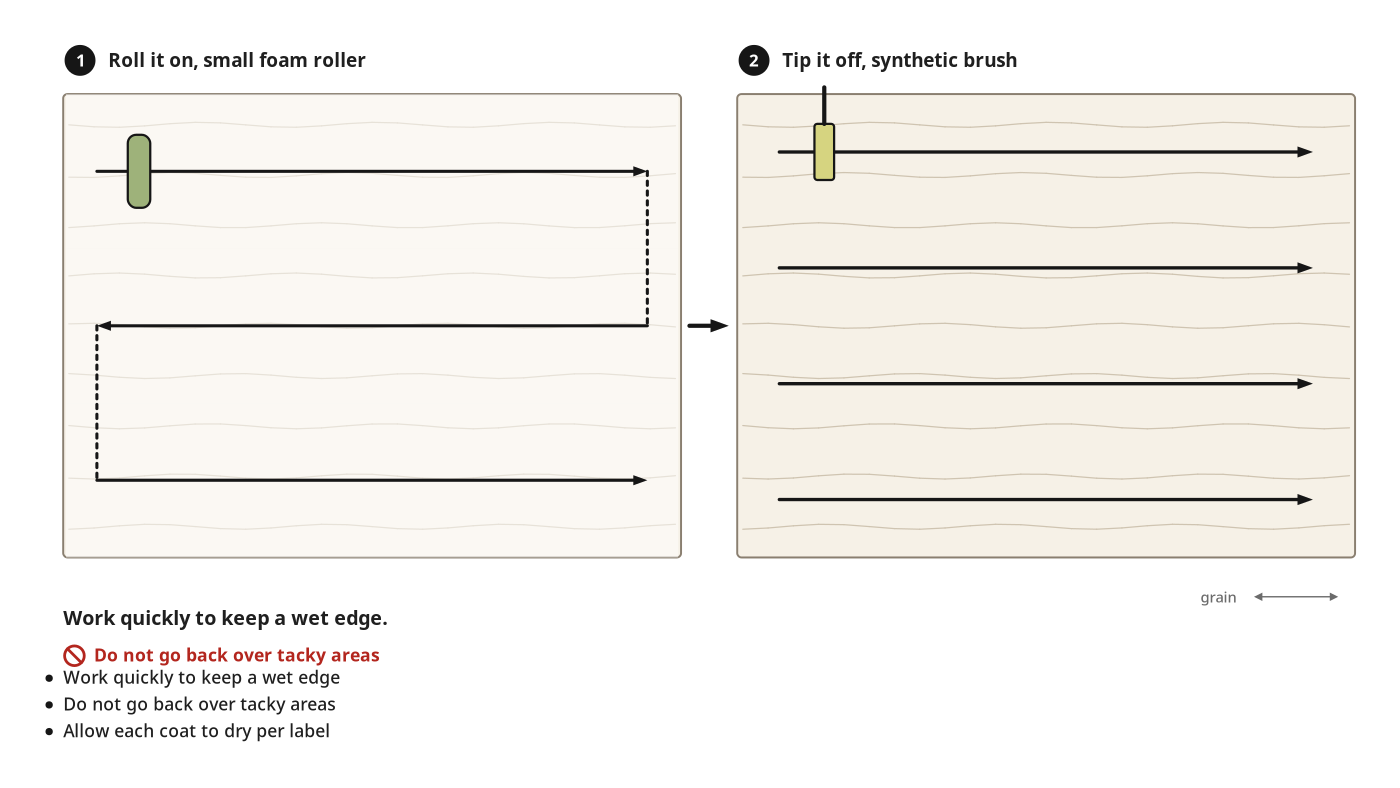
- Roll a thin, even coat of water-based polyurethane onto the tabletop with a small foam roller in overlapping rows.
- Immediately drag a synthetic brush lightly across the wet surface in long strokes with the grain; this tipping smooths roller bubbles.
- Work quickly to keep a wet edge; do not go over areas that have started to tack up.
- Apply more coats as needed, letting each dry per the product label before recoating.
- Water-based polyurethane does not yellow over time, preserving the light, neutral tone.
- 5.2 Seal Base with Finishing Wax
- Apply clear finishing wax to the base and legs using a paintbrush, working it into all surfaces and details.
- Immediately rub the wax into the wood with a lint-free cloth in small circular motions.
- Buff lightly to your desired sheen; less blending leaves a shinier finish, more blending gives a flatter, softer feel.
- Let the wax cure overnight before handling or using the table.
Key measurements
- Overnight cure time for wax before use
- Tip: The roll-and-tip technique produces a smoother finish than brushing alone; the roller distributes evenly and the brush eliminates bubbles.
- Tip: For an extra stunning sheen on the waxed base, buff with old nylons after the wax cures.
- Tip: For the same sheen on top and base, apply a coat of wax over the cured poly on top, or use a flat-sheen poly on top.
Before you move on: Run your hand across the dried tabletop; it should feel smooth and glassy with no bubbles, brush marks, or rough spots. The base should feel soft and satiny after wax buffing.
Finishing
Cure Time
- Let the wax cure overnight before using the table.
- Follow the polyurethane manufacturer's label for full cure time before placing heavy items or hot dishes on top.
- Allow water-based poly at least 24–48 hours before normal use and 30 days before placing anything hot on it.
Care
- Wipe spills on the poly top promptly with a damp cloth; the sealant protects against moisture but is not invincible.
- Dust the waxed base with a soft, dry cloth; avoid water or harsh cleaners on waxed surfaces.
- The wax finish may need a light reapplication every 6–12 months, depending on use.
Reassembly
- Reattach removed hardware or the base once all finishes are fully cured.
- Tighten loose bolts or screws noticed during restoration.
Alternatives
- Instead of the milk paint wash, use a diluted oil-based stain with a green undertone (such as Varathane Aged Wheat): dilute about 6–7 parts low-odor mineral spirits to 3–4 parts stain to neutralize remaining ora
- This stain alternative may hold up better long-term and require less touch-up than a milk paint wash.
Test it before you call it done
| Check | What you should see | If not |
|---|---|---|
| Is the old finish completely removed? | No shiny, sticky, or discolored patches remain; only bare, matte wood is visible on every surface. | Sand remaining areas with 80 grit until bare wood is exposed; bleach and wash will not penetrate old finish. |
| Is the bleach evenly applied and dried? | The wood is uniformly lighter with no orange patches or wet spots. | Apply another coat of 50/50 bleach solution and dry in the sun for at least one hour. |
| Does the milk paint wash look even and natural? | The entire table has a cohesive, aged tone with visible grain and no blotchy areas. | Apply another thin coat of wash to uneven areas, following the grain, and let it absorb. |
| Is the polyurethane topcoat smooth? | The tabletop feels glassy and smooth with no bubbles, roller texture, or brush marks. | Lightly sand the cured coat with fine-grit sandpaper (220 grit is general practice), wipe clean, and apply another coat using the roll-and-tip method. |
| Is the wax buffed and cured? | The base feels soft and satiny with a subtle, even sheen after overnight curing. | Apply more wax with a lint-free cloth, rub in thoroughly, and allow another overnight cure. |
These Specs are built from Kathartic Studios's video “Restoring a Wood Table with a Natural Finish”. Open the Restoring a Wood Table with a Natural Finish project page.
