Spetz Specs No. 7357: step-by-step build guide
DIY Rustic Coat Rack
The complete step-by-step guide made from Kathartic Studios's YouTube video, free on Spetz. For the video, a step-by-step player and answers to your questions, see the DIY Rustic Coat Rack project page.
4 steps, 1 parts, 7 tools, 6 materials
Overview
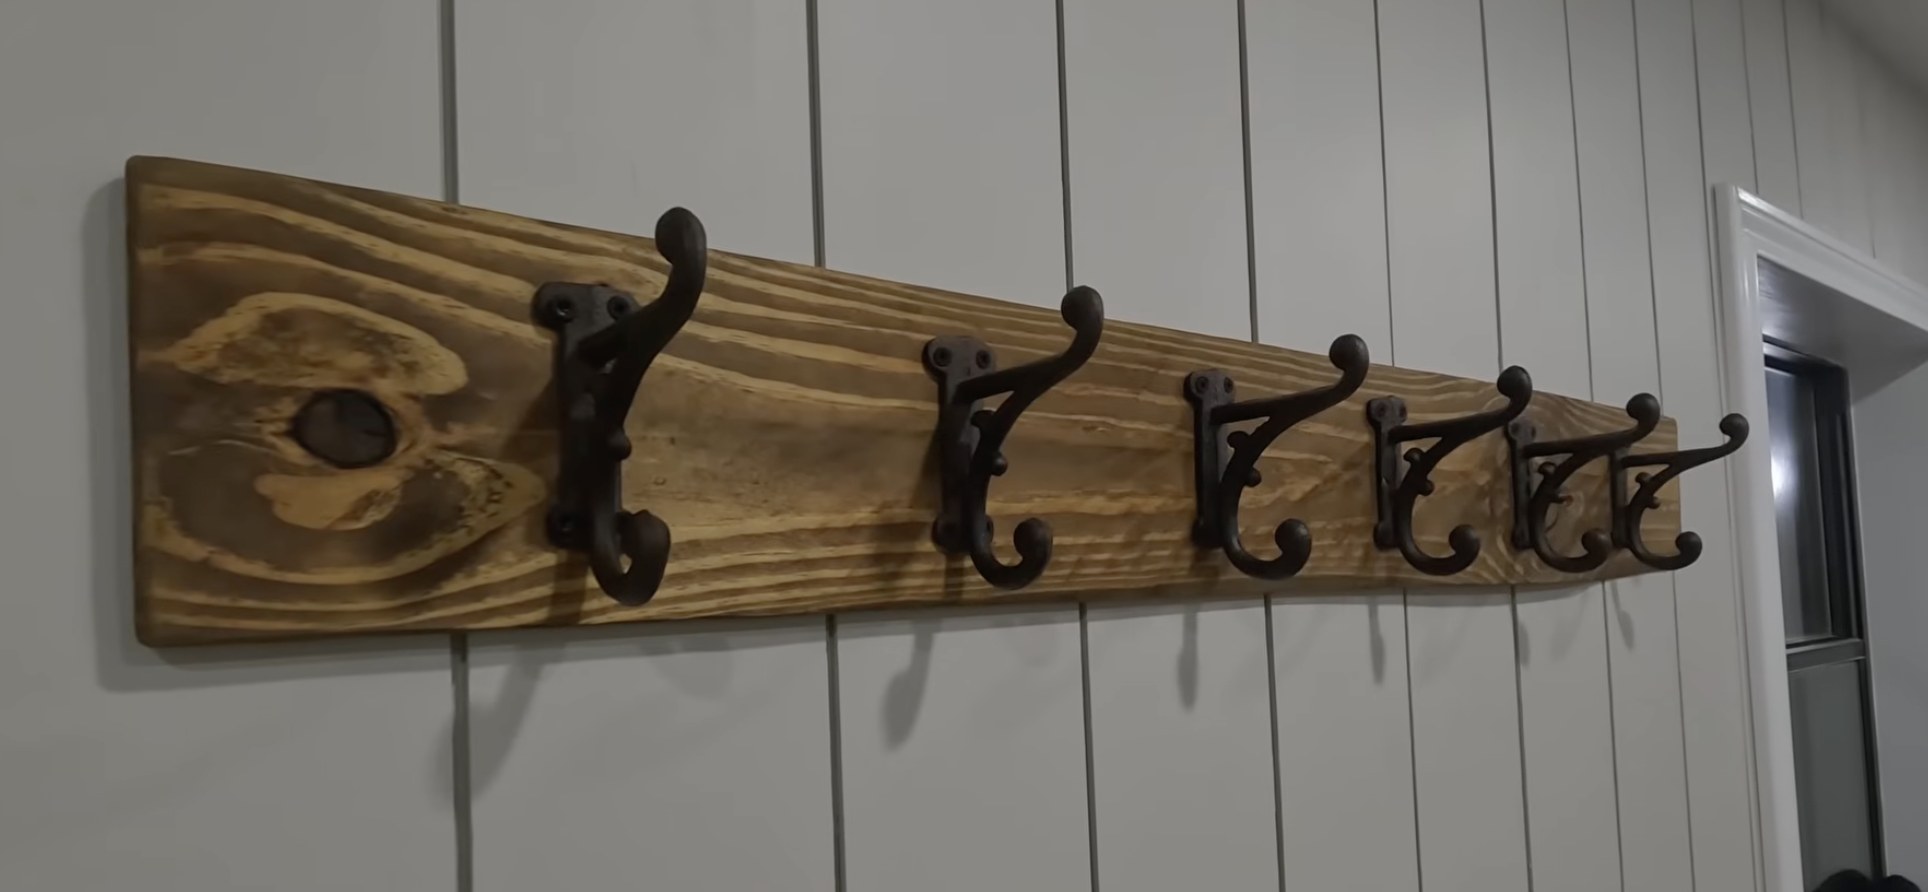
Finished size: 42 in long (3.5 ft)
What You Are Building
- Build a 42-inch wall coat rack from a 1x6 wood plank and six cast iron hooks.
- Hang heavy coats and bags in a mudroom or entryway.
Why This Design Works
- Stain and wax one solid board to highlight wood grain without joinery.
- Spacing hooks on wall studs hides mounting screws inside the hook hardware.
What It Takes
- Use an orbital sander, saw, drill/driver, stud finder, and level.
- Have a helper hold hooks and level the board during installation.
- Expect sanding dust and brief drying waits for wood filler and stain.
What Decides Success
- Sand the rough plank evenly so wood takes stain without blotches.
- Drive 2.5-inch mounting screws into wall studs so heavy coats cannot pull the rack loose.
Health and safety
Cutting And Sanding Safety
- Inspect scrap pallet wood and pull out any leftover nails, staples, or metal fragments before cutting with the saw or sanding.
- Secure the wood plank on a flat, stable work surface before sawing or running the random orbital sander.
- Wear protective equipment, including eye protection and a dust mask, while sawing the plank and sanding wood or dried wood filler.
- Wait for the orbital sander pad to stop spinning completely before setting the tool down on your workbench.
Stain And Wax Handling
- Work on a flat, stable, well-ventilated surface when applying the wood stain and clear furniture wax to avoid inhaling fumes.
- Wear protective gloves and eye protection when wiping stain and wax onto the plank with a lint-free cloth.
- Keep wood stain and furniture wax away from open flames, sparks, and heat sources during application and drying.
- Lay stain-soaked and wax-soaked cloths flat outdoors to dry, or submerge them in a sealed water-filled metal can to prevent self-ignition.
Drill And Hardware Safety
- Keep fingers, loose clothing, and long hair clear of the spinning chuck when operating the 20V MAX cordless drill/driver.
- Remove the battery from the cordless drill/driver before inserting or changing drill bits and driver bits.
- Verify hook screw length against the 1x6 plank thickness before driving so sharp screw tips do not protrude through the back.
Wall Mounting And Load Safety
- Check the wall for hidden electrical wires and water pipes before drilling pilot holes or driving the mounting screws.
- Anchor the coat rack directly into wall studs located with the electronic stud finder to prevent the loaded rack from falling.
- Install high-weight-capacity drywall anchors if studs are unavailable at your mounting spots, and do not overload the cast iron hooks.
Tools
- Orbital Sander (Random orbital sander, DeWalt)
- Saw
- Lint-free cloth
- Tape Measure
- Drill/Driver (Cordless drill/driver, DeWalt, 20V MAX)
- Stud Finder (Electronic stud finder)
- Level
Materials
- Wood Plank (1, Pallet wood or Pine, approx. 1x6 x 3.5ft)
- Stainable Wood Filler
- Wood Stain (Varathane, Early American)
- Furniture Wax (Clear, Jolie)
- Cast Iron Coat Hooks (6)
- Mounting Screws (Wood screws, 2.5 inches)
Hardware
| Hardware | Size | Count | Used in steps |
|---|---|---|---|
| Hook screws | 3 | ||
| 2.5 in Mounting Screws | 2 | 4 |
Cut list
| Part | Name | Qty | Size | Notes |
|---|---|---|---|---|
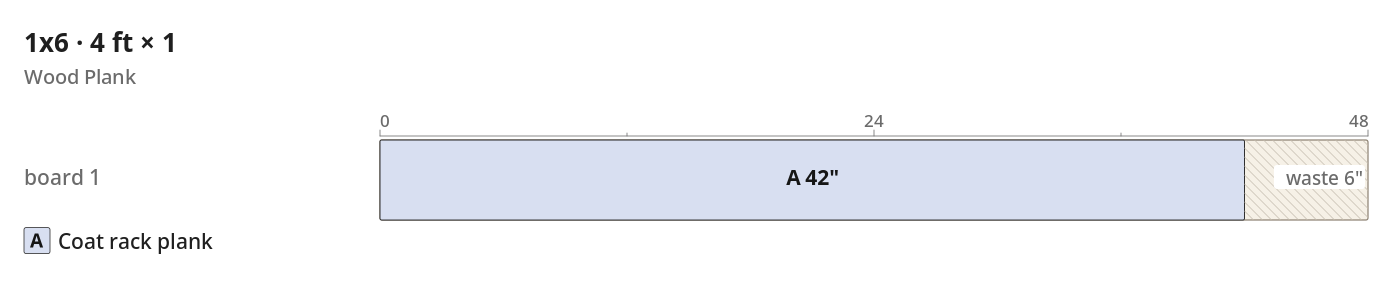
| A | Coat rack plank | x1 | 3/4" (T) × 5 1/2" (W) × 42" (L) | Crosscut board to 3.5 ft (42 in) long; mark 6 hook positions spaced equally by dividing the board length by 7 (approx. 6 in intervals). |
What to buy
- Buy 1 × 1x6 4 ft (Wood Plank)
Before you start
Lumber Selection
- Use one reclaimed pallet plank or a 1x6 pine, oak, or poplar board.
- Pull leftover nails or staples from reclaimed wood before sanding.
Layout And Planning
- Label the cut board coat rack plank (A).
- Find wall studs first if spacing hooks to hide wall mounting screws.
- Dry-fit all six hooks on the board face before driving fasteners.
Step by step
Step 1: Prepare the Wood Plank
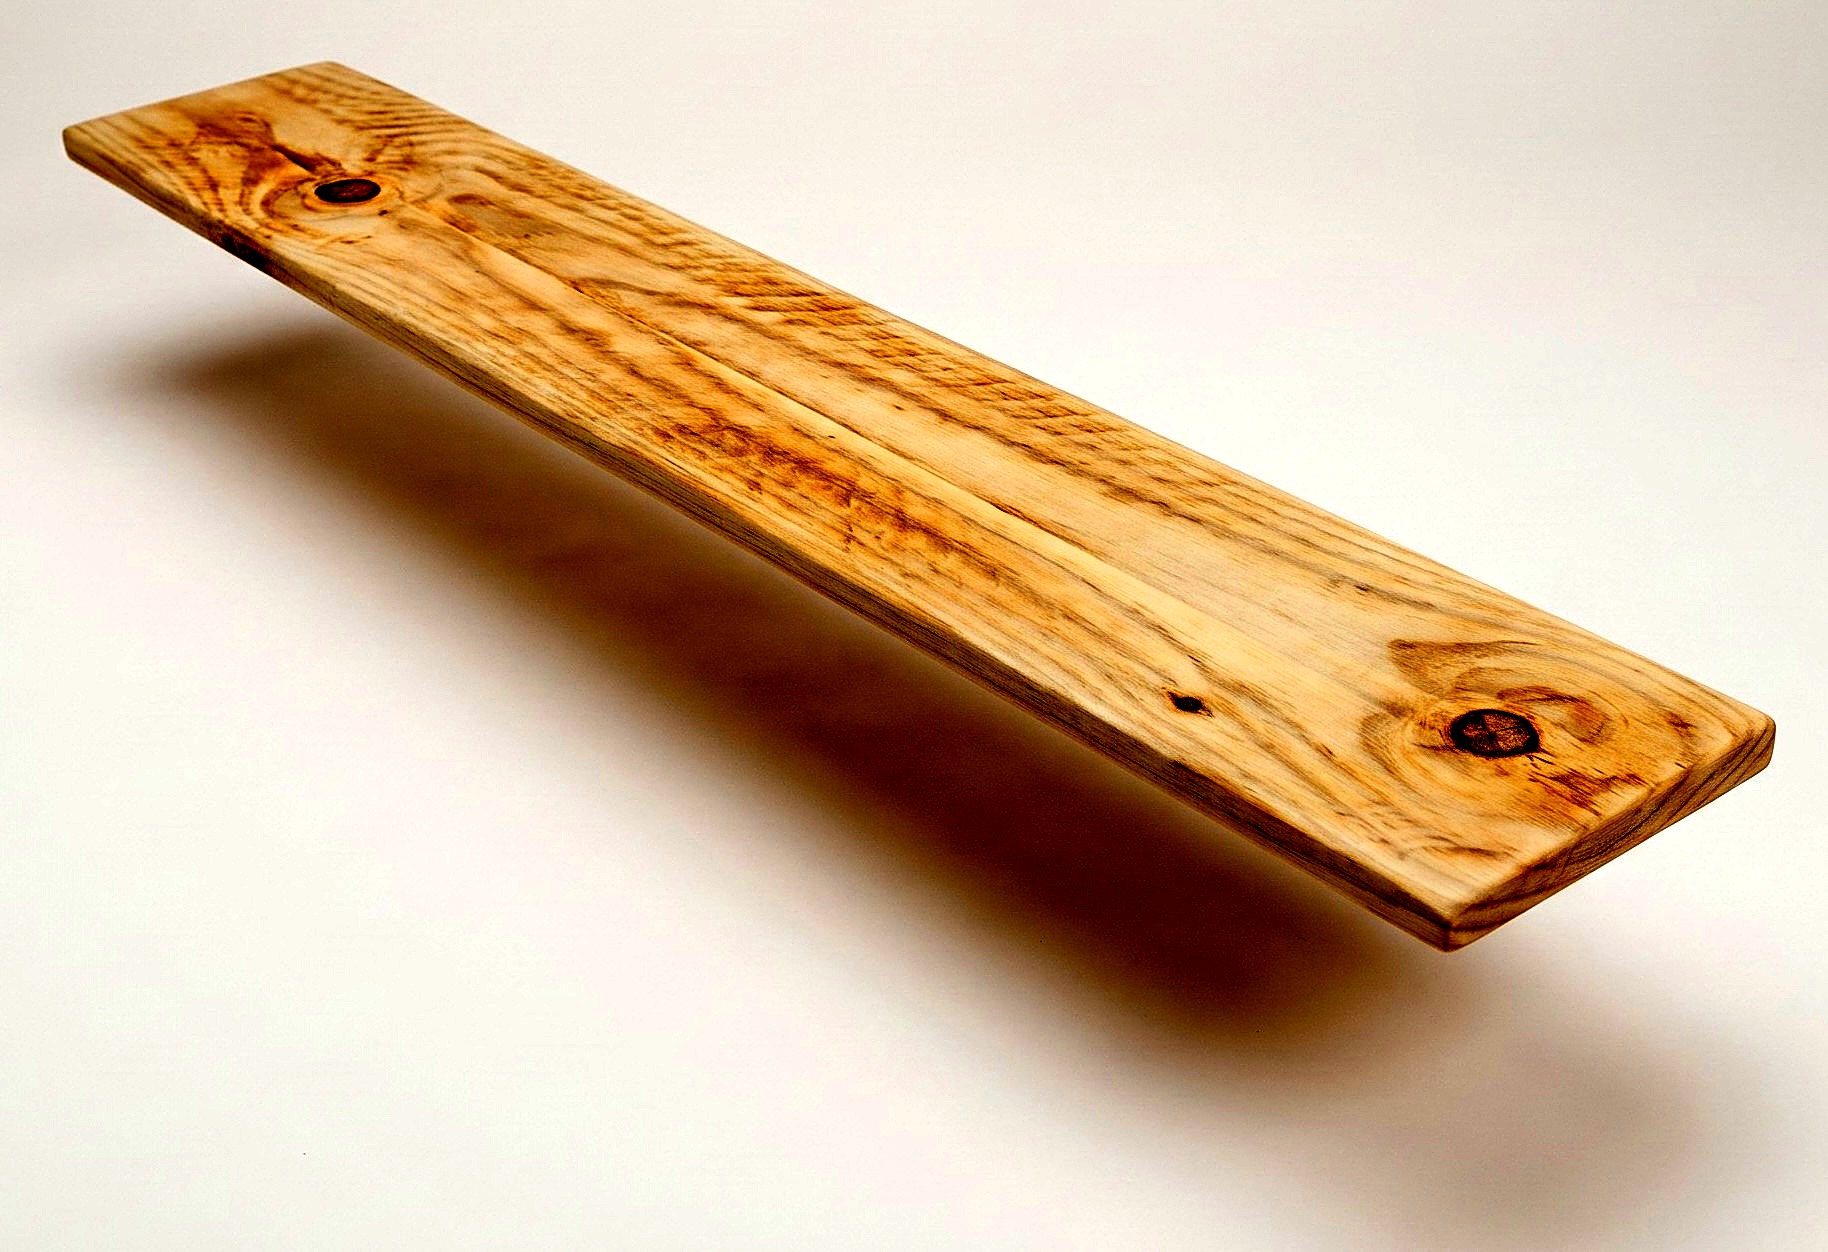
A smooth, splinter-free 42-inch wood plank is cut and ready for finishing.
Parts in this step: (A) Coat rack plank
You'll need: Orbital Sander, Saw, Tape Measure, Wood Plank
- 1.1 Select and Cut the Wood
- Pick a reclaimed pallet board or new 1x6 board for coat rack plank (A).
- Sand rough reclaimed wood before or after cutting to length.
- Measure 42 inches (3.5 feet) with a tape measure and crosscut the plank with a saw.
- Have the lumber store cut a new 1x6 to 42 inches to skip sawing.
- 1.2 Sand the Surfaces
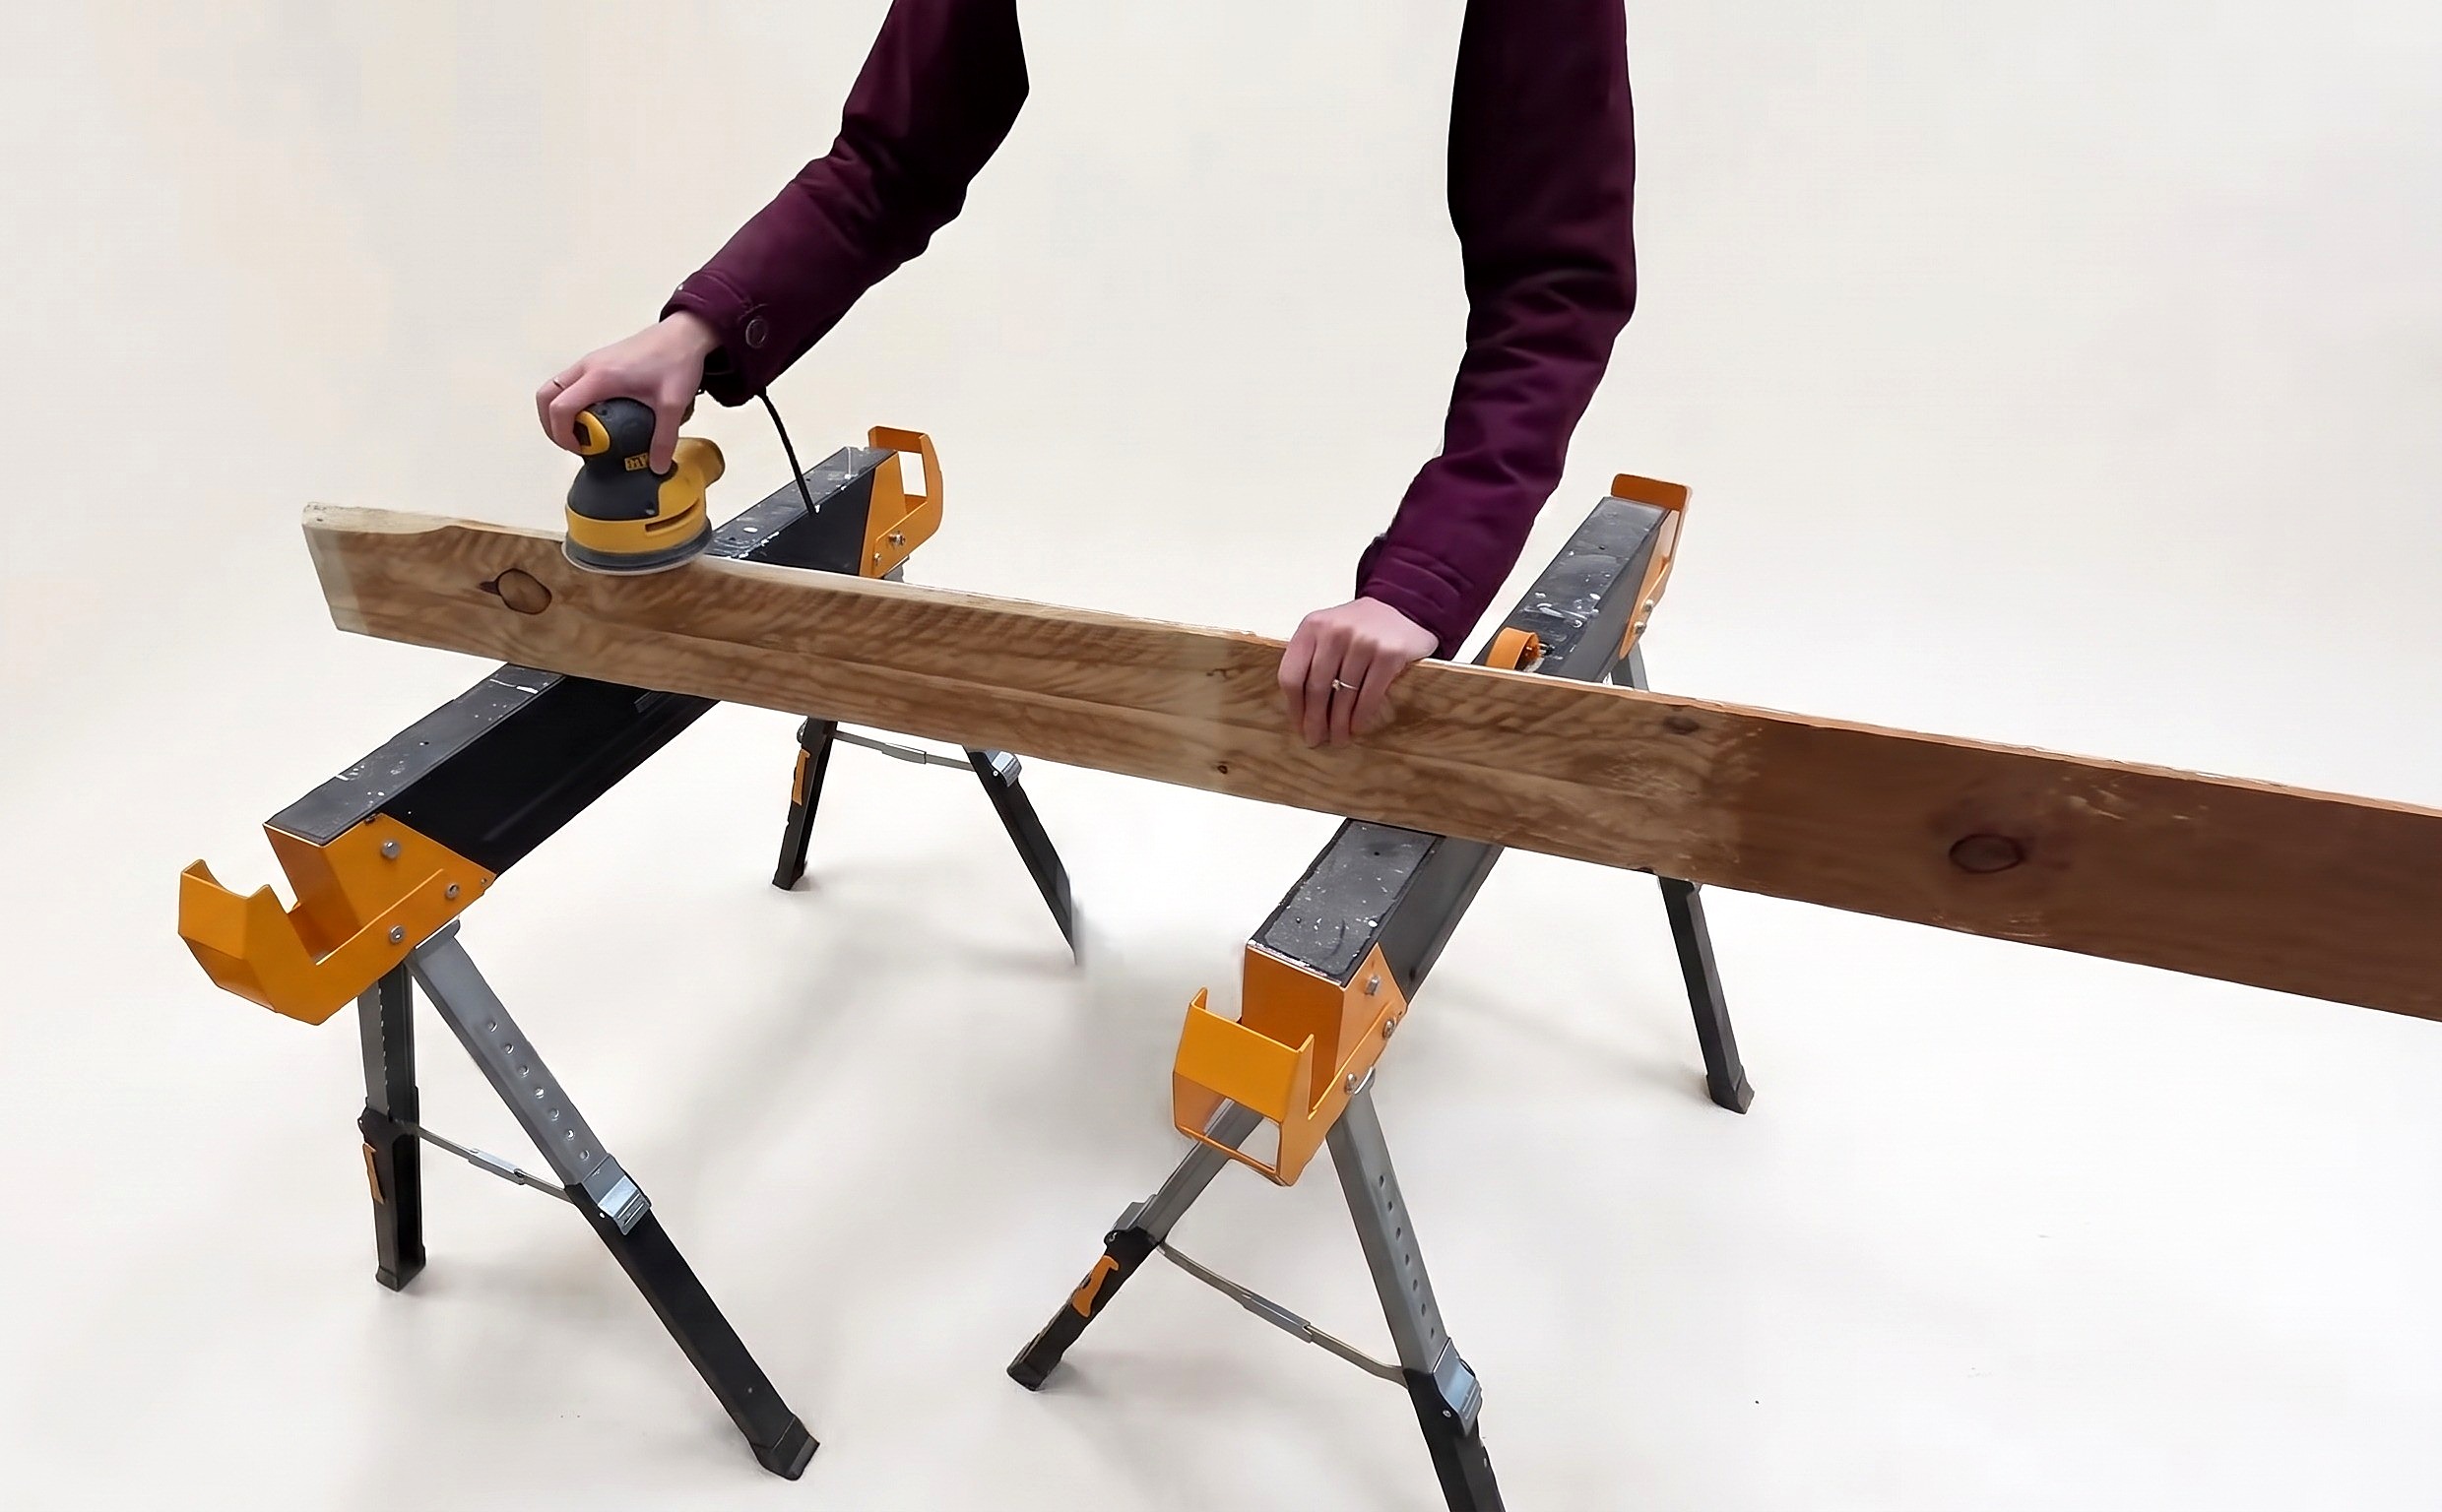
- Sand both faces and all edges of the coat rack plank (A) using an orbital sander.
- Sand off the weathered top layer, splinters, and paint on reclaimed wood.
- Sand until exposure marks blend and bare wood shows for even staining.
Key measurements
- Coat rack plank (A) length: 42 in (3.5 ft)
- Tip: Without a saw, buy a 1x6 board and have the lumber store cut it to 42 inches.
Before you move on: Feel all surfaces and edges to check no splinters or paint patches remain.
Step 2: Finish the Wood
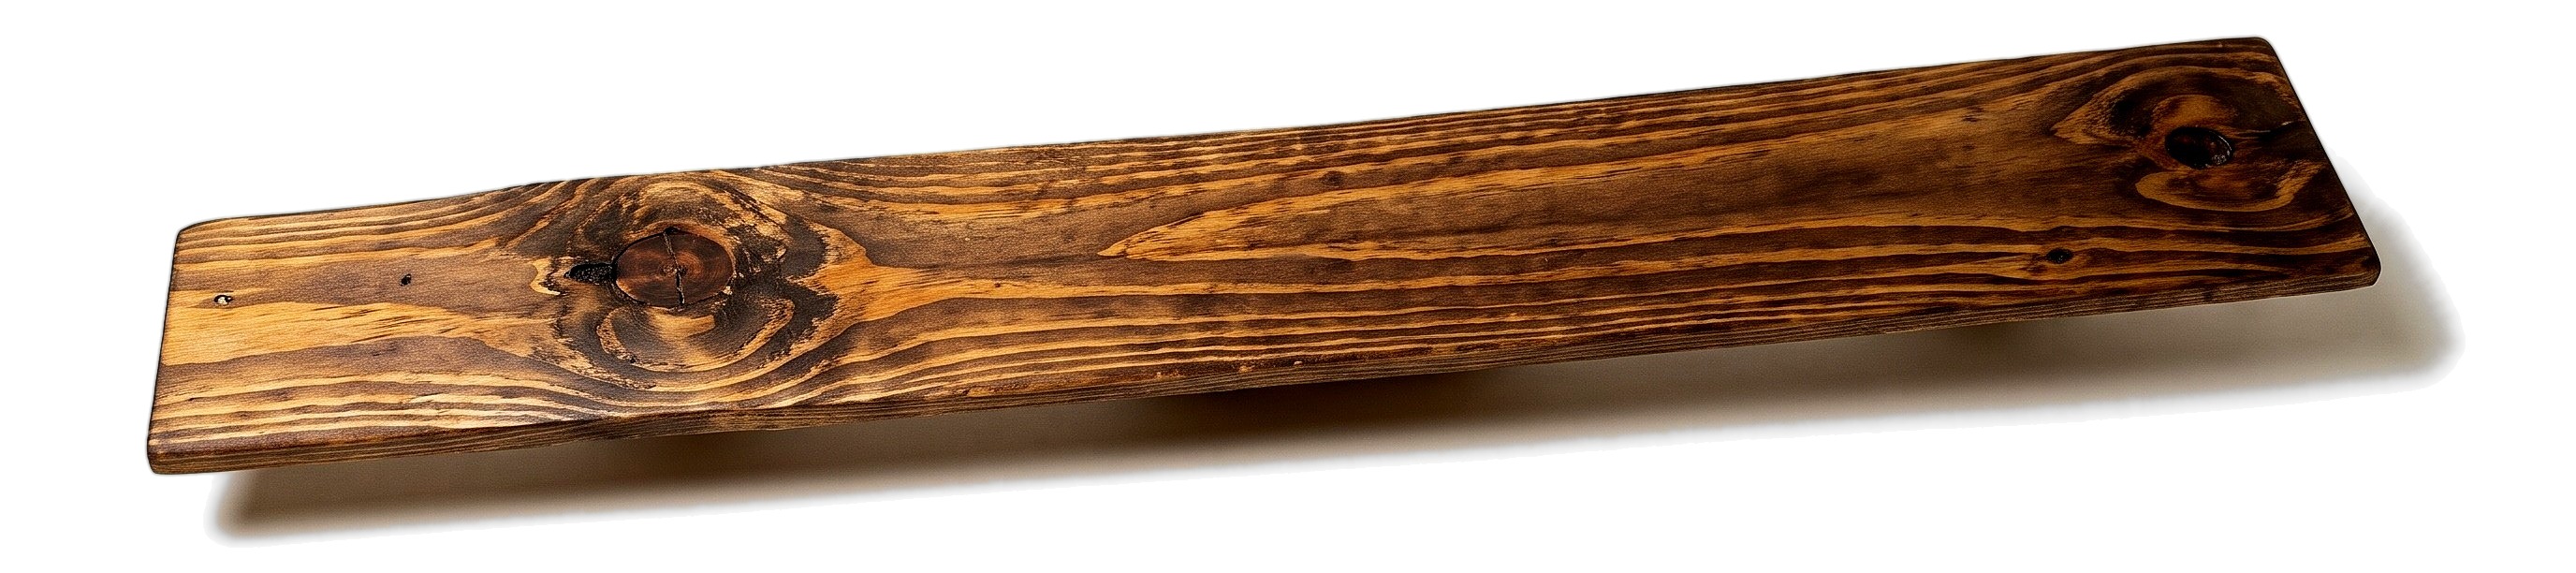
Nail holes are filled, and the wood plank is stained and sealed with clear wax.
Parts in this step: (A) Coat rack plank
You'll need: Orbital Sander, Lint-free cloth, Wood Plank, Stainable Wood Filler, Wood Stain, Furniture Wax
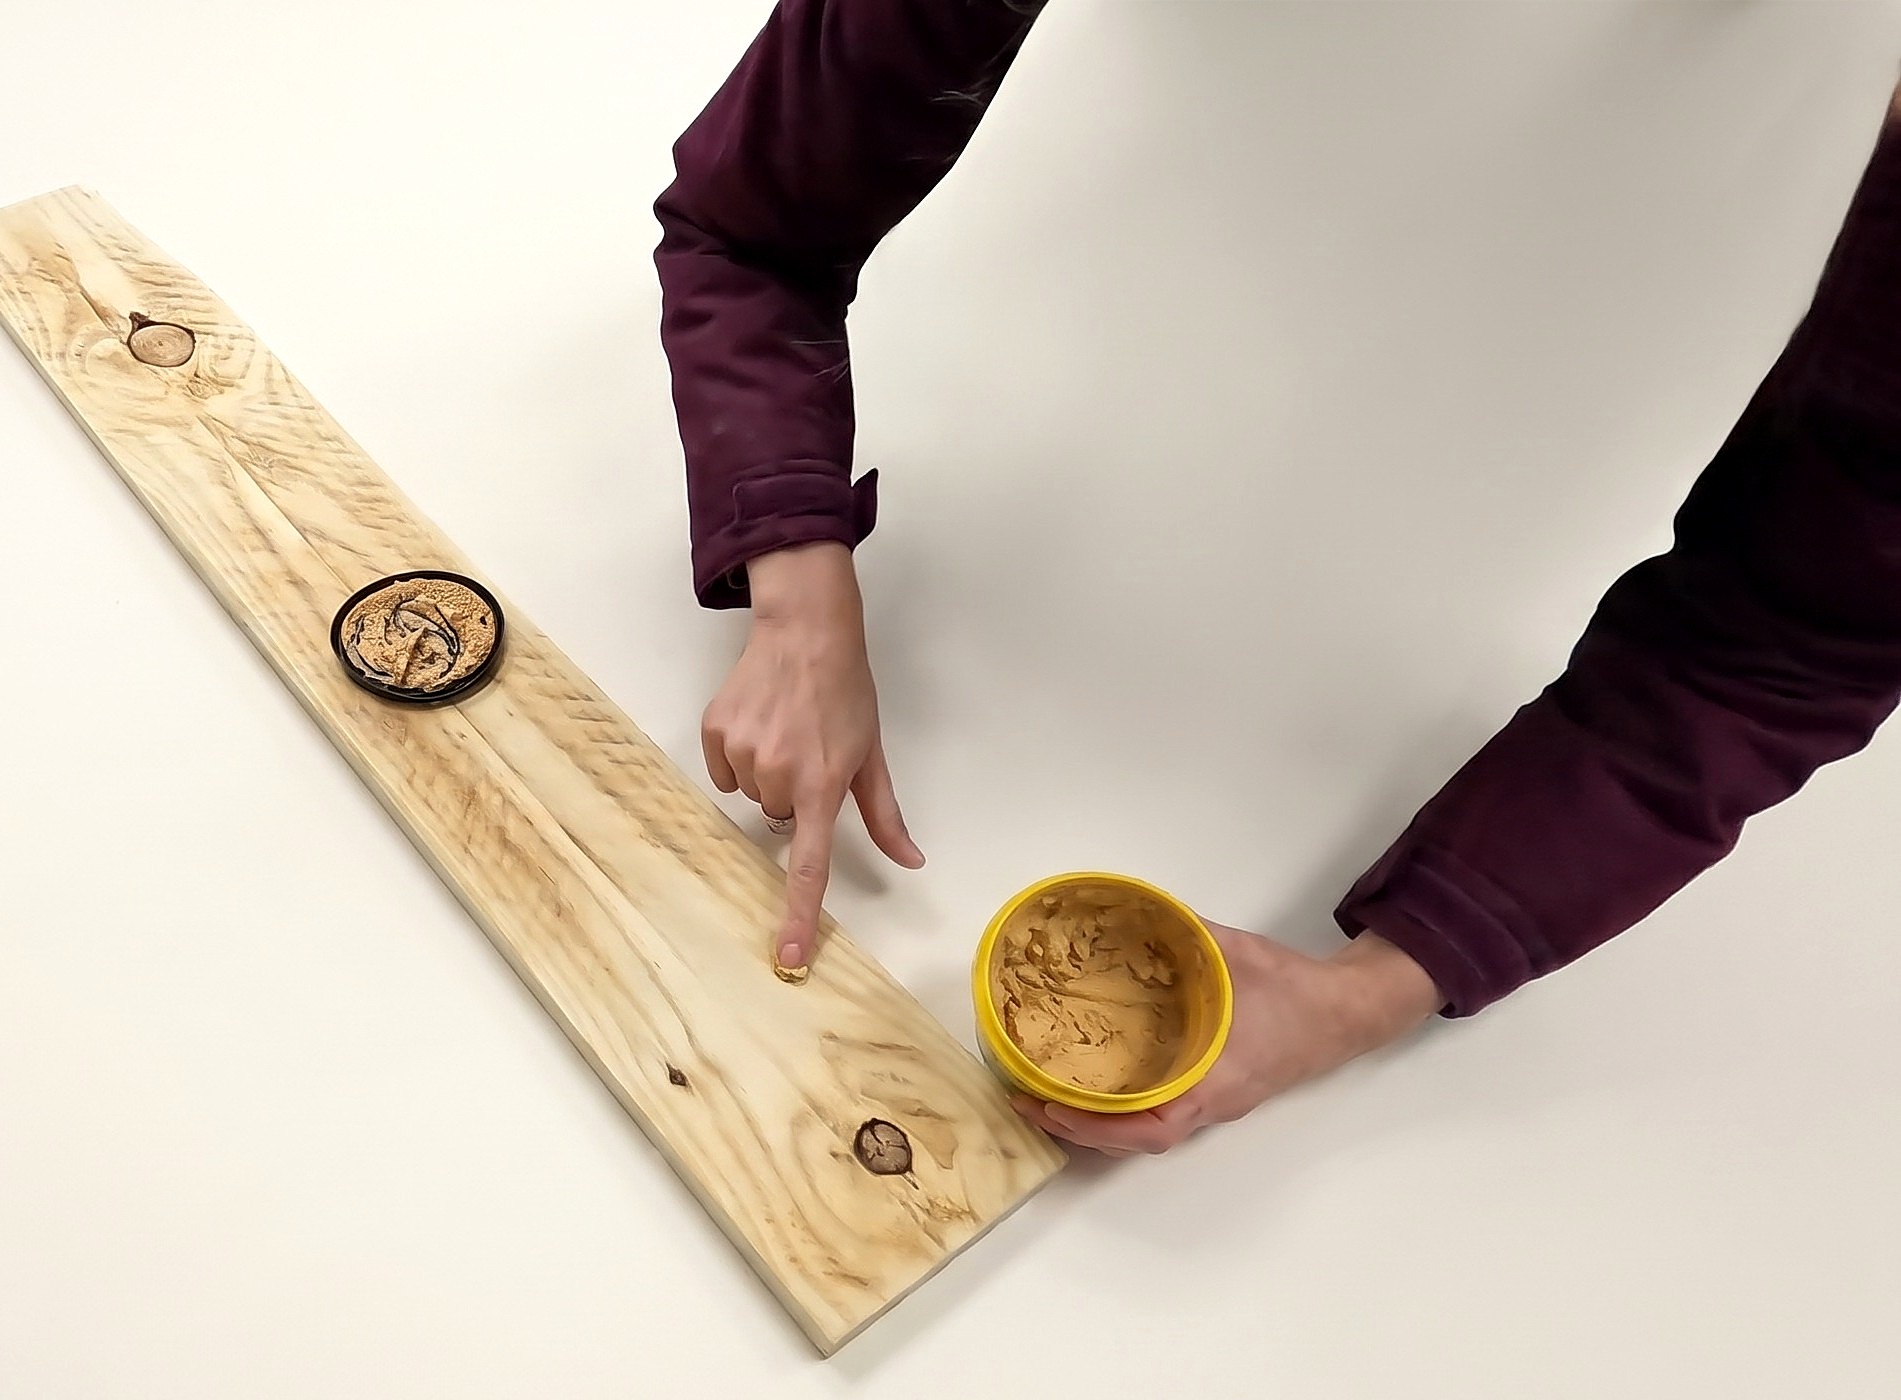
- 2.1 Fill Nail Holes
- Press stainable wood filler into old nail holes and defects on coat rack plank (A).
- Scrape excess filler flush with the board and let dry.
- Sand the dried filler patches with the orbital sander until flush and smooth.
- 2.2 Apply Wood Stain
- Wipe Varathane Early American wood stain on all surfaces with a lint-free cloth.
- Let the first coat soak in for about 1 minute.
- Wipe a second stain coat on all faces and edges to darken the tone.
- 2.3 Seal with Furniture Wax
- Apply a little clear furniture wax with a clean lint-free cloth.
- Buff wax into all stained surfaces to lock in the stain.
- Rub until smooth, soft, and dry.
Key measurements
- First stain coat soak time: 1 minute before second coat
- Tip: Apply a second wood stain coat to deepen the medium wood tone on pine boards.
- Heads up: Use stainable wood filler so patched holes take stain instead of drying as light spots.
Before you move on: Check all faces in good light for even color and a smooth, non-tacky wax finish.
Step 3: Attach the Hooks
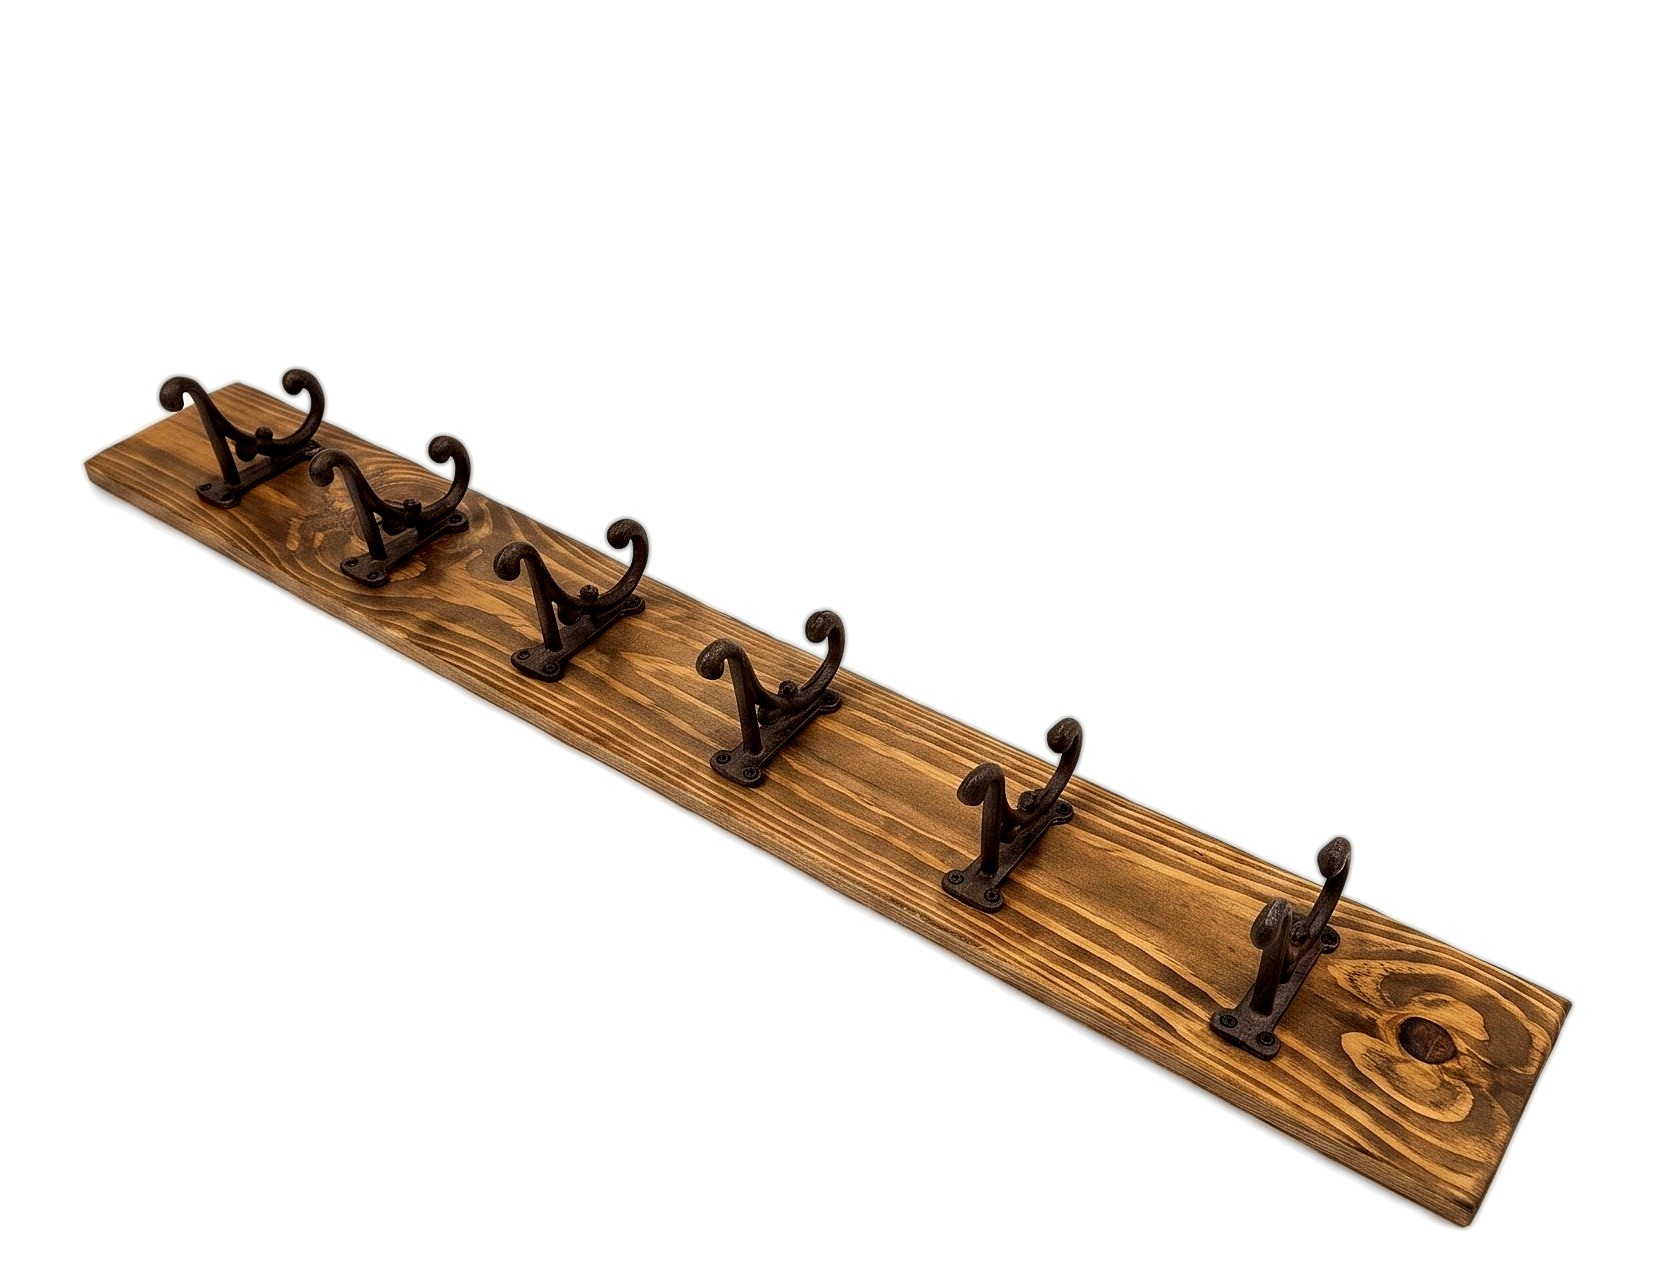
Six cast iron coat hooks spaced evenly and screwed to the plank front face.
Parts in this step: (A) Coat rack plank
You'll need: Tape Measure, Drill/Driver, Wood Plank, Cast Iron Coat Hooks, Hook screws
- 3.1 Measure and Mark Hook Placement
- Measure 42-inch coat rack plank (A) with a tape measure.
- Divide the 42-inch length by 7 (six hooks plus one) for 6-inch intervals.
- Mark ticks every 6 inches so hooks sit 4 to 6 inches apart.
- 3.2 Position and Adjust Hooks
- Lay 6 cast iron coat hooks on the front face over the marks.
- Shift hooks by eye to balance uneven cast hardware or unsquare board edges.
- To hide the mounting screws in the hooks, pick a spacing that puts two hooks over studs 16 in apart; otherwise mount through the plank in step 4.
- 3.3 Screw Hooks to the Board
- Check hook screws are shorter than the plank so tips do not poke through.
- Have a helper hold each hook while driving screws with a drill/driver.
- Leave stud-aligned hook holes empty if driving wall mounting screws through them in Step 4.
Key measurements
- Hook spacing: 6 in on center (42 in board length divided by 7)
- Clearance between hooks: 4 in to 6 in apart
- Wall stud spacing: 16 in on center for dual-purpose hook mounting holes
- Tip: Have a second person hold each cast iron hook while driving screws.
- Tip: Plan hook positions around 16-inch wall stud spacing to hide mounting screws in the hooks.
- Heads up: Verify screw length against the board edge before drilling; this guide does not state the hook screw length.
Before you move on: Check the plank back to make sure no screw tips pierced the wood.
Step 4: Mount the Coat Rack
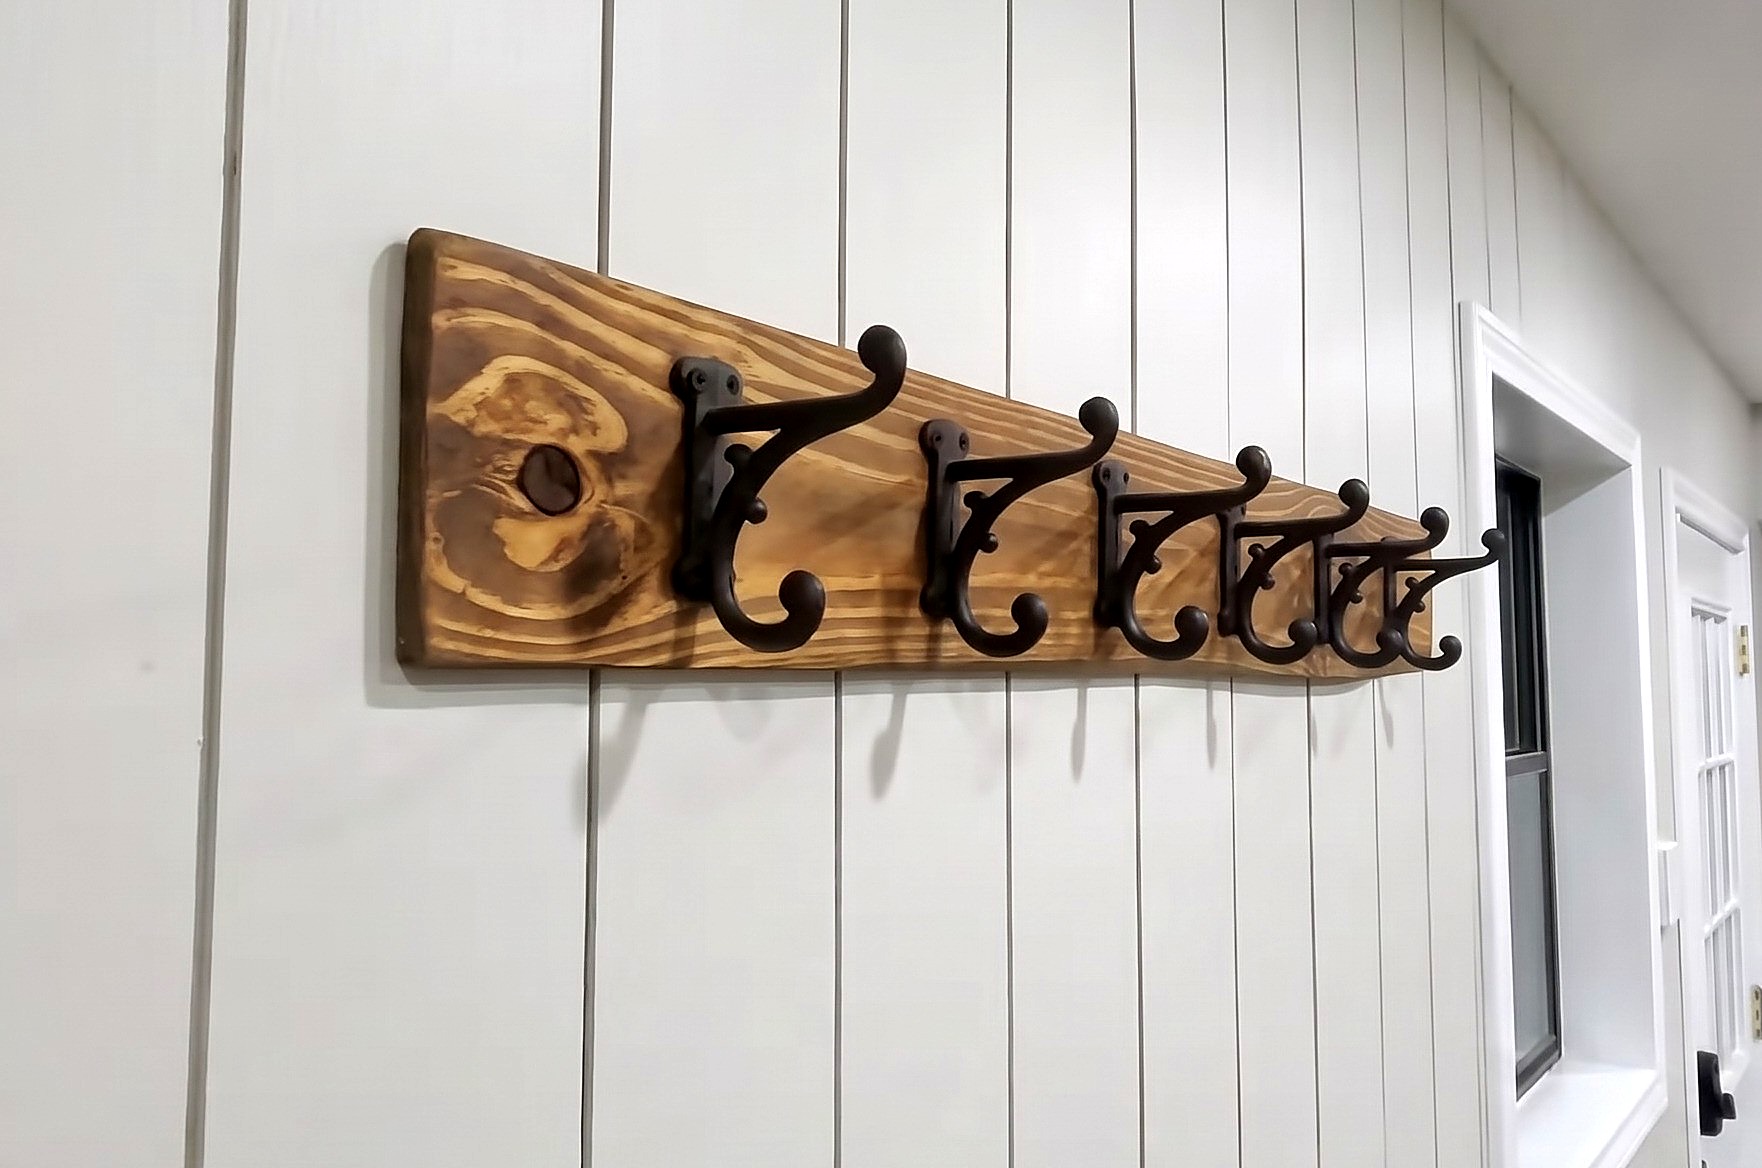
Level and mount the coat rack into wall studs at the chosen height.
Parts in this step: (A) Coat rack plank
You'll need: Stud Finder, Tape Measure, Drill/Driver, Level, Wood Plank, Cast Iron Coat Hooks, Mounting Screws
- 4.1 Locate Wall Studs
- Scan the wall with a stud finder to locate wall studs.
- Mark stud centers at the mounting area.
- Check where studs fall against your aligned hook holes or board face.
- 4.2 Determine Mounting Height
- Hold coat rack plank (A) to the wall, starting 5 feet (60 inches) off the floor.
- Hold up a coat to check hanging clearance above any bench below.
- Set final height, such as 5 feet 6 inches (66 inches) off the floor above a bench.
- 4.3 Secure Rack to the Wall
- Drill discreet pilot holes in the plank if not mounting through hook holes.
- Drive one 2.5-inch mounting screw through the first hook or pilot hole into a wall stud.
- Set a level on the plank, level it, and drive the second 2.5-inch screw into the next stud.
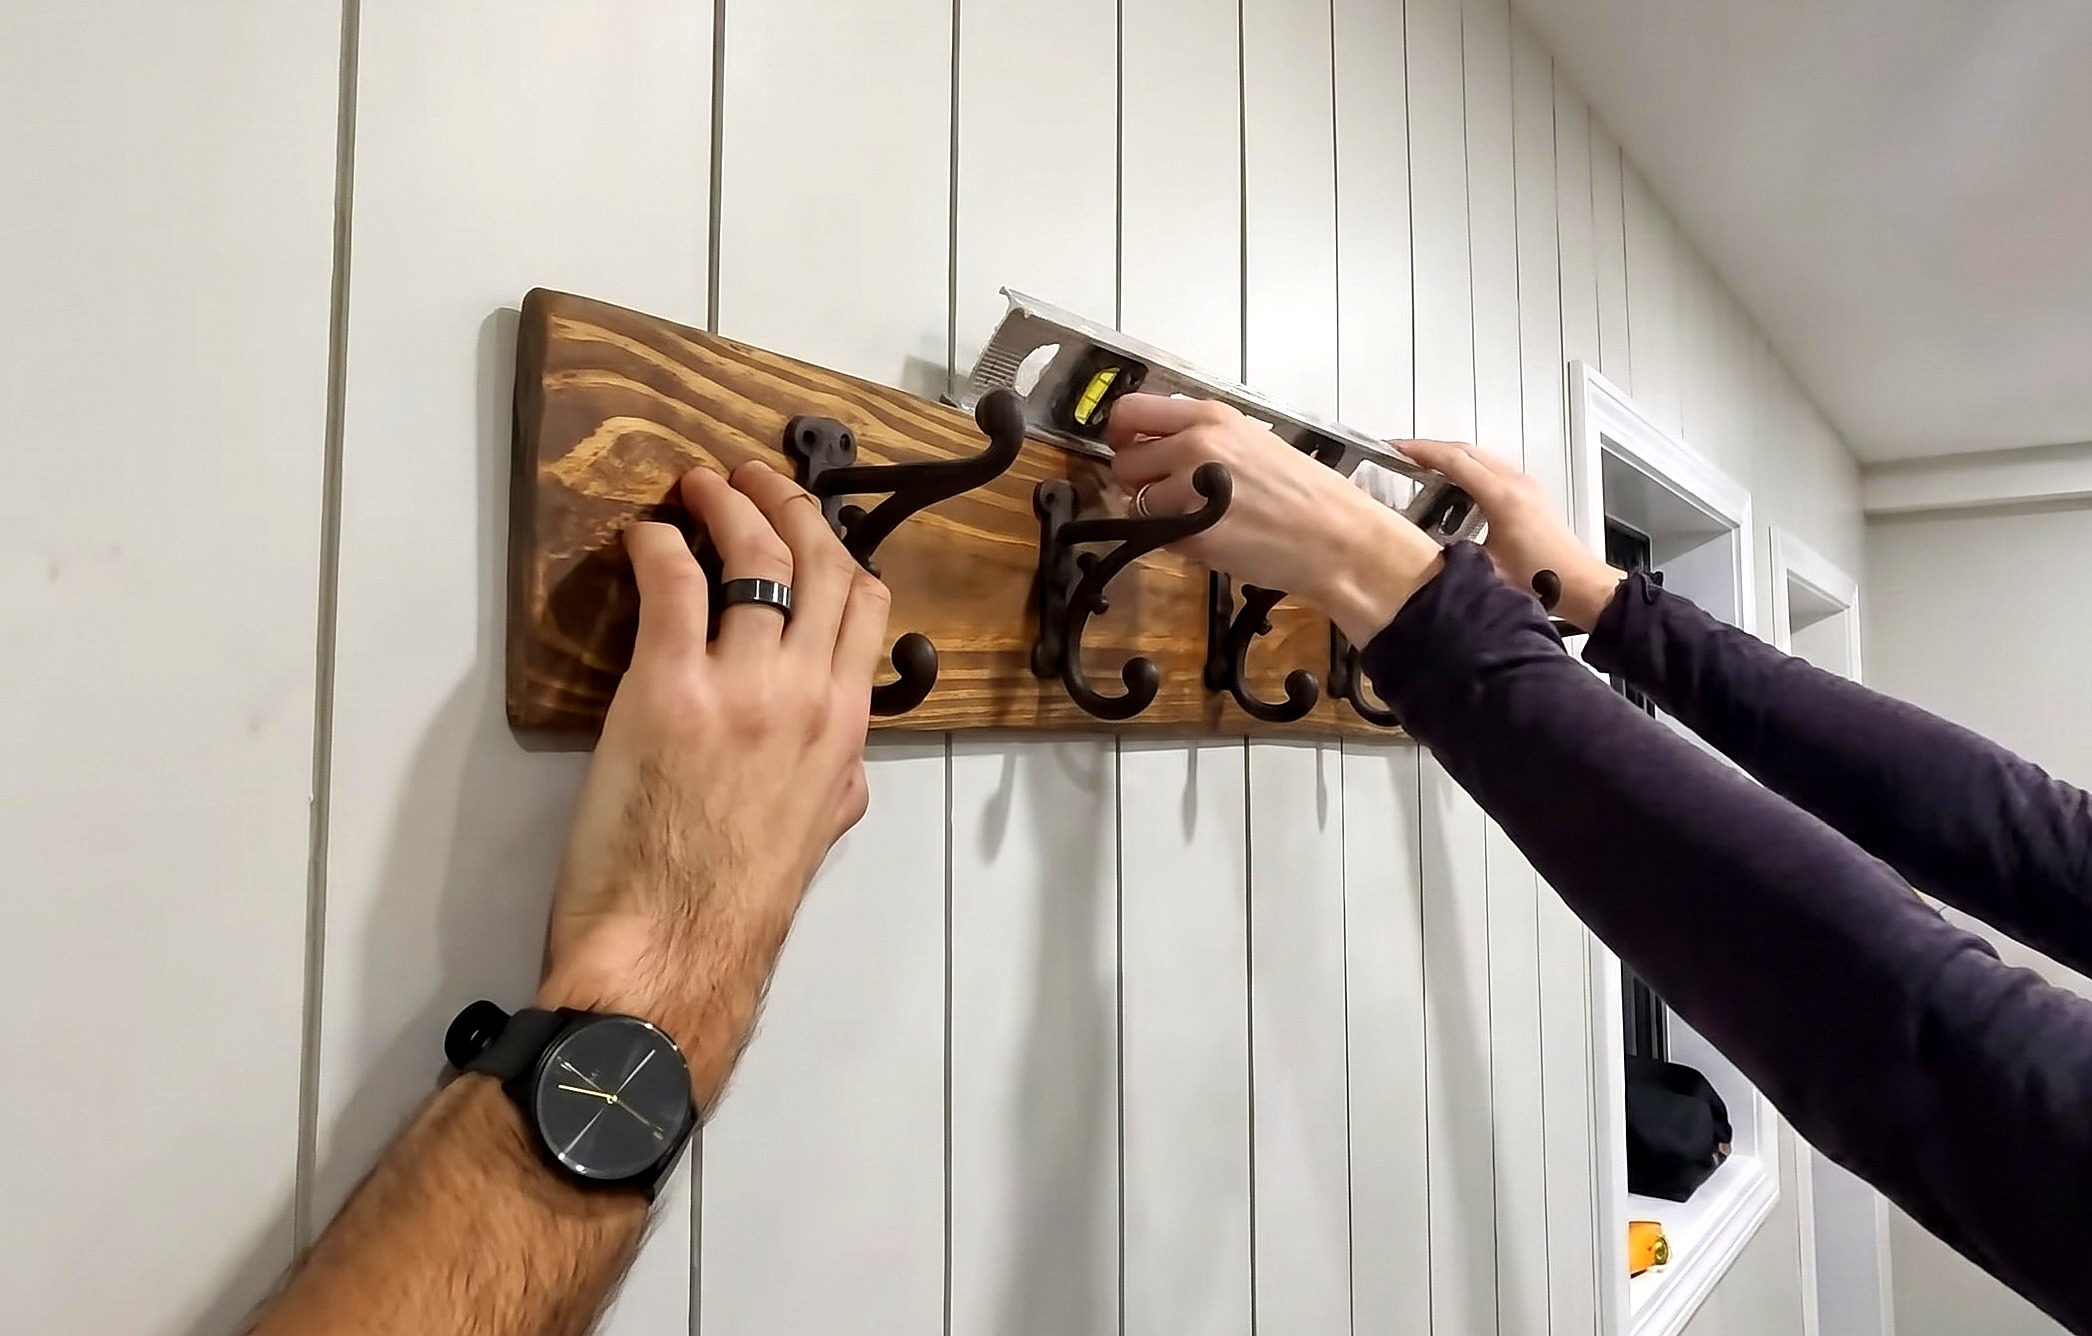
Key measurements
- Starting mounting height: 60 in (5 ft) from floor
- Height above mudroom bench: 66 in (5 ft 6 in) from floor
- Wall screw length: 2 1/2 in to reach through plank, wall paneling, drywall, and into stud
- Tip: Drill discreet pilot holes in the plank if driving wall screws outside the hooks.
- Heads up: Use high-weight-capacity drywall anchors if you cannot drive mounting screws into wall studs.
Before you move on: Set the level on the plank and pull the hooks to check the rack is solid.
Finishing
Sanding And Filling
- Fill old nail holes with stainable wood filler, let dry, and sand flush before staining.
- Sandpaper grits for the orbital sander are not specified.
Stain And Wax
- Wipe on two coats of Varathane Early American stain with a lint-free cloth.
- Wait 1 minute after the first stain coat before wiping on the second.
- Buff clear Jolie furniture wax over the stained wood with a clean lint-free cloth.
Alternatives
- Skip furniture wax if preferred, though waxing seals the stain and eases cleaning.
- Oak or poplar can replace the pine or pallet plank; use any hook style.
These Specs are built from Kathartic Studios's video “DIY Rustic Coat Rack”. Open the DIY Rustic Coat Rack project page.
