Spetz Specs No. 5422: step-by-step build guide
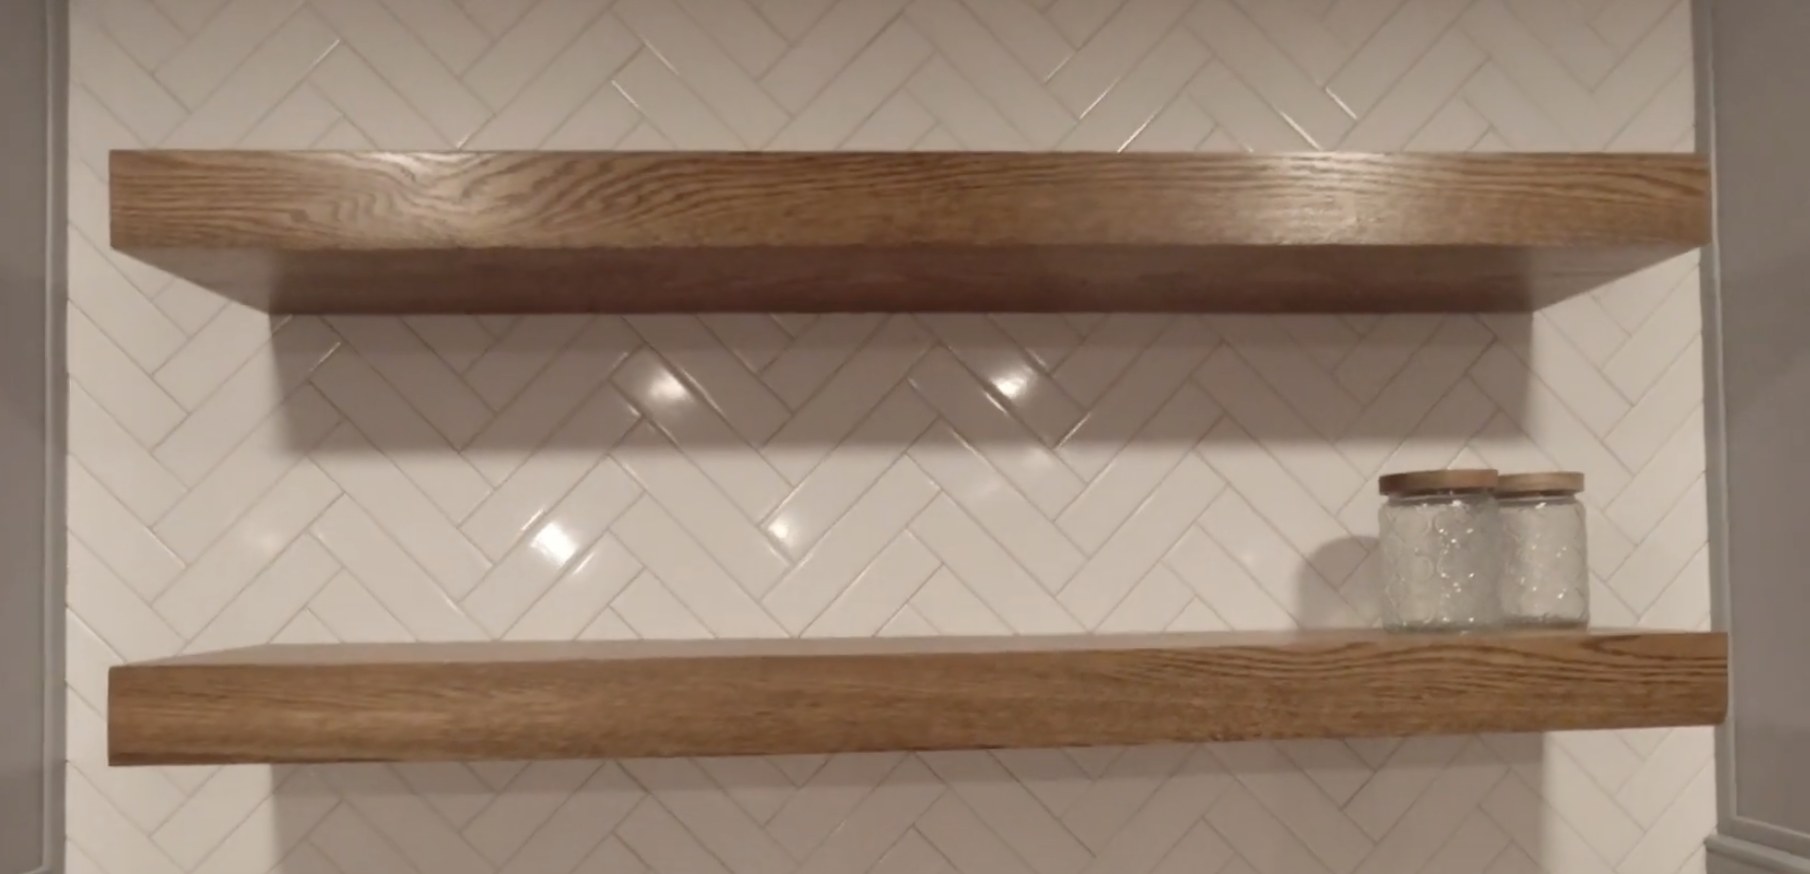
Solid Red Oak Floating Shelves
The complete step-by-step guide made from Indy Farm Life's YouTube video, free on Spetz. For the video, a step-by-step player and answers to your questions, see the Solid Red Oak Floating Shelves project page.
3 steps, 1 parts, 7 tools, 4 materials
Overview
Finished size: Approx. 48 in W x 10 in D x 2-7/8 in H per shelf (final width and depth estimated; not stated in sources)
What You're Building
- Mill two rough 4x10 red oak beams into solid floating shelves.
- Hang heavy beams with dark walnut finish on hidden welded steel brackets.
Why This Design Works
- Skip hollow box joinery; machine solid hardwood timber.
- Level four support rods at once with a one-piece steel bracket.
What It Takes
- Machine beams with a thickness planer, table saw, and miter saw.
- Bore deep rod holes with an auger bit; prepare for heavy lifting.
What Decides Success
- Take shallow planer passes on cupped beams so the machine does not bog down.
- Drill straight along a marked centerline so the shelf slides on smoothly.
Health and safety
Planer and Dust Control
- Wear over-ear hearing protective equipment whenever running the thickness planer to prevent hearing damage from extreme noise.
- Never take a deep first cut on cupped or warped rough oak beams; take shallow passes to prevent planer overload and kickback.
- Run the thickness planer discharge hose outdoors or to a collector to keep heavy oak chips off the floor and prevent slips.
- Keep hands well clear of the planer infeed and outfeed rollers to avoid pinching as the rough oak beam moves through.
Sawing and Drilling Safety
- Use a riving knife and push stick when ripping red oak on the table saw, and never reach over the blade.
- Hold the oak beam firmly against the miter saw fence and let the blade stop completely before lifting the saw head.
- Brace the cordless drill with both hands when boring with the 13/16 inch auger bit in case the bit catches and twists.
- Keep a shop vacuum by the workbench to clear deep auger bit shavings so the bit does not bind or overheat.
Heavy Beams and Brackets
- Support the solid red oak beam's full weight when sliding it onto or off the bracket rods so it cannot tip.
- Do not pound or force the steel bracket into tight or misaligned holes, or the rods can bind and pinch fingers.
- Lift heavy rough-sawn red oak beams with your legs rather than your back, and get a helper for awkward carries.
Stain and Finish Hazards
- Apply Special Walnut stain and polyurethane finish in a well-ventilated space while wearing chemical-resistant gloves and eye protective equipment.
- Keep wood stain, polyurethane finish, and vapors away from open flames, heaters, and sparks to prevent fire.
- Lay stain-soaked rags flat outdoors to dry completely or submerge them in a water-filled metal can to prevent spontaneous combustion.
Tools
- Thickness Planer (DeWalt, DW735)
- Hearing Protection (Over-ear hearing protection)
- Table Saw
- Miter Saw
- Cordless Drill/Driver (DeWalt)
- Drilling Template Guide (optional)
- Auger Bit (Wood Owl, 13/16 inch)
Materials
- Red Oak beams (2, Red oak lumber, Roughly 4x10)
- Shepherd Brackets (2, Floating shelf brackets)
- Wood Stain (Penetrating Stain, Minwax, Special Walnut 224)
- Polyurethane finish
Hardware
| Hardware | Size | Count | Used in steps |
|---|---|---|---|
| Template guide screws | 2 | 2 | |
| Bracket mounting screws | 3 |
Cut list
| Part | Name | Qty | Size | Notes |
|---|---|---|---|---|
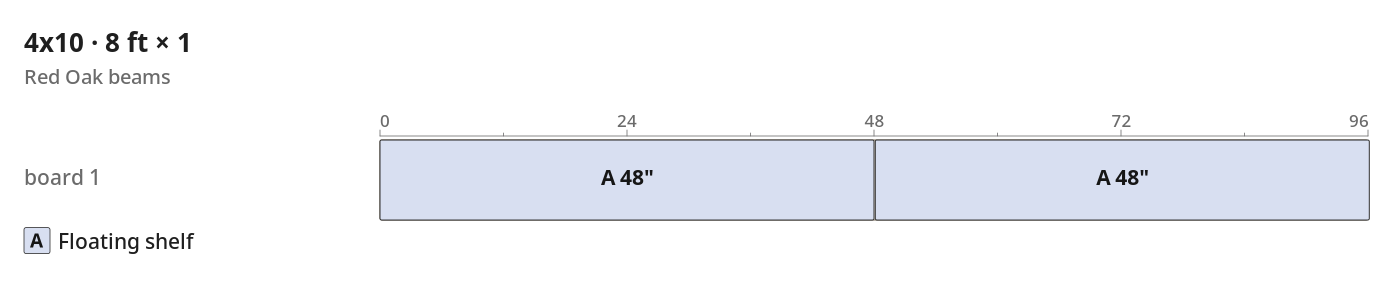
| A | Floating shelf | x2 | 3 1/2" (T) × 9 1/2" (W) × 48" (L) | Plane rough 4x10 beam flat on both faces to 2-7/8 in thick (1-7/16 in to centerline), rip both long edges straight on the table saw, crosscut ends square on the miter saw, and drill four 13/16 in diameter x ~7 in deep bracket holes spaced 12 in on center along the back edge centerline. |
What to buy
- Buy 1 × 4x10 8 ft (Red Oak beams)
Before you start
Lumber Inspection
- Brush loose barn dirt off two rough-sawn 4x10 red oak beams.
- Sight each beam to find the cupped face and high crown.
Wall & Bracket Prep
- Screw each steel bracket into three wall studs before tiling the wall.
- Leave one bracket unmounted, or unscrew it temporarily, as a layout template.
Step by step
Step 1: Plane the Red Oak Beams
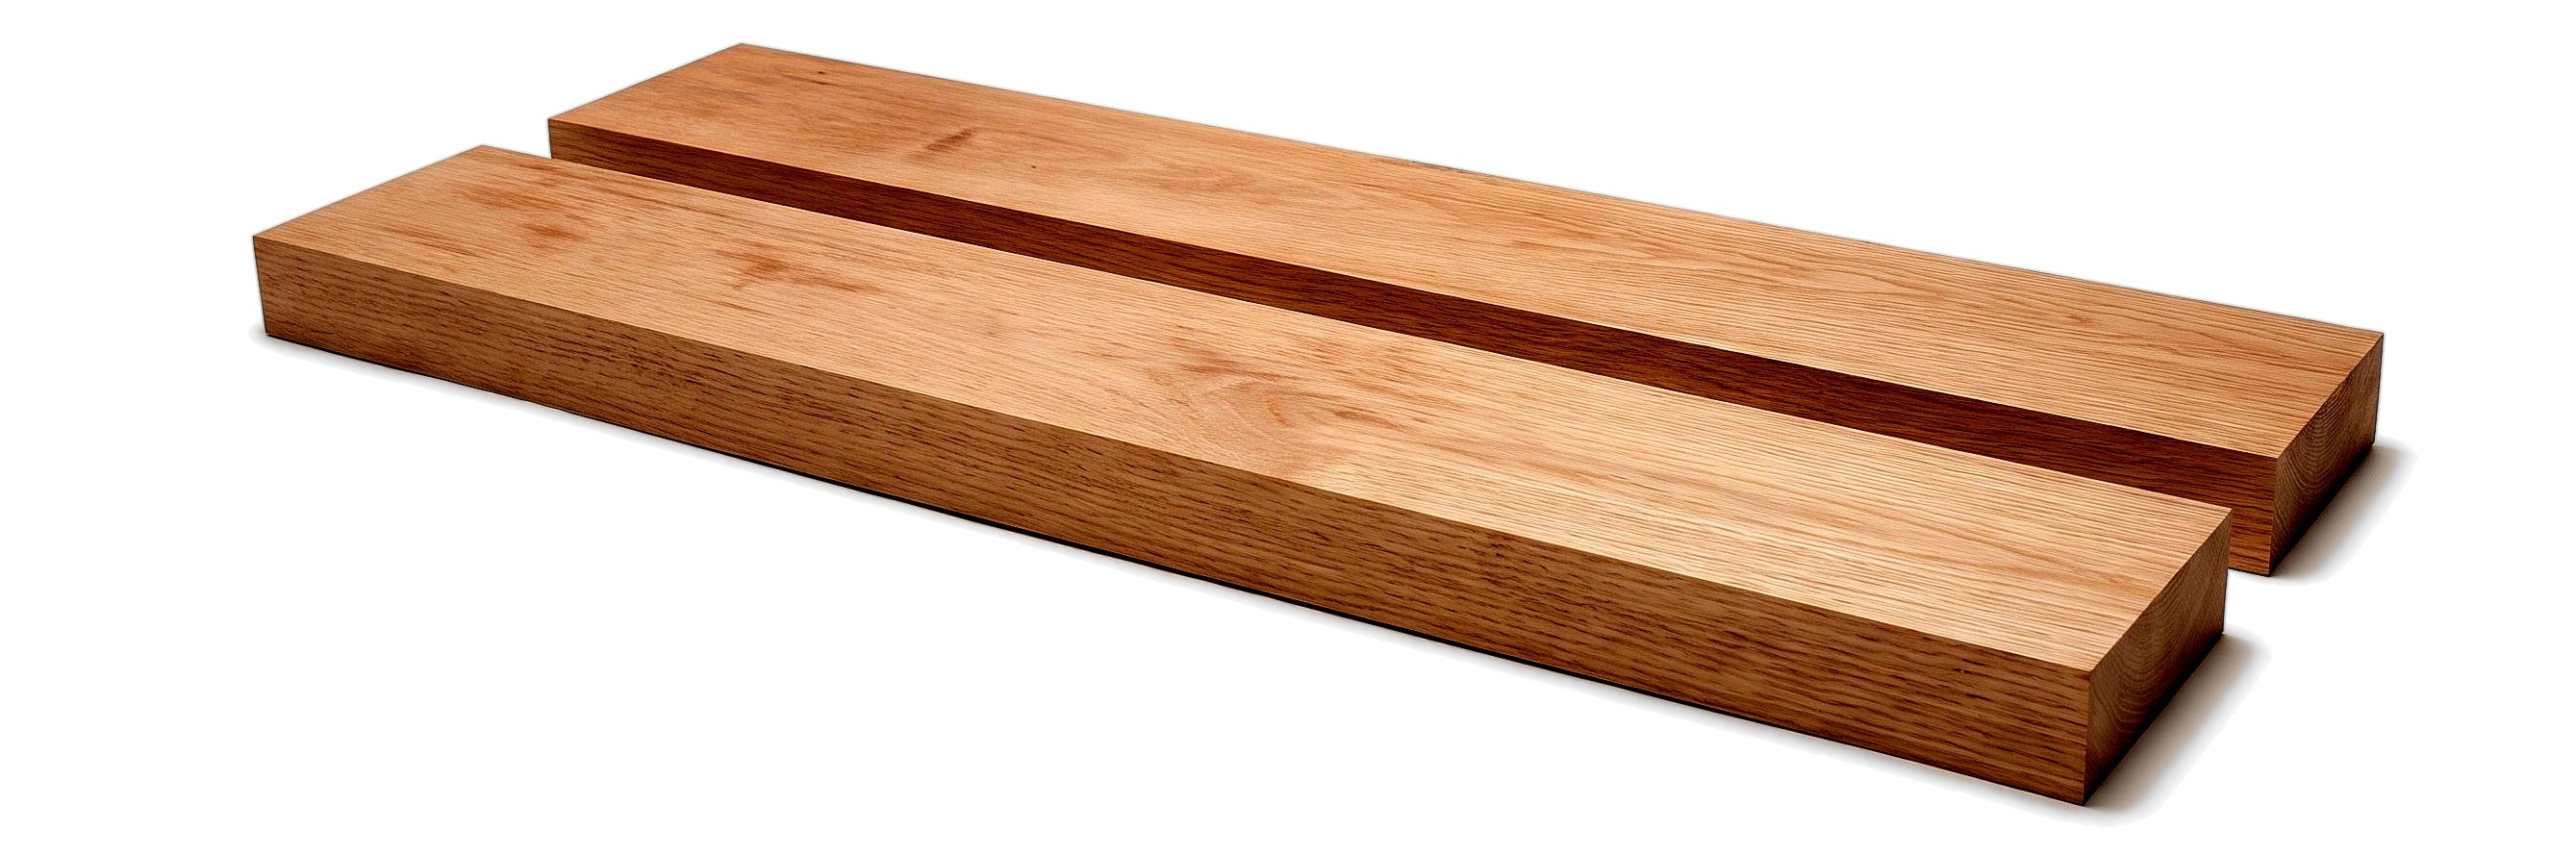
Mill both rough 4x10 red oak beams flat, square, and smooth to 2-7/8 in thick.
Parts in this step: (A) Floating shelf
You'll need: Thickness Planer, Hearing Protection, Table Saw, Miter Saw, Red Oak beams
- 1.1 Set Up and Safety
- Wear over-ear hearing protection before starting the thickness planer.
- Check each floating shelf (A) beam for the crowned face.
- Set the thickness planer depth for a shallow first bite on the crown.
- 1.2 Plane the Boards
- Feed both floating shelves (A) through the planer, alternating faces each pass.
- Take shallow passes without a sled until both faces measure 2-7/8 in thick.
- Rip both long edges straight and parallel on the table saw.
- Crosscut ends square on the miter saw to about 48 in (estimated).
- Sand both faces and four edges smooth before marking bracket holes.
Key measurements
- Milled shelf thickness: 2-7/8 in across both planed faces.
- Estimated shelf length: 48 in to span the four bracket rods (exact length not stated)
- Tip: Without a dust collector, run a long flexible hose from the planer chip exhaust port outdoors.
- Tip: Plane the high crown first with shallow passes to flatten cupped stock without a planer sled.
- Heads up: Never take a deep first cut on cupped or warped rough lumber; heavy bites overload the planer.
- Heads up: Wear over-ear hearing protection when running a thickness planer.
Before you move on: Measure both ends and edges of each shelf to check for an even 2-7/8 in thickness.
Step 2: Drill Holes for Brackets
Lay out and bore four straight 13/16 in rod holes in each shelf's back edge.
Parts in this step: (A) Floating shelf
You'll need: Cordless Drill/Driver, Drilling Template Guide, Auger Bit, Red Oak beams, Shepherd Brackets, Template guide screws
- 2.1 Mark Hole Locations
- Measure 1-7/16 in down from the floating shelf (A) face.
- Scribe a continuous centerline along the full back edge.
- Center the Shepherd bracket on the back edge; mark the first rod hole.
- Mark the other three rod centers every 12 in along the centerline.
- Lay the bracket on the marks to check every rod aligns on center.
- 2.2 Drill the Holes
- Align and screw the drilling template guide over the first mark.
- Bore 3 in deep through the guide with the 13/16 in auger bit.
- Move the guide to each 12 in mark and bore 3 in deep.
- Remove the guide and bore all four holes 7 in deep.
- Bench-test the bracket rods in the drilled holes before hanging.
Key measurements
- Hole centerline depth: 1-7/16 in from the face of the 2-7/8 in shelf
- Rod hole spacing: 12 in on center between adjacent bracket rods
- Guided starter bore depth: 3 in through the drilling template guide
- Final rod hole bore: 13/16 in diameter by about 7 in deep
- Tip: Keep the hole centerline an even distance from the top face along the board so the shelf hangs flat.
- Tip: Use a 13/16 in Wood Owl auger bit; keep a vacuum nearby to clear heavy chips from deep bores.
- Heads up: During the bench test, do not pound or force the bracket into tight or misaligned holes, or the steel rods can bind in the oak.
Before you move on: On the bench, slide the unmounted bracket fully into the four holes to check no rods bind.
Step 3: Test Fit the Shelves
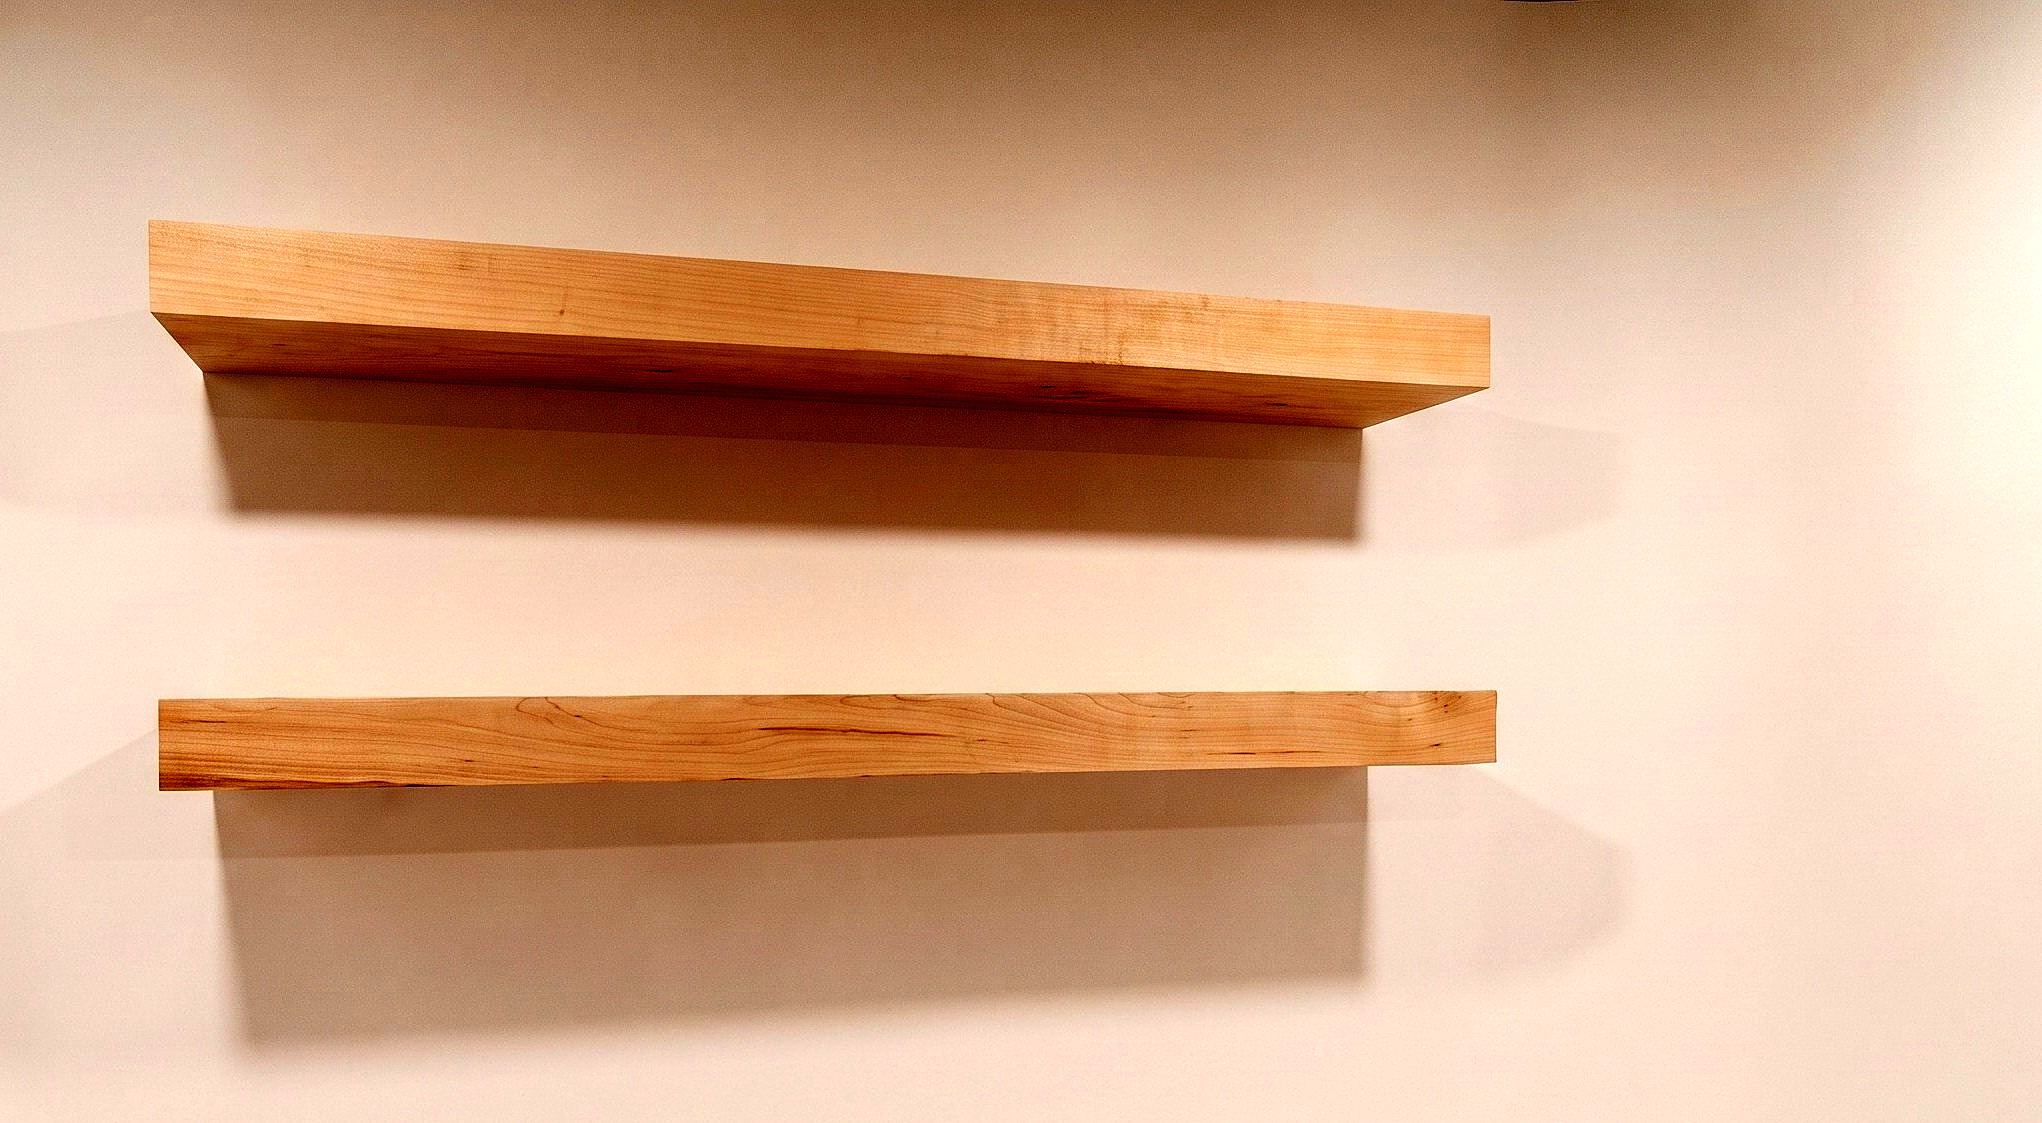
Widen tight holes, mount the brackets to wall studs, and test-fit both shelves for level.
Parts in this step: (A) Floating shelf
You'll need: Cordless Drill/Driver, Drilling Template Guide, Auger Bit, Red Oak beams, Shepherd Brackets, Bracket mounting screws
- 3.1 Slide Shelves onto Brackets
- Pin the drilling template guide slightly off-center to widen tight holes.
- Screw the Shepherd bracket level on the wall into three studs.
- Align the holes in each floating shelf (A) with the bracket rods.
- Slide each shelf onto the rods until the back edge sits flush.
- Check both shelves with a level, then slide them off to stain.
Key measurements
- Bracket backplate thickness: 3/16 in welded steel plate against the wall
- Wall stud anchorage: 3 studs engaged per bracket
- Tip: Re-attach the drilling template guide slightly toward a hole's tight side to shave the bore wider without bit wander.
- Tip: Mount brackets directly to studs before tiling so the tile builds out flush with the 3/16 in steel backplate.
- Heads up: Support the solid red oak beam's full weight when sliding it onto or off the rods so it does not tip or twist.
Before you move on: Check the length and depth of both mounted shelves with a level; confirm the back edges sit flush against the wall.
Finishing
Surface Prep
- Vacuum and wipe sanding dust off the bare red oak.
Stain & Top Coat
- Apply Minwax Special Walnut 224 wood stain to faces, edges, and ends.
- Wipe off excess stain and let the red oak dry.
- Brush on a protective clear polyurethane finish top coat.
Cure & Final Install
- Let the polyurethane finish cure fully before sliding shelves onto the brackets.
Flat Wall Alternative
- For drywall mounting, rout a 3/16 in deep pocket in the shelf back.
These Specs are built from Indy Farm Life's video “Solid Red Oak Floating Shelves”. Open the Solid Red Oak Floating Shelves project page.
